A 1-day basement floor coating means the crew can finish the install in one visit, not that your basement is ready to use that same day. In most cases, I’d plan for 12–24 hours before light foot traffic and about 72 hours before heavier use, as long as moisture, slab condition, temperature, and humidity all check out.
Before I schedule a job like this, I’d focus on four things:
- Fix water or seepage issues first
- Have the slab tested for moisture
- Clear the basement and the path to it
- Get the re-entry timeline in writing
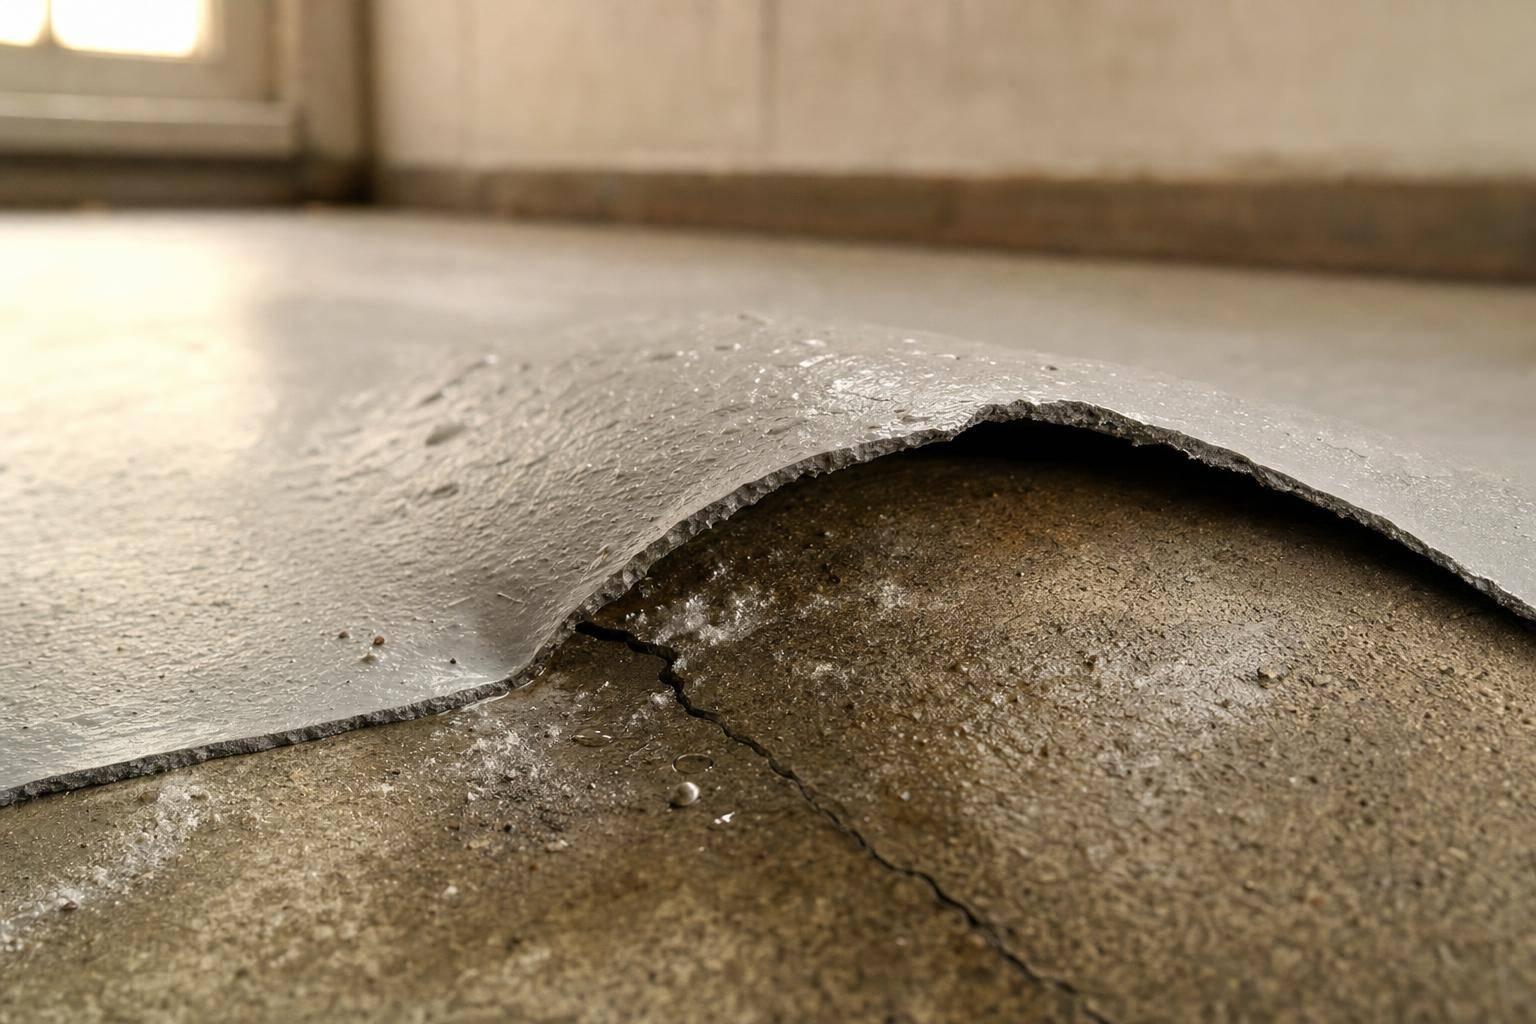
That’s the short version. If the concrete is dry and sound, the job often moves through grinding, repairs, basecoat, flake, and topcoat in one day. But if there’s a leak, high moisture, contamination, or slab damage, the coating can fail.
A few points matter most:
- “One day” refers to installation day
- Moisture testing should match ASTM standards
- Grinding and repairs are part of the job
- The basement stays off-limits during install and early cure
- You should not move furniture back until the installer approves it
Here’s the simple takeaway: if I want the floor to last, I need to think about prep and cure time, not just how fast the crew can coat the floor.
1 DAY SYSTEM- Basement Transformation!
sbb-itb-a0e5ae3
Check That Your Basement Is Ready Before Installation
Water, moisture, and slab defects can make a coating fail. So the first job is simple: check for moisture, then check the slab itself.
Pre-installation checklist: water, moisture, and slab condition
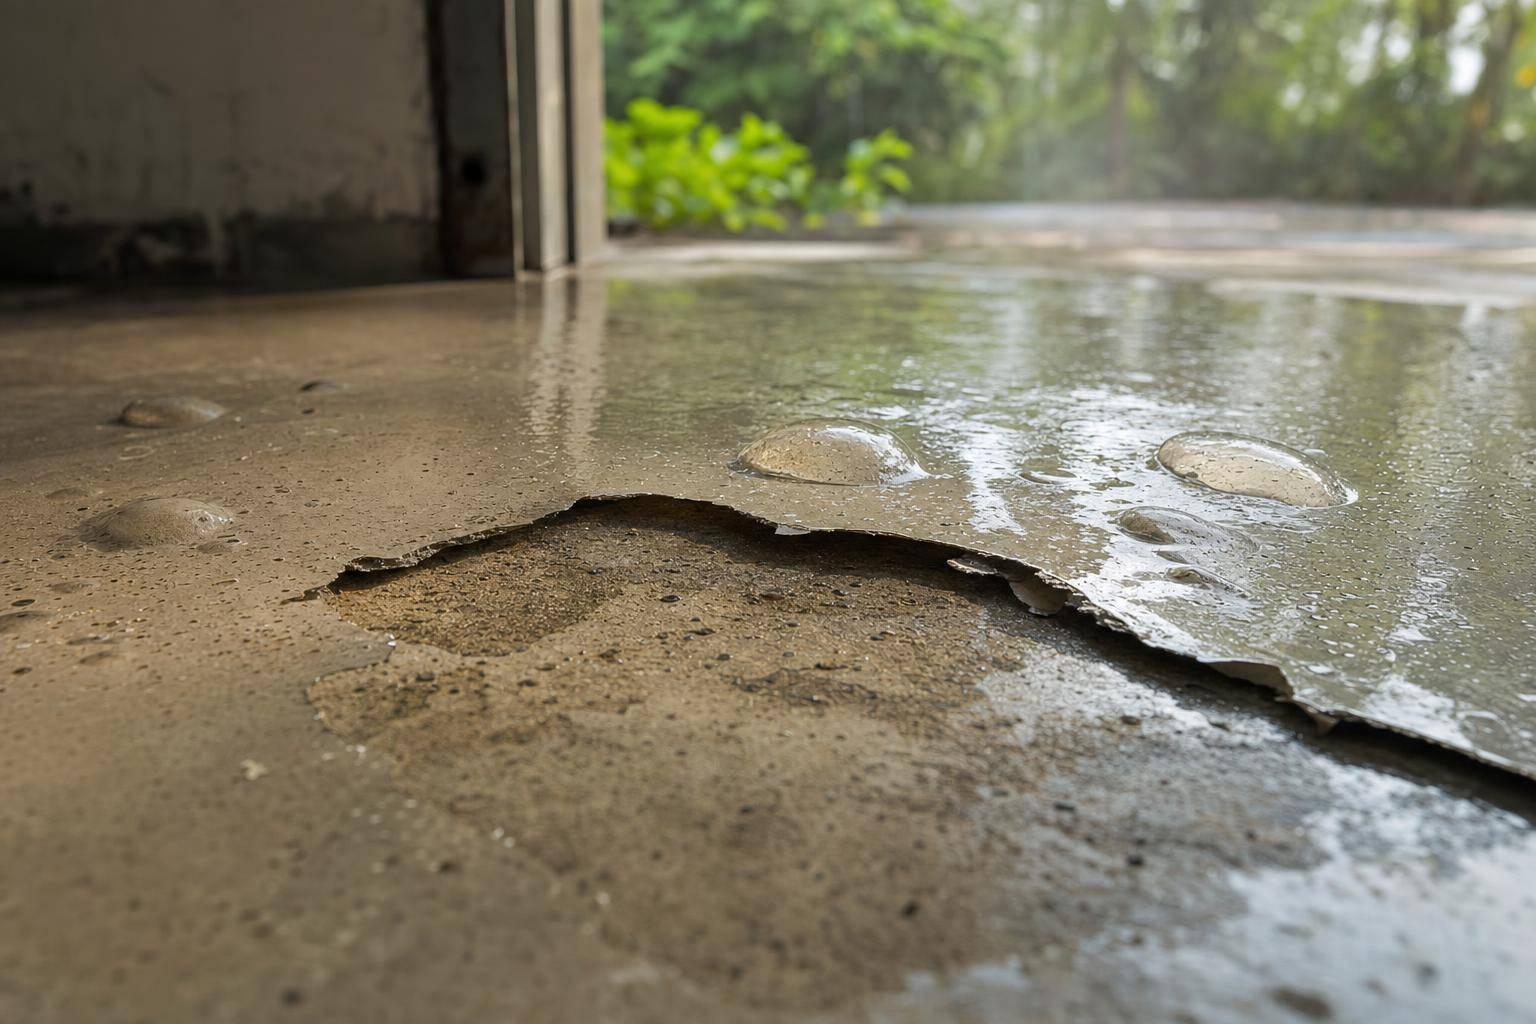
Check the basement after heavy rain or during spring snowmelt, not just when everything looks dry. Look for seepage where the wall meets the floor, damp spots, standing water, efflorescence (a white, powdery deposit), musty odors, and water coming in around plumbing penetrations or floor drains. If you find an active leak or seepage that keeps coming back, fix it before coating starts. If you coat over a water problem, the finish can blister, peel, or lose adhesion.
A dry-looking surface can still be misleading. Moisture may still move up through the slab from below. That’s why a qualified installer should measure and document moisture with ASTM F2170 in-slab humidity testing or ASTM F1869 testing, then compare the results with the manufacturer’s limits. If the readings are over those limits, you may need more drying time, a moisture-mitigation system, a different coating, or a delay.
Then walk the slab and look closely. Note cracks, spalling, crumbling edges, uneven sections, or hollow spots. Also watch for oil stains, old paint, adhesive residue, or places where water beads up instead of soaking in. Those are signs of contamination, and they can keep the coating from bonding the way it should. Mark each problem area and take photos so the installer can review them.
Conditions that need a professional assessment
A simple way to think about this is: some issues are easy to spot, and some need the installer to confirm.
- Homeowner signs: visible leaks, seepage, damp walls, puddles, musty odors, cracks, spalling, stains, uneven areas, old coatings
- Installer checks: water source, repairs, grinding needs, moisture readings, detailing around drains and penetrations, access limits
Two items often slip through the cracks.
First, slab age matters. A floor may look cured and still give off enough moisture to hurt adhesion. Older slabs can also have old sealers, weak concrete, or past repairs that need removal or grinding.
Second, access and system layout matter more than many homeowners expect.
Tell the installer about any radon piping, sealed sump pits, or sub-slab depressurization systems before the crew shows up. These parts need to keep working and stay accessible after the coating is applied. That means the installer should plan masking and edge details around them, not over them. Ask for a written assessment that covers moisture testing, repairs, surface prep, and any added charges.
How to Prepare the Room Before the Crew Arrives
After the slab passes inspection, the next step is following a pre-installation checklist for room prep. Get this part right, and the crew can move through the full one-day process without getting slowed down.
Clear the basement and access path completely
Take everything off the floor so grinders can reach the walls, corners, and edges. That also means removing low-mounted shelves, hooks, and pegboards that get in the way of edge work.
Move items to a garage, an upstairs room, or a dry storage area. Just don’t put them in the access path.
The path from the entry to the basement also needs to stay clear for equipment and materials.
Don’t wash or wet the slab unless the installer tells you to. A simple sweep to remove loose debris is enough. Skip cleaners, sealers, paints, and patch products unless the installer says to use them.
Once the room is open, expect noise, dust, and limited access.
Plan for noise, dust, ventilation, and restricted access
Keep children and pets out of the basement and out of the work route for the full day. Grinding is loud, so it’s smart to plan calls, naps, or work somewhere else.
Most pro crews use vacuum-assisted grinders and dust-control systems to cut down airborne debris, but some dust can still travel. Close doors to nearby rooms, and move sensitive electronics or valuables away from the work zone.
Before the job starts, tell the crew about any past moisture issues, leaks, utility locations, repaired cracks, and fixed equipment. Follow the installer’s directions for windows, exhaust fans, and HVAC settings instead of guessing. Strong airflow over a wet coating can blow dust onto the finish.
Treat the basement as off-limits until the installer’s cure schedule says it’s okay to use again. Take out anything you may need during that window, and confirm when it’s safe for walking, furniture, and full use before install day.
What Happens During the 1-Day Coating Process
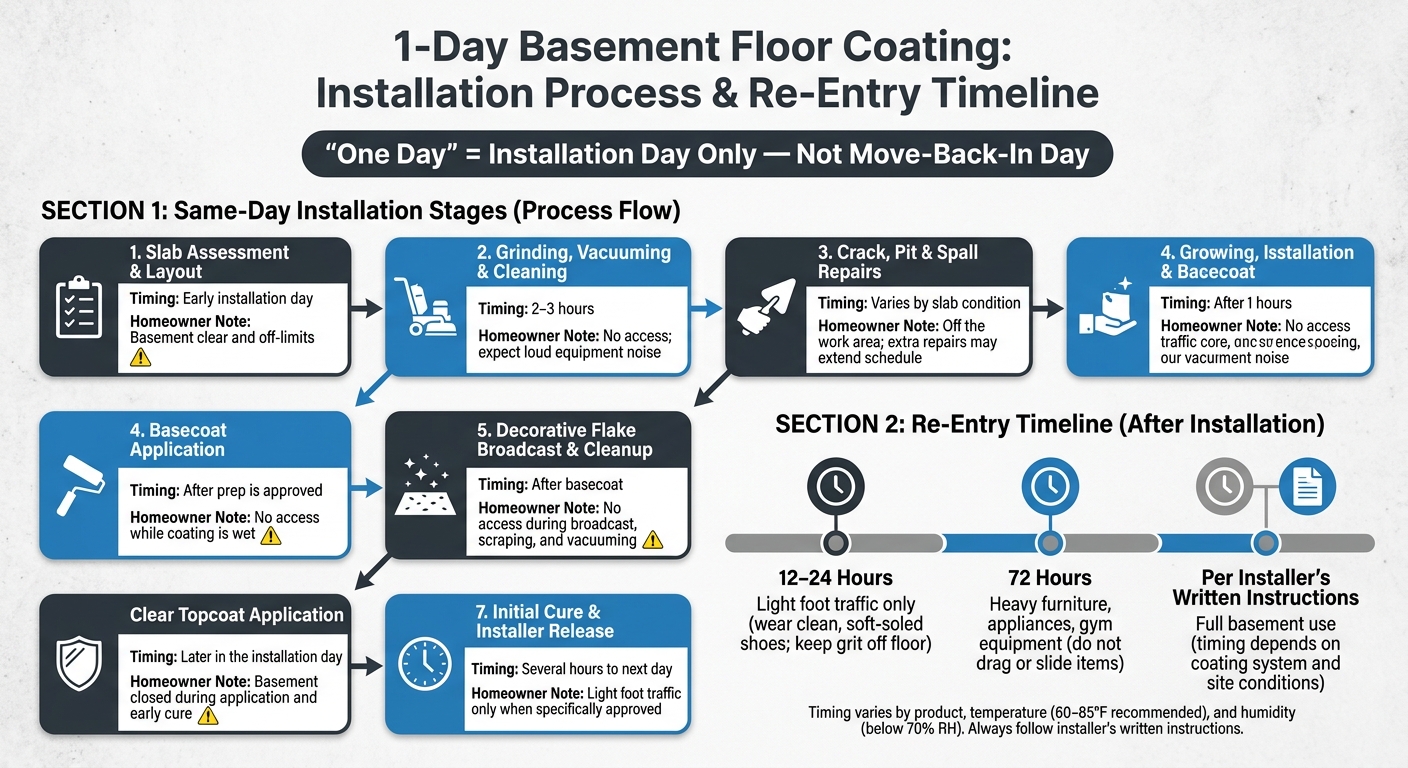
1-Day Basement Floor Coating: Installation Process & Re-Entry Timeline
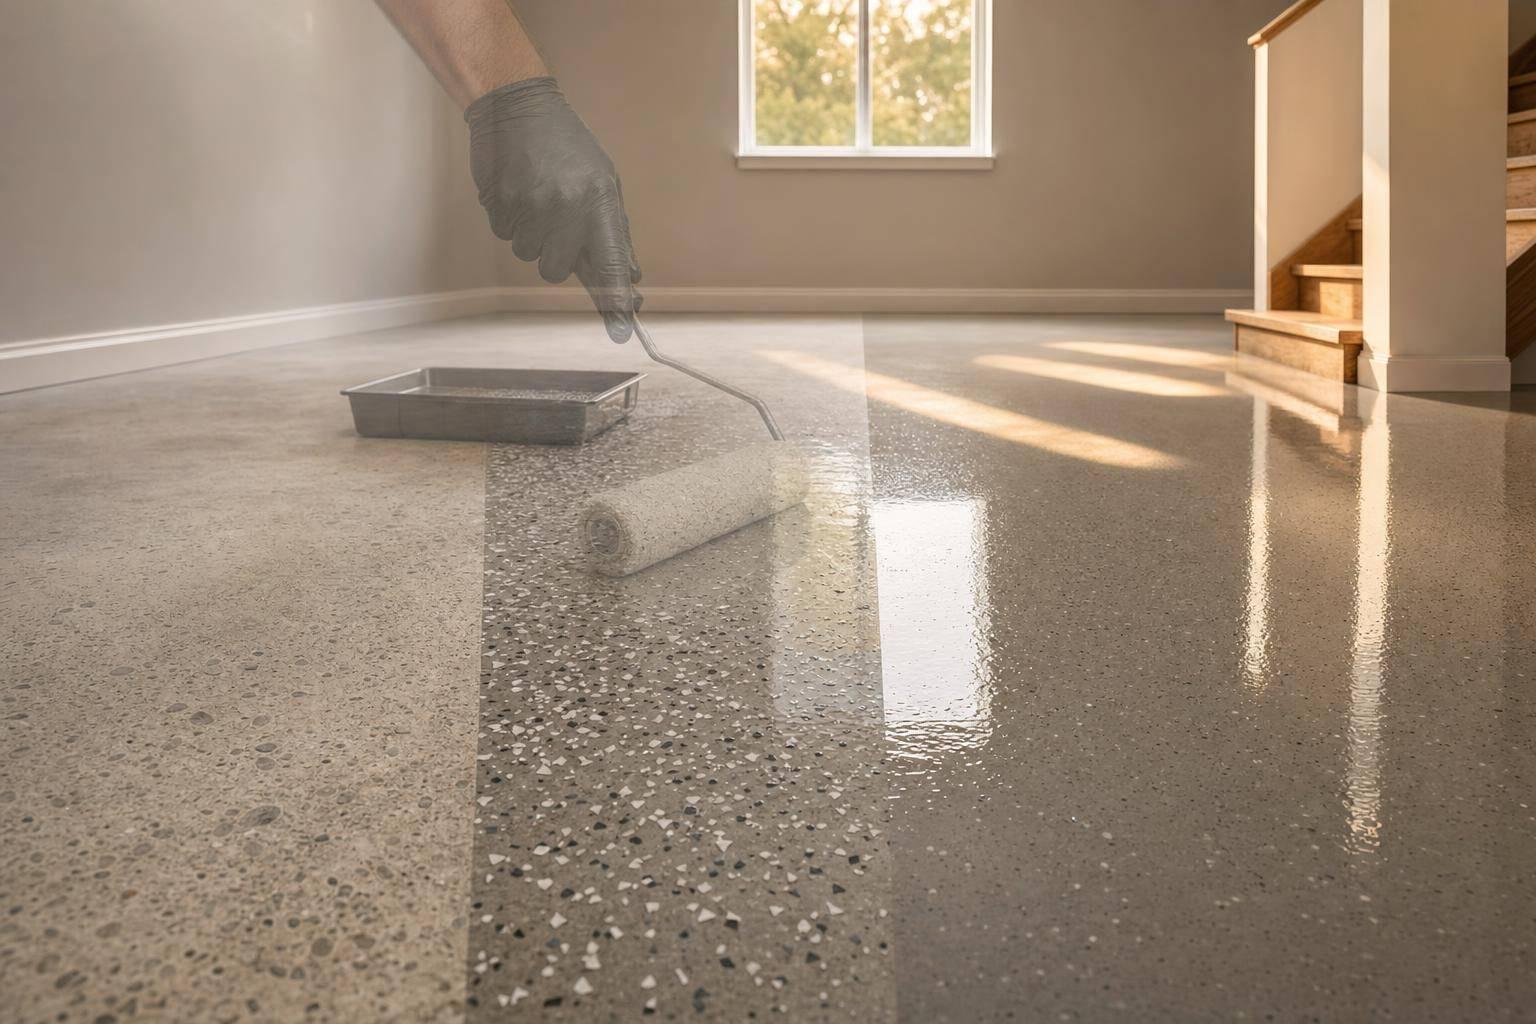
If the slab passes inspection, the crew moves straight into prep and then works all the way through cure. Most 1-day installs follow the same sequence: prep, repairs, coating, flake, and topcoat. To keep things moving, crews usually split the basement into work zones so one step can start as soon as the last one is ready.
For homeowners, install day is active and noisy. You should expect grinder noise, vibration, dust-control equipment, and hoses and tools moving through the space during the day.
Surface prep, crack repairs, and cleaning
The first job is grinding the slab so the coating can bond to the concrete. Right after that, the crew vacuums the floor to pull up dust before any coating goes down.
After the surface is opened and cleaned, patching starts. Small cracks and pits are filled with a matching repair material. This part matters more than many people think. If the patch product doesn’t work well with the coating system, it can leave a weak layer even if the floor coating itself is high quality—a common issue when comparing epoxy vs. polyurea systems.
Repairs can help both looks and adhesion, but they don’t always stop future movement. If a crack is wide or still moving, a simple fill may not fix it for good. In those cases, the slab may need a separate review.
Basecoat, decorative flake, and protective topcoat
Once prep is approved, the installer rolls or spreads the basecoat in sections using the manufacturer’s stated coverage rate. This is the layer that bonds to the concrete and holds the decorative flake. Croc Coatings uses the Penntek Evolution polyurea system for one-day residential floor installations.
The decorative flakes are broadcast into the wet basecoat right away, which gives the floor its color and texture. After the basecoat is ready, the crew scrapes off standing flakes, gathers the extra material, and vacuums the floor clean. The clear topcoat goes on last to protect the surface. During application and early cure, the basement should stay closed off.
The schedule below shows the sequence most homeowners will see on install day.
Same-day installation process at a glance
Timing below is a general planning guide. Your installer’s product-specific instructions take precedence over any generic schedule.
| Stage | Approximate Timing | Homeowner Access |
|---|---|---|
| Slab assessment and layout | Early installation day | Basement clear and off-limits |
| Grinding, vacuuming, and cleaning | Early installation day; prep alone can run 2–3 hours | No access; expect equipment noise |
| Crack, pit, and spall repairs | Varies by slab condition | Off the work area; extra repairs may extend the schedule |
| Basecoat application | After prep is approved | No access while coating is wet |
| Decorative-flake broadcast and cleanup | After basecoat application | No access during broadcast, scraping, and vacuuming |
| Clear topcoat | Later in the installation day | Keep the basement closed during application and early cure |
| Initial cure and installer release | Often several hours to the next day | Light foot traffic only when specifically approved |
| Full cure | Follow the installer’s written release schedule | No heavy use until approved |
Temperature and humidity affect how each layer handles and cures. One technical coating guide recommends keeping job-site conditions between 60–85°F with relative humidity below 70% during installation, although the product data sheet sets the actual limits. Before the crew arrives, ask the installer for the access and cure schedule in writing so there are no surprises.
When You Can Walk on the Floor and Move Back In
The crew may be done, but the floor usually isn’t done curing. That part keeps going after installation, and the timing can shift based on the coating system, basement temperature, humidity, airflow, and the condition of the slab. So the big question becomes simple: when can you actually use the basement again?
Return-to-use schedule: foot traffic, furniture, and full activity
Don’t head back in until the installer says that stage is okay. Once the final topcoat is applied, each step of re-entry should happen only after the installer approves it.
For the Penntek polyurea system used by Croc Coatings, the usual guidance is 12–24 hours before light foot traffic and 72 hours before heavy items or full use. Before the crew leaves, ask for the exact timing for re-entry, furniture placement, and full cure in writing. A floor can feel dry or look firm and still need more time before it’s ready for heavy weight or frequent use.
| Activity | Typical Wait | Notes |
|---|---|---|
| Light foot traffic | 12–24 hours | Wear clean, soft-soled shoes and keep grit off the floor |
| Heavy furniture, appliances, and gym equipment | 72 hours or installer approval | Do not drag or slide items |
| Full basement use | Per installer’s written instructions | Timing depends on the coating system and site conditions |
Early care steps that protect the new coating
Once the floor is open for light traffic, the first few days matter just as much as the cure window. Think of it like fresh paint on a wall: it may look ready, but rough treatment too soon can leave marks.
Lift furniture and appliances instead of dragging them. Put clean felt pads or manufacturer-approved protectors under heavy legs. Sweep up grit with a soft broom, clean spills right away, and stick to recommended polyurea cleaning and maintenance steps.
Skip harsh chemicals, rough scrubbing pads, and steam mops. Those can dull the finish or damage the surface. During the first week, follow the installer’s cleaning directions exactly.
Key points for planning a one-day basement coating project
If you want the day to go smoothly, focus on a few basics:
- Fix any water or moisture issues before installation is scheduled. Proper surface preparation is the foundation of a successful one-day install.
- Clear out the basement and the path to it completely.
- Plan for noise, ventilation, and no-entry periods during the workday.
- Keep the basement off-limits until the installer approves each stage of re-entry.
- Follow the written cure instructions exactly.
FAQs
What if my basement fails the moisture test?
If your basement fails a moisture test, deal with the moisture problem before you apply any coating. If you skip that step, extra moisture can lead to bubbling, peeling, or full coating failure. Start by checking the usual trouble spots: leaky pipes, poor drainage, damaged vapor barriers, and foundation cracks.
You can also run dehumidifiers and fans to help dry the area. If the moisture keeps coming back, talk to your installer about a moisture-resistant primer or other options that help block moisture. In some cases, installation needs to wait until moisture levels fall into the recommended range, usually below 4% to 4.5%.
Can I stay home during the installation?
Yes – just keep children and pets away from the area during installation and while the coating cures.
In most cases, the job is finished in one day. After that, the floor still needs time to set.
Here’s the simple timeline:
- You can usually walk on the floor after 12 hours
- Wait 72 hours before moving heavy items or furniture back
How soon can I put furniture back on the floor?
You can walk on your basement floor after 12 hours. It’s ready for general use within 24 hours.
Hold off for 72 hours before moving heavy items or furniture back in. That extra time helps protect the new coating. It’s also smart to use felt pads under furniture to cut down on wear.