If a new basement coating fails, the slab is usually the reason. On older basement floors, the top three causes are hidden moisture, surface contamination, and cracks or slab movement. If you skip testing and prep, even a high-end coating can peel, blister, turn white, or lift.
Here’s the short version:
- Moisture is usually the first problem to check. Many older slabs have no vapor barrier, so water vapor can move up through the concrete.
- A dry-looking floor can still fail. Moisture can sit inside the slab and show up only after the coating seals the surface.
- Old paint, sealers, oil, glue, and patch residue block bond. The coating may stick to that weak layer instead of the concrete.
- Cracks matter. Dormant hairline cracks are one thing. Moving cracks can split the coating later.
- Testing comes before coating. ASTM F1869 and ASTM F2170 are common ways to check slab moisture.
- Many coating systems get risky above 4 lbs. of moisture vapor emission per 1,000 sq. ft. per 24 hours.
- A common target is 3 lbs. or less and about 80% RH max, based on the product limits.
What I’d check first on an old basement slab:
- Signs of moisture like efflorescence, musty odor, dark edges, or damp spots
- Old coatings, sealers, glue, grease, or failed patches
- Crack type: cosmetic, repaired, or still moving
- Test results before any primer or topcoat goes down
A simple way to think about it: old slabs fail from below, at the surface, and through movement. So the fix is usually the same order too – test, prep, repair, retest, then coat.
| Main issue | What happens | What I’d do first |
|---|---|---|
| Hidden moisture | Bubbling, whitening, peeling, delamination | Test slab moisture and fix water entry |
| Old residue or patch failure | Poor bond, flaking, isolated peeling | Grind or blast to clean concrete |
| Cracks or movement | Telegraphing, split coating, edge peel | Repair cracks based on movement |
If you want a coating to last, the job starts with the concrete – not the product label.
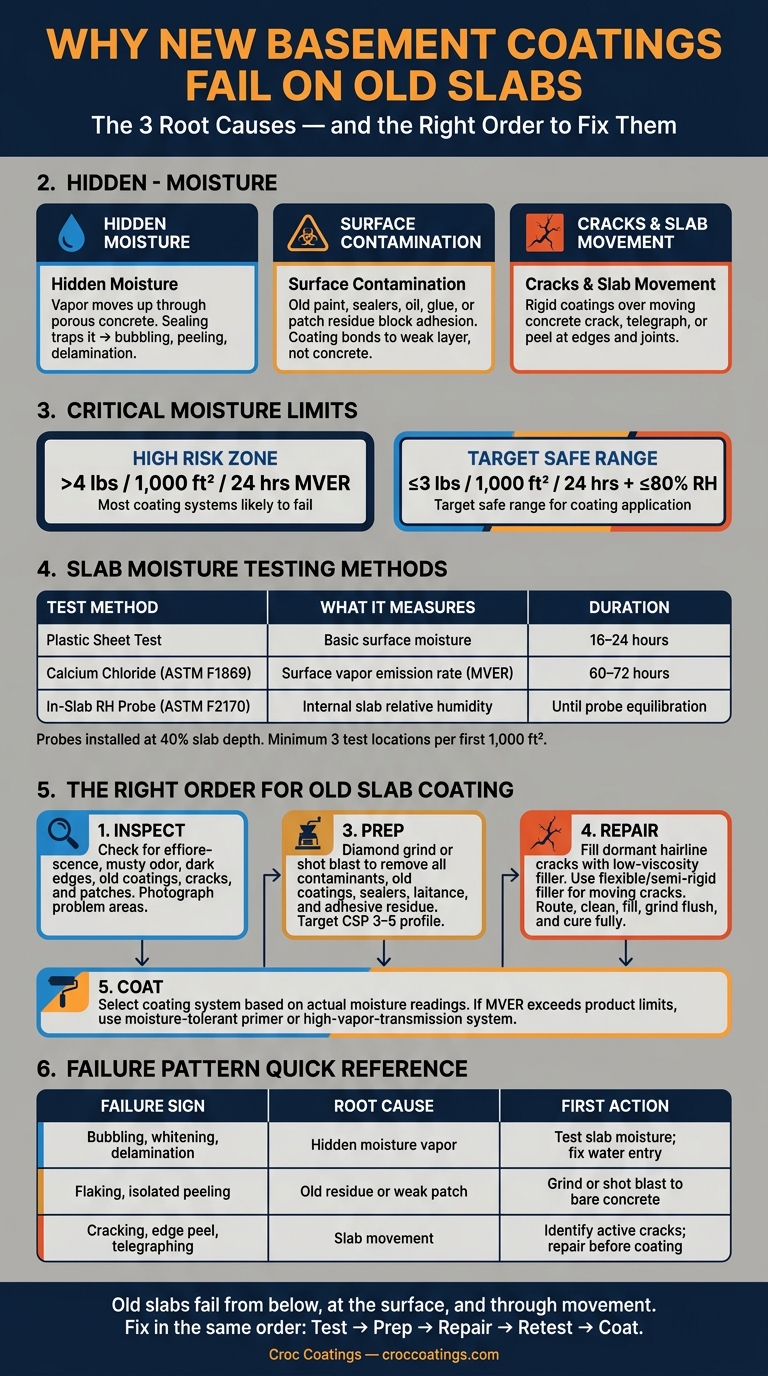
Why Basement Coatings Fail on Old Slabs: Test, Prep & Coat Process
Epoxy Floor Failure/ Moisture Remediation/How To Fix/Moisture Barriers/ #surfaceit#surfaceit805
sbb-itb-a0e5ae3
Hidden Moisture Is the Leading Cause of Coating Failure
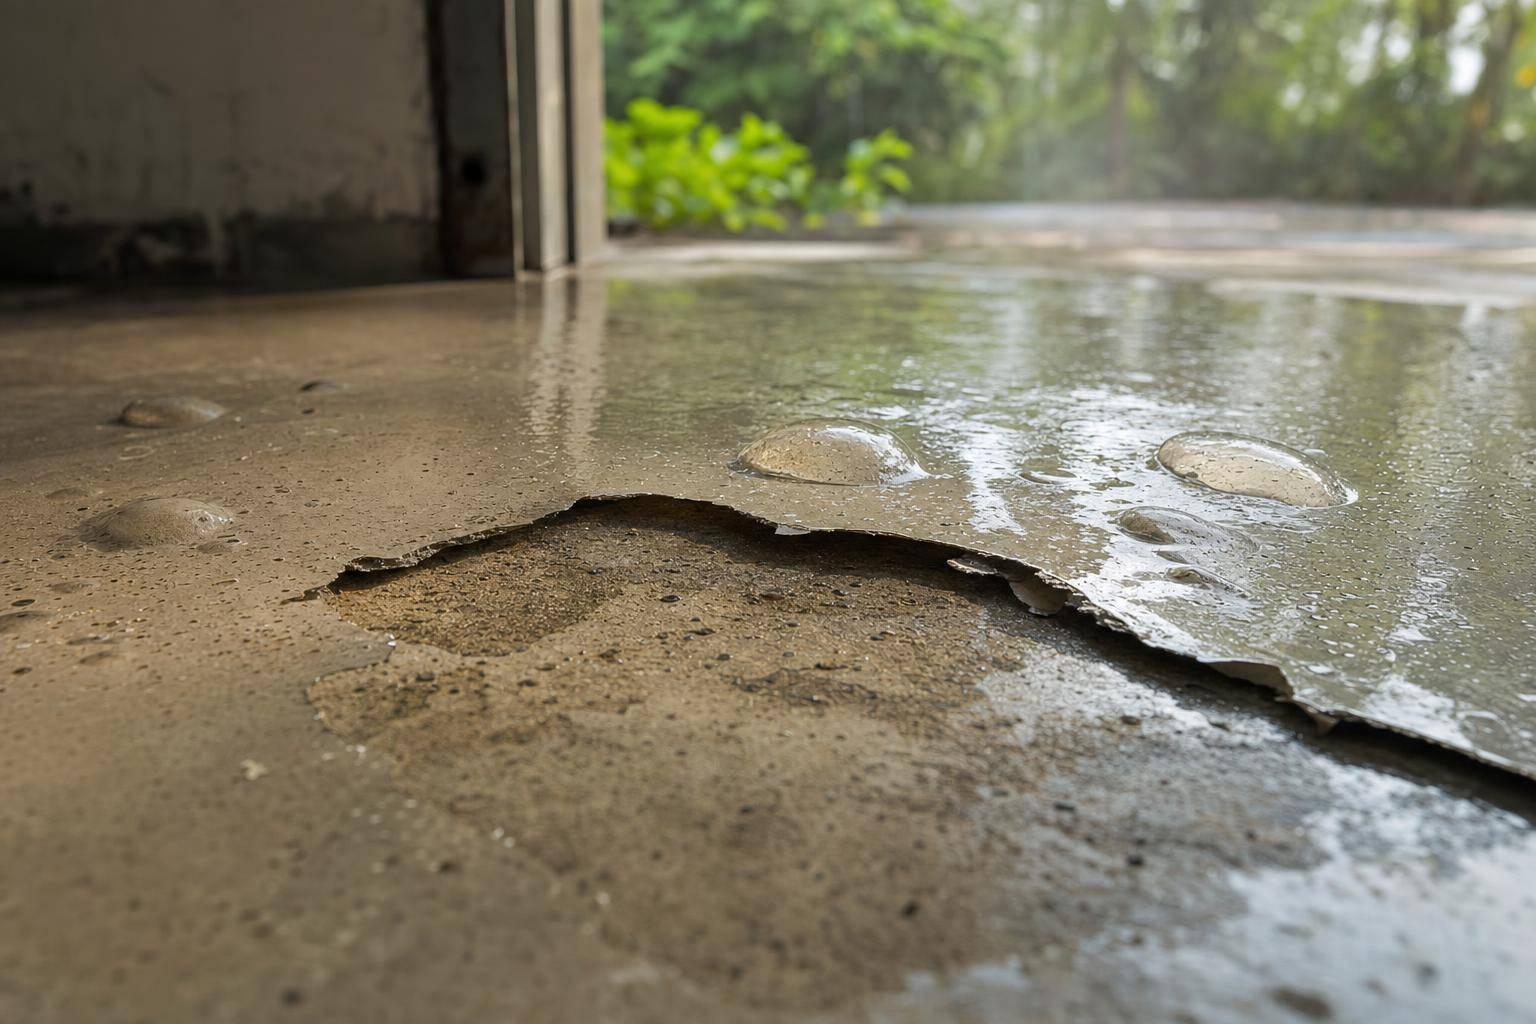
An old basement slab can feel dry and still push moisture vapor up through the concrete. That’s the trap. Concrete is porous, so moisture from the soil below an older slab can travel through it as vapor instead of showing up as visible water. Once a coating seals the surface, that vapor has nowhere to go. Pressure builds between the slab and the coating, which leads to bubbling, whitening, soft spots, and delamination.
That’s why moisture checks need to happen before any coating work starts.
Two things usually drive this problem: moisture vapor moving up through the slab and groundwater pressure pushing from below. In older basements with no vapor barrier under the slab, both can work against a coating applied on top. Many standards treat a moisture vapor emission rate above 4 lbs per 1,000 ft² per 24 hours as a danger zone where many coating systems are likely to fail.
Warning Signs of Moisture Before and After a Coating Fails
One of the first clues is efflorescence – that white powder you may see on the floor surface or near the wall-floor joint. A musty smell near floor level, especially after rain, is another sign that moisture is moving through the slab. Dark edges along exterior walls, cool spots on the floor, and areas that stay wet after weather shifts also point to active moisture.
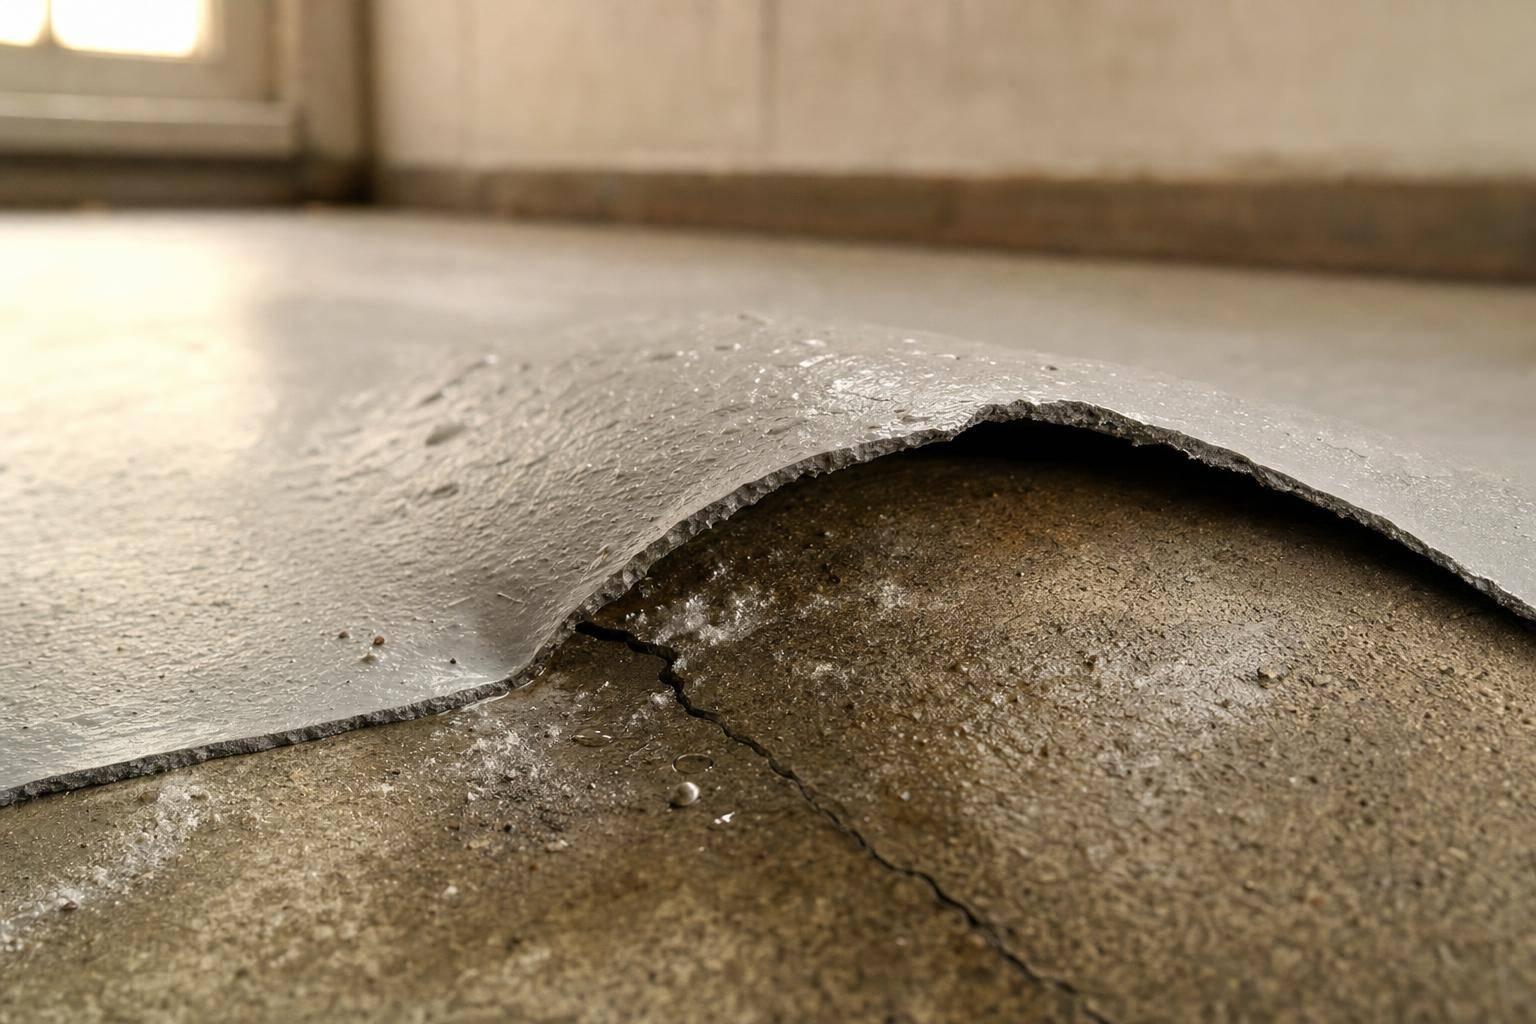
After a coating is applied over a damp slab, those same moisture issues tend to show up in more obvious ways. You may see blistering or peeling, often near exterior walls or patched sections first. If the coating turns cloudy or white, moisture has likely gotten underneath it. In more severe cases, entire sections can lift off the concrete.
When those signs show up, don’t guess. Test the slab before moving ahead with any coating work.
How to Test an Old Slab for Moisture Before Coating
A visual check by itself isn’t enough. You need actual testing data. The best approach is to use more than one method, especially in basements in North Idaho and Eastern Washington.
| Test Method | What It Measures | Typical Test Duration | Why It Matters |
|---|---|---|---|
| Plastic sheet test | Basic surface moisture indication | About 16 to 24 hours | Quick screening only |
| Calcium chloride test (ASTM F1869) | Moisture vapor emission rate at the slab surface | About 60 to 72 hours | Finds surface vapor emission |
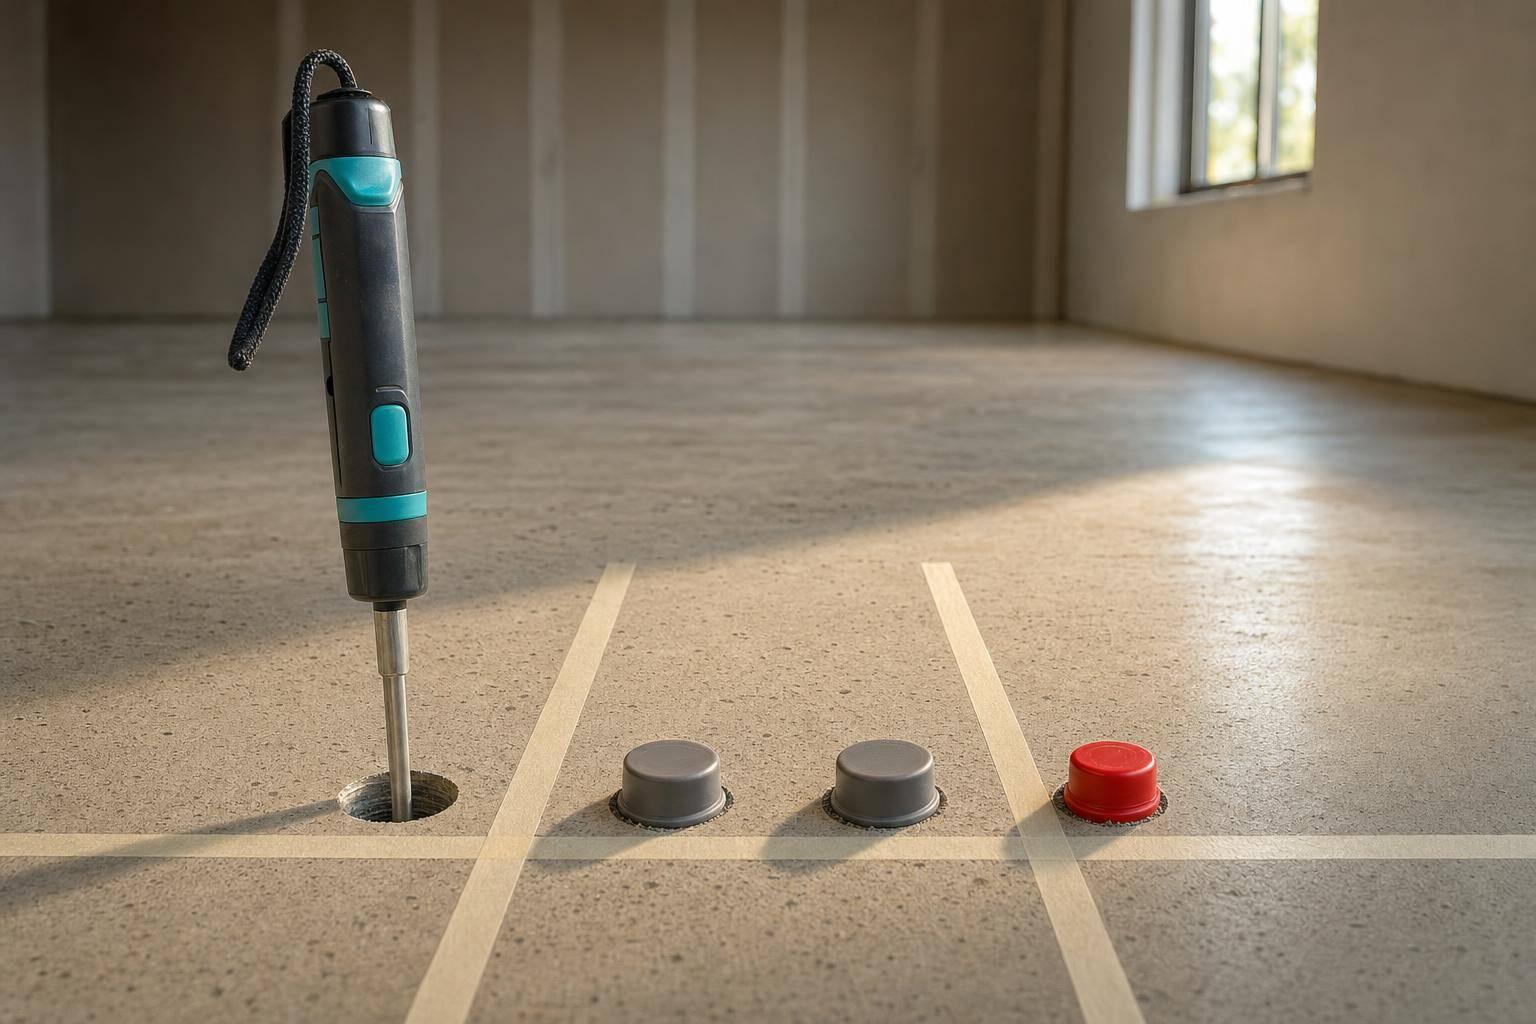
| In-slab RH test (ASTM F2170) | Internal relative humidity within the slab | After probe equilibration | Shows internal slab moisture |
For the in-slab RH test, probes are installed at 40% of slab thickness for basement slabs that dry from one side only. A common target is 3 lbs per 1,000 ft² per 24 hours MVER or less, with about 80% RH maximum. Industry standards also call for at least 3 test locations for the first 1,000 ft² and 1 additional test location for each extra 1,000 ft².
If even one test comes back high, stop there and deal with the moisture source first.
What to Do When Moisture Readings Are Too High
Start with the source of the water, not the coating. Check exterior drainage. Fix grading that sends runoff toward the foundation. Clean clogged gutters or downspouts that drop water too close to the building. Seal visible entry points, like foundation wall cracks or gaps at the wall-floor joint.
It also helps to steady the basement’s humidity and temperature so vapor pressure drops. After that, retest the slab before you coat anything.
Once moisture is under control, the next things to check are surface contamination and slab movement.
Old Coatings, Contaminants, and Patch Repairs Break Adhesion
A slab can be dry and still fail if the surface has old coatings or leftover residue. That catches a lot of people off guard. On older basement floors, it’s common to find paint, sealers, and patch repairs that were never fully removed. And that detail matters.
A new coating usually bonds to whatever sits on top of the slab, not always to the concrete below. So if that top layer is weak, the failure happens there.
Past Paint, Sealers, and Residues That Block Bonding
The main bond breakers on older slabs are paint, sealers, curing compounds, oil and grease, adhesive residue, and efflorescence. When those materials stay on the floor, a new coating can bond to the contaminated layer instead of the concrete itself. That’s when you start seeing peeling, flaking, or delamination, even if the topcoat is high quality.
Sealers and water repellents are a big problem because they’re made to push liquid away, which is the exact opposite of what a coating needs for a strong bond. Efflorescence also has to be removed before coating. A floor can look clean at a glance and still fail if any of these layers are left behind.
Why Patched Areas Fail Before the Rest of the Floor
Patched sections often fail first. Patch material can cure differently from the surrounding slab, so the coating may soak in differently and bond unevenly across the floor. When one area holds and another doesn’t, the result is often isolated peeling along the patch edges. That pattern usually points to uneven bonding, not a product problem.
Feathered patch edges make things worse. Thin edges don’t hold up well under foot traffic. And if the patch went down over dust, moisture, or other contamination, the coating may lift right at the repair boundary while the rest of the floor stays in place.
Surface Prep That Removes the Actual Problem
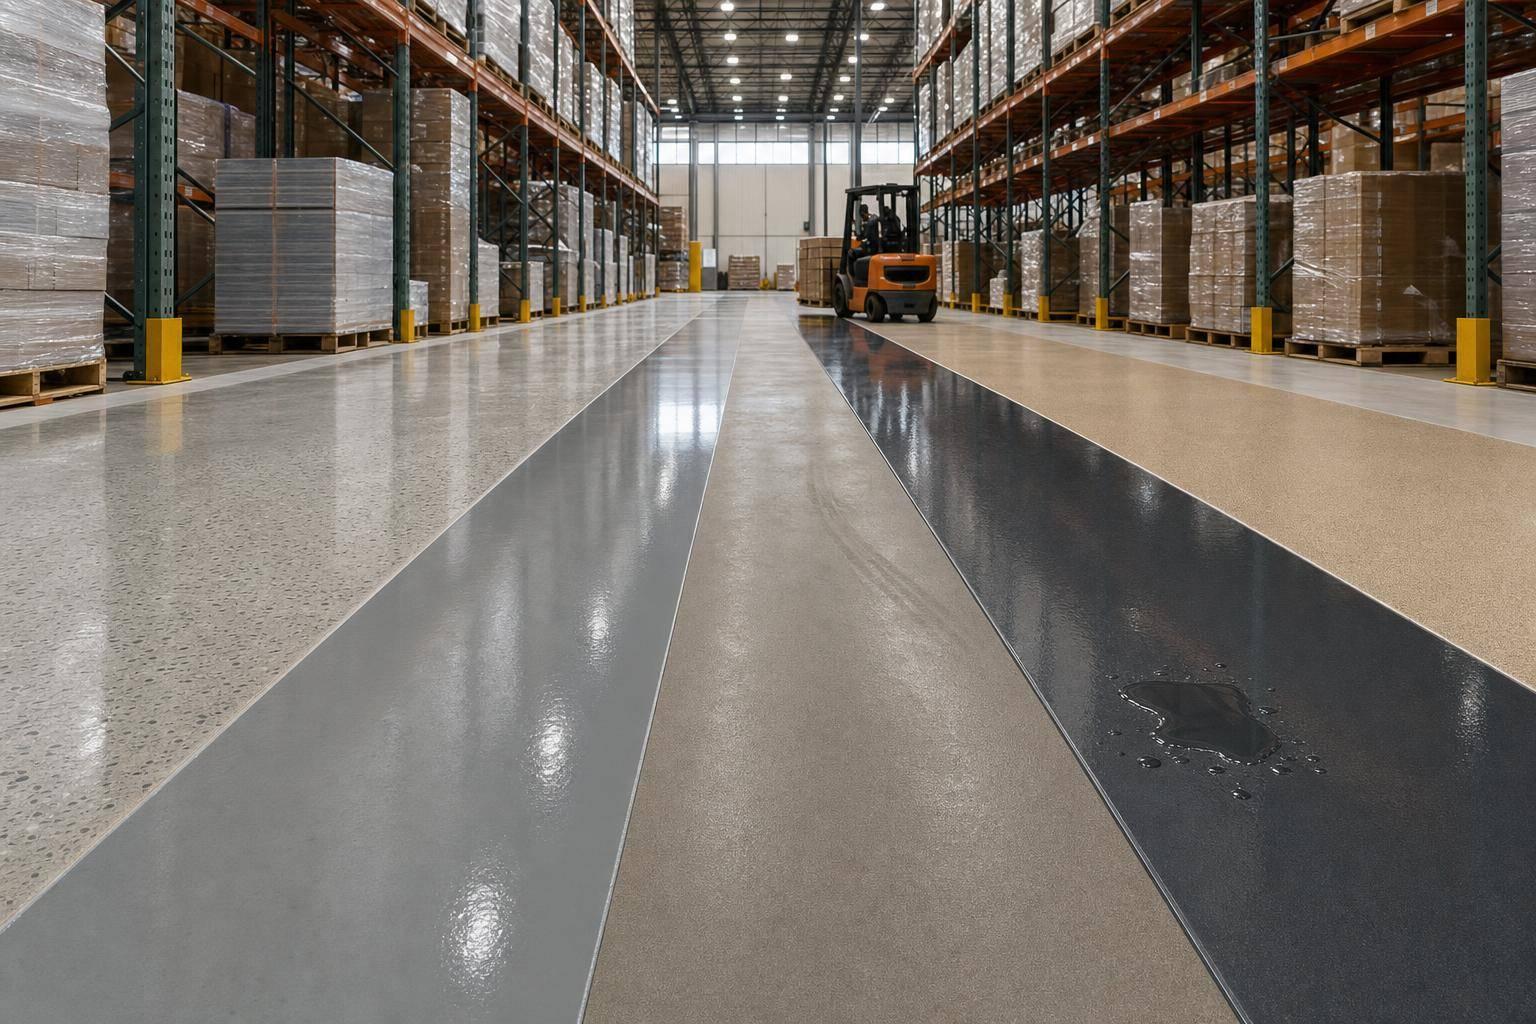
The most reliable fix is mechanical prep: diamond grinding or shot blasting. These methods remove weak coatings, open the concrete pores, and create a consistent surface profile for bonding.
Shot blasting typically produces a CSP 3–5 profile, which gives the coating enough texture to anchor well. Grinding is often used for thinner residue layers, usually less than 6 mils thick, while shot blasting is better for heavier contamination and old coatings.
Chemical cleaning can help, but only as a support step. The grinding or blasting is what does the bond prep. Proper prep means removing all previous coatings, sealers, laitance, efflorescence, water repellents, curing compounds, oils, grease, waxes, and other adhesion inhibitors before any new coating is applied.
After that, patched areas need repair materials that work with the final coating system, and those repairs must be fully cured before recoating.
Once the surface is clean and properly profiled, slab movement becomes the next risk.
Cracks and Slab Movement Keep Breaking Through New Coatings
Even a well-prepped coating can still fail if the slab keeps moving underneath it. Once the concrete is clean and properly profiled, cracks usually become the next weak spot. In this region, older slabs often develop shrinkage cracks, settlement cracks, cold-joint cracks, and damage from freeze-thaw cycles. And here’s the tricky part: some older slabs look fine until a new coating makes the movement impossible to miss.
Which Cracks Are Cosmetic and Which Signal Active Movement
What matters most is simple: is the crack moving or not? Hairline shrinkage cracks with no vertical offset and no change in width over time are usually dormant. They should still be filled, but they usually don’t point to a structural problem.
Cracks near foundation walls, cold joints, and penetrations need a closer look. Those areas tend to show movement first.
A simple way to check is to mark both sides of the crack, write down the date, and inspect it again later. If the crack gets wider or shows vertical offset, it’s active. That needs to be dealt with before any coating goes on.
How Rigid Coatings Break Down Over Moving Concrete
Standard epoxy and thick polyurethane coatings bond well to clean, stable concrete. The problem is that they don’t flex much. If the slab keeps shifting, the coating usually fails in familiar ways: telegraphing, spiderweb cracking, edge peeling, and split repairs.
These issues often show up first near:
- Perimeter walls
- Stair landings
- Utility penetrations
That pattern isn’t random. Those spots often take more stress, so movement tends to show there first.
Crack Repair Steps That Should Come Before Any Coating
Once you know whether a crack is dormant or active, match the repair to the crack itself, considering epoxy vs. polyurea for basement floor repairs based on the coating you plan to use. A low-viscosity crack filler works for dormant hairline cracks. Wider or moving cracks usually need a flexible or semi-rigid joint filler.
For movement-related cracks, the process should be straightforward and careful: route the crack to a uniform width, vacuum out debris, make sure the area is dry, and fill it with the right product.
After that, grind the repaired area flush with the surrounding slab. That helps cut down on telegraphing through the finished coating. Let the filler cure fully before applying anything over it, then inspect the area again, especially near walls, joints, and plumbing lines.
If cracks keep reopening, show vertical displacement, or come back with the seasons, stop there and get a professional evaluation. Once repairs are done and fully cured, the floor is ready for the coating plan.
A Better Coating Plan for Old Basement Slabs
After you deal with moisture, contamination, and cracks, the next move is to build a plan around the slab you actually have.
That order matters. Each step tells you what the concrete can handle and where the risks are. Skip ahead, and you’re guessing.
- Inspect the slab for moisture signs, efflorescence, old coatings, adhesive residue, cracks, and patchwork repairs. Sketch the floor and photograph problem areas.
- Test the bare, prepared slab with ASTM F2170 RH probes or ASTM F1869 calcium chloride testing, using the manufacturer’s limits to choose the system.
- Remove contaminants and failing patches with mechanical grinding or shot blasting and profile the slab to the system’s required CSP.
- Repair cracks and failed patches, let them cure fully, then retest any treated areas.
- Once repairs are stable, let the moisture readings guide the next step. Select a coating system based on actual moisture readings and slab condition. If readings exceed the product’s limits, choose a moisture-tolerant primer or a system rated for high vapor transmission.
Reverse that order, and avoidable failure becomes much more likely.
When a Professional Evaluation Makes the Difference
Older basement slabs are rarely simple. If moisture keeps coming back, a coating has already failed, or no one knows the slab’s history, a professional evaluation can save you from repeating the same mistake.
Croc Coatings starts with diagnosis first – moisture testing, mechanical prep, and system selection based on what the concrete shows. On older slabs, looks can be misleading. A clean surface doesn’t always mean the floor is ready to bond.
Conclusion: Old Slabs Fail When the Concrete Problems Are Ignored
If the slab still fails, the problem was usually missed during prep.
Old slabs fail when moisture, contamination, patchwork, and movement are ignored. Lasting results come from testing, prep, repairs, and a coating matched to the slab’s actual condition.
FAQs
Can a basement floor fail even if it looks dry?
Yes. Concrete is porous, so it can trap moisture well below the surface even when the top layer looks dry.
As that moisture moves upward as vapor, it can build pressure under the coating. That pressure can break the bond and lead to peeling, blistering, bubbling, or delamination weeks or even months later.
That’s why professional moisture testing matters. It’s the only way to confirm the slab is dry enough and ready for coating.
How do I know if an old basement crack is still moving?
Check the crack when the slab is dry, then look at it again after rain or during humid weather. If you see dark or damp lines, mineral buildup, or tiny beads of moisture, water may be moving through the crack.
It also helps to measure the crack width. Cracks wider than 1/16 inch, along with any crack that has vertical offset or visible movement, are seen as active. Mark the area with tape or chalk, then keep an eye on it to see if anything changes over time.
When should a basement slab be tested before coating?
Test a basement slab for moisture before you apply any coating. That step helps prevent peeling, bubbling, and delamination later.
Moisture testing matters when the slab is below grade, the construction history is unknown, or the surface already shows signs of dampness. Common warning signs include dark patches, efflorescence, and damp cracks.
You should also test after recent rain, snowmelt, or periods of high indoor humidity. Before testing, run the HVAC system for at least 48 hours so indoor conditions have time to stabilize.