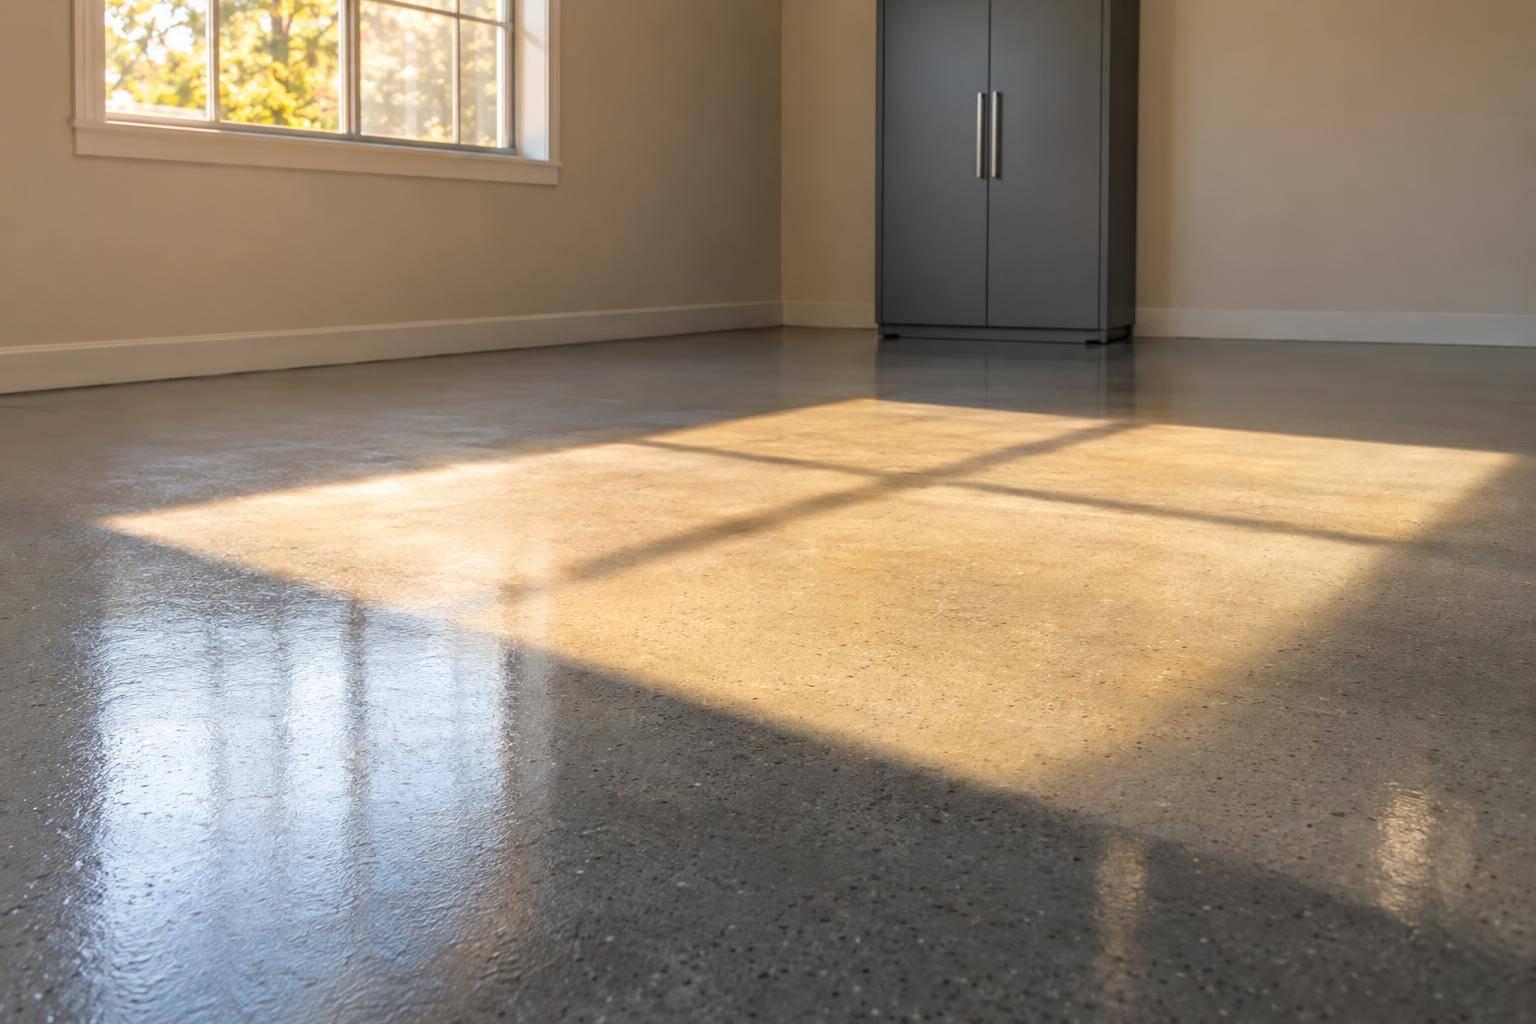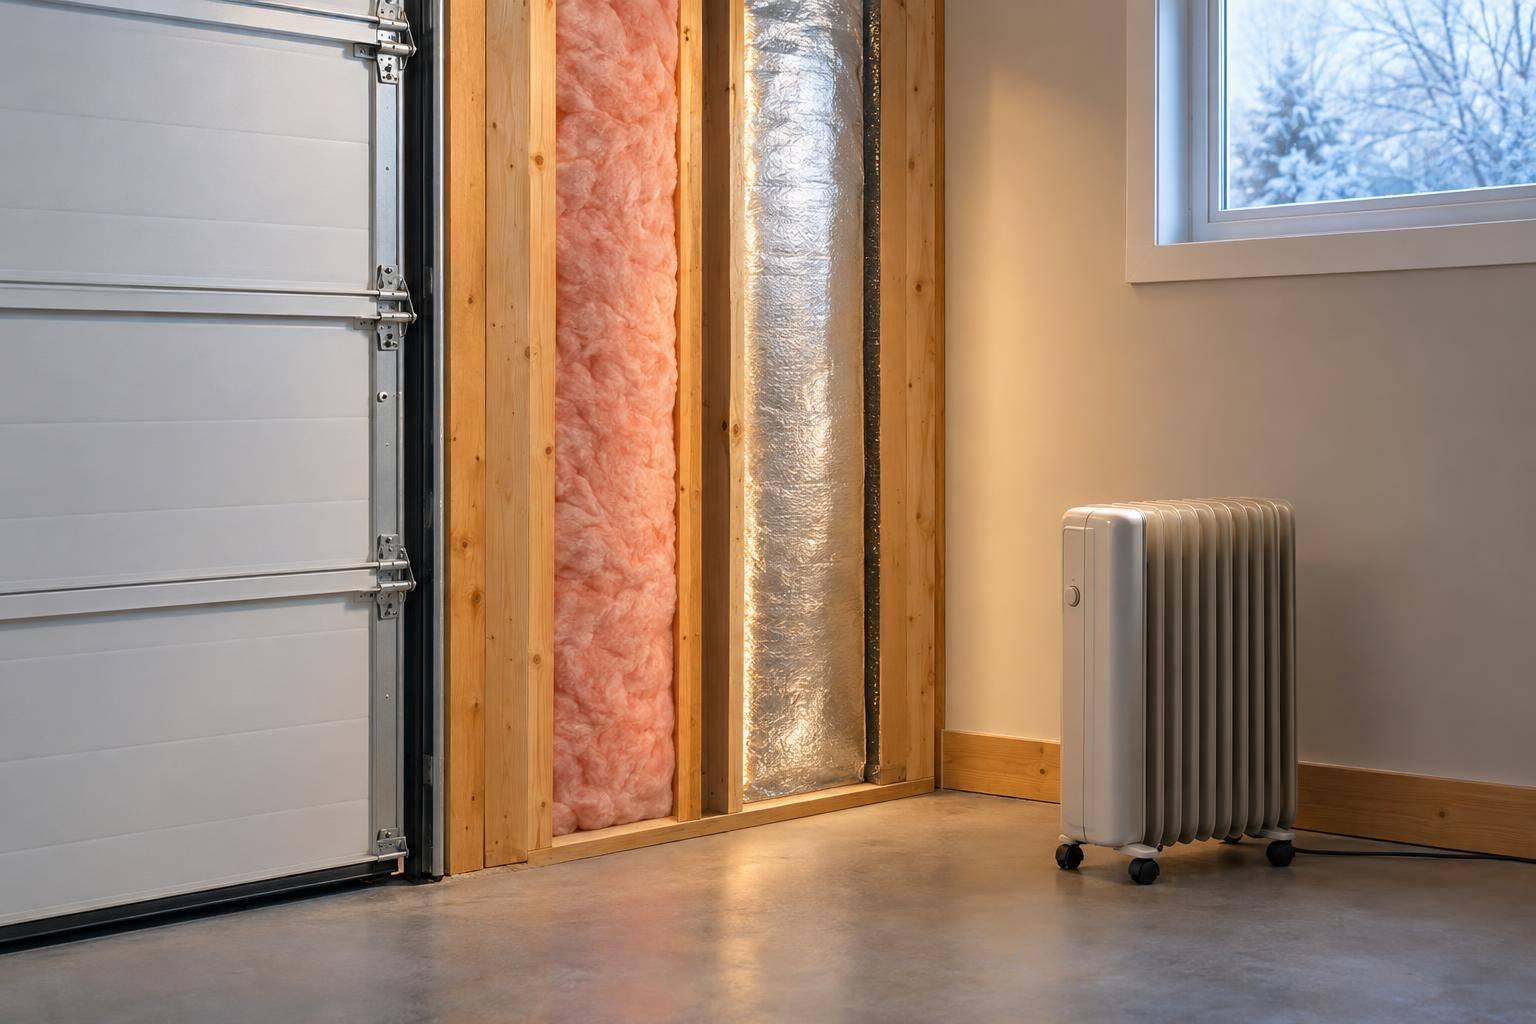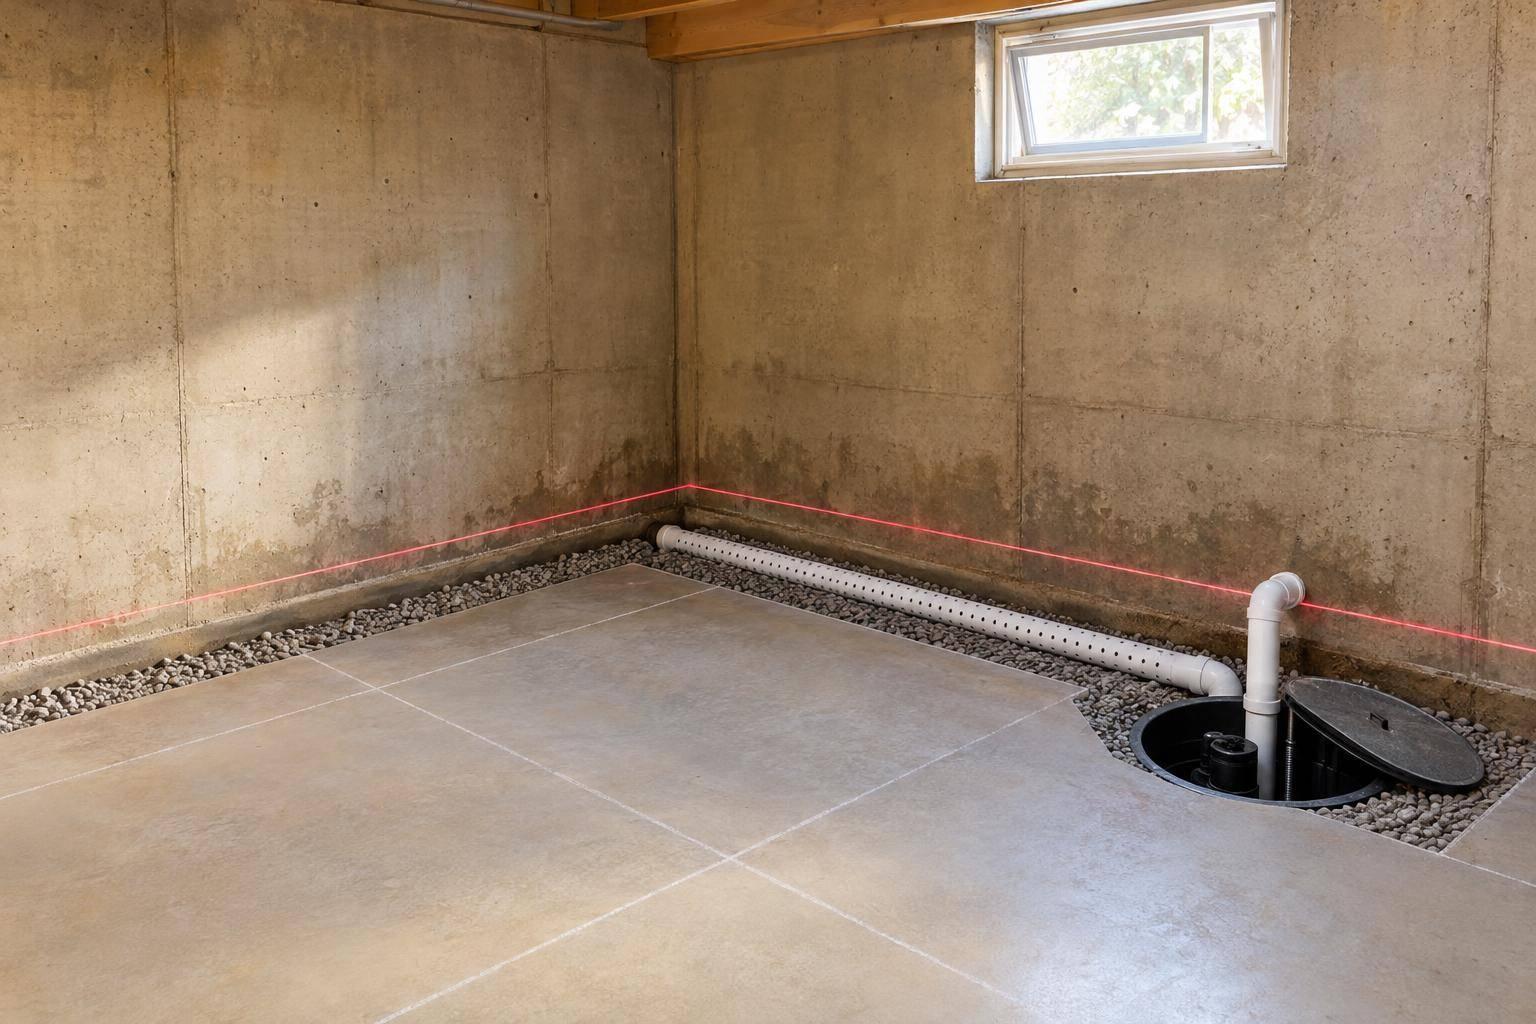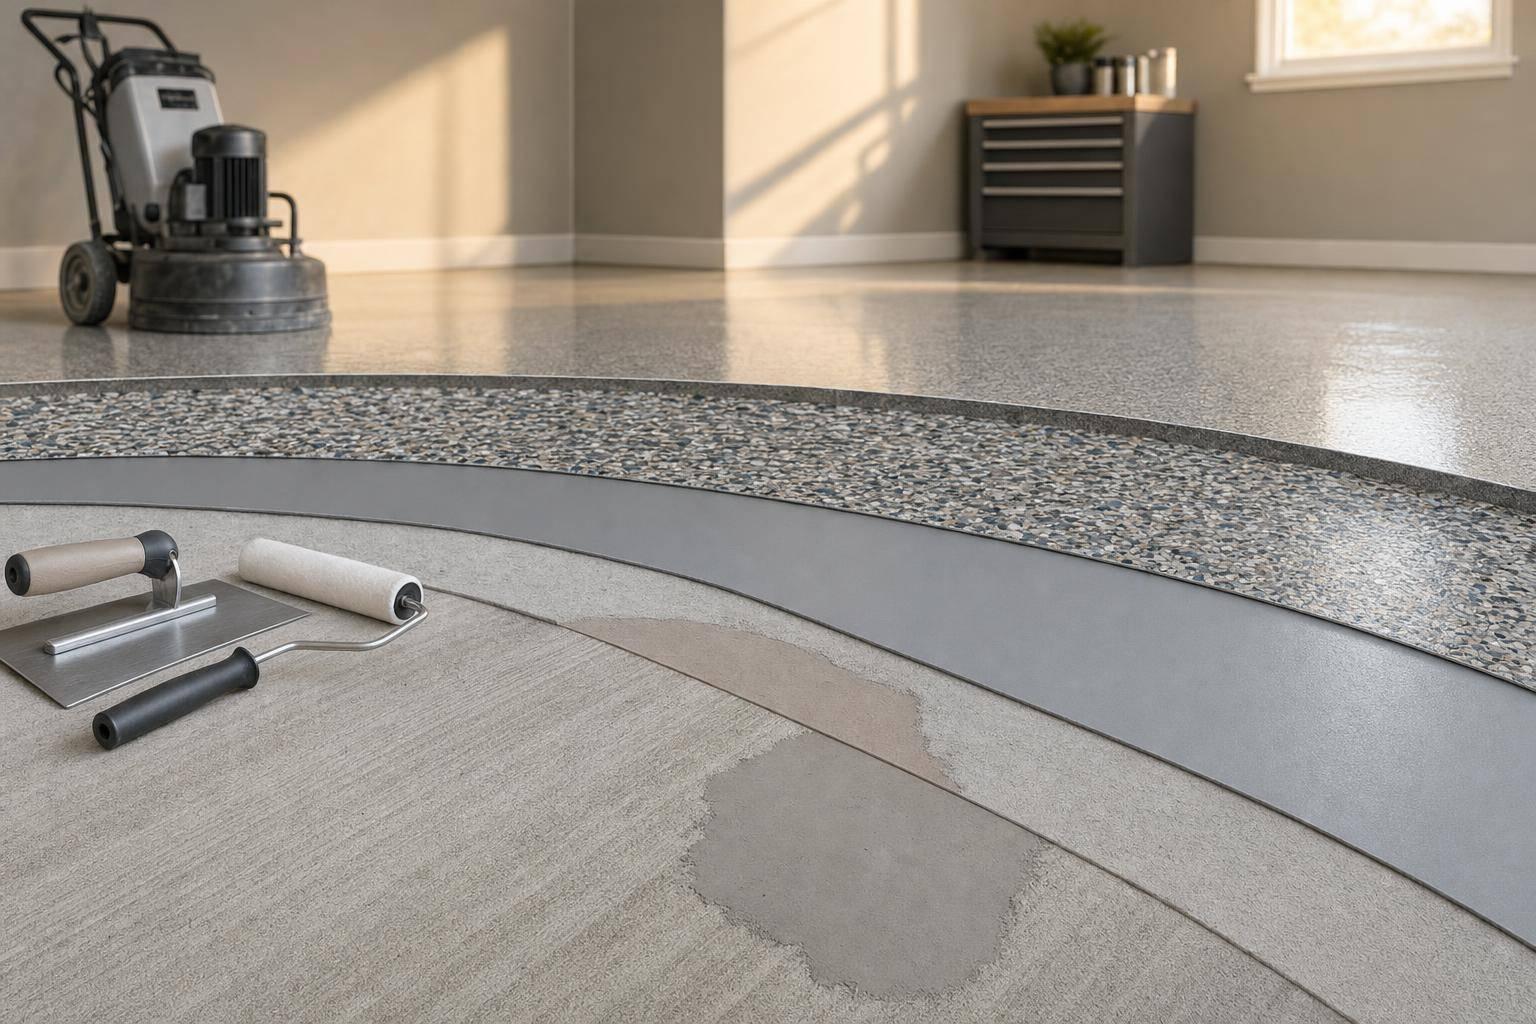
A Penntek floor usually fails from the bottom up, not the top down. If I had to sum up the whole process in one line, it would be this: grind first, fix damage, use primer only when the slab calls for it, then install the basecoat, chips, and topcoat in order.
Here’s the short version:
- Grinding comes first to create a CSP 3–4 surface so the coating can grip the concrete.
- Cracks, pits, and spalls must be repaired before any coating goes down.
- Primer is conditional, not automatic. It helps when the slab has porosity, dust, or moisture-related issues.
- The basecoat is the bonding layer, usually applied at 8–12 mils.
- Chips go into the wet basecoat fast, often within about 15 minutes.
- The topcoat seals the system and helps with UV, chemicals, and hot-tire pickup.
- Timing matters between layers. If the install window is missed, bond problems can show up.
- Warranty rules matter too: Penntek residential warranty registration must be submitted within 30 days of install.
If you own a home or small shop, the main point is simple: preparing your space is what decides how the floor looks, how it wears, and whether it stays bonded. Primer is just one part of that chain, not a shortcut or repair layer.
Below, I’ll walk through what each step does and where primer fits in.
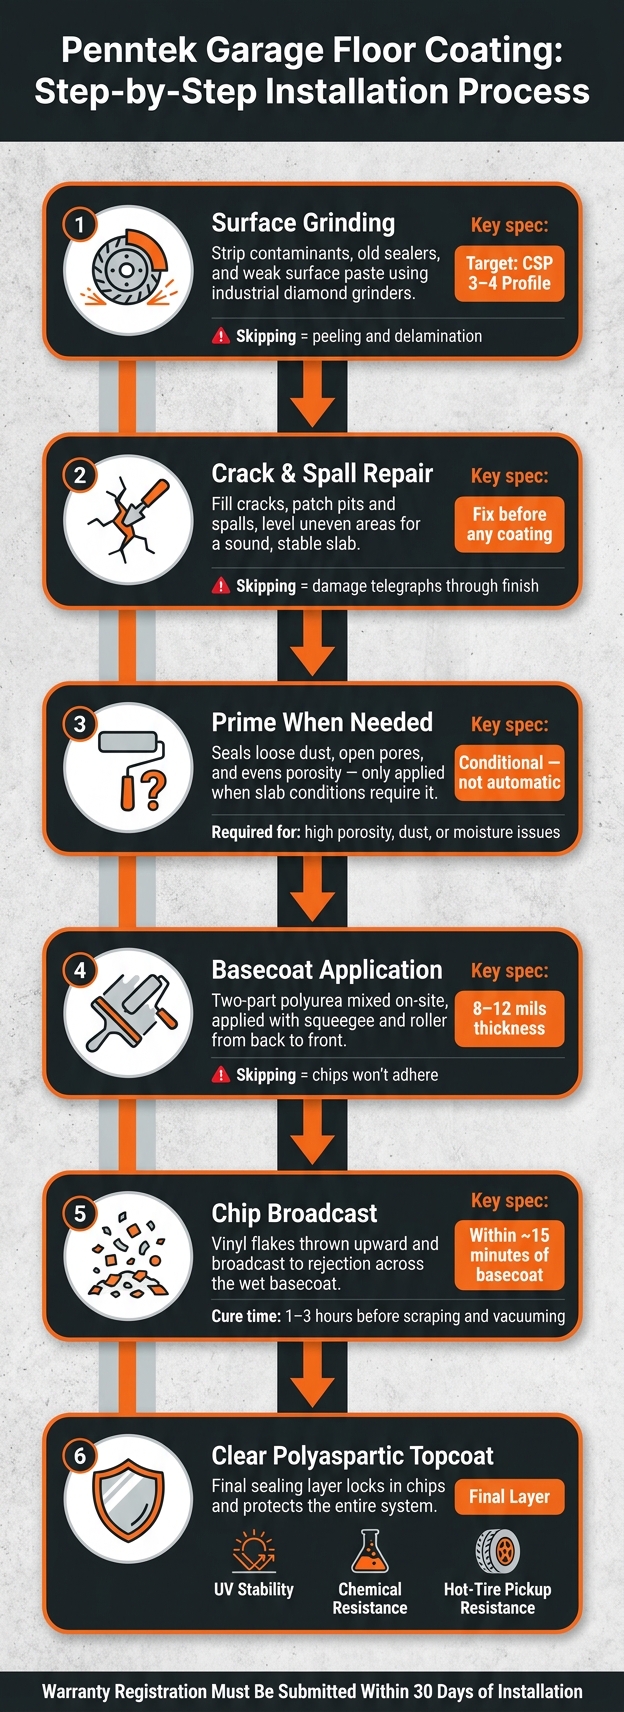
Penntek Garage Floor Coating: Step-by-Step Installation Process
Step 1: Grind the Concrete and Repair Damage
Why Grinding Comes Before Any Coating
Once the order of work is set, the first task is getting the slab ready. Grinding is where every Penntek installation starts.
Industrial diamond grinders strip away contaminants, old sealers, curing compounds, and weak surface paste so the coating can bond to the concrete itself. This process leaves behind a Concrete Surface Profile (CSP) of 3–4. That texture matters. It gives the basecoat the grip it needs to hold on.
Without that profile, even a high-quality coating can end up sitting on top of the slab instead of bonding to it. And that’s when peeling and delamination start.
Grinding also does more than prep the surface. It helps reveal problems that may be hiding in the slab, including:
- laitance
- previous coatings
- oil saturation
- weak spots
If those issues stay buried, they often don’t show up until the floor starts failing.
Repair Cracks, Pits, and Spalls Before Applying Primer or Basecoat
After grinding exposes the slab’s defects, the next step is repair. Cracks need to be cleaned and filled. Pits and spalls should be patched and leveled. Loose or crumbling edges need attention too. The goal is simple: a sound, even slab.
In North Idaho and Eastern Washington, concrete takes a beating from freeze-thaw cycles, wet weather, snowmelt, and road salt. If a crack gets ignored during prep, seasonal movement can make it spread. Once that happens under a finished coating, the damage can telegraph through the surface, or the coating can lift.
Coatings don’t stabilize moving concrete. If you apply a basecoat over an unrepaired spall or a moving crack, you’re only covering the problem for a while. Under vehicle traffic and dropped tools, that floor won’t perform the same from one area to the next.
Once the slab is clean, repaired, and stable, it’s ready for primer where the system calls for it.
sbb-itb-a0e5ae3
Step 2: Apply Primer When Concrete Conditions Call for It
What Primer Does in the Penntek System
After grinding and repair, primer is the next step only if the slab needs it. In the Penntek system, primer sinks into the surface, seals loose dust and open pores, and helps the slab take in coating more evenly. That gives the basecoat a more even surface to sit on.
On damaged or uneven concrete, that matters a lot. Without primer, one part of the slab may pull in the next coat faster than another. The result? An uneven base that can create problems later.
Primer isn’t a cure-all. It only works on a slab that has already been ground and repaired the right way. Use it when porosity, surface condition, or moisture make it necessary. Then the basecoat can bond to a more even surface.
How Moisture and Timing Affect the Next Step
Moisture testing tells you whether the slab is ready for primer and the next coat. Skip that check, and you’re taking a gamble. A slab that hasn’t been evaluated the right way can lead to common coating failures after the coating goes down.
Timing matters just as much as the test itself. Each layer in the Penntek system has a cure window, and the clock matters. Move too fast, or wait too long between steps, and the next layer may not bond as well as it should. Temperature, moisture, and cure windows all play a part here.
Once the primer cures, the basecoat can be applied within the product window. After that, the process moves to the basecoat, chip broadcast, and topcoat.
Step 3: Apply the Basecoat, Broadcast Chips, and Seal With Topcoat
Basecoat: The Layer That Holds the System Together
Once prep is done, the basecoat starts turning bare concrete into a finished floor.
This layer is a two-part polyurea coating that gets mixed on-site and applied at about 8–12 mils with a squeegee and roller. Installers usually work from the back of the garage toward the door and keep a wet edge as they go. That helps avoid lap lines and thin spots.
The basecoat has two jobs at the same time. First, it bonds to the profiled concrete. Second, it acts like the glue that holds the decorative chips in place. Because the slab was ground to profile, the basecoat bonds both mechanically and chemically.
If this layer goes down unevenly, problems tend to show up later. You can end up with weak wear areas or chip adhesion issues.
Chip Broadcast and Topcoat: Finishing the Floor for Durability and Appearance
After the basecoat is down, the chips and topcoat turn it into a finished surface built to last.
The chips need to go into the wet basecoat right away, usually within about 15 minutes, before the base starts to set. Installers throw the vinyl flakes upward and let them fall evenly across the floor. For full coverage, they broadcast the chips to rejection.
Once the basecoat cures – usually in 1–3 hours – the floor gets scraped in several directions at a low angle. Then it’s vacuumed well. This knocks down standing chip edges and leaves a flatter, more even surface.
The clear polyaspartic topcoat goes on last. This final layer locks in the chip layer and seals the surface. It also provides the system’s main protections:
- UV stability, so the floor won’t yellow near open garage doors
- Chemical resistance against road salt and automotive fluids
- Resistance to hot-tire pickup, where warm tires pull coating off the slab
It also makes the floor easier to clean, which is a nice bonus in any garage.
What Each Layer Does: A Side-by-Side Breakdown
Here’s how each layer fits into the system.
| Step | Purpose | When Applied | If Skipped |
|---|---|---|---|
| Grinding | Opens concrete pores for mechanical bond | Before any coatings | Coating peels or delaminates |
| Primer | Seals slab and evens porosity | After grinding, if needed | Uneven basecoat absorption and bond issues |
| Basecoat | Bonds to slab; anchors decorative chips | After prep/primer | Chips won’t adhere; no film build or color |
| Chip Broadcast | Adds texture and slip resistance | Into wet basecoat | Floor is slippery and shows every flaw |
| Topcoat | Seals the system and resists UV, chemicals, and hot tires | Final layer | Chips shed; floor stains and yellows over time |
PennTek Concrete Coatings Process
Conclusion: Proper Prep Is What Supports Performance and Warranty
Penntek works like a system. Each layer relies on the one before it.
The process goes in order: grind the concrete, repair damage, prime when needed, apply the basecoat, broadcast chips, and seal everything with a topcoat. Grinding opens up the concrete so the coating can bond. Repairs keep cracks and pits from showing through the finish. Primer comes into play when the slab needs extra help with adhesion or moisture control.
Penntek’s warranty depends on following the full prep sequence on a properly prepared surface. Skip a required step, and the floor can fail. It can also put warranty coverage at risk.
Croc Coatings follows this prep-first process for Penntek installs across North Idaho and Eastern Washington.
Key Takeaways for Homeowners and Small Businesses
For homeowners and small businesses, proper prep is what protects durability, appearance, and warranty coverage.
FAQs
How do I know if my concrete needs primer?
Usually, the decision doesn’t come down to the concrete alone. In a professional installation, the system is built to bond to properly prepared, mechanically ground concrete.
With the Penntek Evolution system, installers grind the slab to a CSP 3–4 profile and remove contaminants first. Then the self-priming polyurea basecoat is applied, which is designed to penetrate the surface and bond directly to the concrete once that prep is complete.
What happens if the slab has moisture issues?
If moisture in the concrete slab is above the manufacturer’s limit, the coating may not bond the way it should. And when that happens, problems tend to show up fast: blistering, peeling, or delamination. Once the bond starts to fail, the finish won’t last as long and won’t hold up as well over time.
If moisture levels come in too high, you may need to install a moisture barrier before moving forward. The readings need to stay within the approved range to protect the system and keep the warranty in place.
How soon can I use the floor?
With the Penntek Evolution system, you can usually walk on the floor in 4 to 8 hours and park vehicles on it within 24 hours.
That said, weather matters. In colder or more humid conditions, drying and curing can take longer.
For hot tire pickup, it’s best to wait 36 to 48 hours before driving on the surface. Full cure and top chemical resistance usually take 48 to 72 hours.