If your concrete gives off too much moisture, the floor coating can fail. I’d keep it simple: standard epoxy vs. polyurea is usually the first comparison for drier slabs, moisture-barrier epoxy is for higher readings, and polyurea/polyaspartic is often picked when you need fast return to service.
Here’s the short version:
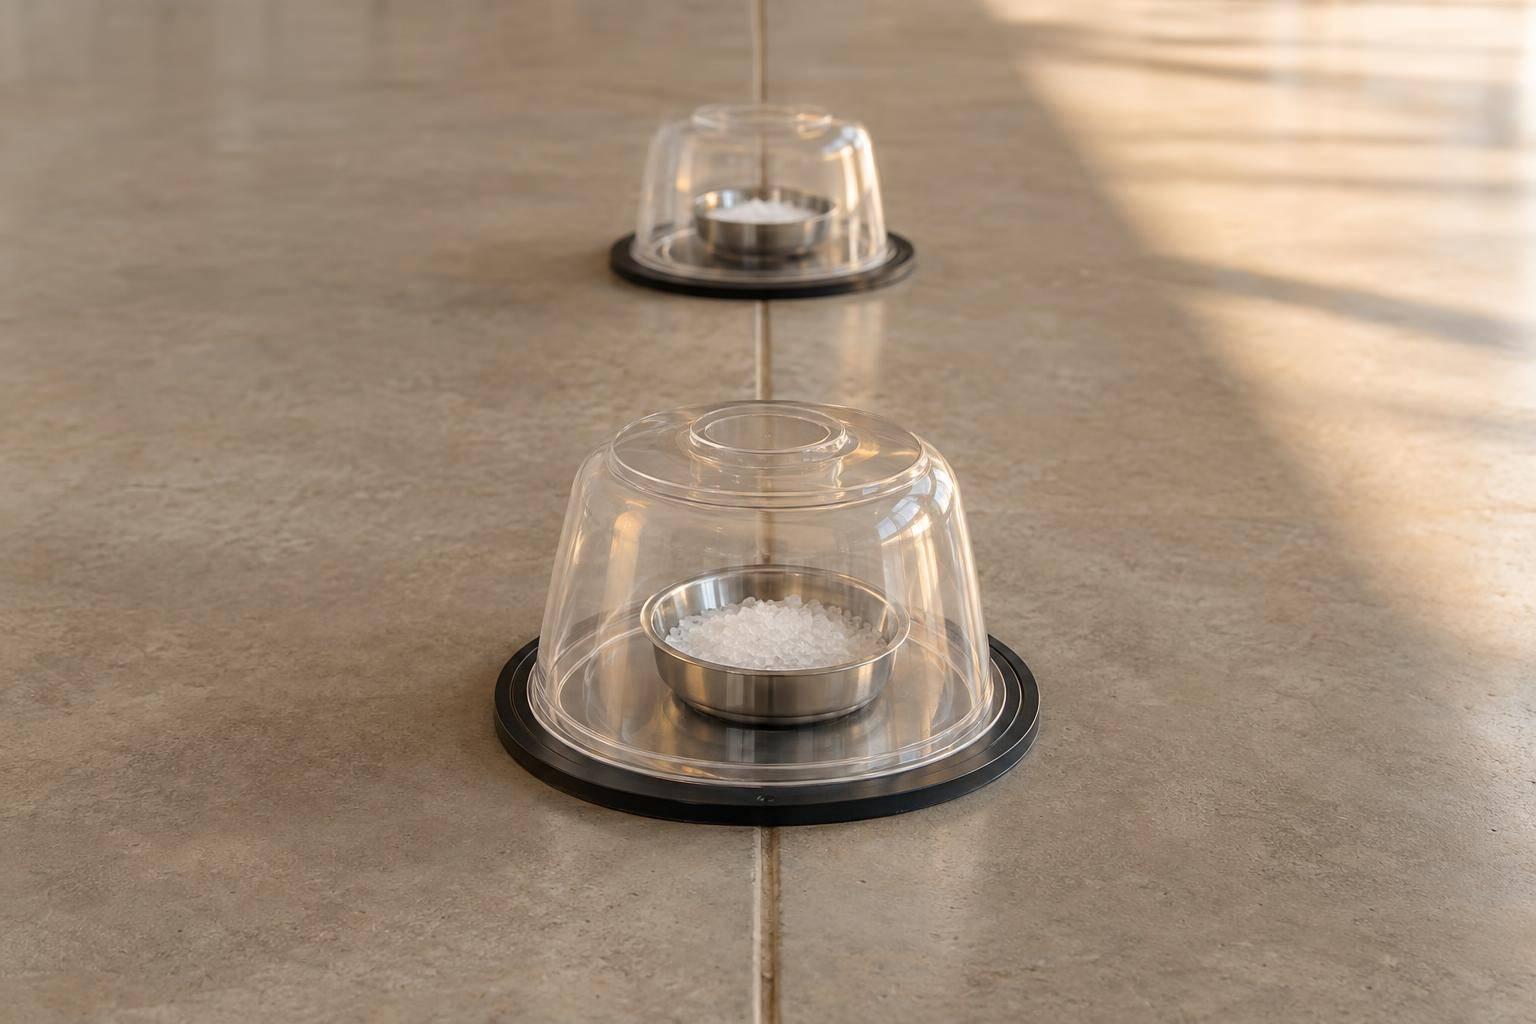
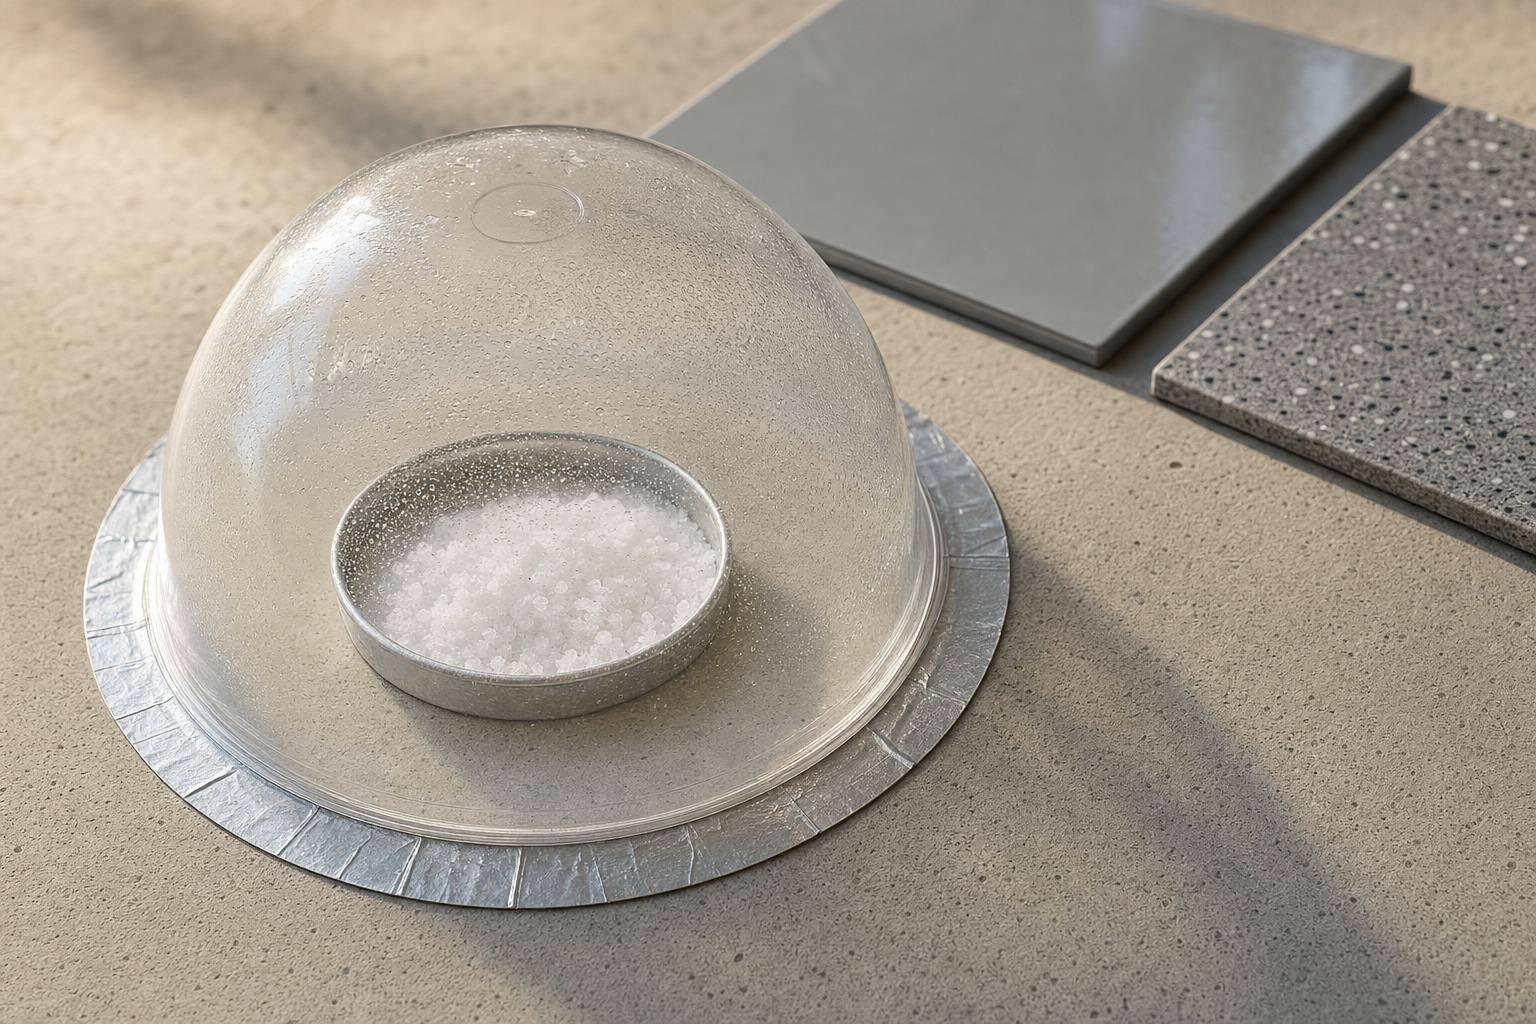
- ASTM F1869 checks surface moisture vapor emission rate (MVER)
- Results are shown in lbs per 1,000 sq ft per 24 hours
- Standard epoxy is often limited to about 3 lbs
- Moisture-tolerant epoxy primers may handle about 15 to 25 lbs, depending on product
- Polyurea/polyaspartic systems often fall around 3 to 5 lbs, and sometimes more with the right primer
- The test reads surface vapor, not total slab moisture
- I’d pair ASTM F1869 with ASTM F2170 for a better read before coating
The main decision points are easy to follow:
- How high is the moisture reading?
- Does the slab need a vapor barrier primer?
- How fast does the floor need to be back in service?
- Is the slab inside, outside, on grade, or below grade?
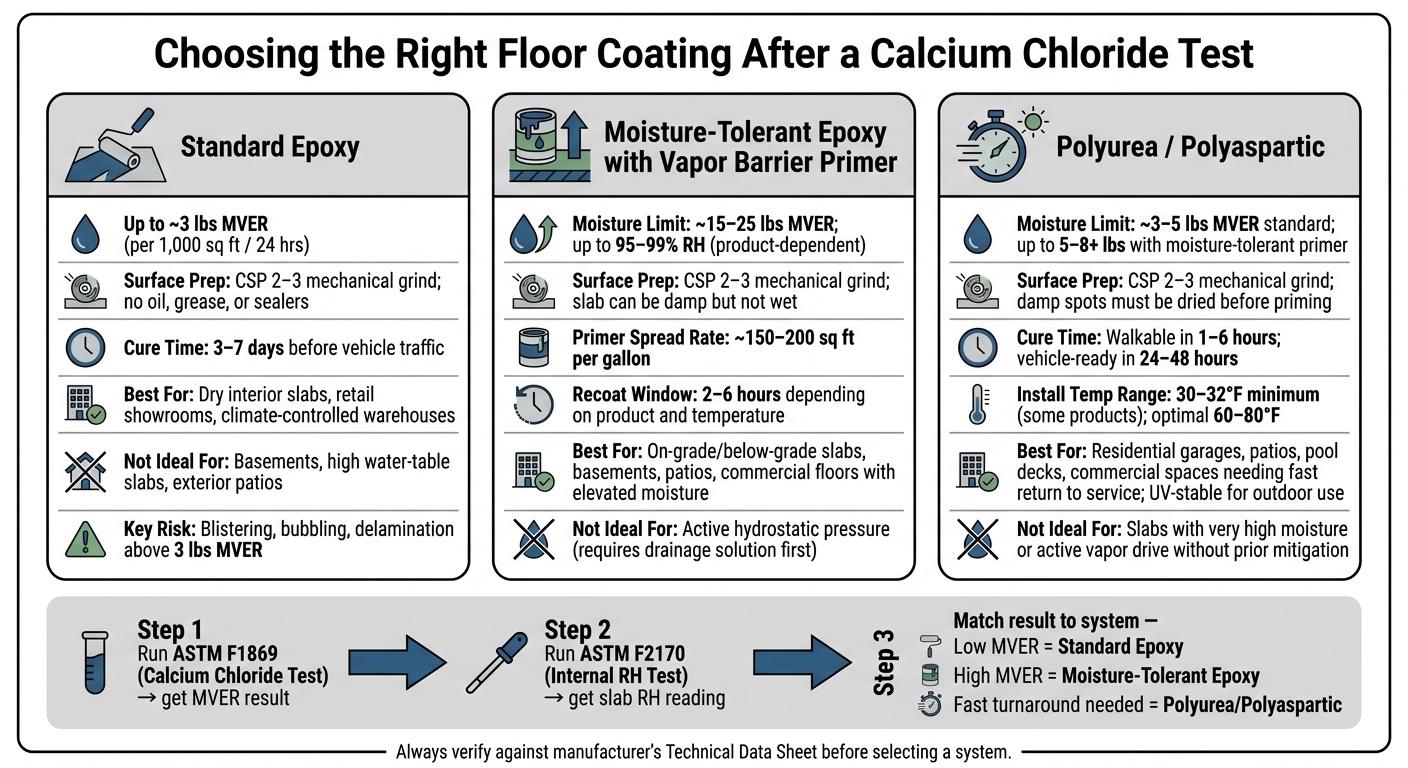
Epoxy vs. Polyurea Floor Coatings: Moisture Tolerance Comparison Chart
Calcium Chloride or In Situ RH? Choosing the Right Concrete Moisture Test
sbb-itb-a0e5ae3
Quick Comparison
| System | Typical moisture range | Main trade-off | Best use |
|---|---|---|---|
| Standard epoxy | Up to about 3 lbs MVER | Polyurea vs. epoxy comparisons show epoxy has lower cost but slower cure | Dry interior slabs |
| Epoxy with vapor barrier primer | About 15–25 lbs MVER in some systems | More steps and higher material cost | Slabs with higher moisture |
| Polyurea/polyaspartic | About 3–5 lbs MVER, sometimes more with primer | Very short working time | Garages, patios, and jobs that need 24–48 hour vehicle use |
In other words: test first, match the product to the slab, and don’t skip prep. That one step can save you from common concrete coating failures like blistering, bubbling, and delamination.
1. Standard epoxy floor systems
Moisture tolerance
Standard epoxy works best on dry concrete slabs. In most cases, manufacturers cap acceptable moisture vapor emission rate, or MVER, at about 3 lbs per 1,000 sq ft per 24 hours for standard systems. Once you go past that point, standard epoxy becomes a bad bet unless you add moisture mitigation first.
Here’s the issue in plain English: after epoxy cures, it forms a coating that is almost vapor-tight. If moisture is moving up through the slab, that vapor gets trapped under the coating. Then pressure starts to build at the bond line. That can lead to blistering, bubbling, and delamination.
So while epoxy can handle low MVER, it does not handle much more than that. Above 3 lbs per 1,000 sq ft in 24 hours, failure risk climbs fast, and standard epoxy usually stops being the safe default.
Surface prep demands
Standard epoxy depends on a mechanical bond. It sticks by gripping the concrete surface after prep; it does not fuse into the slab. That’s why prep is not optional.
The concrete should be ground to CSP 2–3 with diamond grinding or shot-blasting equipment. You also need to remove oil, grease, sealers, and curing compounds before the coating goes down. On slabs that are close to the moisture limit, full mechanical prep is required. Acid etching alone does not do enough.
Installation planning
A passing moisture test doesn’t mean you can rush the job. Standard epoxy still needs steady site conditions to go on well.
Contractors usually wait until the building is enclosed and the HVAC system is running. The slab and surrounding air should stay above 50–55°F, and there can’t be condensation on the surface. It’s also smart to avoid power washing or concrete cutting for 48–72 hours before testing or coating.
After application, standard epoxy usually needs 3–7 days before it can handle vehicle traffic.
Best-fit environments
Standard epoxy is a good match for dry, enclosed, interior slabs, whether they are on-grade or above-grade. That includes spaces like:
- Finished residential garages with good drainage
- Retail showrooms
- Light manufacturing areas
- Climate-controlled warehouses where MVER stays at or below 3 lbs per 1,000 sq ft per 24 hours
It’s usually a poor match, without added moisture mitigation, for basements, ground-contact slabs in high water-table areas, unsealed exterior patios, or spaces that get frequent washdowns.
If the slab tests above the accepted MVER range, the move is simple: use a moisture-mitigation system instead of a standard epoxy build. When the calcium chloride test comes back high, standard epoxy is no longer the next step. Understanding concrete moisture testing is essential to avoiding these common coating failures. Moisture mitigation is.
2. Moisture-tolerant epoxy with vapor barrier primer
Moisture tolerance
If a calcium chloride test comes back above 3 lbs per 1,000 sq ft per 24 hours, a standard epoxy system usually isn’t enough. That’s when a moisture-tolerant epoxy with a vapor barrier primer becomes the next move.
These systems are built for much higher readings. A common range is 15 to 25 lbs per 1,000 sq ft per 24 hours under ASTM F1869. Some products are also rated for internal slab moisture in the 95% to 99% RH range, depending on the formula. Tnemec‘s moisture-vapor-tolerant epoxy primer, for example, is rated for up to 15 lbs MVER and 95% RH.
The point is simple: when moisture goes up, the system has to change with it. These primers use moisture-reactive, low-permeability chemistry that can bond to damp concrete within the stated limits. That helps cut vapor transmission and lowers the risk of blistering or delamination in the coating above.
High moisture changes the product choice, not the prep standard.
Surface prep demands
This is where some people get tripped up. A moisture-tolerant primer does not let you skip prep.
The prep is still the same as standard epoxy: mechanically profile the slab to CSP 2–3 and remove all contamination. Oil, dust, curing compounds, old residue – it’s all got to go. The only difference is moisture condition: the slab can be damp, but it can’t be wet with standing water, and moisture still has to stay within the primer’s rated limits.
Once the slab is clean and properly profiled, the primer acts as its own moisture-control step. It doesn’t replace surface prep.
Installation planning
Adding a vapor barrier primer means adding one more step to the install sequence. After surface prep, the primer goes down first at the manufacturer’s stated spread rate, often around 150 to 200 sq ft per gallon. It also has to hit the required film build, because that’s what allows it to work as a moisture barrier.
Recoat windows depend on the product and temperature. Many systems are ready for recoat in about 4 to 6 hours, while some fast-cure versions can be ready in as little as 2 to 3 hours. That can make a big difference when the schedule is tight.
During that cure window, both slab and ambient temperatures need to stay within the manufacturer’s limits before the topcoat system starts. Miss that window, and the whole schedule can get thrown off.
Best-fit environments
This system makes sense for slabs on or below grade when testing shows higher moisture but the concrete itself is still structurally sound. Common use cases include:
- Residential garages where ground moisture, snowmelt, or seasonal water table shifts push MVER above the usual limit
- Basements with higher internal relative humidity
- Exterior or semi-covered patios exposed to rain and freeze-thaw cycles
- Commercial slabs on grade, such as warehouses or light industrial facilities
One hard line: this is not the fix for active hydrostatic pressure. If water pressure is pushing through the slab, drainage or sub-slab moisture control has to come first.
If moisture is high and the timeline is short, cure speed usually becomes the next factor that decides the system.
3. Polyurea/polyaspartic floor systems
Polyurea/polyaspartic systems follow the same moisture rules as other coatings. The big difference is cure speed, and that changes the install window in a major way.
Moisture tolerance
These systems can handle some moisture, but only up to the limits listed by the maker. Many product data sheets land around 3–5 lbs MVER and 75–80% RH. With a moisture-tolerant primer, some can go up to 5–8+ lbs under ASTM F1869.
That sounds good on paper, but it doesn’t mean the floor is safe from moisture problems. The upside here is a stronger bond and a much faster cure, not immunity to moisture.
And if we’re being blunt, prep still makes or breaks the job. Even a moisture-tolerant system can fail if the slab isn’t handled the right way.
Surface prep demands
Prep doesn’t change just because the coating cures fast. You still need to grind the slab to CSP 2–3, remove contamination, and repair cracks.
The catch is simple: fast cure gives you almost no time to recover from bonding mistakes. If something goes wrong, things can go sideways fast.
If the slab has damp spots or efflorescence, grind those areas out and dry them before priming. If moisture readings come in above the product’s stated limit, apply a 100% solids epoxy or dedicated vapor barrier primer first. Then install the polyurea/polyaspartic system over it.
Installation planning
This is where these systems stand out. Most polyurea/polyaspartic floors are walkable within 1–6 hours and ready for vehicle traffic in 24–48 hours. That makes one-day installation a realistic option for garages and many commercial spaces.
If the system needs a vapor barrier primer, you have to confirm that primer has cured before starting the topcoat sequence. Skip that check, and you’re asking for trouble.
Temperature still matters too. The sweet spot for installation is usually 60–80°F, though some polyaspartic products can be applied as low as 30–32°F.
Best-fit environments
These systems work well in residential garages, patios, pool decks, and commercial spaces where fast return to service and UV stability matter. That’s a big deal in places that can’t stay closed for long.
Polyaspartic topcoats also don’t yellow or chalk in sunlight, which makes them a smart pick for outdoor slabs and garage floors that get direct sun.
Where do they make less sense? On slabs with very high moisture readings or active vapor drive. In that case, moisture mitigation needs to happen first. That’s where the trade-offs start to show when you compare testing, prep, and cure time side by side.
Epoxy vs. Polyurea After Moisture Testing: Pros and Cons
Once you have the calcium chloride result, the job changes. You’re no longer asking, "Is there moisture?" You’re asking, "Which system makes sense for this slab?"
That result helps you sort the slab into one of three paths: a standard coating may work, moisture mitigation may be needed, or a different system may make more sense altogether.
Standard epoxy tends to fail sooner when vapor pressure builds beneath the coating. It’s safest at low MVER, where the mechanical bond to the prepped concrete is more likely to hold.
Polyurea bonds to concrete more aggressively, but high moisture can still cause trouble. It doesn’t get a free pass on damp slabs. Its main edge is return-to-service time, and that speed only matters once the slab has either passed moisture testing or been treated with the right primer.
So the decision usually comes down to three things: vapor load, cure speed, and whether a primer is needed.
| System | Pros | Cons | Best Fit |
|---|---|---|---|
| Standard Epoxy | Lower upfront cost; good chemical resistance | Brittle; prone to blistering and UV yellowing; slow return to service | Climate-controlled indoor slabs with low MVER (≤ 3 lbs/1,000 sq ft/24 hr) |
| Moisture-Tolerant Epoxy w/ Vapor Barrier | Handles higher MVER (up to ~20–25 lbs/1,000 sq ft/24 hr in some systems); blocks vapor drive | Higher material cost; multi-step application; longer cure time | Slabs with consistently elevated moisture; ground-contact garages; patios exposed to rain |
| Polyurea/Polyaspartic | Fast return to service; UV stable; chemical bond resists lifting | Short pot life requires experienced crews; needs a moisture barrier on damp slabs | Low-moisture slabs where fast return to service and color stability matter |
The test result is the starting point, not the whole diagnosis. MVER helps, but it shouldn’t be used by itself. You also need to look at the slab’s age, site drainage, and what the surface is already telling you.
Conclusion
The calcium chloride test helps you figure out which coating system a slab can handle. If the result is below the manufacturer’s limit, a standard epoxy may be a fit. If it’s above that limit, it’s smarter to use a moisture-mitigating epoxy or a polyurea/polyaspartic system made for that slab condition.
That call shouldn’t rest on surface emission alone. You also need to look at internal slab moisture.
ASTM F1869 and ASTM F2170 measure two different moisture conditions, so it’s best to run both. That gives you a better read on what’s happening in the slab instead of relying on just one number.
Before you pick a system, check the manufacturer’s technical data sheet and compare your test results with the stated limits. At that point, the choice is much simpler: test first, then use the system that matches the slab and the job. Moisture evaluation helps protect adhesion, service life, and overall floor performance.
FAQs
Which moisture test matters most for my slab?
For the most accurate assessment, the Relative Humidity (RH) probe test (ASTM F2170) is usually the more reliable method.
Here’s the simple reason why: the calcium chloride test (ASTM F1869) measures vapor emission at the surface, while the RH test measures moisture inside the slab at 40% of its depth. That gives you a better view of how moisture is likely to move over time.
And that matters. Moisture sitting deeper in the slab can work its way up later and cause problems like delamination or blistering.
Can I coat concrete that passed F1869 but failed F2170?
No. If concrete fails ASTM F2170, it should not be coated, even if it passed ASTM F1869.
ASTM F1869 gives you a surface-level reading. ASTM F2170 is the test you should trust more for internal moisture, which is where vapor movement happens inside the slab.
If the slab fails ASTM F2170, the risk is high. Moisture can get trapped under the coating and lead to:
- Delamination
- Blistering
- Adhesion failure
In plain terms, the surface may look fine, but the slab can still hold too much moisture below. That’s where problems start.
The safer move is to let the slab dry longer or apply moisture-mitigating primers first.
How do I know if I need a vapor barrier primer?
You need a vapor barrier or a moisture-mitigating primer if professional testing shows your concrete is over accepted moisture limits.
As a general guide, that usually means:
- An MVER above 3–5 lbs. per 1,000 sq. ft. in 24 hours
- An internal relative humidity above 75%–85%
If moisture is too high, a specialized primer can help stop bubbling, peeling, and delamination.