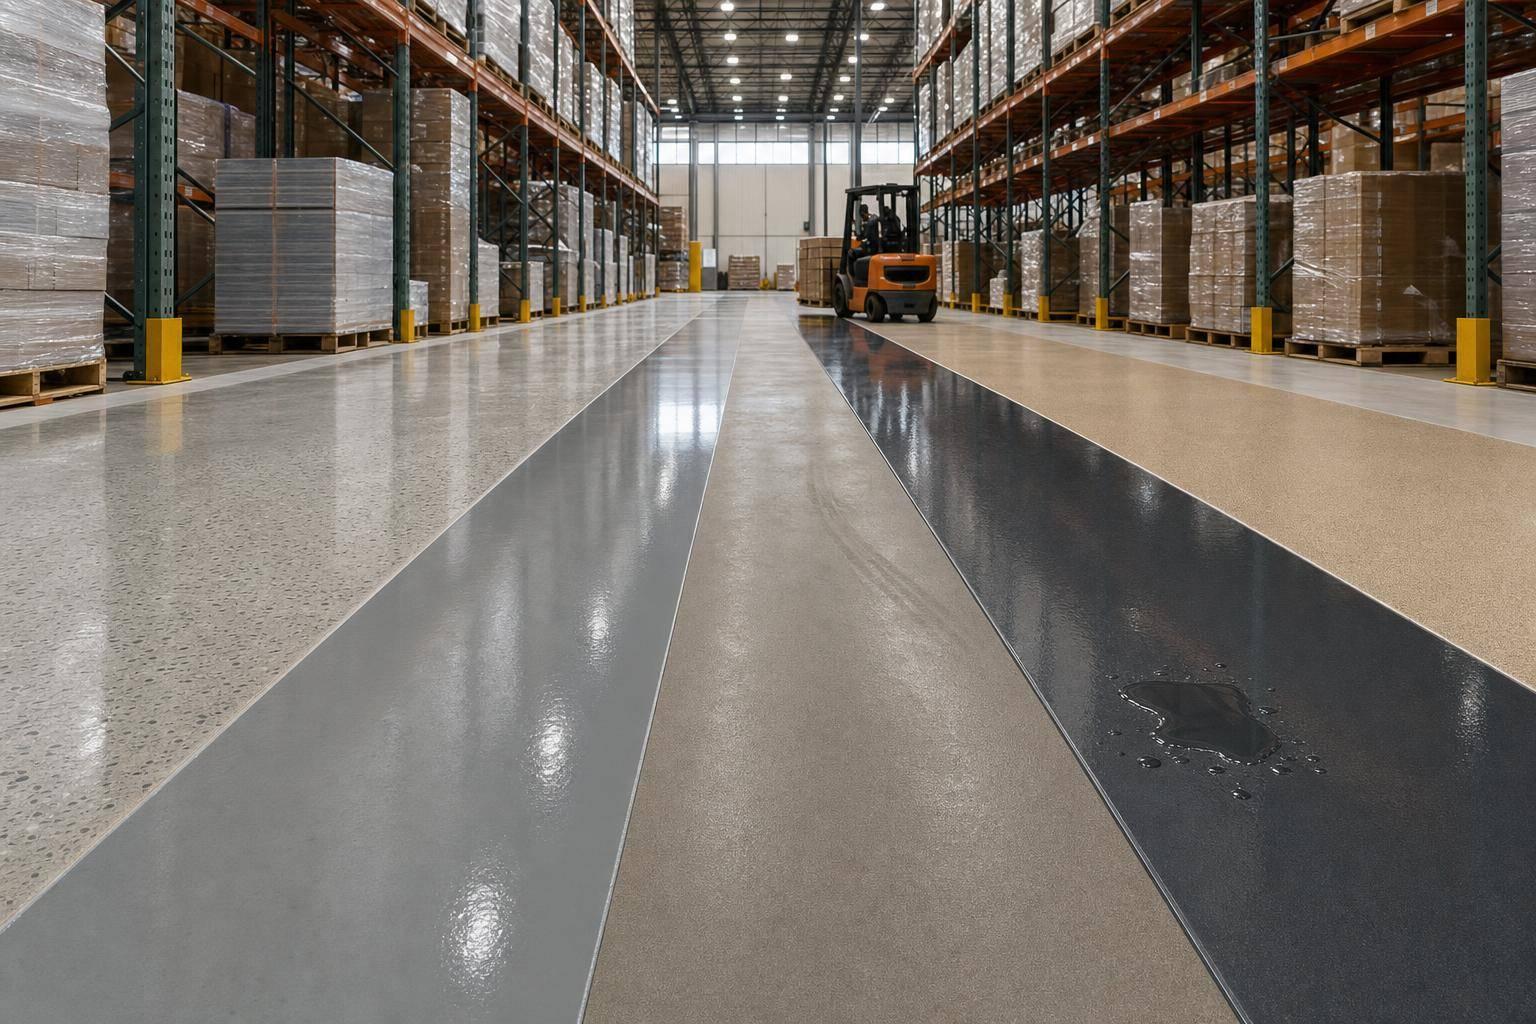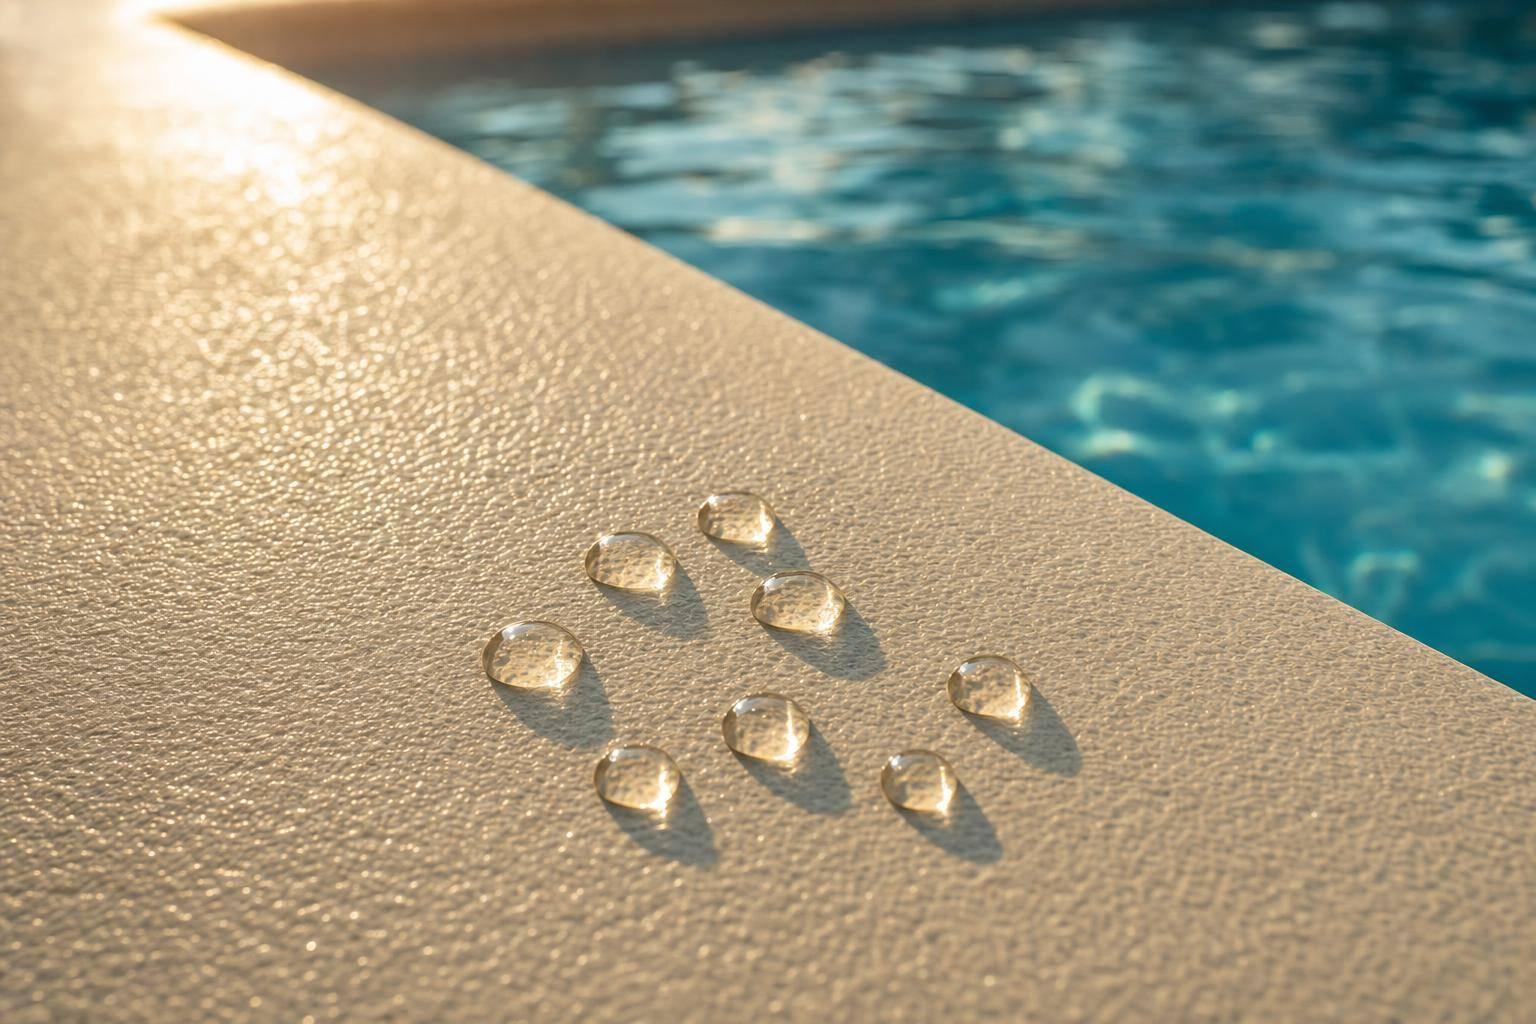
A concrete floor can fail even when it looks dry. If the slab is too close to the dew point, a thin layer of moisture can form and lead to peeling, blistering, or bond loss.
Here’s the short version: I check 3 numbers before coating:
- Air temperature
- Relative humidity (RH)
- Slab surface temperature
Then I make sure the slab is at least 5°F above the dew point. For example, at 70°F and 65% RH, dew point is about 57°F. That means the floor should be at least 62°F before coating.
A few more points matter too:
- Cold slabs stay cool longer after a night of lower temperatures
- Garage doors, exterior walls, and drains are often the coldest spots
- One reading is not enough; conditions can shift through the day
- Dew point checks and slab moisture tests are not the same thing
If I skip this check, I’m guessing. If I log these readings before prep and coating, I have a simple go/no-go test that helps avoid a floor failure that can cost hundreds or even thousands of dollars to fix.
This article breaks that process down into plain steps you can use on a garage, shop, or light commercial floor.
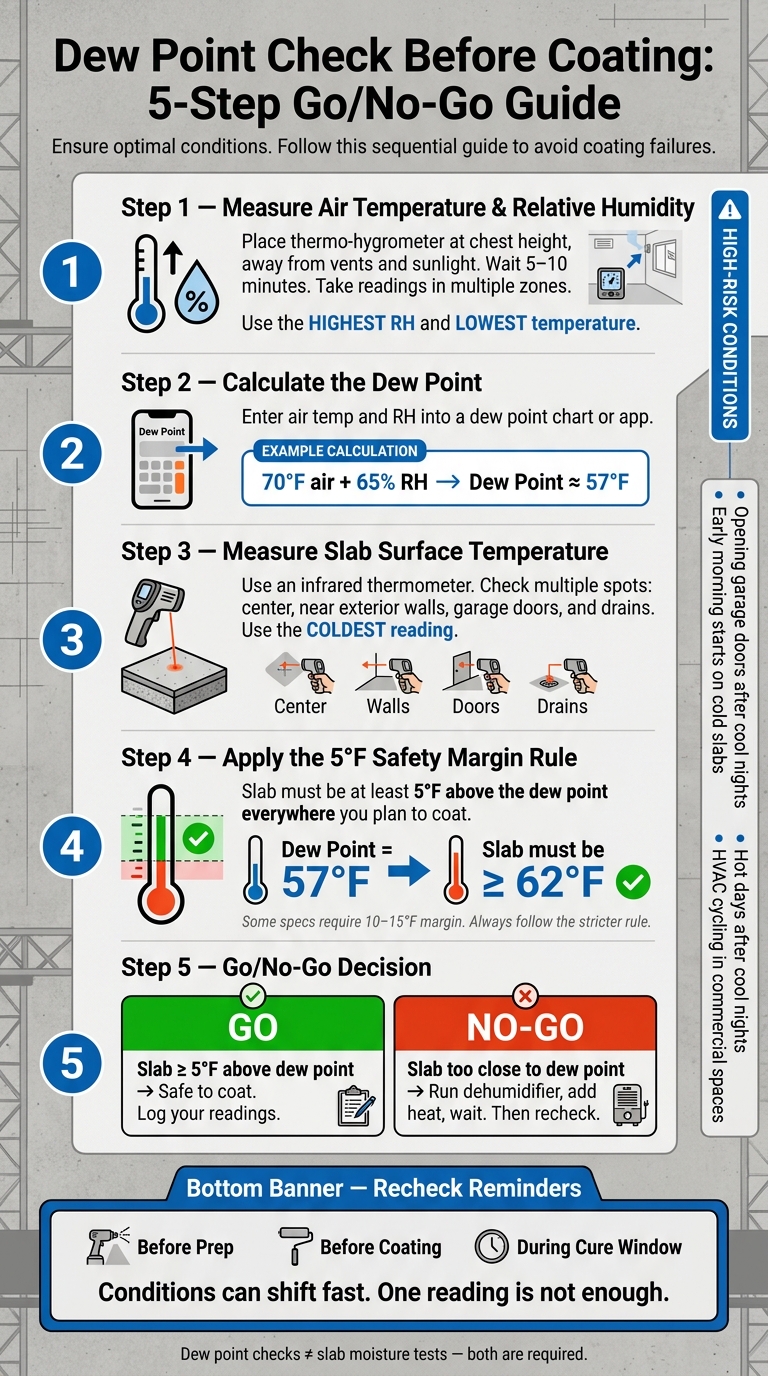
Dew Point Check for Concrete Floor Coatings: 5-Step Go/No-Go Guide
1. Dew Point Basics for Concrete Coatings
What Dew Point Means on a Garage or Shop Floor
Dew point is the temperature at which moisture in the air turns into condensation on a cooler slab. Relative humidity tells you how much moisture is in the air. Dew point tells you when that moisture will land on the surface as water.
On a garage or shop floor, that difference matters. The air in the room can warm up while the slab stays cool, which raises the chance of condensation. So even if the space feels fine to you, the concrete may still be cold enough to collect moisture.
If the slab temperature is at or below the dew point, condensation can form before you notice any visible water. And that thin film is enough to cause trouble.
Once you know that condensation threshold, the next step is pretty straightforward: see how close today’s indoor conditions are to it.
Why Coatings Fail When Condensation Is Present
When you apply a coating over condensation, the coating sticks to the moisture layer instead of the concrete. That weak bond can lead to peeling, delamination, blistering, bubbling, cloudiness, and fisheyes.
The tricky part is that the failure may not show up right away. It often appears later, after foot traffic, vehicle traffic, or temperature changes put stress on the surface.
That’s why preventing moisture-related coating failures starts with checking conditions before application. It’s how you keep the slab out of the danger zone.
sbb-itb-a0e5ae3
2. How to Spot Condensation Risk Before Coating
Common High-Risk Conditions Indoors and Outdoors
The most common cause is pretty simple: warm, humid air meets a cooler slab. When that happens, condensation risk jumps fast, even if the floor doesn’t look wet at first.
A few situations tend to cause trouble again and again. Opening a garage door after a cool, damp night can do it. Coating near water can do it too. Starting work early in the morning, while the slab is still cold, is another common setup for problems. Hot days after cool nights are also risky because the slab can stay colder than the air for longer than people expect.
In light commercial spaces, HVAC cycling can make things even trickier. Air temperature and humidity can shift fast, while the slab changes much more slowly. During shoulder seasons, warmer, humid air can move in and turn the cooler concrete into the spot where moisture forms. That often shows up first as damp edges, dark patches, or clammy areas.
A sweating slab doesn’t always look obviously wet. Sometimes it just feels cool and clammy. Sometimes it looks a little darker or blotchy in spots. In other cases, it leaves damp marks on cardboard or paper. If something seems off, concrete moisture testing can help: tape plastic or foil flat to the floor for 24 to 48 hours. If droplets form on top, that points to condensation from the air, not moisture moving up through the slab.
These signs tell you when the risk is high. After that, the job shifts from guesswork to measurement: air temperature, slab temperature, and dew point.
The 5°F Safety Margin Most Installers Follow
Once you see the risk, the next move is straightforward. Most installers use a 5°F safety margin to decide if conditions are safe enough to coat. The usual rule is that the slab should be at least 5°F warmer than the dew point.
Why the extra gap? Because jobsite conditions can change in a hurry. A door opens. The HVAC turns on. Humidity drifts up. That nice gap between slab temperature and dew point can shrink before you know it. So if the dew point is 60°F, the slab should be at least 65°F.
Some coating systems ask for more room than that. Certain specs call for 10°F or even 15°F of separation, especially when the weather is shifting or the floor will take heavier use, like in industrial spaces or busy commercial garages. A bigger cushion lowers the odds that a short dew point spike during cure will hurt bond strength.
If the product data sheet also sets a minimum substrate temperature, follow whichever rule is stricter. That’s why pro installers treat dew point checks as part of quality control, not as an optional extra.
Polyaspartic Top Coat Bubbles? Slab Temp vs Dew Point Explained (Avoid Spring & Fall Install Issues)
3. The Readings and Tools You Need
Before you coat, measure air temperature, relative humidity (RH), and concrete surface temperature. Air temperature and RH are what you use to calculate dew point. Surface temperature tells you whether the slab is warm enough to stay above that point. Put all three together, and you can tell if conditions are safe. The good news? You can get those readings with a few simple field tools.
Meters That Make Dew Point Checks Simple
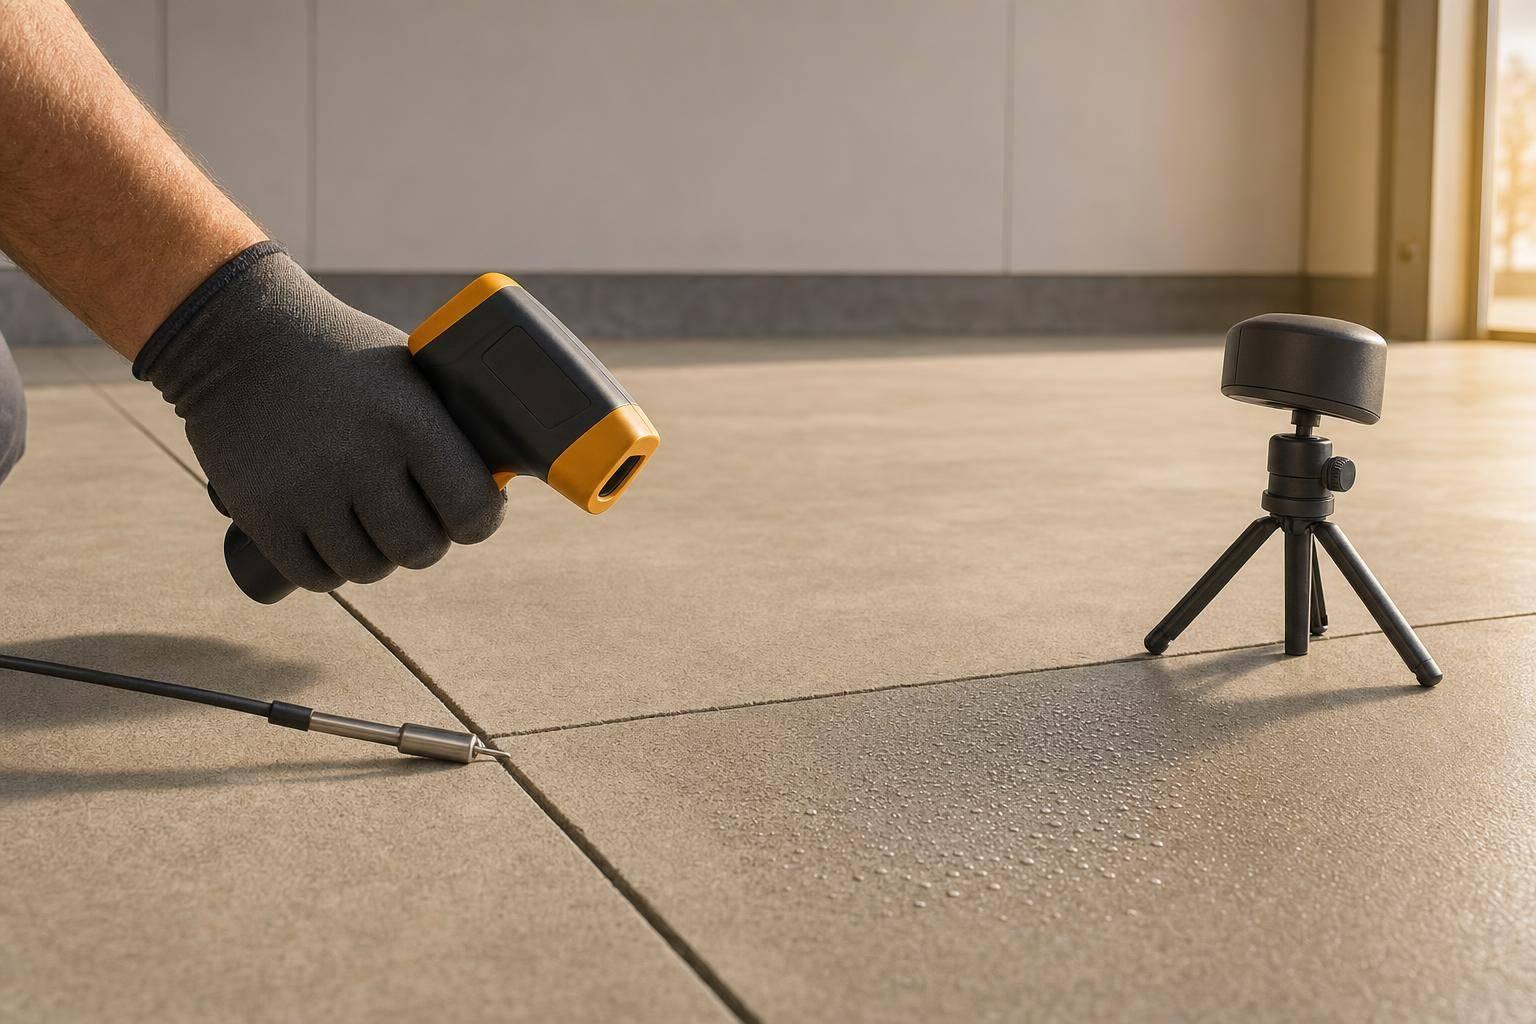
You don’t need a big setup. A digital hygrometer/thermometer combo gives you air temperature and RH. An infrared (IR) thermometer gives you slab surface temperature in seconds. Point it at several areas across the floor, especially near exterior doors, where concrete often stays cooler than the rest of the slab. Then enter the air temperature and RH into a dew point chart or smartphone app to find the dew point.
If you want to skip the chart or app, integrated dew point meters handle the whole check in one device. They measure air temperature, RH, and surface temperature, then show the dew point and the spread between the surface and dew point in real time. That makes it easy to see whether the slab is warm enough to coat. Some units also log readings during the day, which helps with jobsite records on larger projects or when conditions change hour by hour.
Use these tools to make sure the slab stays above the dew point before coating. Then use those same jobsite readings to judge surface conditions, while checking slab moisture as a separate step.
How Slab Moisture Readings Fit Into the Check
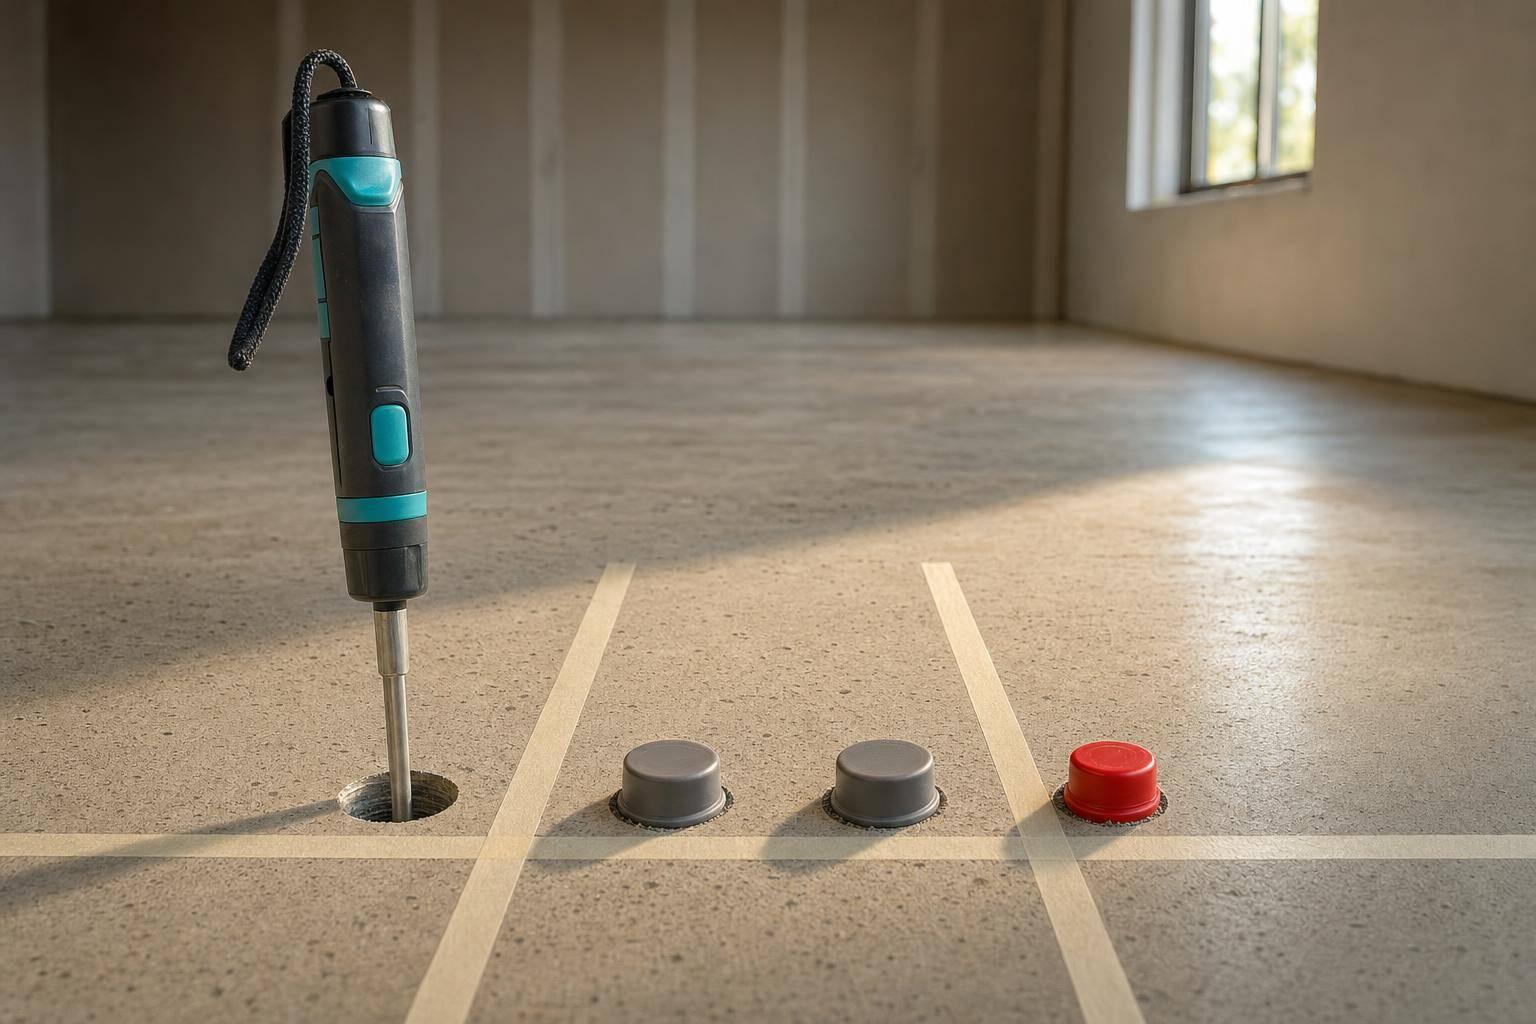
Dew point readings answer one question: is the surface safe right now? Slab moisture tests answer another. Dew point checks measure the risk of condensation at the time of coating. Slab moisture tests, using methods such as ASTM F2170 (in-slab RH probes) or ASTM F1869 (calcium chloride tests), measure moisture inside the concrete.
Use both, but don’t mix up their roles. Dew point checks confirm safe surface conditions on coating day. Slab moisture tests confirm whether the slab is dry enough for the project itself.
4. Step-by-Step Dew Point Check Before You Coat
Five Basic Steps to Confirm Safe Conditions
Before you start any surface prep, check dew point conditions with the air temperature, RH, and slab temperature you’ve gathered. This takes a few minutes and can save you from a bad install.
- Measure air temperature and relative humidity. Close doors and windows so the space matches actual jobsite conditions. Set the thermo-hygrometer at chest height, away from vents and direct sunlight, then wait 5–10 minutes. In larger shops or commercial spaces, take readings in more than one zone. Use the worst-case numbers as your reference: the highest RH and the lowest temperature.
- Determine the dew point. Use the dew point feature on your meter or a smartphone app. Enter the air temperature and RH, and you’ll get the dew point. For example, a garage at 70°F with 65% RH has a dew point of about 57°F.
- Measure the slab surface temperature. Use an IR thermometer or a contact probe and check several spots, including the center of the floor, areas near exterior walls, close to garage doors, and around drains. Go by the coldest reading, not the average.
- Confirm the slab is at least 5°F above dew point everywhere you plan to coat. If it isn’t, stop and correct the conditions first. Run a dehumidifier, add heat, or wait for the slab to warm up, then check again.
When to Recheck Conditions During the Job
One morning reading doesn’t tell the whole story. Recheck conditions before prep, before coating, and during the product’s initial cure window.
Conditions can shift fast. A garage door opens, rain starts, a weather front moves through, or the HVAC kicks into a different cycle. Suddenly, RH climbs or the slab cools off, and your safety margin shrinks.
Here’s how that can play out on a job. In Spokane, WA, a homeowner checked conditions at 8:00 a.m. and got 68°F air, 75% RH, and a dew point of about 60°F. That looked close already. Then the slab near the garage door came in at just 61°F, which left only a 1°F margin. That’s way too tight. After running a dehumidifier and a fan for two hours, the next reading showed 75°F air, 55% RH, a dew point of about 57°F, and a slab temperature of 65°F near the door. That put the floor safely above the 5°F threshold.
Use the coolest slab reading and the highest RH reading to make your go/no-go call. Don’t trust averages. They can hide trouble spots near doors, drains, and exterior walls.
Log each set of readings for the job record. You’ll use that information to compare coating systems in the next step.
5. Applying the Check to Real Coating Projects
What to Watch for With Epoxy, Polyurethane, and Polyurea Floors
Once you have your readings, compare them to the product data sheet before you start. Use the sheet for your exact coating and follow the listed air and surface limits as written. The 5°F dew point gap is the baseline, but the printed spec is what controls.
If the floor passes, write down the numbers and check them again before each coat.
Why Professional Installers Build Dew Point Checks Into Quality Control
Croc Coatings records air temperature, slab temperature, RH, and dew point before primer, broadcast coat, and topcoat to keep each job within spec. That paper trail matters. If a floor fails later, those logs can show whether the original install stayed within the product limits.
Key Takeaways Before You Schedule a Coating
Use these checks as the final go/no-go step before you put the job on the calendar:
- The 5°F margin is a baseline, not a suggestion. Check the product data sheet for your system and follow whichever limit is tighter.
- Dew point checks and slab moisture tests deal with different risks. Use in-slab RH probes or calcium chloride tests on their own to confirm the slab is dry enough before coating starts.
Working with a professional installer who tracks and manages these conditions is the surest way to protect your investment.
FAQs
Can a floor sweat even if it looks dry?
Yes. A concrete floor can sweat or hold a lot of moisture even when the surface looks dry. Concrete is porous, so water can stay deep in the slab from groundwater, damp soil, or leftover water from the original mix.
That hidden moisture can move up through the pores and cause coating issues like peeling, blistering, or delamination. Surface tests can miss what’s happening below, so in-situ relative humidity testing (ASTM F2170) is the most reliable way to check if the slab is ready for coating.
What if the slab is less than 5°F above dew point?
Stop the application.
If the concrete slab is less than 5°F above the dew point, invisible condensation can form on the surface.
That thin layer of moisture can get in the way of proper bonding and lead to peeling, bubbling, blistering, or delamination. Croc Coatings requires both air and substrate temperatures to remain at least 5°F above the dew point for the entire application process.
Do I still need a moisture test if the dew point is safe?
Yes. A safe dew point only tells you one thing: moisture isn’t condensing on the concrete surface at the moment you apply the coating.
But that doesn’t tell the whole story.
It doesn’t measure moisture trapped deeper in the slab. And that’s where problems often start.
That hidden moisture can build vapor pressure over time. When that happens, the coating may bubble, peel, or delaminate later. A moisture test checks whether the slab is dry enough below the surface, so you know if it’s ready for a finish that lasts.