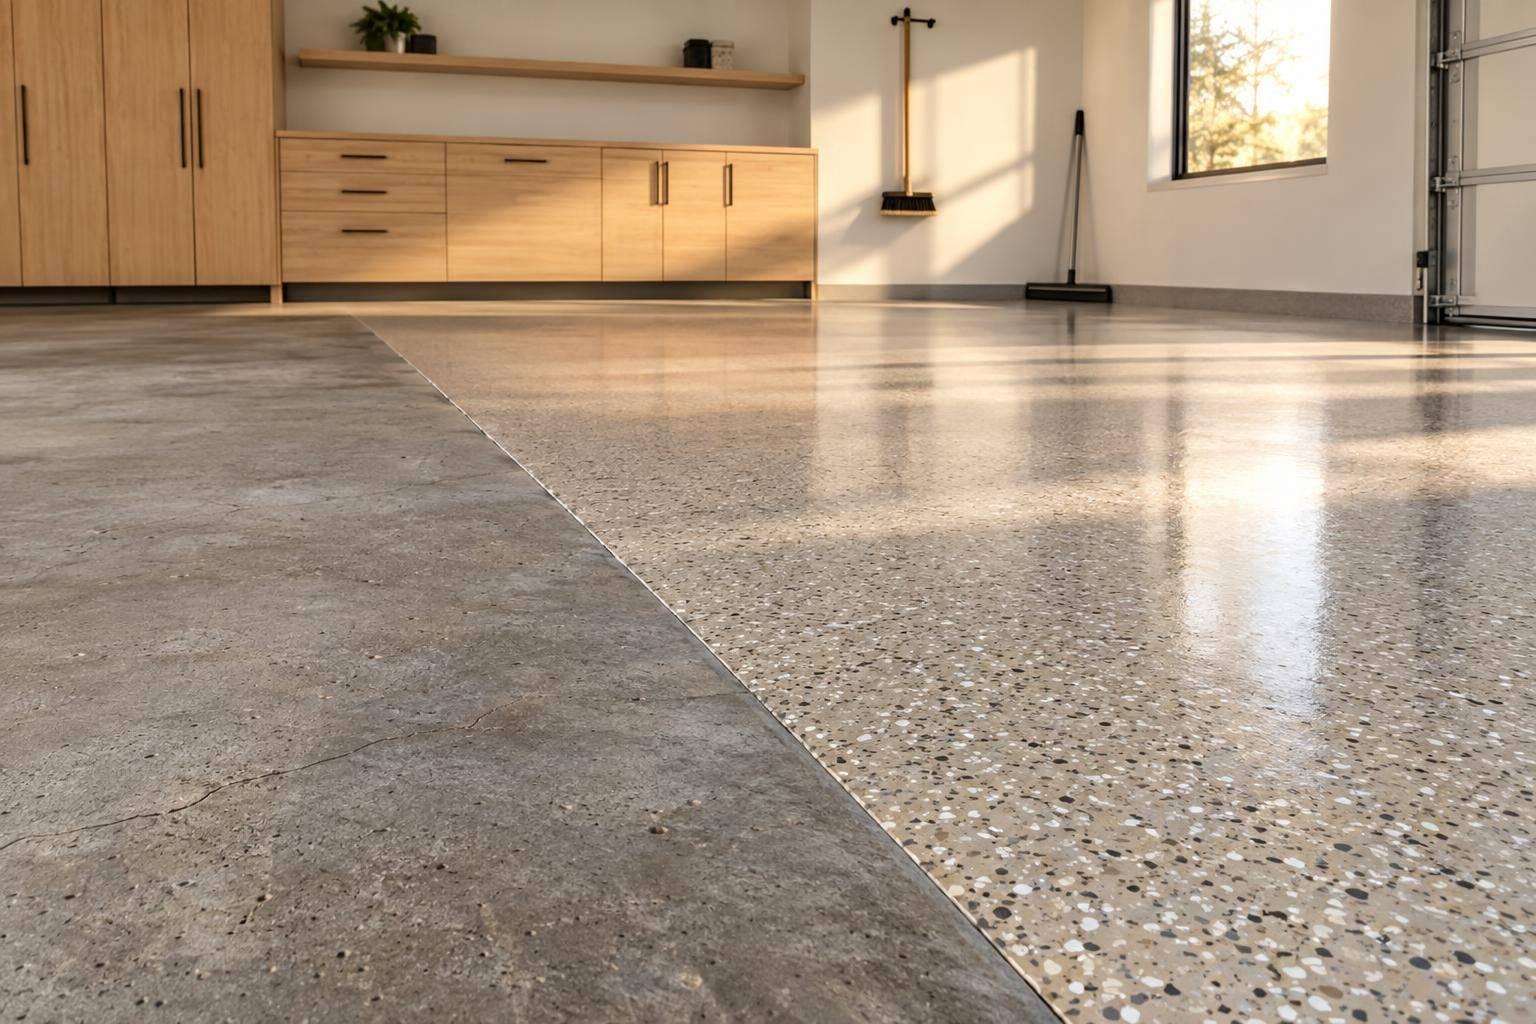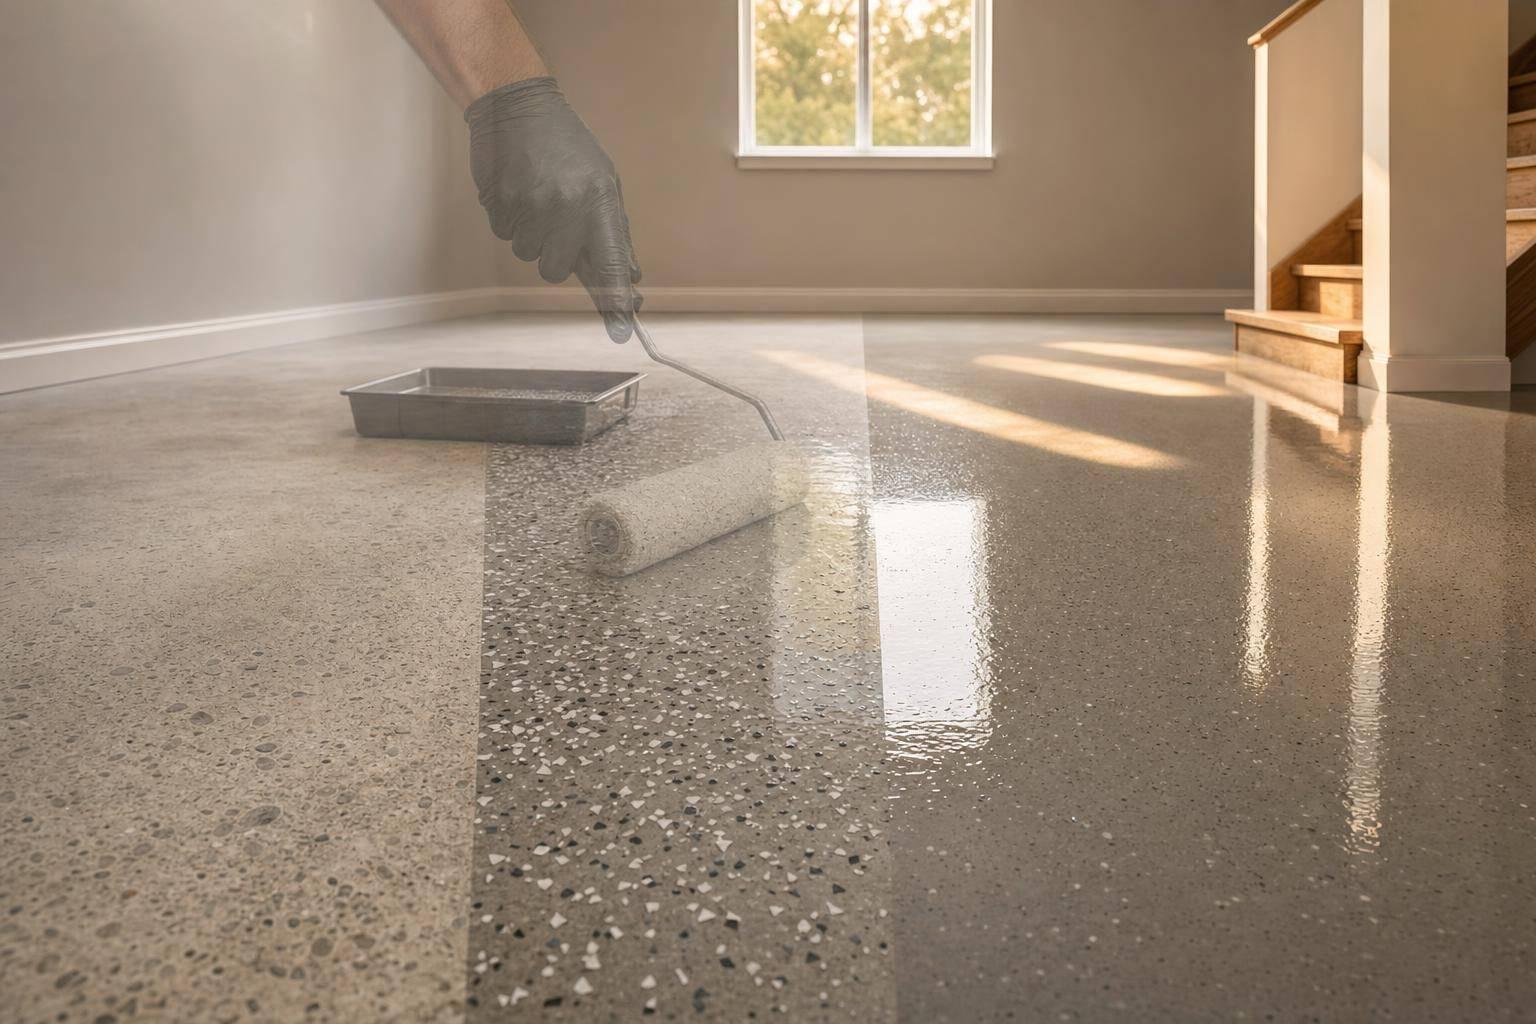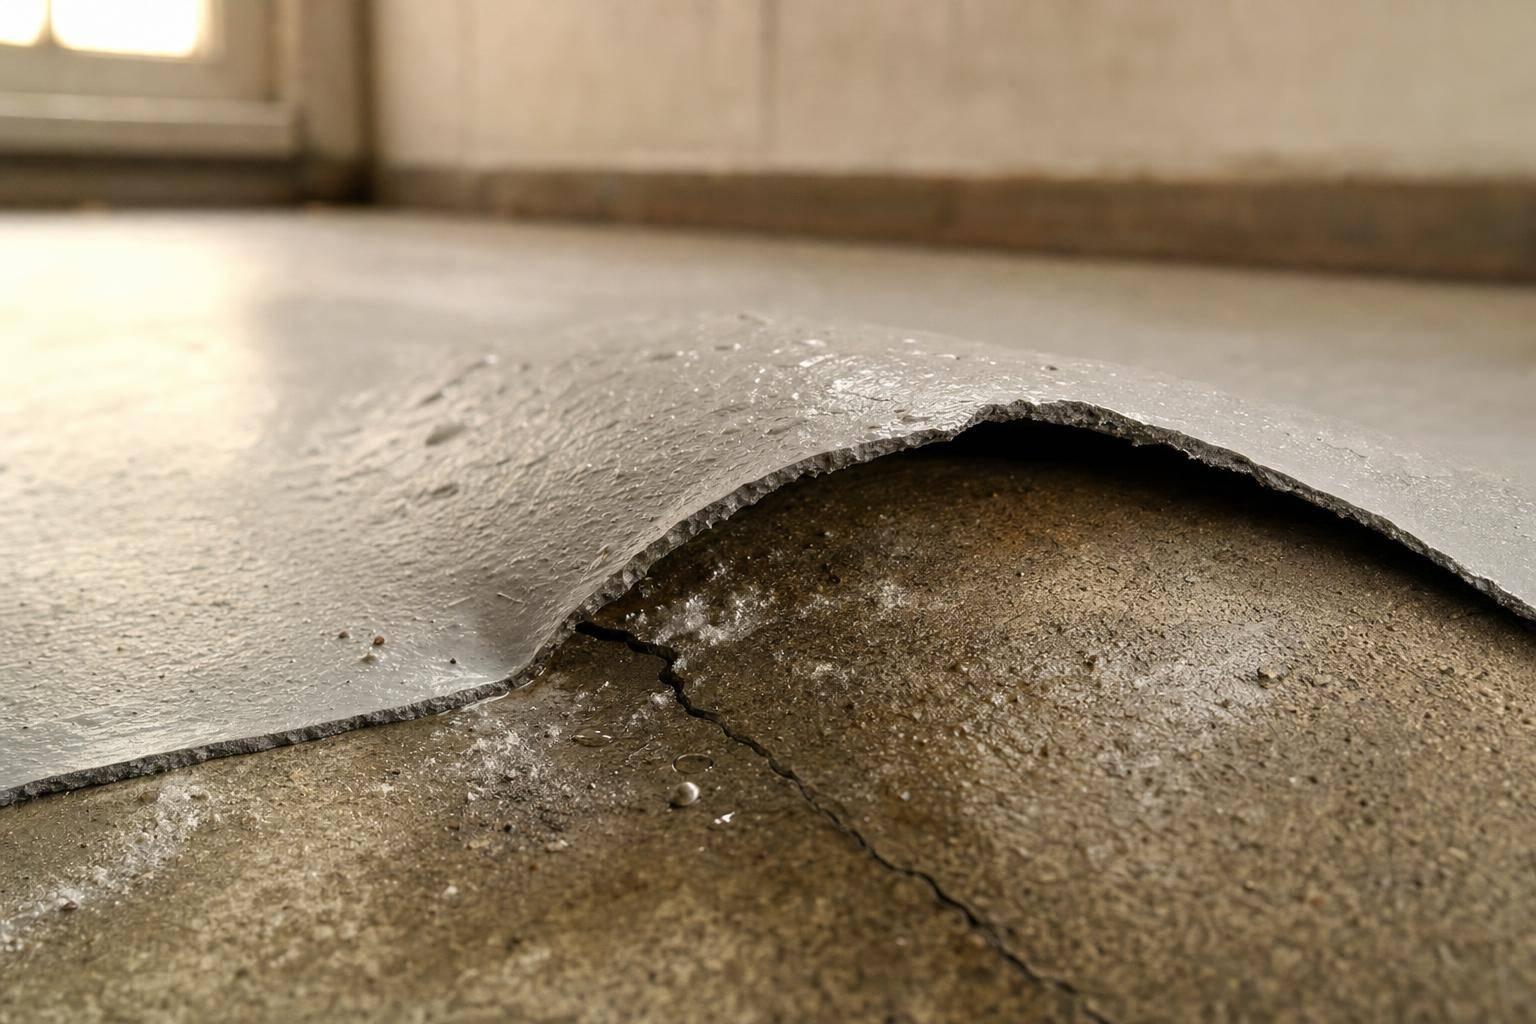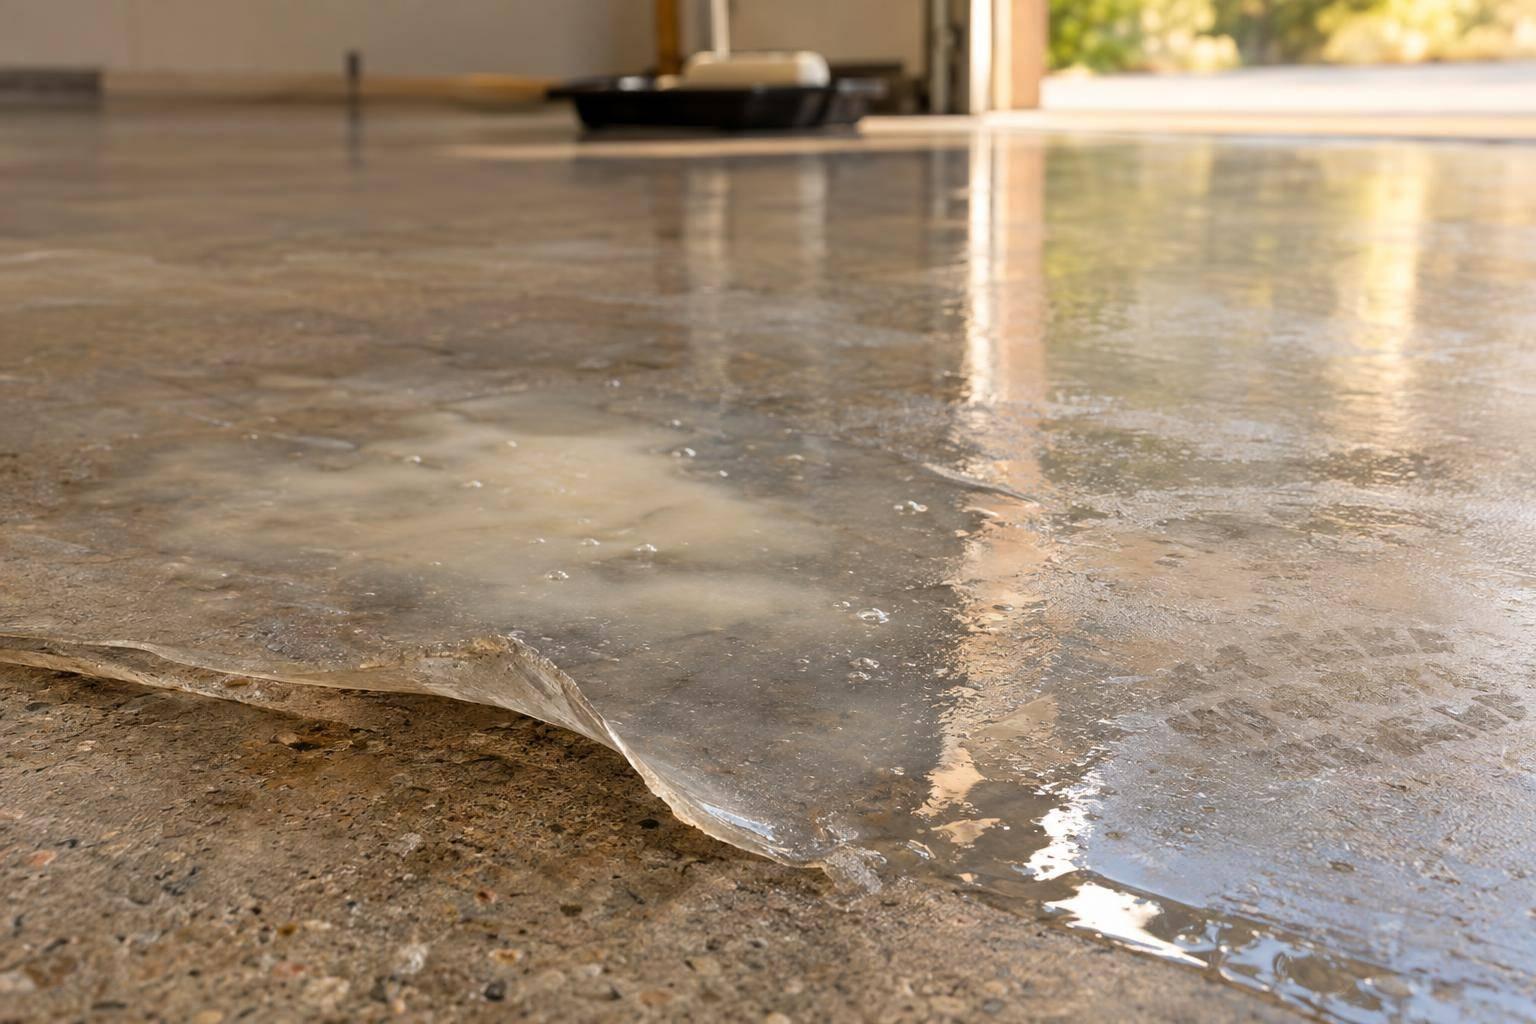
I’d fix the cause before adding another coat. If your garage floor sealer peels, clouds, bubbles, or stays tacky, remove failed material and inspect the concrete and check these 5 failure points:
- Poor preparation: Oil, dust, weak concrete, or old coatings prevent a firm bond.
- Trapped moisture: Concrete can look dry and still fail the product’s moisture limits.
- Wrong coat thickness: Thin coats wear through; heavy or uneven coats can stay soft.
- Weather changes: Slab temperature, humidity, and condensation affect application and curing.
- Wrong sealer: Some products can’t handle hot tires, garage chemicals, or an existing coating.
My starting point is the product’s technical data sheet: use its moisture tests, coverage rate, recoat window, and vehicle-return time. Dry to the touch doesn’t mean ready to park. Even 24–48 hours after washing isn’t proof that concrete is dry enough.
<u>Check safety before opening the container.</u> Follow the safety data sheet for ventilation and ignition controls – not just an open garage door. If failure keeps returning or affects large areas, I’d get a professional assessment before recoating.
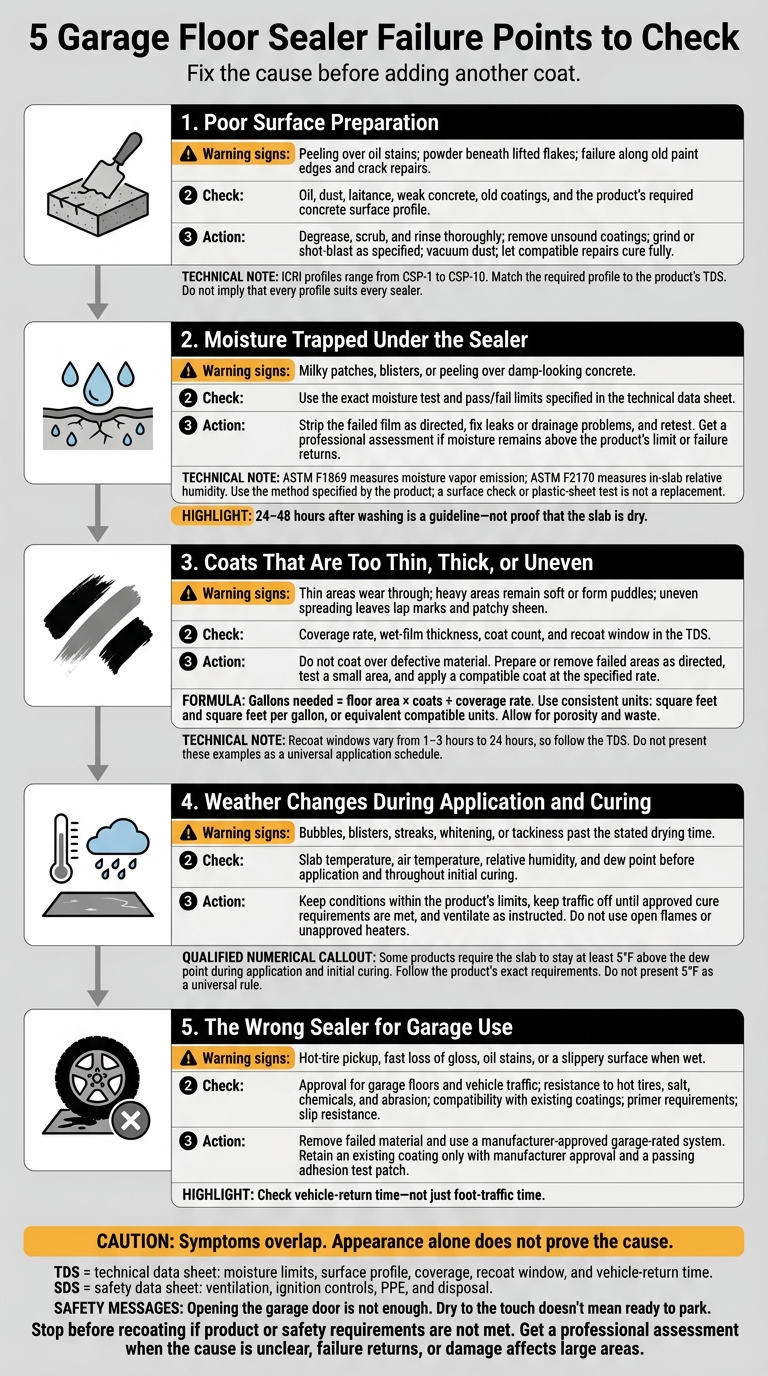
5 Garage Floor Sealer Failure Points to Check
Check Your Sealer and Concrete
First, identify whether your existing sealer is film-forming, penetrating, or high-build. The type determines how to remove it and what you can apply over it.
Find the original container, label, or installation record. Record the product name, manufacturer, batch or lot number, application date, number of coats, approximate coverage, and any primer or repair material used.
Photograph peeling, blisters, whitening, tire marks, discoloration, and exposed concrete. Note any glossy, chalky, powdery, tacky, or brittle areas. Gloss does not prove bond. If you don’t know which product was used, test adhesion and compatibility in a small, out-of-the-way area before choosing a replacement. Once you identify what’s on the slab, check whether the surface was prepared correctly.
Inspect parking spots, cracks, joints, and the garage entrance for dusting, oil, efflorescence, adhesive, and standing water. Check the product’s stated resistance to hot tires, oil, gasoline, cleaners, and water. A sealer that protects decorative stains may not provide enough protection for a working garage. These checks help you decide whether to clean, repair, test, or stop before recoating.
Use the exact moisture test and pass/fail limits listed in the technical data sheet (TDS) – ASTM F1869 or ASTM F2170, as specified. Confirm that the slab and repairs meet the product’s surface-profile, pH, concrete-age, and compatibility requirements. If the slab passes the moisture limits, check surface preparation and coat thickness next.
Review the safety data sheet (SDS) for solvent-specific ventilation, ignition control, personal protective equipment (PPE), and disposal requirements. Opening the garage door is not enough. Follow the specified exhaust and ignition controls, and keep ventilation running as directed. Don’t add thinner unless the TDS allows it. Dispose of solvent-contaminated materials only as permitted by the SDS and local rules.
sbb-itb-a0e5ae3
1. Poor Surface Preparation
If the sealer still fails after the first checks, start with the slab’s surface.
Why It Fails
Oil, laitance, old coatings, or a finish that’s too smooth can prevent the sealer from bonding.
Warning Signs
Look for peeling over oil stains, powder beneath lifted flakes, or failure along old paint edges and crack repairs. Wrinkling, fisheyes, tackiness, or a coating that scrapes off easily can point to contamination or a poor surface profile.
How to Fix It
Degrease, scrub, and rinse thoroughly to remove cleaner residue. Repeat wherever oil remains. Deeply contaminated concrete may need removal or professional remediation.
Grind or shot-blast to remove laitance and unsound coatings. Match the slab’s profile to the product specifications, coating thickness, and technical data sheet (TDS). ICRI profiles range from CSP-1 to CSP-10.
Vacuum dust from the floor, corners, and inside cracks. Remove loose crack edges, and use only crack filler approved for the coating system and the expected crack movement. Let repairs cure fully before making them flush with the surface.
How to Prevent It
Pressure washing or acid etching vs. grinding alone doesn’t prove the surface is ready. Check the finished texture against the required CSP, inspect for remaining dust, and document repair cure times. After wet cleaning, drying time depends on temperature, humidity, airflow, and the TDS – not just the clock.
If the slab is clean, properly profiled, and dry but the coating still fails, trapped moisture is the next likely cause.
2. Moisture Trapped Under the Sealer
If the slab passed the prep checks, hidden moisture is one of the top causes of concrete coating failures.
Why It Fails
Concrete can look dry while still releasing moisture from wash water, condensation, or vapor below the slab. A solvent-based sealer can trap that moisture, causing haze, bubbles, and loss of adhesion.
Warning Signs
Watch for milky patches, blisters, or peeling over damp-looking concrete, especially near garage doors, cracks, and low spots. Patchy failure can point to moisture in specific areas. But heat or direct sun can cause similar bubbles, so appearance alone isn’t proof.
How to Fix It
Strip the failed film before recoating, following the manufacturer’s removal instructions. Fix leaks or drainage problems, then retest. Only use spot repairs if the surrounding sealer is sound and the manufacturer allows them.
If the failure returns or moisture readings stay above the product’s limit, get a professional assessment and use a compatible moisture-mitigation system. Verify that the slab is dry enough before recoating.
How to Prevent It
Treat 24–48 hours after washing as a guideline – not proof that the slab is dry. Remove pooled water and check the slab temperature, humidity, and dew point to avoid condensation. Before recoating, follow the test method and pass/fail limit in the product’s technical data sheet.
ASTM F1869 measures moisture vapor emission; ASTM F2170 measures in-slab relative humidity. A surface check or plastic-sheet test does not replace either test.
3. Coats That Are Too Thin, Thick, or Uneven
If the slab is dry and sound, check the film build next.
Why It Fails
The problem is usually coat thickness – not a need for more product. Thin coats can leave porous concrete underprotected and wear through faster, especially in tire paths and along edges. Heavy coats can create soft spots, wrinkles, or puddles. Uneven spreading can leave lap marks and a patchy sheen.
Warning Signs
Look for dull or porous-looking strips, glossy puddles, roller overlaps or lap marks, and differences in color or sheen. Tacky patches, footprints, tire pickup, and areas that wear faster than the rest of the floor are also warning signs.
Stop if a second coat drags, lifts, or sticks to the first. The underlying film may not be ready for recoating.
How to Fix It
For thin areas that remain firmly bonded, clean and lightly abrade as directed by the manufacturer. Do not coat over defective material. If thick or uneven areas remain defective after the full cure window, remove or prepare them according to the technical data sheet (TDS).
Test a small area before applying a compatible coat at the specified rate. During repairs, follow the label’s ventilation, flammability, and safety instructions.
How to Prevent It
Gallons needed = floor area × coats ÷ coverage rate. For porous concrete, use the lower end of the product’s coverage range and allow for waste. Divide the floor into measured sections and track how much material you use. Keep each section flowing into the next, and brush out puddles before they set.
Follow the TDS for wet-film thickness, coat count, and minimum and maximum recoat times. A surface that feels dry is not necessarily ready for another coat. Recoat windows vary from 1–3 hours to 24 hours, so follow the TDS.
If the film build is right, check the weather conditions during application and cure next.
4. Weather Changes During Application and Curing
Why It Fails
Air temperature alone won’t tell you whether conditions are right for sealing. Direct sun can heat the slab and evaporate solvent too fast, trapping some beneath the top film. Cold concrete slows drying, while high humidity and condensation can leave the finish soft or cloudy.
Follow the TDS requirements for air, slab, material, and curing conditions – not just a general temperature range. Weather can cause failure even when surface prep and coating thickness are correct, often mimicking moisture-related coating failures caused by the slab itself.
Warning Signs
Bubbles, blisters, streaks, whitening, or tackiness past the stated drying time often point to changes in temperature, humidity, or dew point. Blisters only in sun-exposed areas suggest too much surface heat. If the whole floor stays tacky, cold concrete or poor airflow may be the cause.
How to Fix It
Keep traffic off the floor until the sealer cures under approved conditions. Keep the area dry and ventilate as the label’s safety instructions require. Solvent vapors can be flammable, so don’t use open flames or unapproved heaters.
Make spot repairs only if the TDS allows them. Peeling or blistering across large areas usually calls for removal.
How to Prevent It
Measure slab temperature, air temperature, relative humidity, and dew point before starting, during application, and throughout initial curing. Some products require the slab to stay at least 5°F above the dew point during application and the initial cure period.
Check the product’s exact requirements, along with overnight lows, fog, and rain. Shade hot, sun-exposed areas and avoid applying in strong wind.
If weather wasn’t the cause, check whether the sealer itself is suited to garage conditions or if you need to choose a different garage floor coating.
5. The Wrong Sealer for Garage Use
Why It Fails
If prep, moisture, coat thickness, and weather all check out, the sealer itself may be the problem.
Garage sealers need to handle vehicle traffic, hot tires, salt, and chemicals. A product made for decorative concrete or light foot traffic may not hold up to repeated vehicle use, grit, oil, or gasoline.
Compatibility matters, too. A new sealer can soften or lift an existing coating. A glossy or weak film underneath can also keep the new coat from bonding properly.
Warning Signs
Hot-tire pickup, fast loss of gloss, oil stains, and a slippery surface when wet can point to the wrong product. These signs deserve a closer look, but they don’t prove a single cause.
How to Fix It
Remove the failed coating by grinding or abrasive blasting, then clean the surface thoroughly. Keep an existing coating only if the new system’s manufacturer approves it and a test patch passes adhesion testing.
Small, isolated defects may be patched. If delamination affects much of the floor, you’ll usually need to remove the failed material and recoat with an approved primer and garage-rated system.
How to Prevent It
Read the current technical data sheet before buying. Confirm that the product is approved for garage floors and vehicle traffic. Check its resistance to the chemicals you use, along with the abrasion resistance and slip resistance your floor needs.
Also verify compatibility with any existing coating, primer requirements, the recoat window, and vehicle-return time – not just foot-traffic time. If those details are missing, ask the manufacturer for written confirmation.
For better wet traction, use anti-slip solutions like the manufacturer’s specified additive dose. Test a small area first. Too much texture can trap dirt and make sweeping harder; too little may not give wet tires or footwear enough grip. Added texture improves slip resistance, but it doesn’t make the floor slip-proof.
Checklist Before Applying Sealer
Before recoating, check the slab, conditions, product, and schedule. If the floor failed once, find the failure points before trying again.
Check the slab for adhesion and moisture risks: Start with clean, dry, sound concrete. Remove oil, grease, dust, curing compounds, old sealer, and loose concrete. Confirm the required surface profile, vacuum thoroughly, and check for powder with a clean, dry hand. Repairs must be compatible, fully cured, and flush with the floor. Follow the product’s concrete-age requirements, and use its specified moisture control and testing limits before sealing.
Check conditions for weather-related failure: Check slab temperature, air temperature, humidity, and dew point against the technical data sheet (TDS). Keep the slab within the product’s temperature limits and at least 5°F above the dew point. Wait if condensation or a fast temperature drop is likely.
Check coverage and film-build risks: Multiply floor length by width, then subtract any areas you won’t coat. Use the product’s coverage rate to calculate gallons per coat. Multiply that amount by the number of coats, allowing for porosity, roughness, and waste. Have the specified solvent-resistant roller, tray, brush, and mixing tools ready.
Check cure-timing risks: Record when application starts and finishes, the minimum and maximum recoat window, and the times for foot traffic, vehicle return, and full cure. Keep traffic, tools, water, and chemicals off the floor until it fully cures.
Check safety and ventilation before application: Before opening the container, follow the safety data sheet (SDS) requirements for ventilation, respirators, chemical-resistant gloves, eye protection, and disposal. Eliminate flames, pilot lights, smoking, sparks, and unapproved electrical equipment. Keep children, pets, and unprotected occupants out until the floor cures. Do not start if moisture, repairs, or temperature don’t meet TDS requirements, or if ventilation doesn’t meet SDS requirements.
When to Get a Professional Assessment
If the checklist doesn’t explain the failure, stop recoating and get an assessment before adding another layer. This also applies if peeling spreads, returns after repair, or comes off in sheets. Get professional help when the cause is unclear or damage affects large areas. The assessment should determine whether adhesion, moisture, or incompatibility caused the failure.
- Request testing: Have unknown coatings tested for adhesion and compatibility before applying another solvent-based sealer. Ask for a moisture investigation if bubbles, cloudy spots, damp areas, or edge failure keep returning. Test several locations, including failed areas, using ASTM F1869 or ASTM F2170 as required by the proposed product. Make sure the results meet that product’s limits.
- Bring records: Provide dated photos, product containers, invoices, and notes on when the failure started. Don’t strip large areas before the inspection.
Get a written scope that includes the diagnosis and test results, along with removal, preparation, repairs, moisture findings, cure times, and warranty responsibility.
Conclusion: Fix the Cause Before Recoating
A failed garage floor needs diagnosis, not another coat. Check the five likely failure points in this order: surface preparation, moisture, coat thickness, weather during application and curing, and product mismatch. Use the sealer’s technical data sheet – not a generic rule – to determine what to fix.
Remove all loose or failed coating before recoating. Then address moisture, contamination, and weak concrete so the new coat can bond to sound concrete.
Match the coverage to your floor area. One heavy coat won’t fix thin coverage. Follow the product’s specified film thickness and recoat window.
Plan curing before you start. Keep conditions within the product’s limits and wait the specified time before parking a vehicle on the floor. Dry to the touch doesn’t mean ready for traffic.
FAQs
How can I tell moisture damage from poor adhesion?
Moisture damage often shows up as blisters, bubbles, or white powdery deposits weeks or months after installation, especially near cracks or joints. Poor adhesion caused by inadequate surface preparation typically leads to peeling, flaking, or lifting in patches or sheets.
Use an ASTM F2170 in-situ relative humidity test to check slab moisture. Leftover oil or grease, or a surface that wasn’t mechanically ground, can point to poor preparation.
Can I identify my sealer without its label?
Not reliably. Concrete is porous, and looks alone can be misleading. Water beading or softening caused by automotive fluids may offer clues, but neither confirms the sealer’s chemical composition. Guessing can lead to adhesion or compatibility problems – and coating failure.
Before applying a system like the Penntek Evolution industrial coating, completely remove the existing sealer through mechanical grinding so the new coating can bond properly.
Is spot repair enough for hot-tire damage?
Generally, no. Hot-tire pickup often means the coating can’t withstand the heat or that trapped moisture is making it lift. A patch alone won’t fix the underlying problem, such as moisture pressure or an incompatible coating system. So the damage may come back.
For a repair that lasts, find the cause, prepare the floor properly, and use a coating system built for high-performance durability.