If you coat concrete before moisture testing, you can end up with peeling, blisters, weak bond, and hot-tire pickup. A slab can look dry and still hold enough water inside to damage the coating later.
Here’s the short version:
- Wait at least 28 days after the slab is placed before testing.
- Keep the space at about 65–75°F and 40–60% RH for 48 hours with HVAC running.
- Use bare, clean concrete for testing.
- Run at least 3 tests in the first 1,000 sq. ft. and 1 more for each extra 1,000 sq. ft.
- Check surface moisture and internal slab moisture.
- Compare every result to the coating product’s moisture limits.
- If even one test is too high, stop and fix it before coating.
In plain terms, I’d treat moisture testing as the last go/no-go check before install. The main methods are:
- a plastic sheet check for surface warning signs
- ASTM F1869 for moisture vapor emission rate
- ASTM F2170 for internal relative humidity
How to Concrete Moisture Test the right way – ASTM F2170 RH and % Moisture Content
sbb-itb-a0e5ae3
Quick comparison
| Method | What I learn | Time | Best use | Main limit |
|---|---|---|---|---|
| Plastic sheet test | If surface moisture is showing | 24–72 hours | Early screening | No hard number |
| ASTM F1869 | How much vapor leaves the slab surface | 60–72 hours | Surface emission check | Does not show deep moisture |
| ASTM F2170 | How much moisture is still inside the slab | 24+ hours after probe setup | Best check before coating | Needs correct drilling depth |
Bottom line: the slab is only ready when you test concrete moisture before coating and results meet the manufacturer’s written limits. If readings are high, I’d wait, fix the moisture source, or use a moisture-mitigation system and retest.
1. How to Prepare the Jobsite for Accurate Moisture Tests
Reliable moisture readings start before the test kit comes out. If the slab data is off, the coating job can go off the rails too. That’s why jobsite setup matters so much. Indoor conditions and slab conditions both affect the numbers you get.
Setting Temperature, Humidity, and Slab Conditions
For solid readings, keep both the slab and the indoor air at service temperature and service humidity for at least 48 hours with the permanent HVAC system running. In most cases, that means about 65–75°F and 40–60% RH.
This part is easy to overlook, but it matters. Temporary heaters, open doors, and open windows can skew the test results.
You also need to wait at least 28 days after concrete placement before running moisture tests.
Cleaning and Mapping Test Locations Across the Floor
Moisture tests need bare concrete to read vapor movement through the slab. So if the floor has any coating, sealer, curing compound, or adhesive residue on it, remove that first. The usual approach is grinding or shot-blasting, then vacuuming up the dust before testing.
Test locations should be spread across the floor so you can catch moisture differences from one area to another. ASTM F1869 and F2170 standards both require at least 3 tests for the first 1,000 sq. ft., plus 1 more test for each extra 1,000 sq. ft.
For slabs on or below grade, place at least one test within 3 ft. of each exterior wall.
It also helps to mark every test spot on a floor plan sketch. That way, each reading stays tied to its exact location.
Along with the test points, record the ambient temperature, RH, slab surface temperature, slab age, HVAC status, and test layout. Once the slab is conditioned and the test locations are marked, the next step is choosing the test method.
2. Moisture Testing Methods for Concrete Floors Before Coating
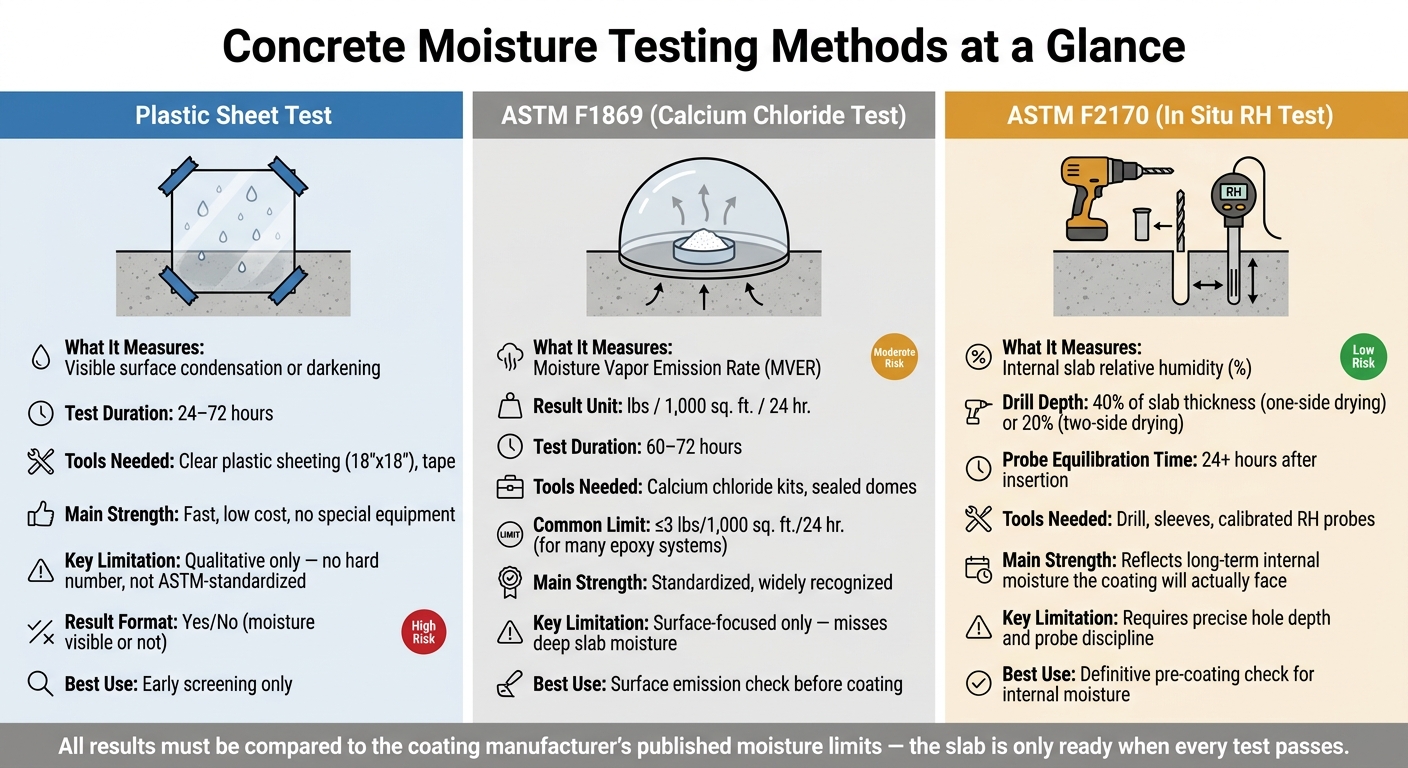
Concrete Moisture Testing Methods Compared: Plastic Sheet vs. ASTM F1869 vs. ASTM F2170
Crews usually rely on three checks: a plastic-sheet screening test, ASTM F1869, and ASTM F2170. Each one looks at moisture from a different angle. One points to surface moisture, one measures vapor emission, and one checks internal RH. That difference matters, because a slab can seem dry at the top and still hold enough moisture below to cause trouble after a coating goes down.
Plastic Sheet Test: A Quick Moisture Screening Check
Tape a clear 18 in. x 18 in. polyethylene sheet to clean concrete and seal all edges. After the test period, check for condensation, dampness, or darkening. Those signs suggest moisture near the surface.
Still, this is only a screening check. It can tell you there may be a moisture issue, but it won’t tell you how much moisture is present. Use it to spot obvious red flags early, then confirm conditions with ASTM-based testing before making coating decisions.
ASTM F1869 Calcium Chloride Test for Moisture Vapor Emission
This test measures moisture vapor emission rate, or MVER, reported in lbs/1,000 sq. ft./24 hr. A pre-weighed dish of anhydrous calcium chloride is placed under a sealed dome on bare concrete for 60 to 72 hours. After that, the dish is reweighed to calculate MVER.
One thing to watch: F1869 reflects surface emission only. It does not show what’s happening deeper in the slab. The pass/fail limit also depends on the coating system. Many standard epoxy systems call for ≤3 lbs/1,000 sq. ft./24 hr. That’s why the coating manufacturer’s published moisture limits should always guide the call.
ASTM F2170 In Situ RH Test for Internal Slab Moisture
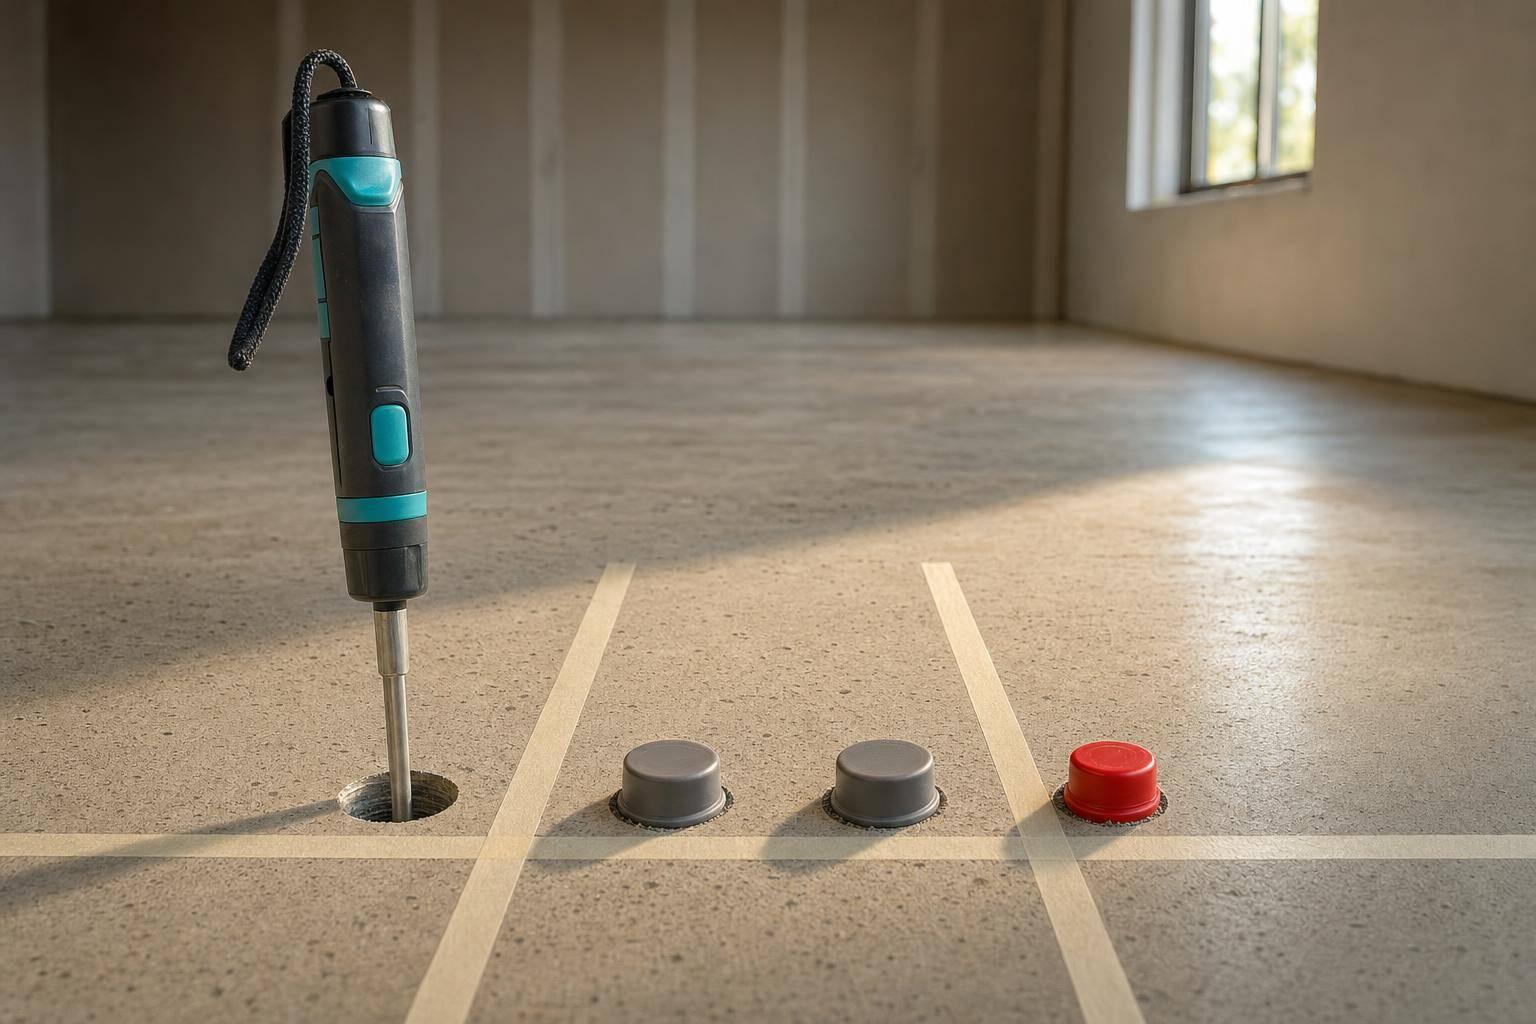
While F1869 focuses on the surface, ASTM F2170 checks the slab from the inside out. Contractors drill holes to 40% of the slab’s thickness for slabs drying from one side, or 20% for slabs drying from both sides. Sleeves are installed first, then RH probes are inserted and sealed. The probes must sit for at least 24 hours to equilibrate before readings are taken. The result is a percent RH reading that shows the internal moisture the coating will face after installation.
This test helps when a slab looks dry but still holds moisture below the surface. In plain terms, a slab can pass a surface check and still run into failure later if the internal RH is too high.
Use the table below to compare what each method shows.
| Test Method | What It Measures | Test Duration | Common Tools | Main Strengths | Limitations |
|---|---|---|---|---|---|
| Plastic Sheet Test | Visible surface condensation or darkening | About 24 to 72 hours | Clear plastic sheeting, tape | Fast, low cost, no equipment needed | Qualitative only; not ASTM-standardized |
| ASTM F1869 | MVER (lbs/1,000 sq. ft./24 hr.) | 60–72 hours | Calcium chloride kits, sealed domes | Standardized, widely recognized | Surface-focused; misses deep slab moisture |
| ASTM F2170 | Internal slab RH (%) | 24+ hours for probe equilibration | Drill, sleeves, RH probes | Reflects long-term internal moisture conditions | Requires proper hole depth and probe discipline |
Use these readings against the coating manufacturer’s moisture limits before deciding the slab is ready. This step is vital when selecting from the top industrial floor coatings to ensure long-term adhesion.
3. How to Read Moisture Test Results Before Installing a Coating
After testing, compare each reading to the coating system’s published limits. Your only pass/fail standard should be the product TDS and installation guide. There isn’t one universal pass/fail number that works for every coating system.
What Acceptable Test Results Look Like
Crews usually check two limits:
- the maximum allowable MVER, measured in lb/1,000 sq. ft./24 hr.
- the maximum allowable internal RH, measured as a percentage
Each test point needs to be checked against the published limit for that system. A slab can look dry and still fail if the numbers come in above the product’s stated limits.
The table below shows how each test result lines up with risk level and the usual install decision.
| Test Type | Reading Format | Result vs. Limit | Likely Risk Level | Typical Installation Decision |
|---|---|---|---|---|
| Plastic Sheet Screening | Condensation/discoloration – Yes/No | No moisture visible | Low (surface only) | Proceed to formal ASTM testing |
| Plastic Sheet Screening | Condensation/discoloration – Yes/No | Moisture visible | Elevated (surface) | Perform ASTM F1869 and F2170 before making a final decision |
| ASTM F1869 Calcium Chloride | lb/1,000 sq. ft./24 hr. | Below limit | Low | Proceed if all other conditions are met |
| ASTM F1869 Calcium Chloride | lb/1,000 sq. ft./24 hr. | At limit | Moderate | Proceed only if the selected coating system allows it, or use mitigation |
| ASTM F1869 Calcium Chloride | lb/1,000 sq. ft./24 hr. | Above limit | High | Stop – do not install without mitigation or a system change |
| ASTM F2170 In Situ RH | % internal RH at 40% slab depth | Below limit | Low | Proceed with the coating if other conditions are met |
| ASTM F2170 In Situ RH | % internal RH at 40% slab depth | At limit | Moderate | Check the TDS carefully and use mitigation if allowed |
| ASTM F2170 In Situ RH | % internal RH at 40% slab depth | Above limit | High | Stop – do not install standard coatings; investigate the moisture source |
If even one reading is above the limit, fix that issue before coating. Treat any high-reading area as its own risk zone. Then retest or mitigate before moving ahead.
What to Do When Readings Are Too High
High readings don’t mean the job is over, but they do mean you need a plan. In most cases, crews have three paths.
First, they can delay installation and give the slab more time to dry. This tends to work best with newer slabs or readings that are only a little high. Retesting after a few weeks, while keeping temperature and humidity steady, shows whether conditions are moving in the right direction.
Second, they can track down and fix the moisture source. When older slabs keep testing high, the cause may be a missing or damaged vapor barrier, poor drainage, high groundwater, or a plumbing leak. Waiting alone won’t solve that. Fixing the source helps keep readings from climbing again after installation.
Third, they can use an approved moisture-mitigation system before the finish coat. Use an approved moisture-mitigation system, then retest before installing the finish coat.
Coating over a wet slab can lead to top causes of concrete coating failures like blistering, delamination, and peeling within months.
4. Moisture Testing Protects Coating Performance
Once the slab is tested, the numbers tell you if the job can move ahead. Moisture tests turn slab conditions into clear pass/fail data before coating installation. In plain terms, the readings show whether the slab is inside the install limits.
Those limits matter because coating life depends on what the slab is still giving off. Only readings that stay within the published limit support long-term bond performance. If the numbers fall outside the coating system’s published limits, the right move is to delay the job, mitigate the moisture issue, or switch to a different system before install. That simple, data-based step helps cut the risk of common concrete coating defects like bond loss, peeling, and blistering.
For North Idaho and Eastern Washington projects, Croc Coatings includes slab evaluation before installation. That matters in North Idaho and Eastern Washington, where seasonal moisture can shift slab conditions.
Moisture testing is the last check before coating – and the first line of defense against failure.
FAQs
Which moisture test matters most before coating?
The in-situ relative humidity (RH) probe test under ASTM F2170 is widely seen as the most reliable moisture test to run before installing a coating. It checks moisture inside the slab, which gives you a much better read on what the floor conditions will look like after the surface is sealed.
Surface tests like calcium chloride and electronic moisture meters still have their place. They can help with early screening. But the RH test is the main standard for helping prevent bond loss, blistering, delamination, and peeling.
Can a concrete slab look dry but still fail testing?
Yes. A slab can look dry or seem cured after 28 days and still hold a lot of moisture below the surface.
Concrete is porous, so that hidden moisture can move upward after a coating is applied. When that happens, you can end up with blistering, peeling, or delamination. A quick visual check – or just waiting a set number of days – isn’t enough. To measure moisture inside the slab, use in situ relative humidity testing (ASTM F2170).
What should I do if one test result is too high?
If a test result is above the manufacturer’s limit, deal with the extra moisture before coating. That step can help prevent bond failure, peeling, and blistering.
A few common fixes include letting the slab dry longer, running dehumidifiers, improving airflow, applying heat, installing a vapor barrier, or using a moisture-mitigating primer. Mechanical prep, like diamond grinding or shot blasting, can also help.
One more thing: always retest before you move forward.