A failed floor coating can cost more to fix than the first install. In many cases, a 2-car garage redo runs about $3,500 to $6,000, with removal alone at roughly $800 to $1,500.
If I wanted to avoid that bill, I’d focus on four things from the start:
- Surface prep: diamond grinding to the right concrete profile
- Repairs: fixing cracks, pits, and weak spots before coating
- Moisture testing: because a slab can look dry and still fail
- System choice: a longer-life coating with warranty coverage
The big point is simple: most redo costs come from skipped prep, missed moisture, or install mistakes. A pro crew lowers that risk by following the same steps in the right order and using a coating built for hot tires, road salt, UV, and freeze-thaw stress.
Here’s the short version:
- DIY kits may cost $400 to $1,200 up front, but often last only 3 to 5 years
- A pro Penntek install may cost about $2,800 to $3,600 for a 2-car garage
- Over 10 to 20 years, repeat recoats, downtime, and removal can make the cheap option cost more
- A lifetime residential warranty changes the long-term risk
| Cost factor | Lower-cost DIY epoxy | Pro Penntek install |
|---|---|---|
| Upfront cost | $400–$1,200 | $2,800–$3,600 |
| Service life | 3–5 years | 15–20+ years |
| Redo risk | Higher | Lower |
| Warranty | Little to none | Lifetime residential |
If I were comparing quotes, I wouldn’t just ask, “What does it cost today?” I’d ask, “What will it cost me if this floor fails in 2 years?”
The Main Causes of Floor Coating Failures
Most floor coating problems start before the topcoat ever goes on. The trouble usually begins in the prep stage or in the slab itself. And that’s what turns a cheap coating job into a full tear-out and redo.
Poor Surface Prep Leads to Peeling and Delamination
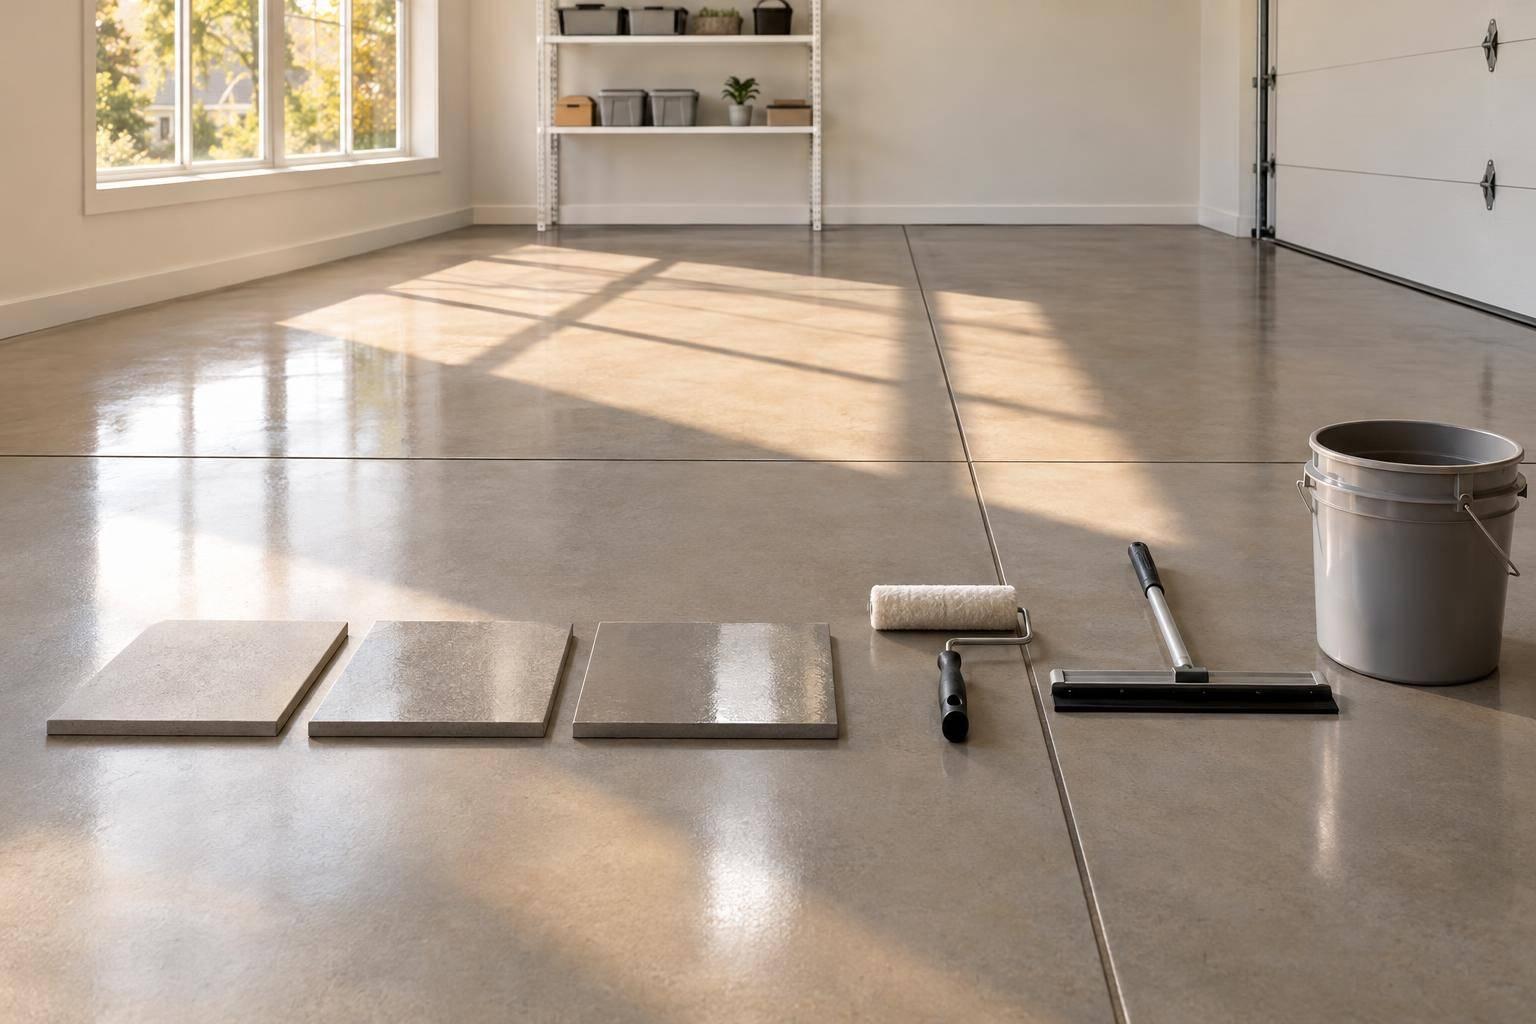
How well a coating sticks comes down to the texture of the concrete. For many epoxy and polyurea systems, the usual target is a Concrete Surface Profile (CSP) of 2–3. If the slab is too smooth, the coating just sits on the surface instead of gripping it. That’s why skipping grinding or relying on acid etch often causes bond problems from the start.
Surface contamination causes the same kind of trouble. Oil, grease, old sealer, curing compounds, and leftover dust can all get in the way of adhesion. Once the floor sees traffic, those weak points often show up as peeling, blisters, or small spots of delamination.
Missed Repairs and Moisture Problems Shorten Coating Life
A coating won’t hide slab damage. Cracks, spalls, and soft spots tend to show right through the finished floor, and they often become the first places where the system breaks down. If the slab has damage, it needs to be patched with a compatible filler before the base coat goes on, not after.
Moisture is a different issue, and in many cases, it does more damage. Concrete slabs keep releasing moisture vapor over time. If that vapor gets trapped, pressure builds at the bond line between the slab and the coating. Industry guidance warns that moisture release above 3 lbs per 1,000 sq. ft. per 24 hours does not work with most standard epoxy and polyurethane systems.
That’s the tricky part: a slab can look dry and still give off enough moisture to force a coating off the concrete. This matters in North Idaho and Eastern Washington, where seasonal moisture and temperature swings put extra stress on slabs.
And even if the slab is in good shape, the job can still go sideways during installation.
Application Errors Cause Thin Spots, Cure Problems, and Early Wear
A well-prepped slab still won’t save a coating from bad application. Wrong mix ratios, poor mixing, or missed recoat windows can lead to soft spots, brittle areas, and weak bond strength. If the material isn’t mixed long enough, you can end up with uneven cure zones that show up later as soft or discolored patches.
Polyaspartic coatings move fast. Their pot life is only 15–45 minutes. If the crew isn’t working with care and speed, the material can start setting before it’s fully spread. That can leave behind uneven texture and poor adhesion.
These mistakes tend to show up first in the hardest-working parts of the floor, like:
- Tire paths
- Door thresholds
That’s also what makes them expensive. Fixing thin coverage or cure issues usually means full removal and recoating, which drives up the total cost. These are the kinds of failures pro crews are there to stop before they happen.
The next step is a process that catches these issues before the coating goes down.
sbb-itb-a0e5ae3
How Professional Installation Prevents Costly Redos
Professional installation helps stop peeling and delamination by dealing with slab problems before any coating goes down. That’s the whole game: prep first, coating second. When an installer sticks to a set prep-and-coating process, expensive do-overs are far less likely.
Inspection, Repairs, and Moisture Testing Come Before Any Coating
A solid job starts with inspection, moisture testing, and repairs. If the slab is damp or damaged, it gets fixed before the coating begins. That order matters.
Moisture levels above 3 lbs/1,000 sq. ft. MVER can lead to delamination, and a slab may look fine to the eye while still failing the test. That’s why pros don’t rely on appearances alone. They test first, then repair what needs attention. The base coat comes after that work is done, not before.
Diamond Grinding and Controlled Prep Build a Stronger Bond
After repairs, diamond grinding gives the slab the profile the coating needs to bond well, usually a CSP-2 or CSP-3. Put simply, it gives the coating something to grab onto.
This step isn’t just for the middle of the floor. Edges, transitions, and control joints need the same prep as the main field. Those are often the first places where trouble starts, especially at door thresholds and wall edges where wear tends to pile up.
A Defined Coating Sequence Cuts Installation Errors
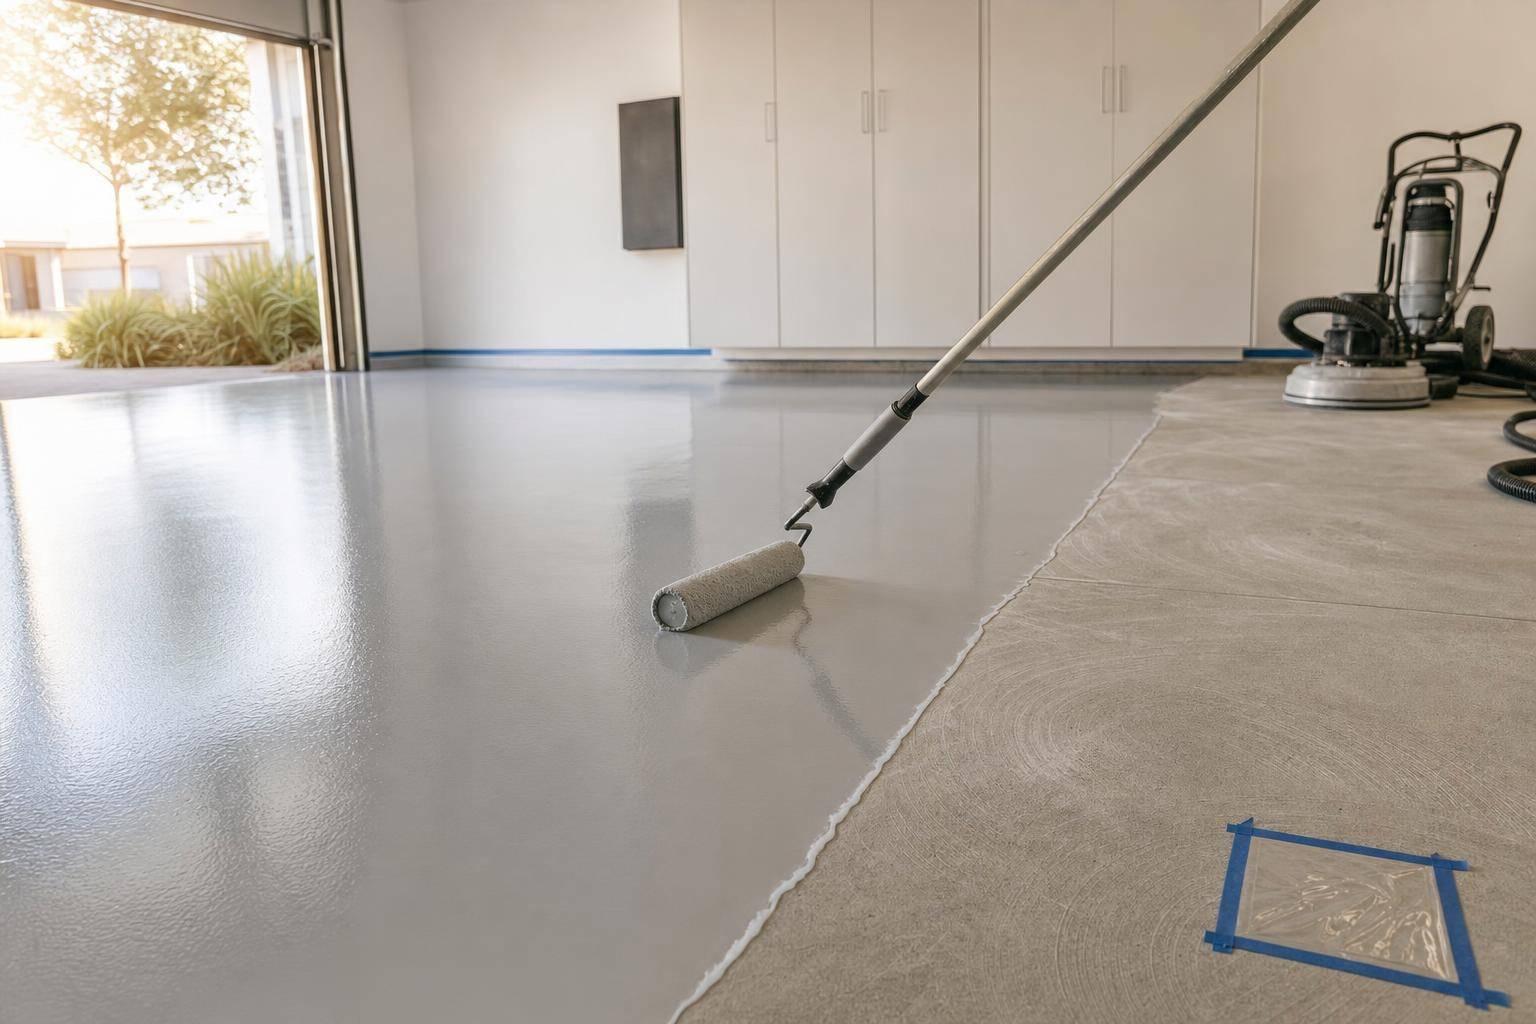
A repeatable process cuts down on the small mistakes that turn into big callback costs later. The sequence is straightforward:
- inspect
- test moisture
- repair
- grind
- clean
- apply the base coat
- broadcast chips, if the system uses them
- scrape off excess material
- apply the topcoat
- allow full cure
Each step builds on the one before it. Skip one, rush one, or cut a corner, and that’s when thin spots or curing issues can creep in and show up later as a redo.
Croc Coatings, which serves North Idaho and Eastern Washington, completes this full process in a single day. That one-day timeline also helps limit weather exposure during installation in North Idaho and Eastern Washington. Their YouTube videos show the workflow in action. This process matters even more when the coating system is meant to last for years and comes with warranty coverage.
Why Penntek Coatings and Warranty Coverage Matter in Cost Planning
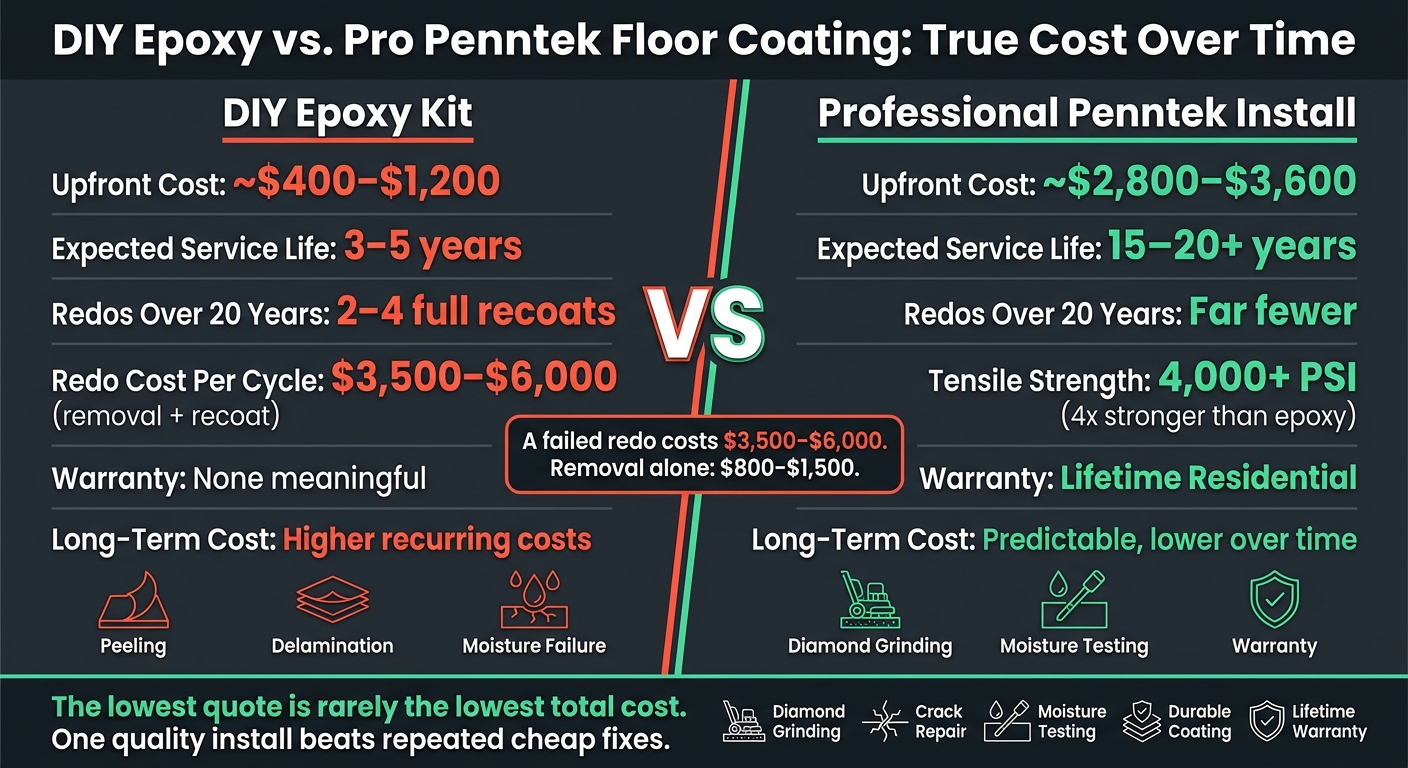
DIY Epoxy vs. Pro Penntek Floor Coating: True Cost Comparison
Even with near-perfect prep, you can still get hit with redo costs if the coating system gives out too early. Once prep and application are handled the right way, the next thing that shapes cost is simple: how long the floor lasts.
Penntek Durability Lowers the Chance of a Full Recoat
The Penntek Evolution system that Croc Coatings installs is promoted as 4x stronger than traditional epoxy. It uses an industrial polyurea/polyaspartic build with 4,000+ PSI tensile strength and 300%+ elongation, which helps the coating move through freeze-thaw cycles instead of cracking or pulling away from the slab.
That strength matters in day-to-day use. It can better handle hot-tire pickup, abrasion from grit and gravel, and contact with road salt, oil, and brake fluid. Its UV-stable topcoats also help patios and garage entries hold their color instead of yellowing in the sun.
In North Idaho and Eastern Washington, floors take a beating from snowmelt, de-icing salts, and seasonal freeze-thaw stress. A weaker coating may wear down sooner, which can push you into another full recoat earlier than planned. A stronger system cuts that risk and can play a direct role in avoiding those added costs.
A Lifetime Residential Warranty Changes the Cost Picture
After install quality, warranty coverage is the next big piece in redo risk. Croc Coatings backs Penntek residential installs with a lifetime warranty on qualifying issues such as peeling or delamination.
That changes how you look at the floor. Instead of seeing it as a surface you may need to redo every few years, you’re looking at a longer-term upgrade with fewer expected callbacks and fewer surprise costs.
DIY Recoat Cycle vs. Professional Penntek Installation: Cost Comparison
The budget question isn’t just the first bill. It’s the total cost over the life of the floor.
| Factor | DIY Epoxy Kit | Professional Penntek (Croc Coatings) |
|---|---|---|
| Upfront Cost (2-car garage, ~400 sq ft) | ~$400–$1,200 in materials | ~$2,800–$3,600 |
| Expected Service Life | About 3–5 years | 15–20+ years |
| Likely Redos Over 10–20 Years | 2–4 full recoats | Far fewer recoats |
| Warranty | None meaningful | Lifetime residential |
| Long-term cost | Lower upfront cost, higher recurring cost | Higher upfront cost, more predictable long-term cost |
That service-life gap is the main reason a pro install can cut redo costs. Over time, it reduces repeat prep, repeat material purchases, repeat labor, and repeat downtime.
Conclusion: Spend More Carefully Up Front to Spend Less Over Time
The lowest quote almost never means the lowest total cost.
Here’s why: when a floor coating fails, you’re not just paying for a new coating. You’re also paying for removal, re-prep, downtime, and the mess that comes with doing the job again. In many cases, a redo wipes out whatever you saved on the cheaper install. And those failures usually come from the same problems covered in this article: poor prep, missed moisture issues, and application mistakes.
A qualified crew starts with the slab. They inspect the concrete first, spot moisture problems, repair cracks and spalling, and use diamond grinding to create the bond the coating needs to stay put. Pair that process with a durable Penntek Evolution system, and you get a floor built to last.
A lifetime warranty also matters. It moves more of the long-term risk away from the homeowner.
For local property owners, that means fewer surprises and fewer redo cycles. Croc Coatings serves homeowners and small business owners across North Idaho and Eastern Washington – including Spokane, Coeur d’Alene, the LC-Valley, and the Tri-Cities – with one-day Penntek Evolution installations backed by a lifetime residential warranty. With that kind of coverage, you’re planning for one quality installation instead of a future redo.
Key Takeaways for Homeowners and Small Business Owners
The message is straightforward: pay for the right process once instead of paying for repairs later.
- Prep matters: Diamond grinding helps create the surface profile coatings need to bond.
- Repairs matter: Fixing cracks, pits, and spalling before coating helps stop flaws from showing through or getting worse later.
- Moisture testing matters: Moisture testing before coating cuts the risk of blistering and delamination.
- Product quality matters: Penntek is made for long-term wear and freeze-thaw movement.
- Warranty coverage matters: A lifetime residential warranty shifts more of the long-term financial risk off the homeowner and makes total-cost planning easier than focusing only on the first quote.
FAQs
How do I know if my slab has a moisture problem?
Professionals check a slab for moisture issues with moisture meters, RH probes (ASTM F2170), or calcium chloride tests (ASTM F1869).
You can also do a quick at-home check with the plastic sheet test (ASTM D4263). Tape a piece of clear plastic to the floor and leave it in place for 18 to 24 hours. If you see condensation or the concrete looks darker under the plastic, that can point to trapped moisture.
As a general rule, slabs should stay below 4% to 4.5% moisture or 75% relative humidity.
What does diamond grinding do for coating adhesion?
Diamond grinding is the main mechanical prep step for getting a durable bond between concrete and the coating.
It removes surface contaminants like oil, laitance, old sealers, and dense surface paste. At the same time, it opens up the concrete’s pores and creates a Concrete Surface Profile.
That matters because the coating can sink into the surface and grip the concrete. Instead of just sitting on top, it forms a strong mechanical bond.
Is a higher upfront coating cost worth it long term?
Yes. Paying more at the start can save money later.
Premium systems like Penntek Evolution often cost $5,000 to $12,000 for a typical garage. But they can last 15 to 20+ years.
That longer lifespan changes the math. With professional installation and a lifetime residential warranty, you can avoid the repeat costs that come with cheaper floors, like removal, reapplication, and repairs. Over the life of the floor, the total cost can make a lot more financial sense.