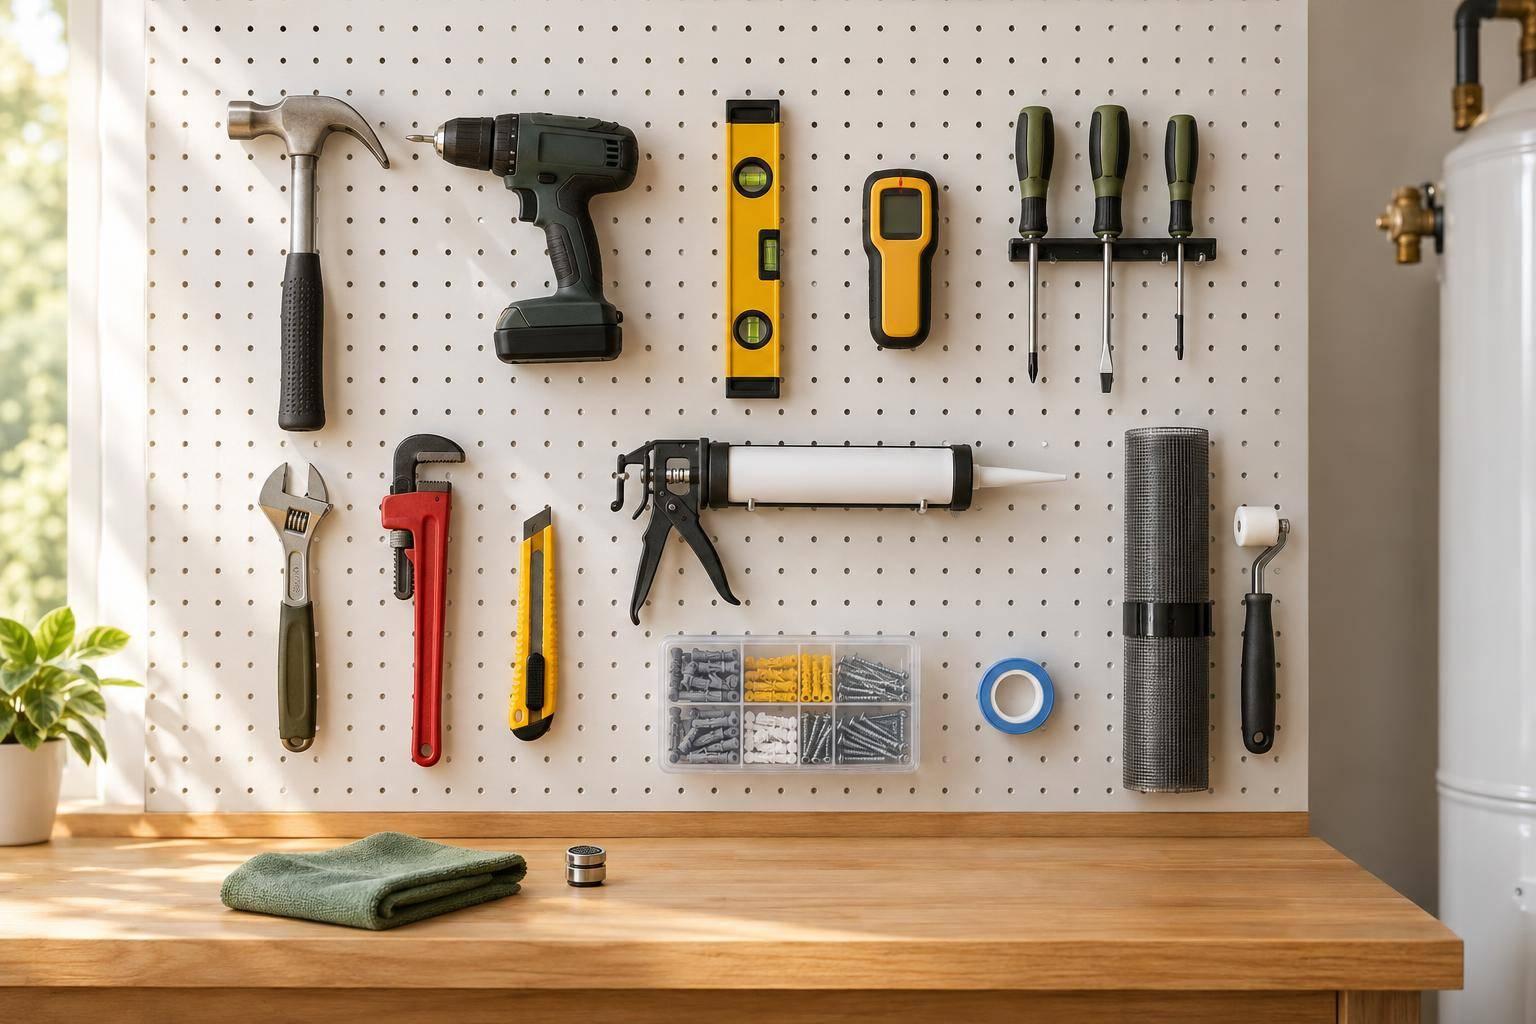
A garage upgrade can make a property look better. A leak detector can help protect what is already there. Both have value – but they solve very different problems.
The video 20 Home Improvement Tips Every Homeowner Should Know brings together maintenance tasks, tool advice, and manageable DIY projects. Its most useful lesson is not that homeowners should tackle everything themselves. It is that good improvements begin with understanding the problem, choosing suitable materials, and knowing when a quick fix is not enough.
For homeowners and small business owners in Coeur d’Alene, Hayden, Post Falls, Spokane, and the Tri-Cities, that framework offers a practical way to organize projects involving garages, workspaces, bathrooms, and other frequently used areas.
Rather than treating the video as a checklist to complete, consider its ideas in three categories: protecting the property, improving daily function, and reducing avoidable installation mistakes.
Start With Protection Before Appearance
Decorating and convenience upgrades deliver visible results. Maintenance often does not – until something goes wrong. The video’s discussion of leaks, water heaters, and mold makes a strong case for addressing hidden risks before cosmetic projects.
Pair leak detection with a response plan
The video recommends placing water alarms near potential trouble spots, including sinks, laundry equipment, toilets, and water heaters. It also distinguishes basic audible alarms from connected devices.
The important comparison is not simply "basic versus smart." It is detection versus response. An alarm identifies a problem; it does not explain which valve to close or how to manage the cleanup.
A useful planning sequence is:
- Identify accessible water shutoffs.
- Determine which fixtures or areas each valve serves.
- Place detectors where escaping water is likely to reach them.
- Include alarm checks in the maintenance routine.
- Decide which situations require professional assistance.
The video suggests monthly detector checks. Its broader value is the reminder that emergency preparation should happen before an emergency.
Water and electrical equipment require particular caution. The video recommends disconnecting power where leaks affect electrical devices, but a safe procedure for every possible situation is not specified in the video. Treat the segment as preparation advice, not a complete emergency-response manual.
Make water-heater maintenance equipment-specific
The video presents annual tank flushing as a maintenance task intended to remove accumulated sediment. It also acknowledges that viewers need instructions for their particular heater.
That qualification matters more than the apparent simplicity of attaching a hose. Shutdown, cooling, draining, and restarting are connected steps; a mistake in one can affect the others.
For a homeowner deciding between DIY work and outside help, the useful question is: Can I confidently follow the complete instructions for this exact unit?
Model-specific procedures, exceptions, and service requirements are not specified in the video. Its appropriate role is to prompt a maintenance review – not replace the equipment manual.
Treat suspected mold as a moisture investigation
The video encourages visual checks around plumbing, bathrooms, windows, and areas affected by leaks. It also discusses consumer testing kits.
The stronger takeaway is that testing and prevention answer different questions. A sample may provide information about what is present, while an inspection seeks the condition allowing it to develop.
A comprehensive interpretation of test results and a remediation procedure are not specified in the video. Likewise, its brief mention of vinegar should not be treated as a complete response to a suspected mold problem.
For decision-making purposes, prioritize the underlying question: Where is the moisture coming from, and has that problem been resolved?
sbb-itb-a0e5ae3
Choose Tools by the Job – not by Familiarity
Several segments focus on inexpensive items: wall anchors, fastener gauges, extension cords, measuring tapes, and nail-holding aids. Their shared message is that the correct small tool can matter more than a larger tool collection.
Wall anchors require more than a weight number
The video compares expansion anchors, threaded anchors, and toggle-style fasteners. It also emphasizes mounting weight, wall material, pilot-hole size, and avoiding concealed utilities.
The practical insight is that an anchor is part of a system:
- The object has a weight and mounting arrangement.
- The wall has a material and condition.
- The fastener has installation requirements.
- The surrounding area may contain pipes or wiring.
The video describes toggles as a strong option, but specific product comparisons and application limits are not specified. That makes "choose the biggest-looking anchor" a weaker strategy than matching the fastener to the actual installation.
An anchor that rotates in its hole is a warning, not a finished job. The video explicitly flags this as a reason to reassess the installation.
Extension-cord selection needs context
The video explains that lower gauge numbers indicate thicker conductors and offers examples of gauges for different equipment.
Those examples are useful orientation, but they should not become universal rules. The video itself advises checking labeling and choosing an appropriate length. A complete equipment-specific sizing chart is not specified.
For a garage or small workshop, the best lesson is to verify compatibility before plugging in rather than assume that any cord reaching the outlet will do. The video also discourages connecting multiple extension cords in sequence.
It associates melted cords with incorrect gauge, but a complete diagnosis of cord overheating is not specified in the video. That distinction prevents a simplified explanation from becoming false reassurance.
Fastener measurements prevent replacement mistakes
A screw or bolt gauge helps identify dimensions that are difficult to judge by eye. The video also explains that measurement conventions differ depending on whether the head sits above or within the surface.
This advice becomes especially useful when replacing missing hardware: a close visual match is not the same as a verified fit.
The video briefly contrasts materials for indoor and outdoor use, but a complete corrosion-resistance guide is not specified. Use the segment as a reminder to check both dimensions and intended application.
Make Precision a Habit
Measuring, marking, and positioning appear repeatedly throughout the video. These are not glamorous tasks, but they connect many successful improvements.
Measure for the decision you need to make
The video highlights readable tape markings, an attachment notch, careful corner measurements, and recording dimensions.
The larger lesson is to measure before committing – whether that commitment means purchasing furniture, cutting screen material, or drilling a wall.
A simple project record can include:
- Available space
- Item or material dimensions
- Mounting-point locations
- Any uncertainty that still needs checking
The video’s measuring advice is particularly relevant to garages, where storage, vehicles, and access must share the same space. It does not provide layout dimensions or clearance standards, so those details remain project-specific.
Use removable guides to test placement
Painter’s tape serves two purposes in the video: transferring mounting locations and visualizing where an item will sit.
That makes it more than a marking shortcut. It is a low-commitment way to evaluate a layout before making holes.
For multiple frames, the approach separates two decisions that are easy to confuse:
- Does the arrangement look right?
- Are the attachment points accurately located?
The same planning principle carries into other projects: resolve placement first, then install the appropriate hardware.
Small safety aids can improve control
The video demonstrates holding a nail with a clothespin or a slotted piece of cardboard to move fingers away from the hammer’s path.
This is a good example of a modest tool solving a specific problem. It does not make every nailing task safe or suitable, but it shows how a simple setup change can reduce awkward hand positioning.
Improve Daily Function With Focused Upgrades
The video’s convenience projects work best when they address a clear frustration rather than add features for their own sake.
Make garage parking repeatable
A suspended ball, a laser guide, and a floor stop all aim to solve the same problem: stopping the vehicle in a consistent position.
Their differences are practical:
| Option | Planning question |
|---|---|
| Suspended marker | Will an overhead visual reference be convenient here? |
| Laser guide | Is there a clear, repeatable target inside the vehicle? |
| Floor stop | Is the chosen stopping position suitable before installation? |
The video demonstrates these options but does not specify compatibility with particular floor finishes or coatings.
For anyone considering a garage-floor renovation, the useful connection is sequencing: decide how the space should function before committing to fixed accessories. A finished floor and a well-planned garage serve different purposes; one does not automatically deliver the other.
Keep automation as simple as the need
The video presents remote-controlled plug-in outlets as an alternative to app-based systems.
Their appeal is straightforward control. For someone who only wants to switch a lamp from a chair, additional connectivity may not improve the experience.
The video mentions other appliances, but device-specific compatibility and electrical limits are not specified. The analytical takeaway is therefore narrow: simple automation can be enough when the task itself is simple.
Match lighting to how a room is used
The lighting segment contrasts a warmer atmosphere with a brighter, daylight-like appearance and discusses LED flicker.
Its most useful contribution is encouraging intentional choices by room. A relaxing area and an active workspace do not necessarily need the same lighting experience.
However, a technical flicker-testing method and a complete bulb-selection guide are not specified in the video. Use its observations to identify preferences and problems rather than treat them as a universal prescription.
Distinguish Manageable DIY From Complete Instructions
Privacy film, screen replacement, lock changes, showerhead upgrades, and vent-cover cleaning are presented as approachable projects. They share a useful pattern:
Measure or inspect first, prepare the surface or components, install carefully, and check the result.
Privacy film and screens reward preparation
The privacy-film segment emphasizes clean glass, modest excess material, careful trimming, and patience while removing bubbles. The screen segment similarly focuses on fit, spline selection, and controlled installation.
Together, these examples show why preparation often determines whether a small project looks professional.
The video describes its film installation as temporary, but suitability and removability for every film product are not specified. Product instructions remain important.
Locks and showerheads still need fit checks
The video makes replacement hardware appear accessible with basic tools. Its demonstrations also include alignment checks, cautious tightening, and testing.
Those checks are the more transferable lesson. "Common fit" should not be interpreted as "every replacement fits every existing installation."
Universal door compatibility and connection requirements for all showerheads are not specified in the video. Confirming the actual fit is part of the project, not an optional step after purchase.
Cleaning shortcuts need boundaries
The video shows several uses for a blower beyond leaves, along with vent-cover cleaning. The appeal is efficiency, but moving debris and removing it are not always the same thing.
Detailed safe procedures for every suggested blower application are not specified. Similarly, cleaning a visible vent cover is a limited task, not a complete assessment of the ventilation system.
The useful principle is to define the cleaning goal first: improve appearance, remove accessible debris, or investigate a performance problem. Those are different jobs.
Key Takeaways
- Prioritize protection: Identify shutoffs and check leak alarms before starting cosmetic upgrades.
- Follow equipment-specific guidance: The video’s water-heater discussion is a maintenance reminder, not a full service procedure.
- Match hardware to the installation: Consider wall material, mounting weight, fit, and product instructions together.
- Verify extension-cord suitability: Do not rely solely on a broad tool-category example.
- Plan before drilling or cutting: Record dimensions and use removable guides to evaluate placement.
- Choose convenience upgrades around actual needs: Parking aids and simple remote outlets should solve a recurring frustration.
- Treat moisture as the central issue: Mold testing does not replace finding and addressing a moisture source.
- Check every finished project: Alignment, stability, leaks, and operation matter as much as appearance.
A Better Way to Build Your Project List
The video’s collection of ideas becomes more valuable when organized by consequence rather than novelty.
Start with issues that could damage the property. Next, correct recurring functional problems. Then move to visual improvements and convenience features.
For a home, garage, or small business workspace, that order supports a more deliberate investment: fewer avoidable mistakes, better use of the space, and upgrades chosen for what they accomplish – not merely how quickly they can be installed.
Source: "20 smart home improvement tips every homeowner should know" – Problem Solved, YouTube, Mar 22, 2026 – https://www.youtube.com/watch?v=nnxeJeEmVT8