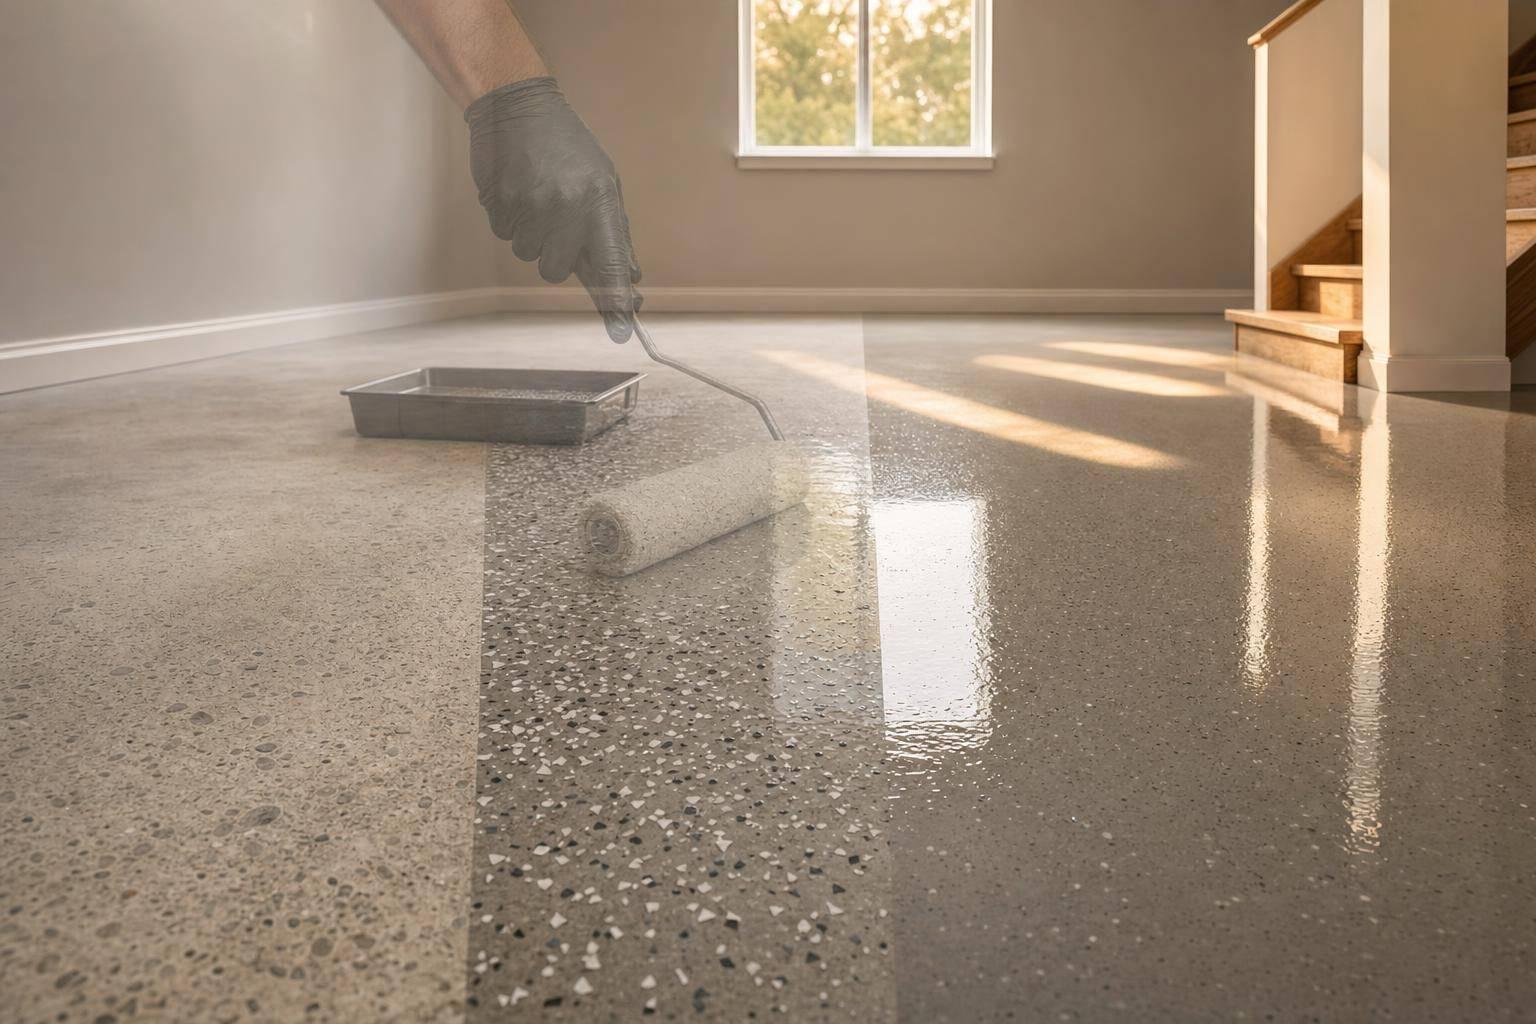
Most garage floor coating failures start before the coating is even mixed. If I had to boil this article down to one point, it’s this: prep decides the job. When crews grind to the right profile, fix cracks and spalls, clean up dust, and check for moisture, the floor is far less likely to peel, blister, or chip.
Here’s the short version:
- I need the concrete opened up to CSP 2–3, not left smooth or glossy.
- I need cracks, pits, and spalls repaired before coating starts.
- I need edges, corners, and door thresholds prepped to the same standard as the main floor.
- I need HEPA vacuuming and silica-safe dust control, not sweeping dust around.
- I need water-break and moisture checks, because even small contamination or slab moisture can lead to bond failure.
The article also makes one point very clear: in places like North Idaho and Eastern Washington, garage floors face freeze-thaw cycles, road salt, grit, and big temperature swings. That means weak prep tends to show up fast, often within the first seasons of use.
If I’m looking at what matters most, it comes down to five habits: profile, repair, detail, clean, and verify. Skip one, and the coating may bond to dust, oil, weak laitance, or damp concrete instead of the slab itself.
This is not about hype or fancy product claims. It’s about doing the prep work the same way every time so the finish looks better and lasts longer.
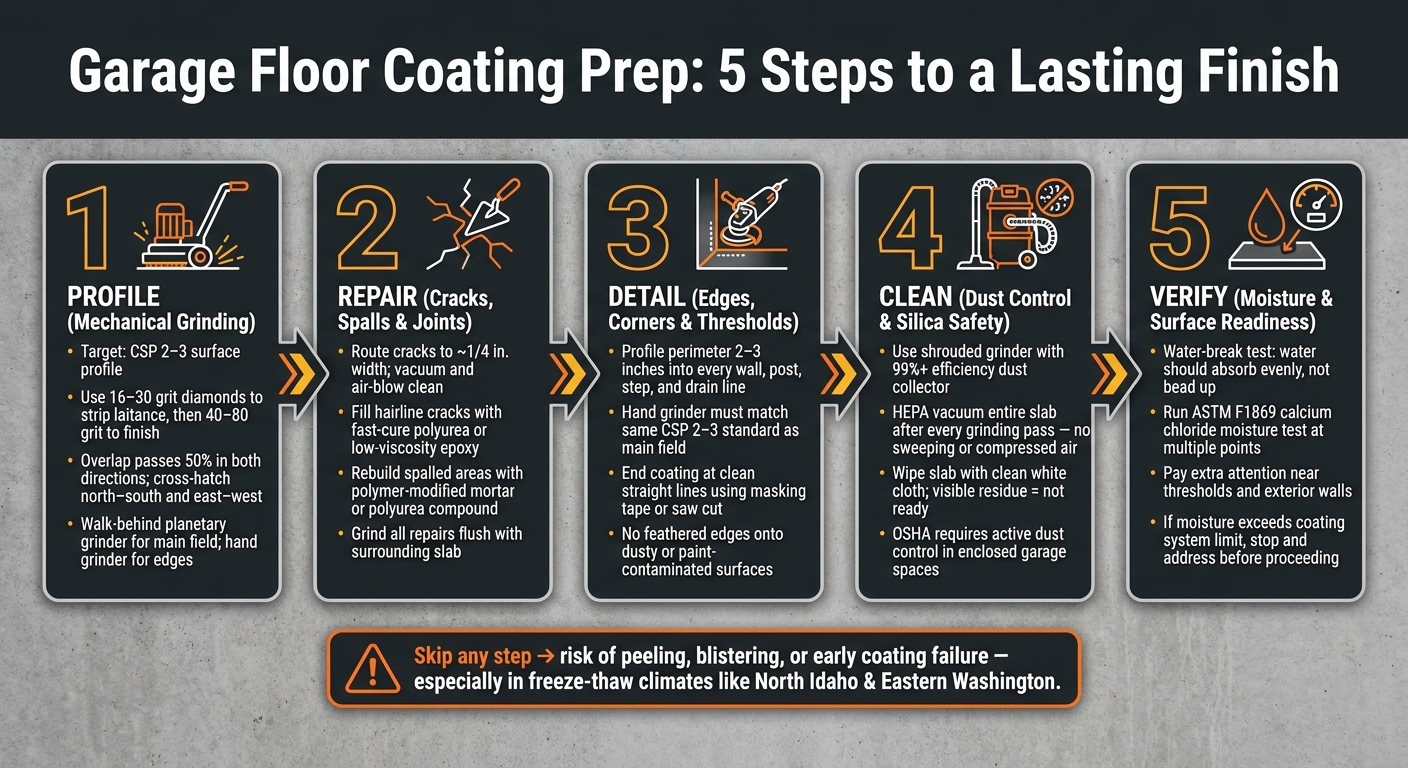
Garage Floor Coating Prep: 5 Steps to a Lasting Finish
How to Prep for Floor Coatings | Grinding
sbb-itb-a0e5ae3
Common Prep Problems That Lead to Coating Failure
Poor surface prep is behind most garage floor coating failures in residential and light commercial garages. And the pattern is pretty predictable. Crews often skip the same steps, then run into the same problems later. The issues below usually trace back to a small set of misses that need attention on every job.
Smooth or Contaminated Concrete Blocks Proper Bond
The top layer of concrete, called laitance, is a weak, dense film left behind during finishing. If a coating is applied over laitance that hasn’t been mechanically removed, it sticks to that brittle film instead of the sound concrete under it.
Oil, grease, tire shine, old sealers, and road grime make things worse. These materials can soak into the concrete and stay hidden during a visual check. A slab may look clean after one wash and still reject coating where oil has soaked in. That often happens under parked vehicles, near workbenches, and along door thresholds. When that happens, you can end up with fish-eyes, bald patches, and peeling in small areas.
A water-break test is a fast way to check the slab: if water beads up instead of spreading out in a sheet, the surface isn’t ready. Once the slab is clean and you assess the concrete surface profile, the next trouble spots are cracks, spalls, and joints.
Cracks, Spalls, and Untreated Joints Weaken the Floor
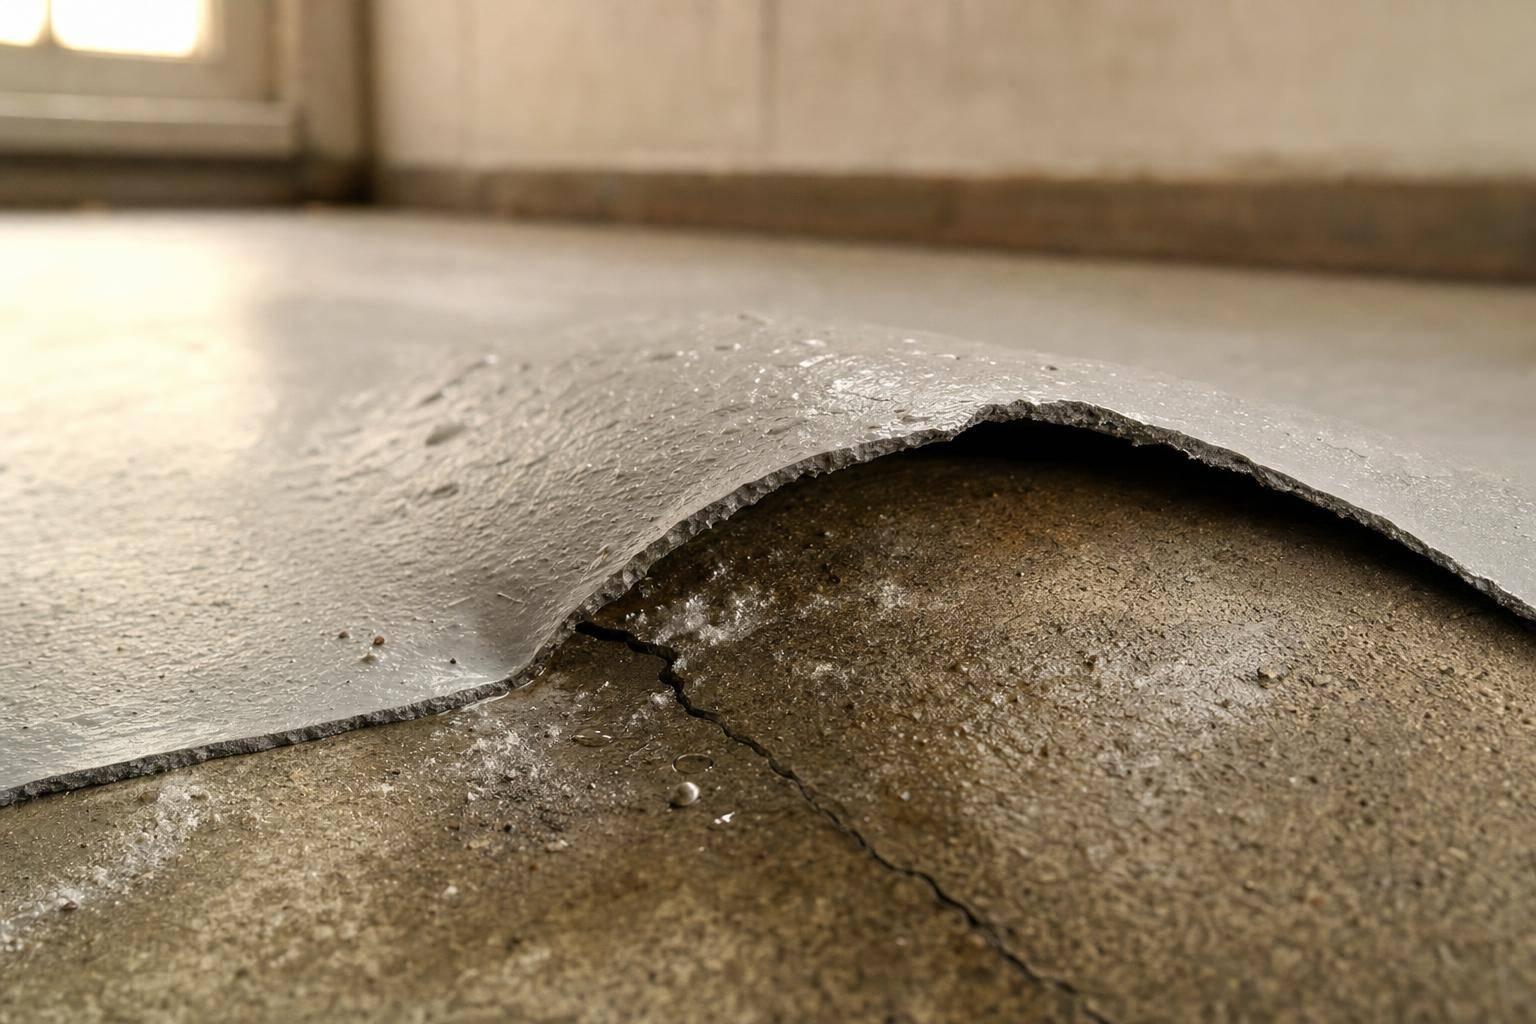
Coating over damage without fixing it first is the kind of shortcut that shows up fast after the job is done. When a coating bridges an active crack or an untreated joint, slab movement pushes through the coating as reflective cracking.
Spalled edges and broken joint areas also fail fast under tire load. As vehicles turn and press on these weak spots, the coating can chip and ravel. That leaves rough, uneven patches that hold moisture and grit. Proper repair means:
- routing cracks
- filling them with compatible semi-rigid polyurea or epoxy filler
- rebuilding spalled areas with polymer-modified mortar
- grinding repairs flush before coating
After those repairs, edge work is usually where prep quality starts to slip.
Missed Edges and Loose Dust Create Visible Weak Points
Perimeters, corners, and garage door thresholds are often the first places to fail. They’re also the first places people notice. Standard grinding equipment doesn’t reach these areas well, so they often get less prep and end up with a weaker surface profile than the main field. If bond strength is thinner at the edges, peeling usually starts there.
Dust creates another problem. Even a fine layer can act like a bond breaker by stopping direct contact between the coating and the slab. It also carries respirable crystalline silica, which means dry sweeping or using compressed air adds a safety risk. Dust removal in corners and along edges needs to be treated as both a quality-control step and a safety step. That makes dust control the last check before coating starts.
Prep Methods Crews Need to Learn and Repeat
Mechanical Grinding for the Right Surface Profile
Most coating failures trace back to one skill crews need to do the same way every time: controlled grinding.
Walk-behind planetary grinders cover the main field. Hand-held edge grinders handle walls, posts, and tight corners. Crews usually begin with an aggressive grit, like 16–30 metal-bond diamonds, to strip off laitance, old sealers, or thin coatings. Then they move to a mid-range grit, like 40–80, to hit the target profile. Vacuum between passes so the crew can stop and check the slab instead of grinding blind.
The target is Concrete Surface Profile of CSP 2–3. That means the surface should look evenly open, with no glossy or slick spots left behind. A good way to keep that profile even across the slab is to overlap passes by 50% in both directions, then cross-hatch north–south and east–west. That even CSP 2–3 gives the coating the mechanical tooth it needs. Any high-build garage floor system leans on this prep to bond well and stay put.
For most residential garages, diamond grinding is the go-to method. Shot blasting makes sense on heavily contaminated or very hard slabs. Acid etching doesn’t cut deep enough for professional-grade coatings, so it shouldn’t be part of high-performance prep training.
Repair Work That Blends with the Finished Floor
Once the slab has the right profile, crews need to fix damage before any coating goes down.
Start by routing cracks with a crack-chaser blade so they open to a steady width of about 1/4 in. Then vacuum and air-blow them clean. For hairline and narrow cracks, fast-cure polyurea or low-viscosity epoxy fillers are a good fit. They soak in deep and cure fast enough for same-day grinding and coating.
Pits and spalled areas take a bit more work. Crews should saw-cut the repair boundary to make a defined edge, then fill the area with a polymer-modified mortar or polyurea-based compound. After cure, grind the patch flush with the slab around it. That step is a big deal. High spots will show through thin-mil coatings, and weak or proud repairs can break down under vehicle tires, floor jacks, and rolling toolboxes.
Edge Prep and Threshold Detail Work
After repairs, the perimeter and threshold need the same prep standard as the rest of the floor.
Hand grinders should carry that same profile into every wall line, post, step, and drain. Mechanically profile the floor 2–3 inches into each wall, post, step, and drain line. If a smooth border is left behind where the walk-behind grinder couldn’t reach, that area is basically unprepped.
At the garage door threshold, crews should decide early if the coating will wrap onto the vertical lip or stop at a defined cut line. End the coating with a clean, straight line using masking tape or a saw cut. Where the garage meets an interior room or a different flooring material, the rule stays the same: straight transitions, clean masking, and no feathered edges onto dusty or paint-contaminated surfaces. These details belong in prep, not in finish work.
After the edges are profiled, the slab still needs one last dust check before coating.
Dust Control and Quality Checks That Protect the Finish
After grinding and crack repair, cleanup is still part of surface prep. It’s not a separate chore at the end. The last step before coating is simple: make sure the slab is clean enough, dry enough, and open enough to take the coating.
Dust Collection and Silica-Safe Cleanup
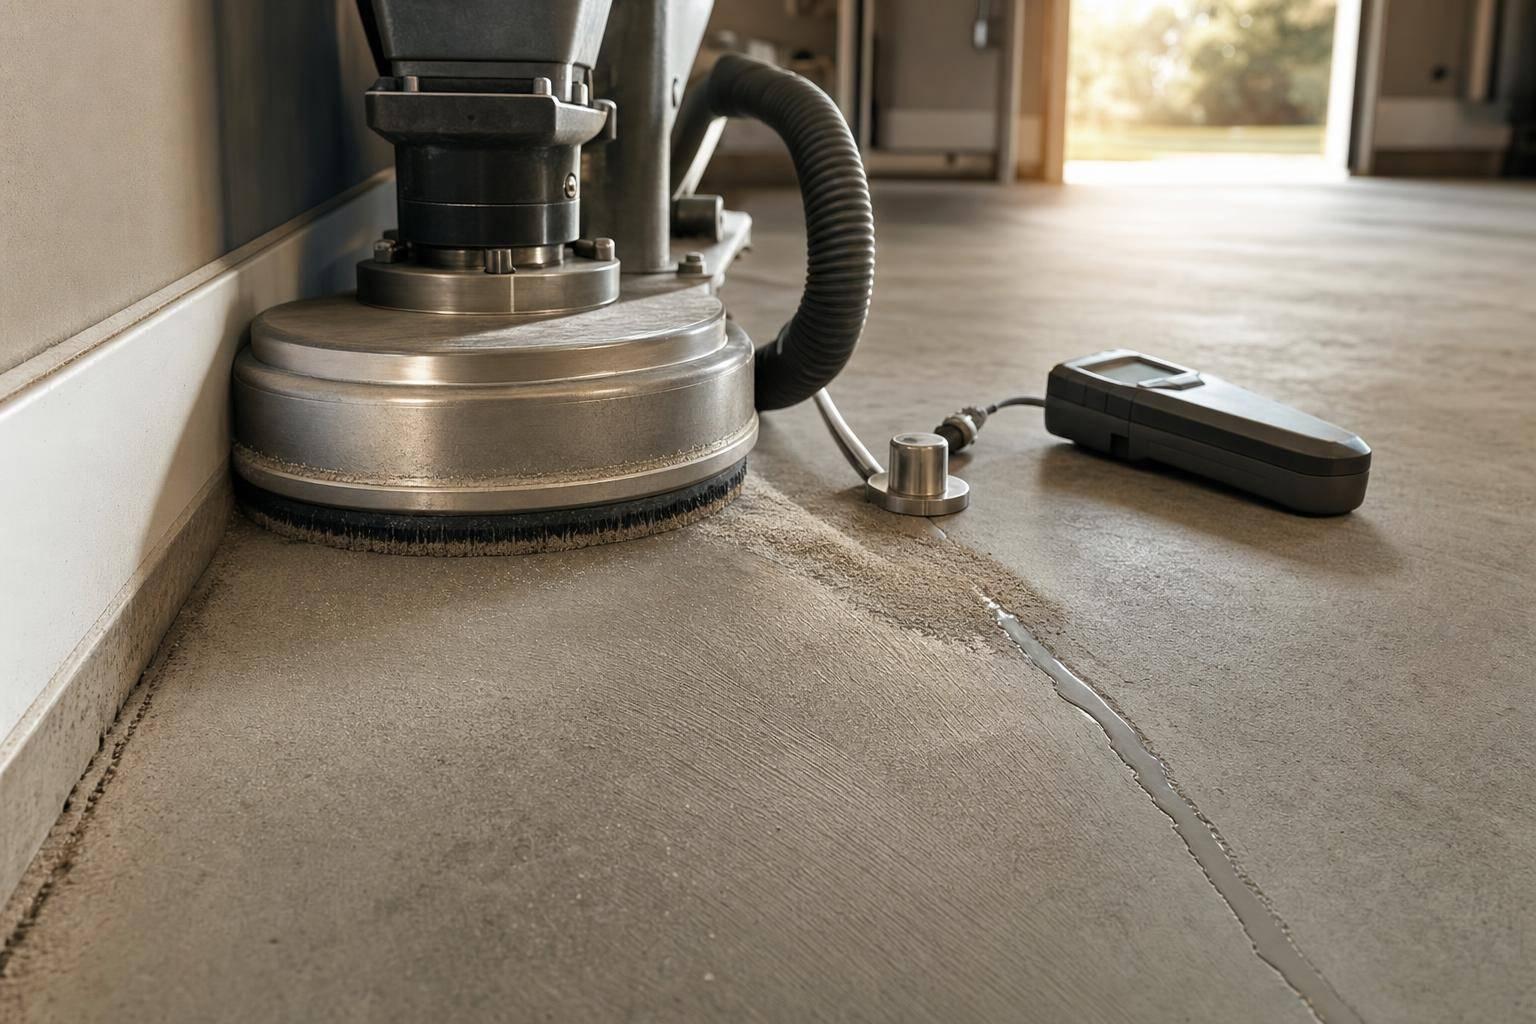
Concrete dust contains respirable crystalline silica, which is a serious long-term health risk. OSHA requires active dust control when grinding happens indoors or in enclosed spaces like garages. The right setup is a shrouded grinder hooked to a dust collector with 99%+ filter efficiency and an automatic filter-cleaning mechanism.
Between grinding passes and after the last pass, crews should HEPA vacuum the entire slab, including edges and control joints. Stick with HEPA vacuuming only. Sweeping and compressed air just throw dust back onto the floor, which can hurt bond strength.
That fine dust matters more than people think. If it stays on the slab, primer may not wet out evenly. A quick field check works well here: wipe the floor with a clean white cloth or glove after vacuuming. If you see residue, the slab is not ready.
Moisture and Surface Readiness Checks Before Coating
Once the slab is clean, the next question is whether it will actually accept coating the way it should. A simple spot water test helps check that. Drop a small amount of clean water on several areas across the floor and watch how fast the surface darkens and absorbs it.
What are you looking for?
- Even, steady absorption means the profile is uniform and the slab is clean.
- Water that beads up or sits on top usually points to contamination or an area that needs more grinding.
For moisture, use ASTM F1869 calcium chloride testing at several points, with extra attention near thresholds and exterior walls. If the slab is over the coating system’s moisture limit, stop and address that before moving ahead.
How Trained Prep Habits Improve Bond, Look, and Wear
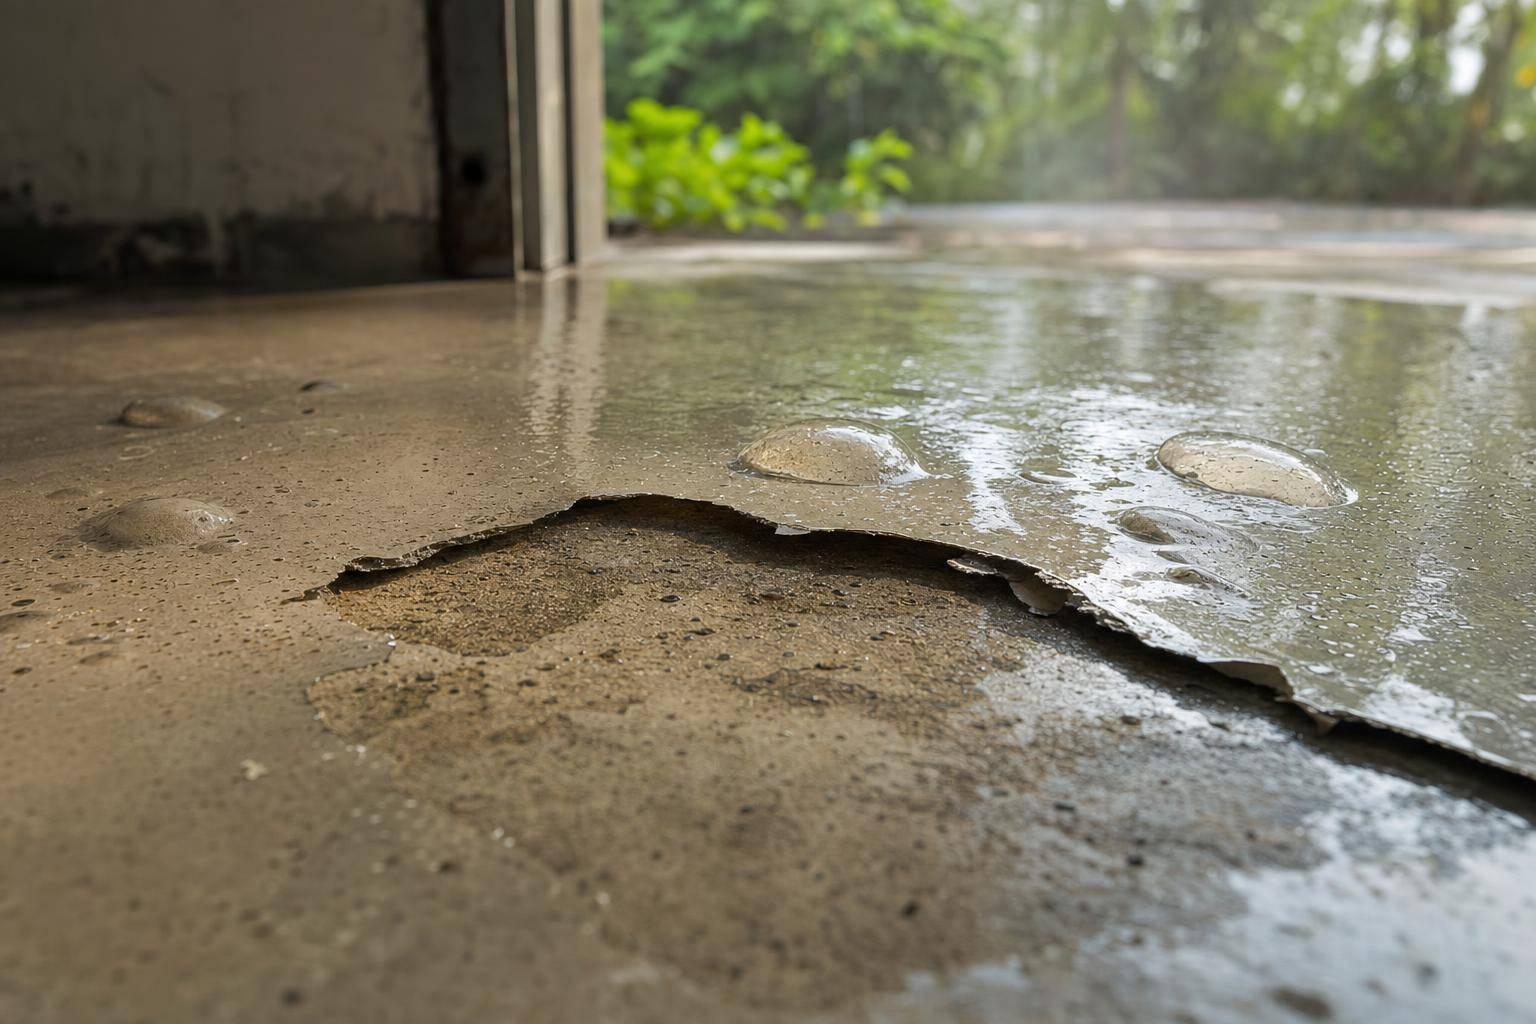
These checks have a direct effect on how the floor performs. Clean slabs let primer make full contact and help cut down on hot-tire pickup. Poor dust control can leave bumps in the finish, weaken adhesion, and lead to early peeling. Moisture and absorption checks help avoid blisters and delamination.
Moisture control matters even more in garages, where seasonal temperature swings put extra stress on the bond.
Conclusion: Better Prep Training Produces Better Garage Floors
Crews get better garage floor results when they follow the same prep routine on every job. Those steps shape bond, appearance, and wear. Do the prep right, and the coating sticks better and wears more evenly.
Skip grinding, and coating failures often show up early. Surface prep is what sets coating performance. The five habits that matter most are simple: profile, repair, detail, clean, and verify. When crews stick to them every time, results become more predictable: stronger bond, a more even look, and fewer callbacks.
In North Idaho and Eastern Washington, that gap shows up fast. Garages here deal with harsh seasonal wear, so a floor that was properly profiled, repaired, and cleaned is much more likely to make it through the first few winters. A rushed floor is more likely to show peeling, edge lift, or blistering much sooner than it should. That’s why disciplined prep matters so much on local garage floors.
Croc Coatings shares prep guidance for North Idaho and Eastern Washington property owners.
FAQs
Why is CSP 2–3 so important?
A CSP 2–3 matters because it gives the coating the surface texture it needs to grip the concrete. Diamond grinding opens up the pores in the slab, which helps the coating bond deeper instead of just sitting on top.
It also strips away weak surface material and contaminants. That step helps cut down on peeling, blistering, and delamination, so the finish holds up longer.
How do I know if my garage floor is too damp to coat?
Use a moisture test to make sure the slab meets the manufacturer’s requirements. One easy option is the plastic sheet test: tape a clear 24-inch by 24-inch polyethylene sheet to the floor and leave it in place for 16 to 24 hours. If you notice condensation or darkening under the sheet, that’s a sign of trapped moisture.
Pros may also use moisture meters or RH probes. In most cases, moisture should stay below 4% to 4.5%, RH should remain under 75% to 85%, and the slab temperature should be at least 5°F above the dew point.
Why do garage floor coatings fail first at edges and thresholds?
Garage floor coatings often fail first at the edges, corners, and thresholds. The reason is pretty simple: those spots are often missed during surface prep.
Standard diamond grinders do a good job on large, open areas of the floor. But they can’t get tight against walls or into transitions. If the crew doesn’t use hand-held edge grinders or edging attachments, parts of the concrete stay unprepared.
That leaves weak spots in the coating system. And once that happens, peeling and delamination often start there first.