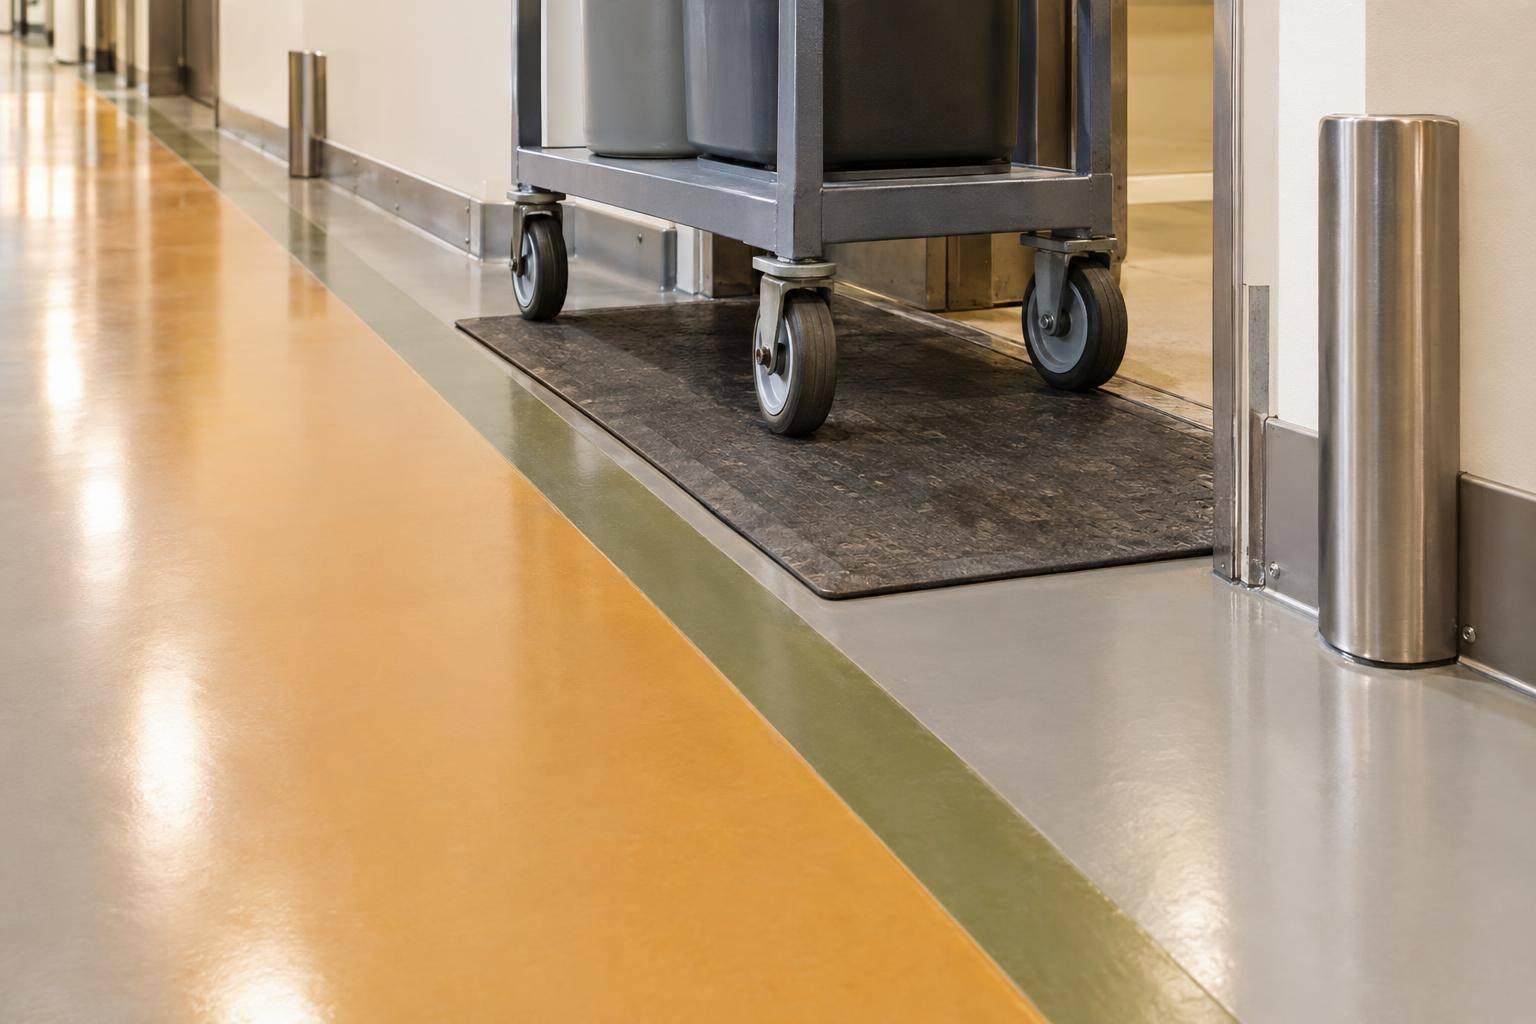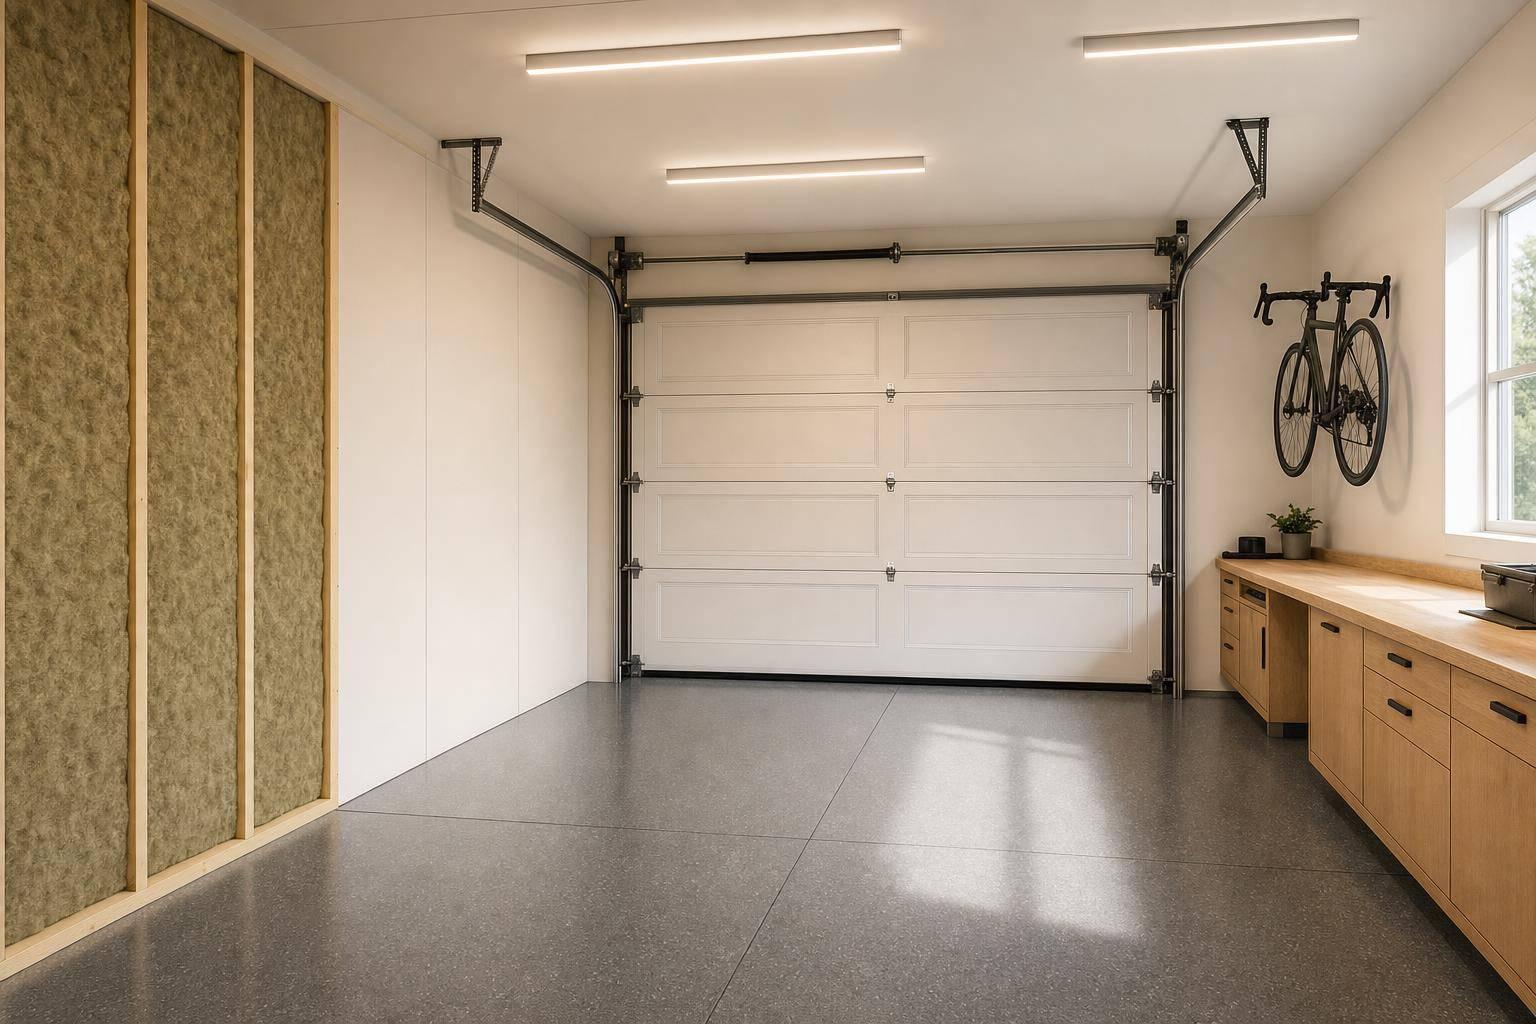
For many homeowners, the garage is the most underperforming space on the property. It’s too cold in winter, too hot in summer, noisy, dim, and usually treated as a leftover zone rather than a useful part of the home.
That’s a missed opportunity.
For homeowners and small business owners in places like Coeur d’Alene, Hayden, Post Falls, Spokane, and the Tri-Cities, a better garage can do far more than store vehicles. It can become a workshop, home gym, hobby space, inventory room, or simply a cleaner, more durable extension of the house. And in climates with real seasonal swings, comfort and insulation matter just as much as appearance.
The video behind this article walks through a full garage transformation, starting with the garage door and ending with temperature control. But the real value isn’t in copying each step exactly. It’s in understanding which upgrades deliver the biggest impact first, where DIY makes sense, and where safety or long-term value may point to a professional solution.
Key Takeaways
- Start with air sealing before insulation. If your garage door leaks at the bottom and sides, insulation alone won’t solve the comfort problem.
- The garage door is often the biggest weak point. Seals, hinges, rollers, lubrication, and opener upgrades can improve comfort, noise, and usability.
- Insulating walls and ceiling matters more than many people realize. Once the thermal envelope is improved, temperature swings become much easier to manage.
- Flooring should match how you use the space. A workshop, gym, and vehicle bay all have different flooring priorities.
- Lighting is a productivity upgrade, not just a cosmetic one. Better visibility makes the garage safer and more functional.
- Acoustics affect comfort. Echo control can make a garage feel calmer and more finished, especially if it doubles as a workspace.
- A mini split works best after sealing and insulating. Heating and cooling equipment performs better when the space stops leaking energy.
- Check garage door balance after adding weight. This is a critical safety issue and often requires a trained technician.
- Know when to stop upgrading and replace the underlying problem. An aging garage door system may not justify endless patchwork repairs.
sbb-itb-a0e5ae3
The Real Strategy: Build Improvements in the Right Order
One of the smartest ideas in the video is that garage upgrades should stack logically.
Too often, people jump to long-lasting floor coatings, heater, or storage system without addressing the basics. But if outside air pours in through the door, if the walls are uninsulated, or if the opener sounds like industrial machinery, every later improvement is working harder than it should.
A better sequence looks like this:
- Seal openings
- Insulate major surfaces
- Improve door operation
- Upgrade lighting and wall finishes
- Address flooring
- Control sound
- Add heating and cooling
That order matters because each step supports the next.
Step 1: Fix the Garage Door Seals First
The video starts at the most obvious failure point: the bottom seal on an older garage door.
That’s the right place to begin. A worn bottom seal can let in:
- Cold drafts
- Rain and snowmelt
- Dust
- Insects and pests
- Smoke and outdoor odors
In Inland Northwest weather, that gap can make a garage feel permanently exposed to the outdoors.
Why this matters more than it seems
A garage door is often the largest opening in the entire structure. If the seal at the bottom is flattened or cracked, the rest of your insulation strategy loses effectiveness. Replacing the seal may feel minor, but it improves the performance of every upgrade that follows.
The video also shows a practical long-term improvement: replacing the old setup with aluminum tracks that accept a slide-in seal. That’s an important detail because it makes future maintenance easier. Instead of fighting a failing seal years from now, you can swap it with less hassle.
A useful takeaway for local property owners
If you live in Spokane, Coeur d’Alene, or the Tri-Cities, wind and dust are real concerns, not just temperature. A tighter bottom seal can reduce both energy loss and debris buildup, which matters if your garage is used as a workspace or storage area.
Step 2: Tighten the Door Against the Frame
After the bottom seal, the next issue is lateral movement.
Many older garage doors flex in wind, rattle against the opening, and leave visible side gaps. The video uses spring-loaded hinges to press the door more firmly against the frame.
That’s a good example of an upgrade that sounds small but changes daily experience.
What this improves
- Less rattling during wind
- Better contact with side weatherstripping
- Reduced daylight through gaps
- Better air control overall
The presenter was initially skeptical of this fix, then reported immediate improvement. That honesty is useful. Not every accessory is transformative, but in a drafty older garage, this type of tensioning hardware can help the existing door perform closer to how it should have all along.
Step 3: Replace Side and Top Weatherstripping
Even with a better bottom seal and tighter door alignment, side and top seals can still be the weak link.
The video replaces deteriorated trim and weatherstripping with a PVC trim product that includes an integrated flexible seal. That’s a smart material choice for longevity. PVC resists rot far better than traditional wood-based trim, especially where moisture exposure is common.
Why this is a high-value upgrade
This is one of those improvements that pays off three ways:
- Energy efficiency from reduced air leakage
- Durability from moisture-resistant materials
- Appearance because fresh trim makes the door opening look cleaner and newer
For homeowners thinking about curb appeal as well as performance, this is a good reminder that weatherproofing and aesthetics often overlap.
Step 4: Insulate the Garage Door, but Choose Materials Carefully
The video tests a common DIY move: adding insulation panels to the garage door itself.
This can absolutely help, especially if your door is little more than a thin metal shell. But the most valuable part of this section is the critique. The creator found that while rigid foam performed well in testing, it created messy gaps and required spray foam to finish cleanly. In hindsight, he felt fiberglass batts may have been the better practical choice.
That’s a strong lesson.
Performance vs. install quality
Homeowners often chase the "best" material based on lab-style comparisons. But in real garages, the best option is often the one that:
- Installs cleanly
- Fits consistently
- Doesn’t create awkward air gaps
- Is easy to maintain
If a product is slightly better on paper but significantly harder to install well, actual performance may suffer.
Important caveat
Adding insulation changes the door’s weight. In the video, even lightweight foam was enough to affect door balance. That becomes a serious safety consideration later.
Step 5: Upgrade Rollers, Lubrication, and the Opener for a Quieter Garage
Comfort isn’t only about temperature. Noise shapes how the garage feels every day.
The video tackles this in layers:
- Replacing metal rollers with sealed nylon rollers
- Lubricating moving parts
- Swapping an older chain-drive opener for a belt-drive model
Why this sequence makes sense
A lot of people assume a loud garage door means they need a new opener. Sometimes they do. But often, noise comes from accumulated friction, worn rollers, or old hardware.
That means you can often get meaningful improvement by handling the lower-cost items first.
The biggest quality-of-life gains
The opener replacement stands out because it changes both sound and functionality. Belt-drive systems are typically smoother and quieter than chain-drive units. In a garage attached to the house, that matters.
The video also notes modern convenience features, such as app control and scheduling. Those are useful, but the bigger point is practical: if you already need to replace an aging opener, modern systems improve the user experience beyond simply raising and lowering the door.
Step 6: Treat Garage Door Balance as a Safety Issue, Not a DIY Experiment
This may be the most important section in the entire video.
After adding insulation and making door changes, the presenter disconnects the opener and checks whether the door stays in place halfway open. It does not. The door drops, indicating the spring tension is no longer properly matched.
That leads to the correct conclusion: call a professional.
Why this matters
Garage door springs store enormous force. This is not a routine DIY adjustment. The video later reveals that a technician found more severe issues, including:
- Spring tension outside safe range
- Evidence of a missing second spring
- Worn cable drums
- Additional wear and damage across the system
This changes the story from "upgrade the garage door" to "reassess whether the door itself is worth saving."
That’s an excellent real-world lesson. Sometimes repairs uncover structural aging that makes full replacement the smarter investment.
Step 7: Upgrade Lighting Early if the Garage Is a Working Space
One of the most practical improvements in the video is also one of the simplest: dramatically better lighting.
A garage can be weather-tight and insulated, but if you still can’t see well, it won’t feel finished or productive.
What better lighting changes
- Improves safety
- Reduces eye strain
- Makes projects easier
- Helps the space feel larger and cleaner
- Increases usefulness for storage, maintenance, or business activity
The video uses multiple LED light bars rather than depending on bulbs in the opener. That’s a smart distinction. Garage opener lights are temporary task lights at best. They are not a real lighting plan.
For homeowners and small business owners
If you use your garage for tools, inventory, detailing, packaging, repairs, or fitness, lighting is a direct productivity investment. In many cases, it delivers faster satisfaction than cosmetic upgrades.
Step 8: Insulate the Walls to Create a Real Thermal Envelope
The garage starts to become a true room only when the walls are insulated.
In the video, the existing insulation was incomplete and inconsistent, so it was removed and replaced with new rolls. The creator also shares beginner-friendly techniques for cutting and fitting insulation more cleanly.
Why wall insulation matters so much
A sealed garage door helps, but if the walls remain unfinished or poorly insulated, the space still behaves like an outdoor buffer zone. Wall insulation helps stabilize temperature, making the garage more usable in January and July alike.
That matters in northern Idaho and eastern Washington, where temperature swings can be significant across seasons.
A broader point
This is where the transformation stops being about isolated fixes and starts becoming a system. Once walls are insulated, heating and cooling become more realistic and cost-effective.
Step 9: Finish the Walls for Function, Not Just Looks
Drywall may seem cosmetic compared to insulation, but it plays a bigger role than people think.
Once installed, it:
- Protects insulation
- Makes the space easier to clean
- Improves brightness by reflecting light
- Helps the garage feel like intentional square footage
- Creates a better backdrop for storage systems, tools, and finished surfaces
The video documents a full drywall process, including outlet cutouts, screw setting, mudding, sanding, priming, and painting.
The practical takeaway
You don’t need a show-quality finish for a garage to feel dramatically improved. Even a reasonably finished wall transforms the perception of the space.
For business-minded owners, this matters because a more finished environment often supports better organization, better maintenance habits, and better presentation.
Step 10: Don’t Ignore the Ceiling
Heat rises. If the ceiling below an attic is uninsulated, your garage is still losing a major battle.
The video describes ceiling insulation as unpleasant but straightforward. That’s probably accurate for many homeowners. It may not be glamorous, but it completes the enclosure.
Why it’s worth doing
Without ceiling insulation, even a good wall-and-door strategy is incomplete. Heated or cooled air will still escape upward, especially in summer when attic temperatures soar.
For attached garages, this can also help buffer temperature transfer to adjacent rooms.
Step 11: Choose Flooring Based on Use, Not Trend
This section is especially relevant to readers deciding between epoxy vs polyaspartic garage floor coatings and softer surface systems.
The video pushes back on the idea that epoxy is always the best answer. Instead, the creator chooses rubber roll flooring for a workshop environment.
That distinction matters.
Epoxy is not the universal winner
For vehicle-focused garages, epoxy or polyaspartic-type coatings can be an excellent choice. They’re durable, clean-looking, and easy to maintain. But the video makes a strong case that in a workshop, hard coatings have downsides:
- Less cushioning underfoot
- More punishing on dropped tools
- Potentially harder to spot small hardware
- Higher cost in some cases
Why rubber worked in this scenario
Rubber flooring offered:
- More comfort for standing
- Some impact absorption
- Better noise control
- Additional insulation over cold concrete
- Reusability if moved later
For a shop or gym, those are meaningful advantages.
A regional lens for garage flooring
In North Idaho and Eastern Washington, garages often pull double duty. They may need to handle cars in winter, projects on weekends, and storage year-round. That means flooring should be chosen based on how the space is really used, not just what photographs well.
If your garage is primarily:
- A vehicle bay: a high-performance coating may be ideal
- A workshop or gym: resilient rubber or modular systems may be better
- A mixed-use space: durability, slip resistance, comfort, and maintenance all need to be weighed together
Step 12: Reduce Echo to Make the Space Feel Finished
This is one of the most overlooked garage upgrades.
Hard floors, drywall, tools, and large open surfaces create harsh reflections. Even if you never record audio, echo affects comfort. A space with less reverberation simply feels calmer.
The video tests cheap foam panels and finds them largely ineffective, then switches to DIY acoustic panels using frames, fabric, and mineral wool insulation.
Why that worked better
Thicker, denser absorptive materials generally outperform thin decorative foam for reducing room echo. The added air gap behind the panels also improves effectiveness.
This is a strong example of the difference between a product that looks acoustic and one that actually behaves acoustically.
Why homeowners should care
A quieter garage feels more premium. If you use the space for meetings, hobbies, exercise, online work, or simply prolonged time indoors, acoustic treatment can make the environment far less fatiguing.
Step 13: Add Heating and Cooling Only After the Space Is Ready
The final major upgrade is a mini split.
This is the payoff moment, but the order is what makes it effective. By the time the mini split is installed, the garage is already:
- Better sealed
- Better insulated
- Better finished
- Easier to maintain
That means the HVAC equipment has a much easier job.
The important principle
Mechanical systems should not be asked to compensate for a leaky shell. If you skip sealing and insulation, you’ll spend more to condition the space and likely get worse results.
What the video shows
The featured system uses a pre-charged line set, reducing installation complexity. The creator frames it as approachable for a DIYer, though skill level, electrical work, and local code considerations are not fully discussed in detail. So while the process is shown as manageable, readers should understand that permitting, electrical requirements, and code compliance are not specified in the video.
That’s important, especially for property owners considering a permanent installation.
The Biggest Lesson: Sometimes the Weak Link Needs Full Replacement
The most valuable insight in the video may be its ending.
After all the upgrades, a garage door company evaluates the system and finds multiple aging issues. At that point, continuing to patch the old door no longer makes financial or safety sense, so the decision is made to replace it.
That is exactly how real renovation decisions often unfold.
The broader home improvement lesson
Improvement projects frequently reveal hidden conditions. A failing seal may expose rotten trim. A balance test may uncover dangerous spring tension. A new opener may highlight how rough the old door panels have become.
The lesson isn’t that the earlier upgrades were wasted. It’s that diagnosis evolves as access improves.
As the creator essentially concludes, there comes a point where you have to ask whether you are genuinely fixing the problem or just extending the life of something that has already reached the end of its useful run.
That’s good advice for garages, flooring, doors, and almost any renovation category.
What This Means for Homeowners in North Idaho and Eastern Washington
If you’re considering a garage upgrade in markets like Coeur d’Alene, Hayden, Post Falls, Spokane, Richland, Kennewick, or Pasco, the smartest approach is not to think in terms of one product or one weekend project.
Think in terms of garage systems:
- Air sealing
- Insulation
- Lighting
- Surface durability (using a floor coating planner)
- Noise reduction
- Climate control
- Safety
That mindset leads to better decisions and fewer disappointments.
A good-looking garage that still leaks air, echoes badly, and feels cold underfoot won’t deliver the comfort or value people expect. But a garage upgraded in the right order can feel like an entirely different part of the property.
Final Thoughts
This garage transformation works because it treats the space as more than a storage box. The upgrades address how the garage feels, sounds, functions, and lasts.
The most practical message is this: start with the shell before the finishes. Seal the door. Insulate the envelope. Improve operation and lighting. Choose flooring based on use. Then add climate control once the space can actually hold conditioned air.
And just as importantly, stay honest about when repair stops making sense. Sometimes the best upgrade is not another accessory or patch, but replacing the component that has become the bottleneck for everything else.
For homeowners and business owners who want garages that are cleaner, quieter, more durable, and easier to live or work in, that combination of practicality and realism is what makes the transformation worthwhile.
Source: "15 Garage Upgrades Everyone Needs" – Spencley Design Co., YouTube, May 21, 2026 – https://www.youtube.com/watch?v=K65VEWTD4dw