I start with one rule: fix water entry before coating a damp basement slab. Vapor control slows moisture moving through concrete; it does not fix plumbing leaks, seepage, or groundwater pressure.
Here’s how I sort out the next step:
- Puddles, wet cracks, or rain-related seepage: Check plumbing, drainage, and foundation entry points. Repair the source and verify that water stays out.
- Broad dampness without visible water: Check for vapor, hidden leaks, and condensation. Keep indoor humidity below 60%, ideally 30%–50%, as EPA recommends.
- Before coating: Let repaired areas dry, test slab moisture, and compare the results with the complete coating system’s written limits.
My checklist is simple: diagnose, repair, verify, dry, test, prepare, and coat. <u>A dry-looking surface is not proof that concrete is ready.</u> In North Idaho and Eastern Washington, I’d review test results, prep requirements, and warranty exclusions with Croc Coatings before scheduling installation – not treat a one-day coating job as a fix for water problems.
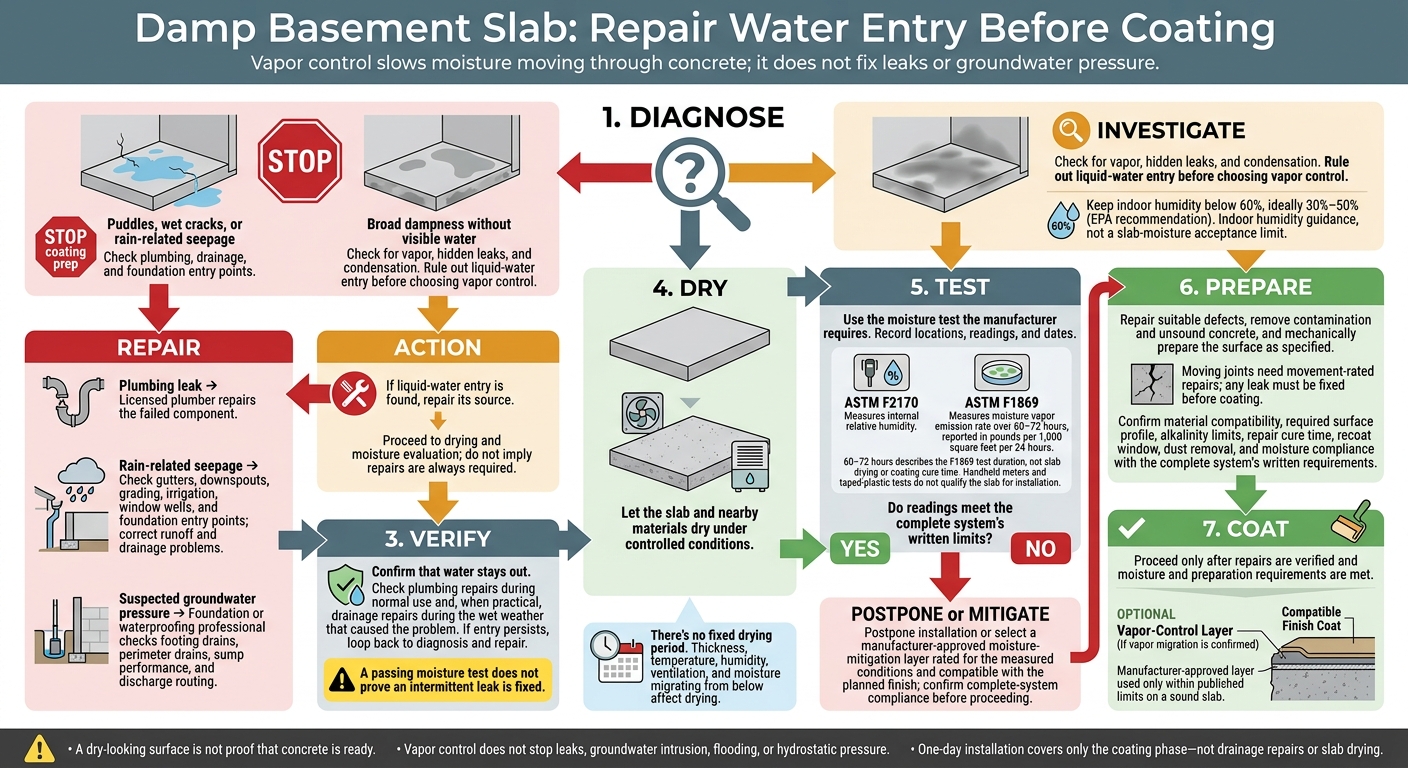
Damp Basement Slab: Repair Water Entry Before Coating
How to Check for Basement Floor Moisture Video
sbb-itb-a0e5ae3
When Vapor Control Is Appropriate
Use a surface-applied vapor-control system only after ruling out liquid-water sources and confirming that vapor migration is the problem and the slab is sound. Moisture readings must fall within the system’s published limits. If readings exceed the finish coating’s limit, use a manufacturer-approved vapor-control primer or membrane rated for those conditions.
Repair Slab Defects and Check System Compatibility
Before surface prep, inspect cracks, holes, joints, and penetrations. Repair stable, nonleaking defects with compatible materials. Moving joints need flexible, movement-rated repairs, and any leak must be fixed before coating. Once the slab passes these checks, move on to moisture testing and system selection.
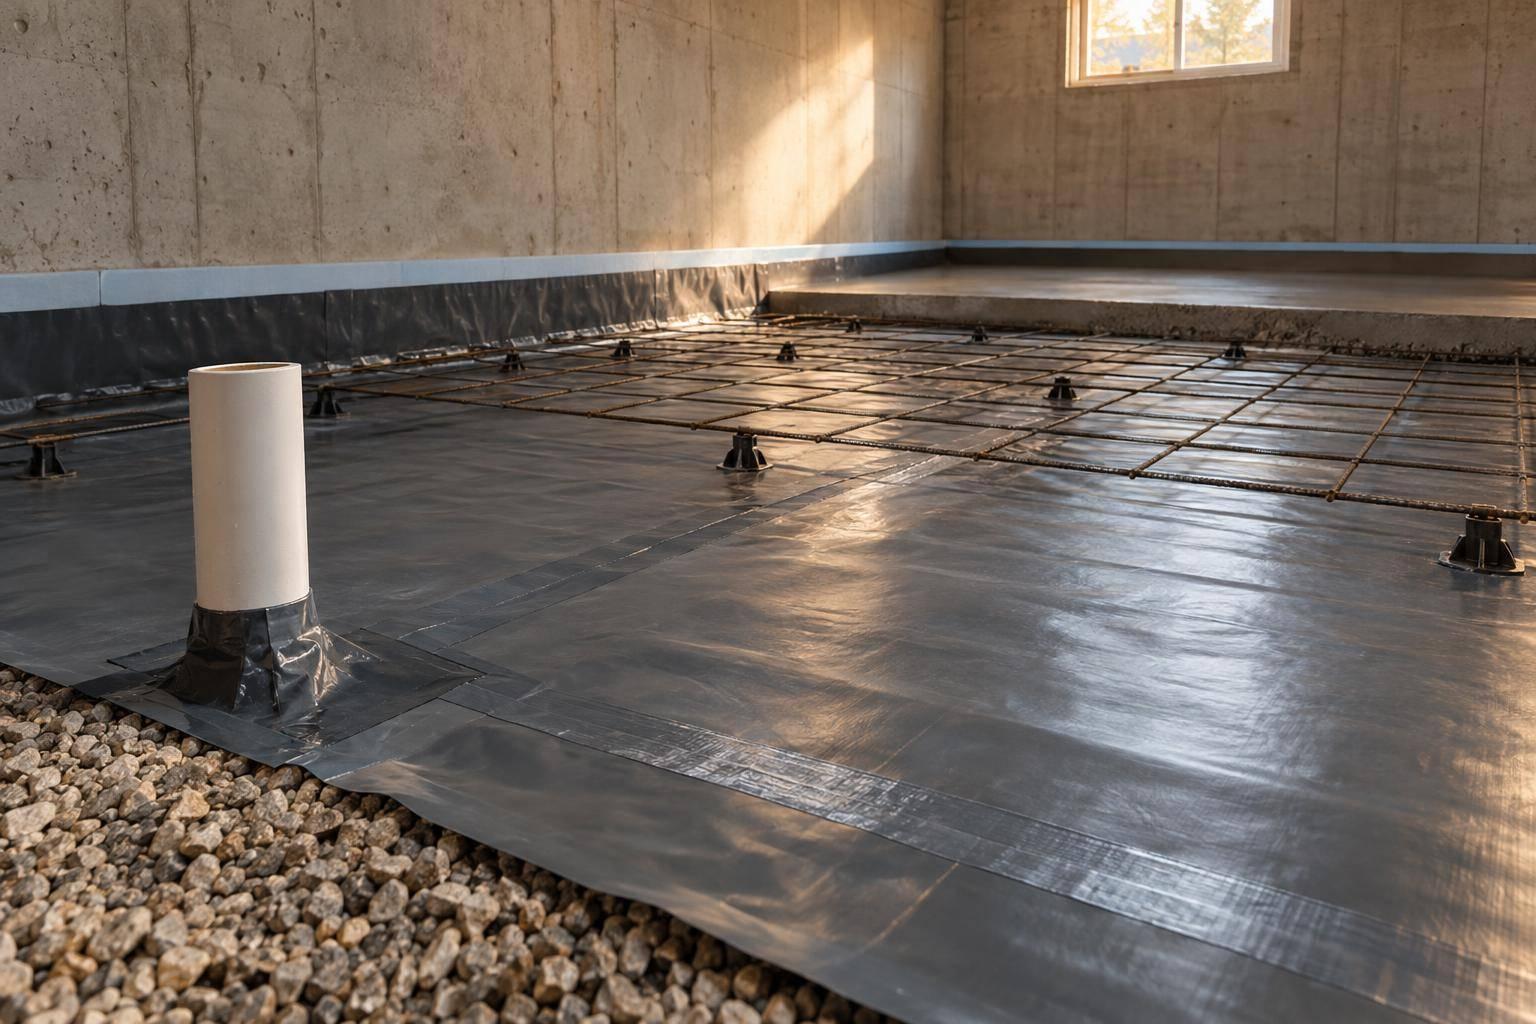
Review plans and inspection records for an under-slab vapor retarder, but don’t assume it’s present or continuous. Renovations and penetrations can leave gaps. Always test the slab – its age and records alone don’t prove it’s ready for coating.
Use current technical data sheets to confirm that the repair materials, vapor-control layer, primer, and finish work together. Check the required moisture-test method, allowable readings, surface profile, alkalinity limits, cure time, and recoat window. Approval for a given moisture level does not automatically mean approval for the planned finish coating.
Compare Vapor-Control Layers and Floor Coatings
| Layer or treatment | Intended benefit | Main limitation |
|---|---|---|
| Compatible surface-applied vapor-control layer | Slows vapor transmission and provides a base for an approved coating | Works only within published limits; does not stop leaks, groundwater intrusion, flooding, or hydrostatic pressure |
| Crack and penetration treatment | Repairs suitable defects while allowing movement where needed | Ordinary filling cannot fix leaking plumbing, failed drains, or water pressure beneath the slab |
| Basement concrete coating | Provides a cleanable, decorative, wear-resistant surface | Is not automatically a vapor-control layer or waterproofing system; uncontrolled moisture can cause blistering or loss of adhesion |
A low-permeance layer slows vapor only. If water is entering the slab, fix the source before starting any coating work.
When Leak and Drainage Repairs Come First
Active water, recurring puddles, and wet cracks or wall-floor joints mean floor prep must wait. If liquid water is still entering, stop coating prep and fix the source. Note where wetness appears and whether it follows fixture use, rain, snowmelt, or irrigation. Stains and efflorescence can point to moisture, but they don’t prove water is actively entering.
Match the Repair to the Water Source
For wetness near plumbing, have a licensed plumber inspect and repair suspect lines, drains, fittings, seals, and appliance connections. Then check the repair during normal use. With all fixtures and water-using appliances off, unexpected meter movement can indicate a supply leak.
For rain-related seepage, check gutters, downspouts, grading, irrigation, window wells, and foundation entry points, then redirect runoff. If water keeps entering, address drainage or foundation waterproofing – not just surface sealing.
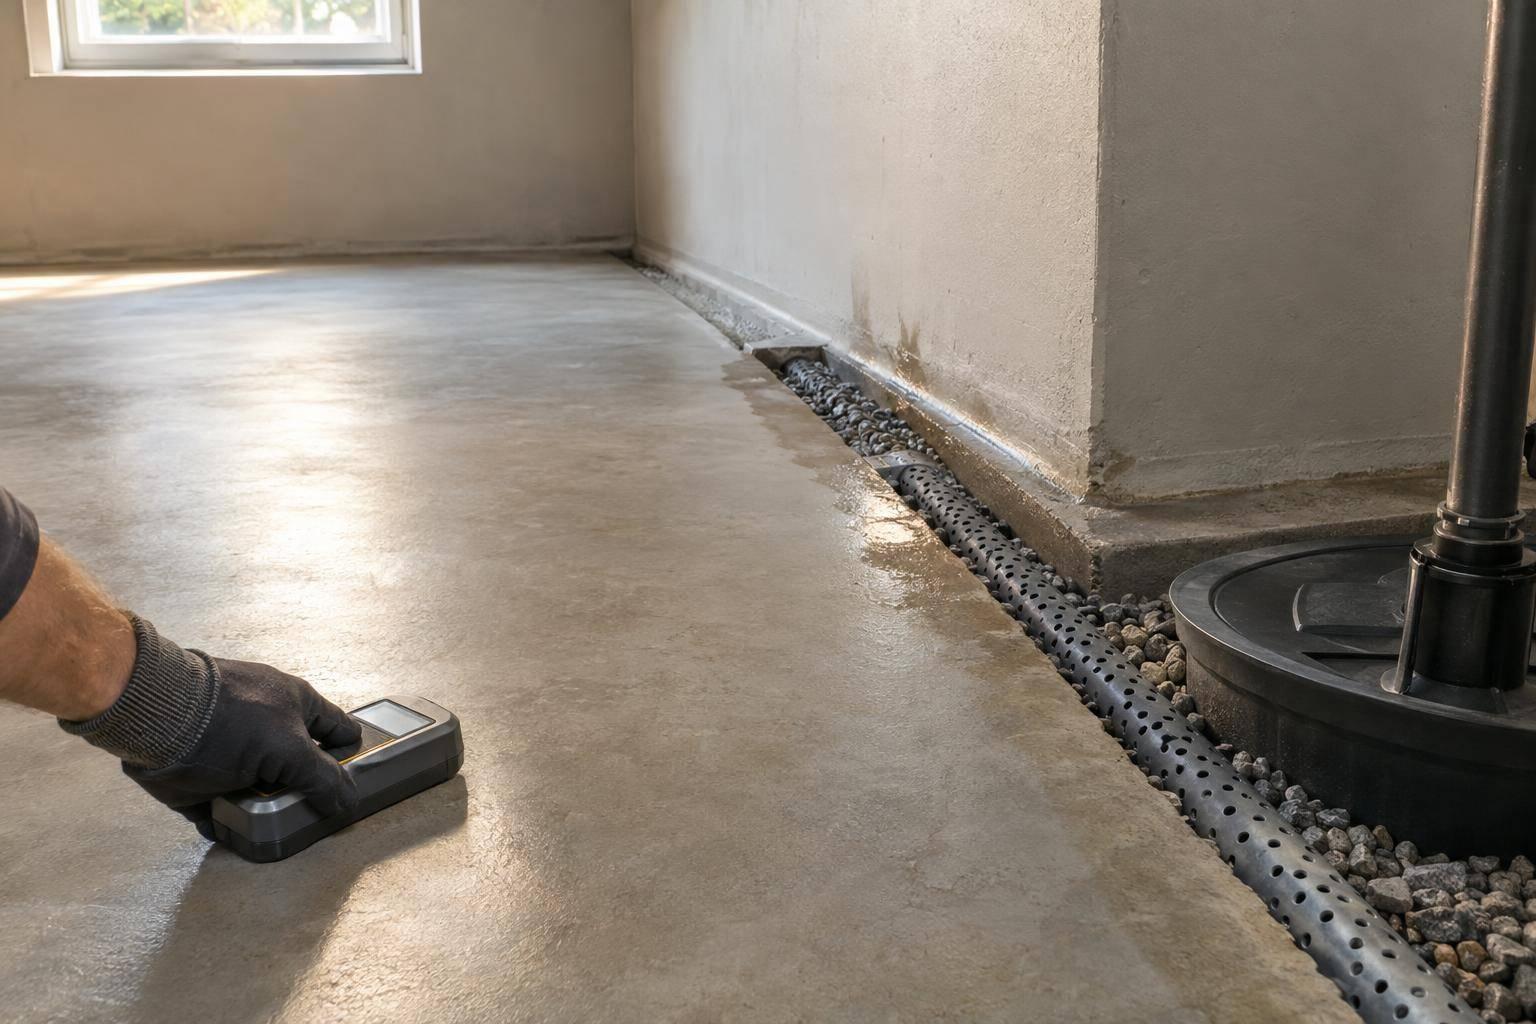
If you suspect groundwater pressure, have a foundation or waterproofing professional check footing drains, perimeter drains, sump performance, and discharge routing to manage hydrostatic pressure. The repair should address both the water source and its entry path.
Once the source is fixed, let the slab dry fully before testing.
Decide Between Water Repairs and Vapor Control
| Condition | Required next step | Vapor-control timing |
|---|---|---|
| Active water or standing puddles | Stop the source and remove standing water | After repair, drying, and acceptable testing |
| Repeated flooding | Correct the flood pathway and related failures | After recurrence is controlled and cleanup is complete |
| Plumbing leak | Repair the failed component and verify during use | After drying and acceptable testing |
| Water entering slab defects | Identify the source and repair both as needed | After repairs hold and the slab dries |
| Suspected hydrostatic pressure | Have a foundation or waterproofing professional assess the drainage path, sump, and discharge routing | After pressure and water entry are controlled |
| Diffuse dampness without visible water | Investigate vapor, indoor humidity, and concealed seepage | After active entry is ruled out and testing supports the system |
Vapor and liquid-water problems can occur together. Check plumbing repairs during use and, when practical, drainage repairs during the wet weather that caused the problem. A passing moisture test does not prove an intermittent leak is fixed.
After the source is stopped and the slab dries, move to moisture testing and coating-readiness checks.
Verify the Slab Is Ready for Coating
Once active water entry is controlled and repairs are verified, let the slab and nearby materials dry under controlled conditions. There’s no fixed drying period. Slab thickness, temperature, humidity, ventilation, and moisture migrating from below all affect how long it takes. Then follow the manufacturer’s sequence: inspect, test, and prepare the surface.
Test Moisture and Prepare the Concrete
Inspect cracks, joints, penetrations, spalling, and weak concrete. Mark areas with oil, adhesive, old coatings, curing compounds, or other contamination. Remove or repair unsound concrete. Defects that move need evaluation – not a coating that hides them.
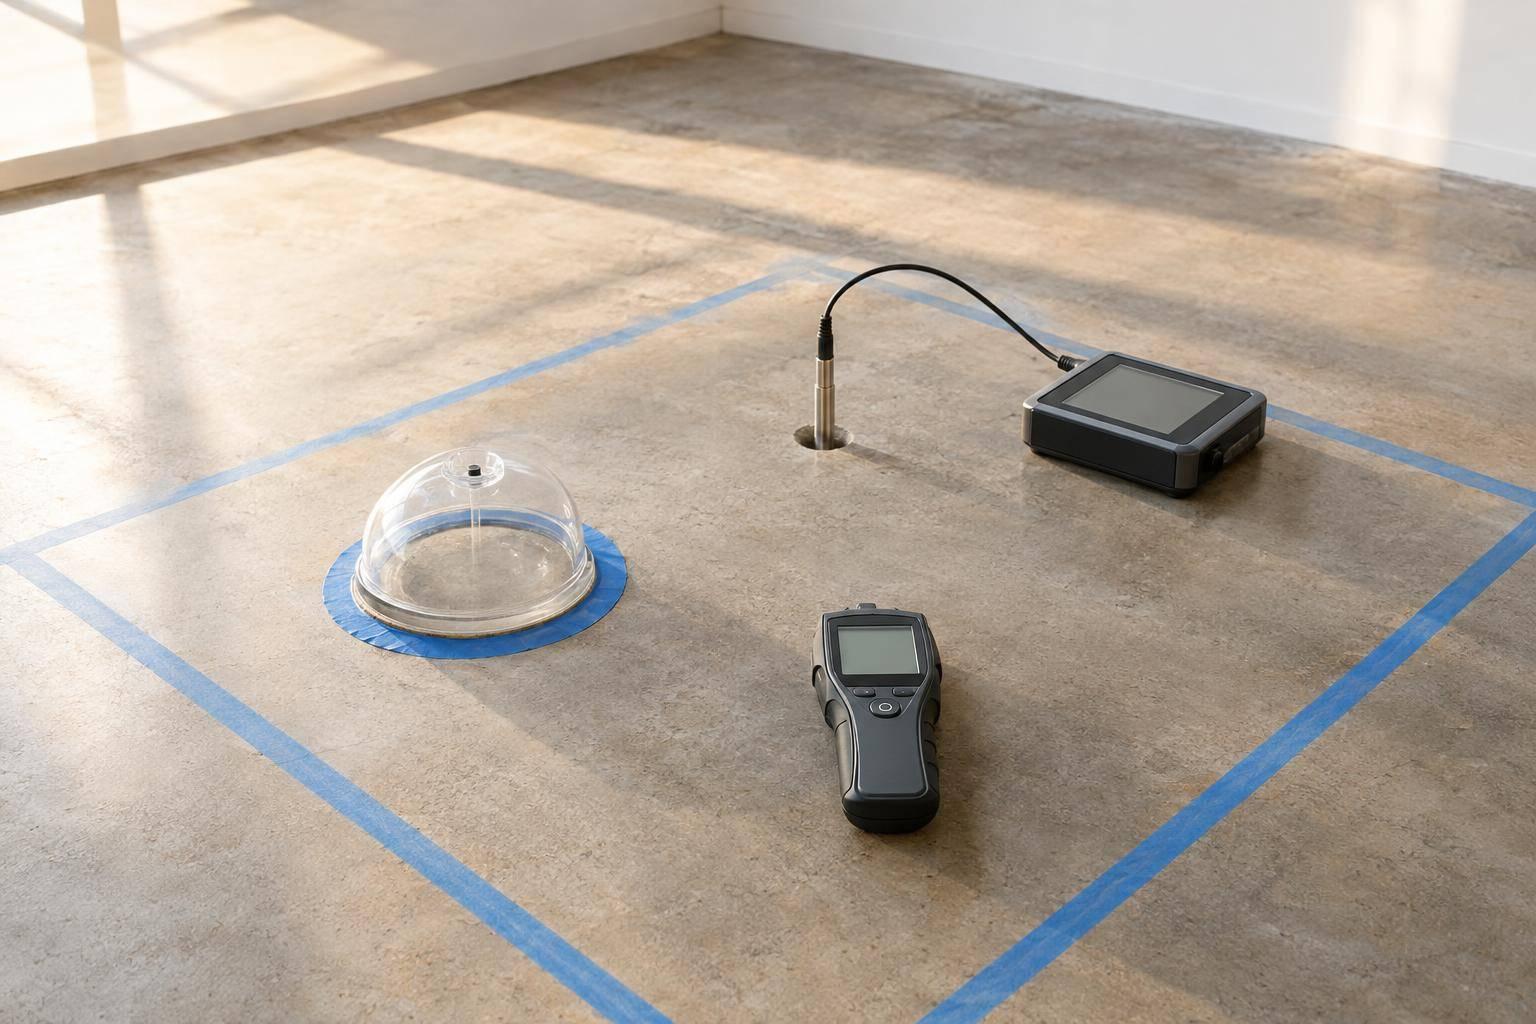
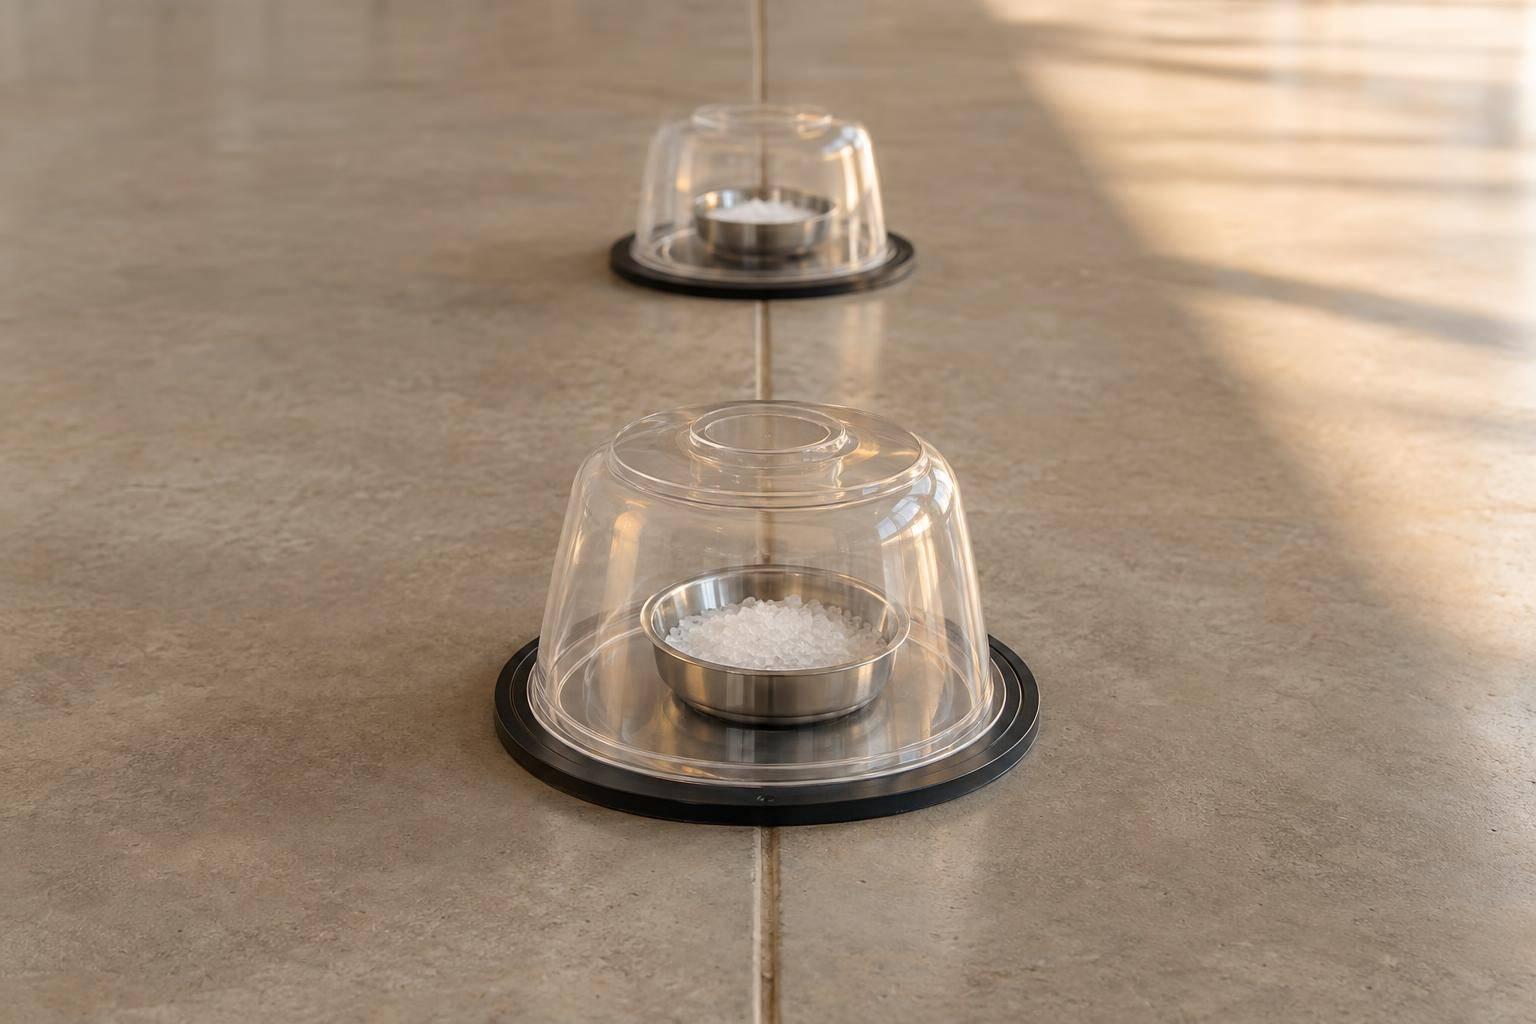
Use the moisture test the manufacturer requires. ASTM F2170 measures internal relative humidity. ASTM F1869 measures moisture vapor emission rate over 60–72 hours, reported in pounds per 1,000 square feet per 24 hours. Test under the required building conditions, and record test locations, readings, and dates. The results help determine whether the planned vapor control is enough or more mitigation is needed. Handheld meters and taped-plastic tests do not qualify the slab for installation.
Compare the results with published limits for the complete system: the primer, repair materials, moisture-mitigation layer, and finish coats. If readings exceed those limits, postpone installation or use an approved moisture-mitigation layer. Then remove contamination and mechanically prepare the concrete as specified, including grinding or shot blasting where required. Before coating, remove dust, confirm repairs have cured, and check that residual moisture meets the system’s limits.
Review Basement Coating Requirements With Croc Coatings
Croc Coatings offers the Penntek Evolution concrete coating system in North Idaho and Eastern Washington, including Coeur d’Alene, Spokane, the LC-Valley, and the Tri-Cities. Ask for written moisture limits, surface prep requirements, mitigation options, crack and joint treatments, and warranty exclusions. Verify that the site meets the finished system’s written moisture and prep requirements before work begins.
One-day installation covers only the coating phase – not drainage repairs or slab drying. It does not establish warranty coverage for water intrusion or hydrostatic pressure. Review the lifetime residential warranty against the actual site conditions.
Conclusion: Repair Water Entry Before Coating
Use vapor control only after you’ve ruled out liquid-water entry and moisture tests meet the coating system’s published limits. Puddles, recurring wet spots, or pressure-driven seepage call for plumbing, foundation, or drainage repairs first.
If water is still entering, fix the source before starting any floor work. Check the repairs during rain or normal plumbing use. After flooding or prolonged saturation, let the slab dry, then retest. A dry-looking surface doesn’t mean the concrete beneath it is ready.
Follow this sequence: diagnose, repair, verify, dry, test, prepare, and coat. Once you’ve verified the repairs and the slab is dry, review its condition with Croc Coatings. Use repair records, moisture-test results, and written system limits to base the coating decision on documented conditions.
FAQs
How can I distinguish condensation from slab moisture?
Tape a 2-foot square of plastic sheeting to the concrete and leave it for 24–48 hours. Moisture underneath suggests water is moving through the slab. Beads only on top suggest indoor humidity and condensation.
Professional testing is the most reliable option. Ventilation and humidity control often help with condensation. If moisture is coming through the slab, address the underlying drainage, crack, or vapor barrier problems before applying a coating. Coatings don’t replace leak repairs or waterproofing repairs.
What if my slab passes testing but gets damp after rain?
Dampness after rain – even if the slab passed moisture tests in dry weather – likely points to groundwater intrusion or poor exterior drainage. Coatings won’t stop this moisture. Applied over an active water problem, they’ll blister or peel away from the slab.
Fix the source first by improving exterior grading, clearing gutters, or installing drainage. Once the slab is dry and stable, retest using ASTM F2170 or ASTM F1869. Confirm that it meets the coating manufacturer’s moisture limits before applying a coating.
What happens if moisture returns after coating?
If moisture returns after coating, an underlying problem hasn’t been fixed. Poor drainage, hydrostatic pressure, or a persistent leak could be the cause. Trapped moisture can build pressure beneath the coating, causing it to blister, bubble, peel, or separate from the concrete.
Find and fix the moisture source to prevent further damage. Ask your installer whether you need added drainage or moisture-control measures.