Polyaspartic coating can go from usable to too thick in as little as 5 to 10 minutes on a hot slab. That is the main point: if you do not control temperature, batch size, and crew pace, the floor can show lap lines, roller marks, weak bond areas, or early wear.
Here’s the short answer:
- Pot life is how long the mixed product stays usable in the bucket, often 30 to 90 minutes at about 70°F
- Working time is shorter once the coating hits the floor, often just 10 to 20 minutes at about 70°F
- Tack-free time is often 2 to 4 hours
- Light foot traffic is often allowed in 4 to 12 hours
- Vehicle traffic is often allowed in 24 to 48 hours
- Full cure often takes 2 to 7 days
What changes those numbers?
- Hot air and hot concrete shrink the window
- Cool slabs can stretch the window, but cure takes longer
- High humidity, wet concrete, and direct sun can cause trouble fast
- Large batches and poor staging can waste material and leave floor defects
If I had to boil the whole guide down to a few points, it would be this:
- Check slab temperature, not just air temperature
- Keep materials near 65 to 75°F before mixing
- Mix only what the crew can place right away
- Keep a wet edge during spread and back-roll
- Stay off the floor until the installer’s cure schedule says it is ready
A simple way to think about it: prep happens before the clock starts; once Parts A and B are mixed, the clock is running.
| Item | Typical range |
|---|---|
| Pot life | 30–90 minutes |
| Working time on floor | 10–20 minutes |
| Tack-free | 2–4 hours |
| Light foot traffic | 4–12 hours |
| Vehicle traffic | 24–48 hours |
| Full cure | 2–7 days |
Use these as rough ranges only. Heat, sun, humidity, and slab moisture can change them fast.
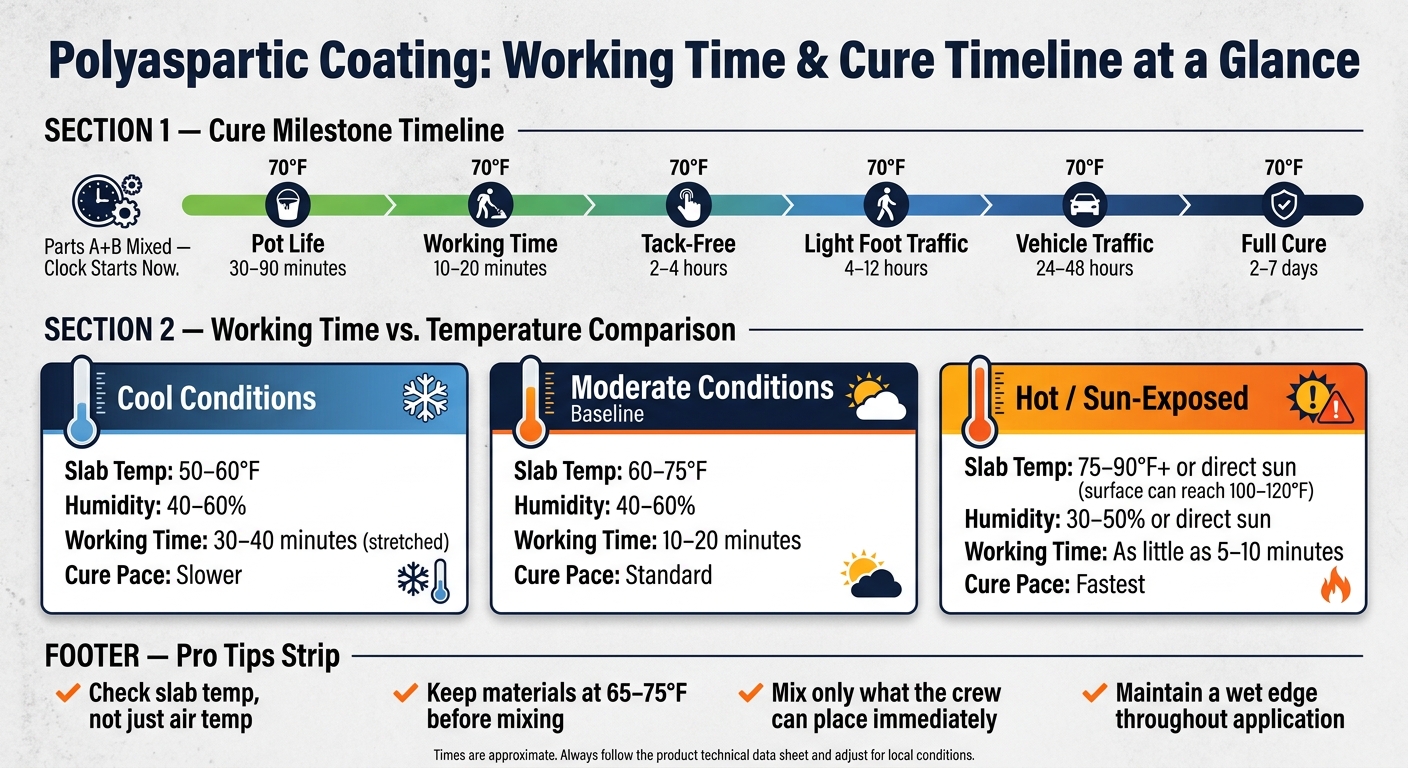
Polyaspartic Coating Cure Timeline & Working Time by Temperature
Polyaspartic Working Time and Pot Life Defined
Pot Life, Working Time, Tack-Free Time, and Full Cure
Pot life is the amount of time a mixed coating stays usable after mixing. It starts the second Parts A and B are combined and ends when the material gets thicker, starts to gel, or no longer meets spec. Technical data sheets often test pot life at about 70°F with a 150-gram sample. For polyurea vs. polyaspartic systems, pot life is often about 30–90 minutes at that temperature, depending on the product.
Working time is the shorter window crews have to pour, spread, roll, and back-roll the coating before it starts to set. Here’s the catch: once the material is spread out thin across the floor, it reacts faster because it has more surface area. So the usable time on the floor is shorter than the pot life in the bucket. Many fast-cure systems give installers only about 10–20 minutes of working time at around 70°F.
Tack-free time is the point when the surface no longer feels sticky from a light touch. At around 70°F, most products land somewhere between 1 and 7 hours, with many reaching tack-free status in about 2–4 hours. Full cure is when the coating reaches its final hardness and chemical resistance. These definitions sound simple, but they matter a lot once jobsite conditions start speeding up or slowing down the clock.
Why Short Working Time Is Both a Benefit and a Risk
Fast cure can be a big plus on the job. Crews can grind the floor, apply the basecoat, broadcast chips, and add the topcoat in one visit. In many cases, the homeowner can use the garage again in about a day or two.
But that short window can also bite you. If a batch is mixed too large, or the crew gets delayed in the middle of a pour, the coating can start dragging on the roller before the section is done. That’s when problems show up: roller marks, uneven chip spread, lap lines, and other surface flaws. The fix isn’t rushing. It’s good batch control and clean sequencing.
Typical ranges at about 70°F are below. Actual times change by product and site conditions.
| Timing Milestone | Typical Range at ~70°F |
|---|---|
| Pot life (in bucket) | 30–90 minutes |
| Actual working time (on floor) | 10–20 minutes |
| Tack-free (dry to touch) | 2–4 hours |
| Light foot traffic | 4–7 hours |
| Vehicle traffic | 24–48 hours |
| Full cure | 2–7 days |
Times are approximate. Always follow the technical data sheet for the specific product and adjust for local conditions.
With such a short window, there’s no room to improvise after mixing starts. Tools need to be staged, repairs need to be done, and each crew member needs a clear role before the first batch is combined. That puts the focus on staging, mixing, and a smooth application flow. Proper preparation for a 1-day floor coating is essential to ensure the crew can work within these tight timeframes. Then the next factor comes into play: the jobsite conditions that can shrink or stretch that window.
sbb-itb-a0e5ae3
Polyaspartic Top Coat Bubbles? Slab Temp vs Dew Point Explained (Avoid Spring & Fall Install Issues)
What Changes Working Time on a Real Jobsite
Working time changes with jobsite conditions, so the spec sheet is only your starting point. What happens on the slab is what decides whether the floor stays workable. That’s why staging, mixing, and crew flow matter so much once the application window starts to shrink.
Temperature, Humidity, and Direct Sun
Air temperature is the biggest factor. A product with a 20–25 minute working time at 70°F can drop to about 10–15 minutes when air temperatures climb to 80–85°F. In cooler conditions around 55–60°F, that same window can stretch to 30–40 minutes.
That shift hits working time faster than pot life. Why? Because once the coating is spread across the floor, it starts curing faster.
Humidity adds its own set of problems. On humid mornings in Spokane, where relative humidity can sit around 70–90% during shoulder seasons, a polyaspartic topcoat can gel faster than expected even if the air is only in the mid-60s°F. High humidity combined with a cool slab can also lead to haze if moisture condenses during cure. Many manufacturers set the upper limit at 85% relative humidity during application and cure.
Direct sun is where things can go sideways fast. A south-facing driveway or pool deck in Tri-Cities on a summer afternoon can hit 100–120°F at the surface even when the air temperature is only 80°F. At those substrate temperatures, polyaspartic can thicken and gel in as little as 5–10 minutes. In that kind of heat, applying in full sun can lead to bubbles, wrinkles, and pinholes.
Concrete Temperature, Moisture, and Daily Weather Swings
Concrete holds heat and cold much longer than the air above it. After a cool night, a garage slab might still be sitting at 50–55°F at 8:00 a.m. even if the air has already warmed into the mid-60s°F. That can give installers more time to spread and back-roll evenly, but it also slows cure. In summer, the opposite happens. A patio slab in Tri-Cities can still read 90°F at 6:00 p.m. even after the air starts cooling off, so the working window stays tight well into the evening. For most crews, slab temperature matters more than air temperature.
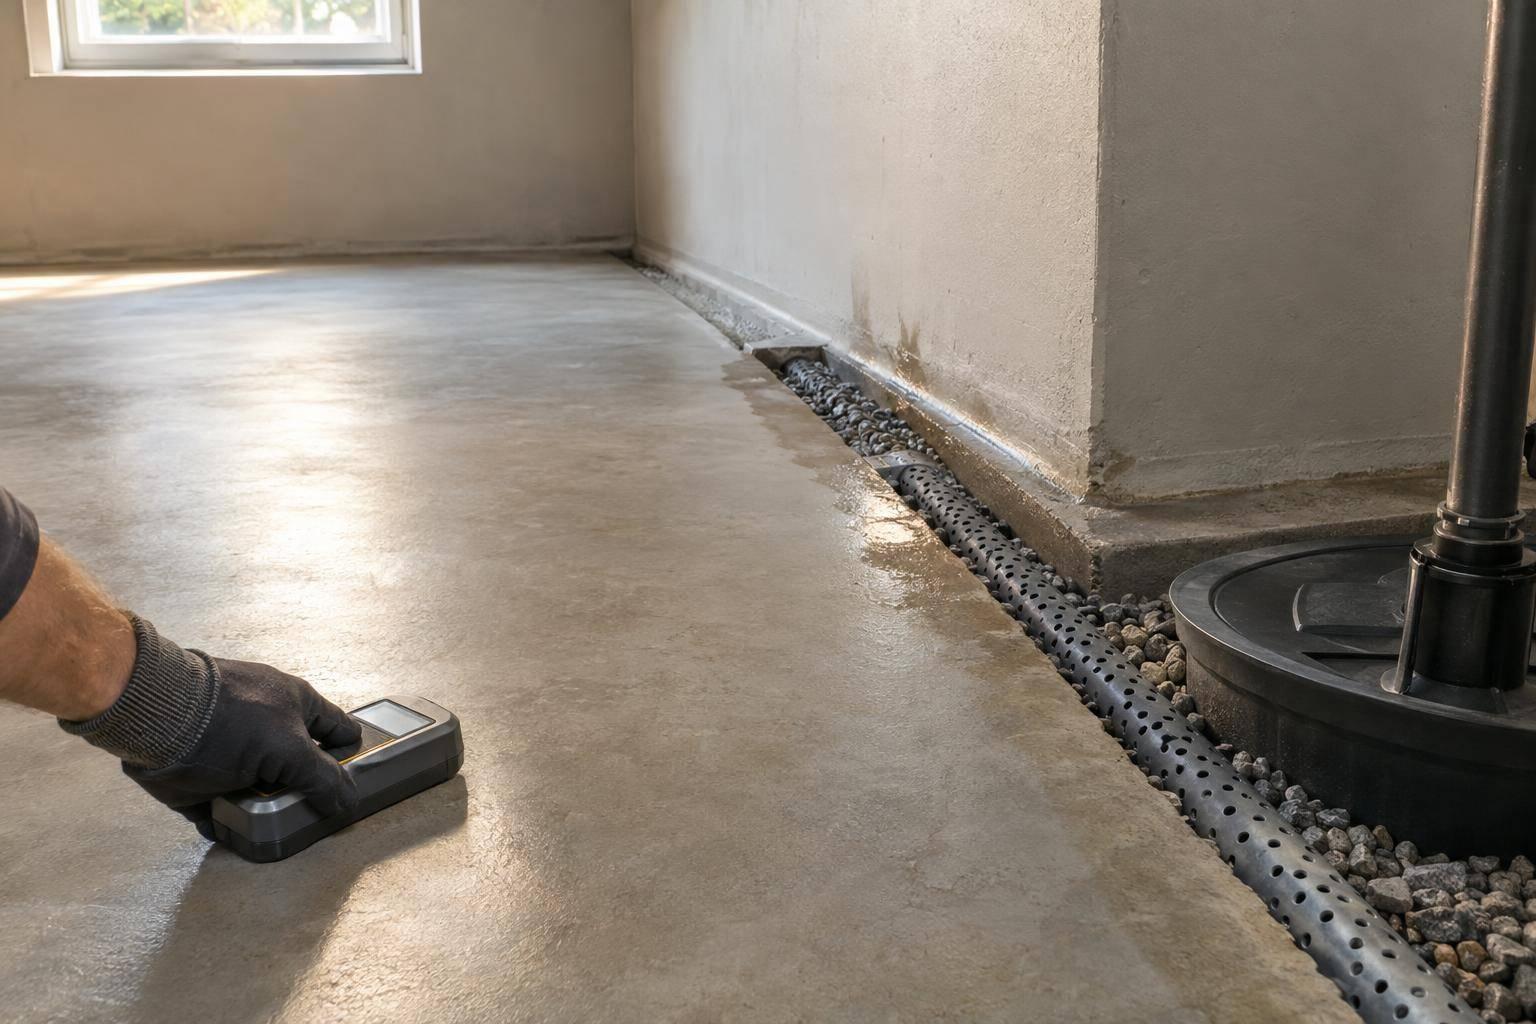
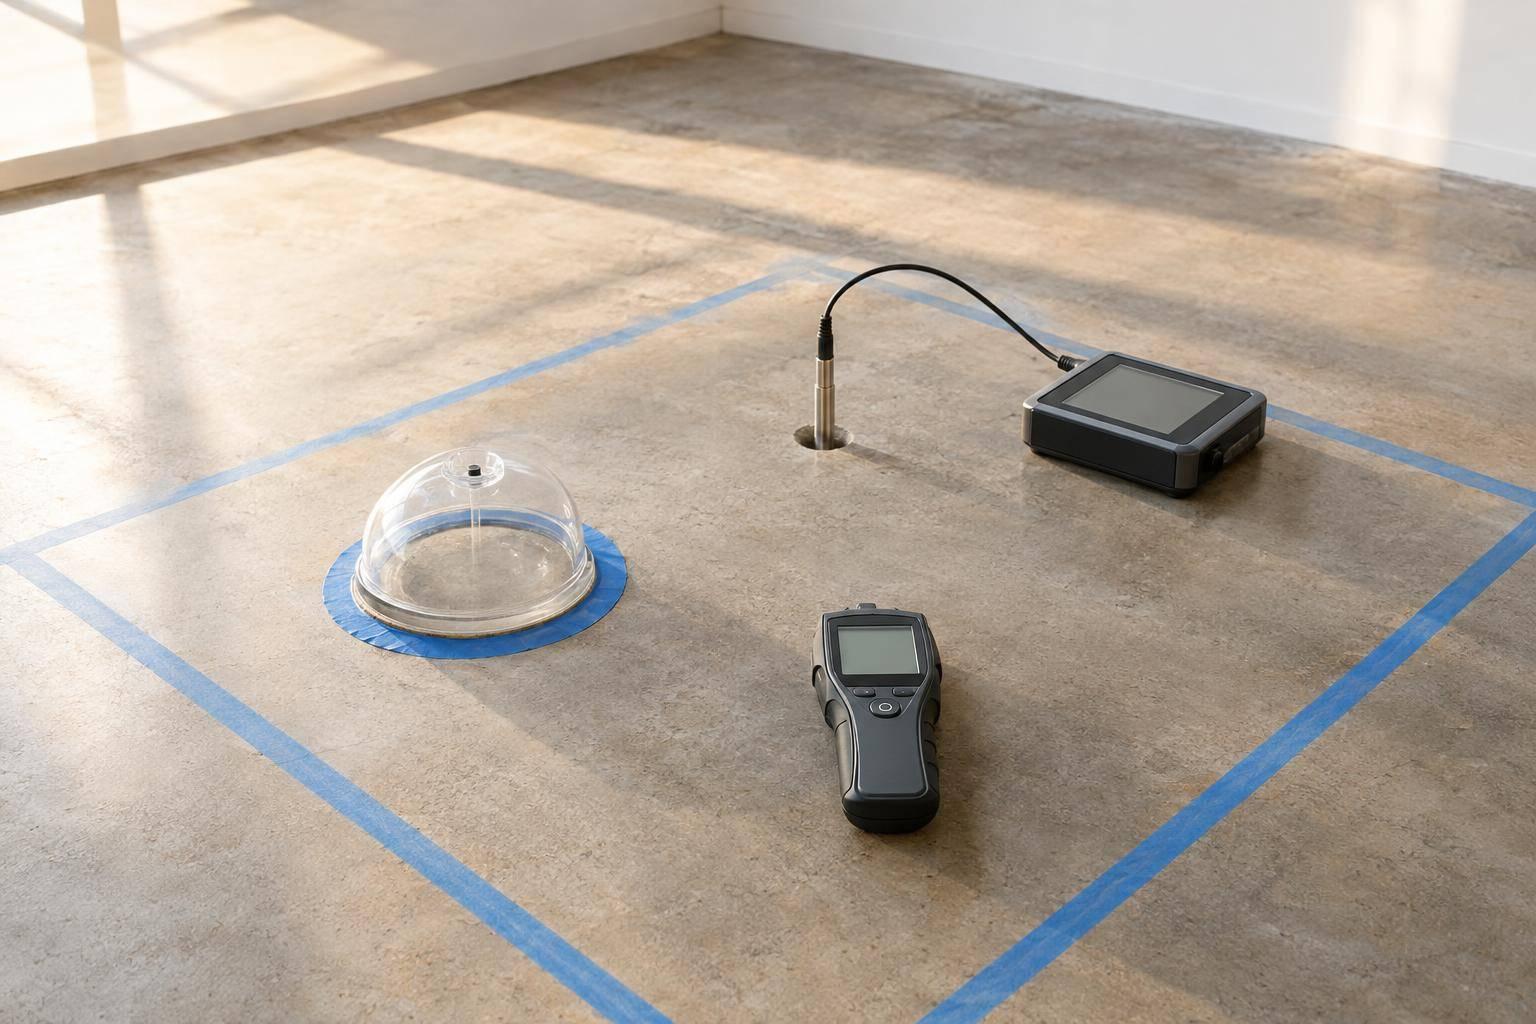
Moisture is just as important. If a slab has taken on rain, snowmelt, or ground moisture, it should be tested before coating starts. Installers use moisture tests to confirm the concrete is dry enough. Dry concrete helps protect adhesion and long-term durability. Put coating over a wet slab, and you can end up with blistering and delamination later.
How Professionals Adjust for Local Conditions
Good crews don’t wait for conditions to surprise them. They plan around them.
In summer, garage floors in Spokane often get started around 7:00–8:00 a.m., while slab temperatures are still in the 60s–70s°F. In cooler months, crews may wait until mid-morning so the slab can reach the minimum application temperature, often around 50°F, before mixing begins.
They also keep Part A and Part B shaded and near 65–75°F so working time stays more predictable. On hot days, crews cut batch sizes to fit the shorter window. In some cases, they mix only enough material to cover 100–150 sq. ft. at a time so the product doesn’t gel in the bucket before that section is finished.
| Condition | Slab Temp | Relative Humidity | Typical Working Time | Approximate Cure Pace |
|---|---|---|---|---|
| Cool | 50–60°F | 40–60% | Longer than baseline | Slower cure; light foot traffic takes longer |
| Moderate | 60–75°F | 40–60% | Near baseline | Standard cure |
| Hot / Sun-Exposed | 75–90°F+ | 30–50% or direct sun | Shortest window | Fastest cure |
Representative values only. Many systems specify application around 50–90°F with relative humidity at or below 85%, and higher temperature and humidity shorten working time.
Once slab conditions are clear, batch size and crew pace become the next things to dial in.
Staging, Mixing, and Application Flow
Polyaspartic success starts before the first batch is mixed. Prep and crew flow aren’t side tasks. They’re part of working-time control from the start.
Pre-Staging Tools, Repairs, and Crew Roles
Anything that can be finished before mixing should be finished before mixing. Start by diamond grinding the slab to open the concrete pores and give the coating the right profile to bond to. After that, fill cracks, spalls, and control joints with a compatible fast-setting repair material, then shave them smooth. Next, vacuum the slab thoroughly to remove all dust. Even a thin dust film can lead to craters or bond failure. Poor prep is the most common cause of coating failure.
Once the slab is clean, stage every tool in the order it will be used. That usually includes:
- squeegees, rollers, and spike shoes
- flake buckets, mixing pails, and measuring containers
- a drill mixer and a timer
Keep the mix station off the floor, and keep the application path clear. That sounds simple, but on a fast-moving install, a cluttered path can throw off the whole job.
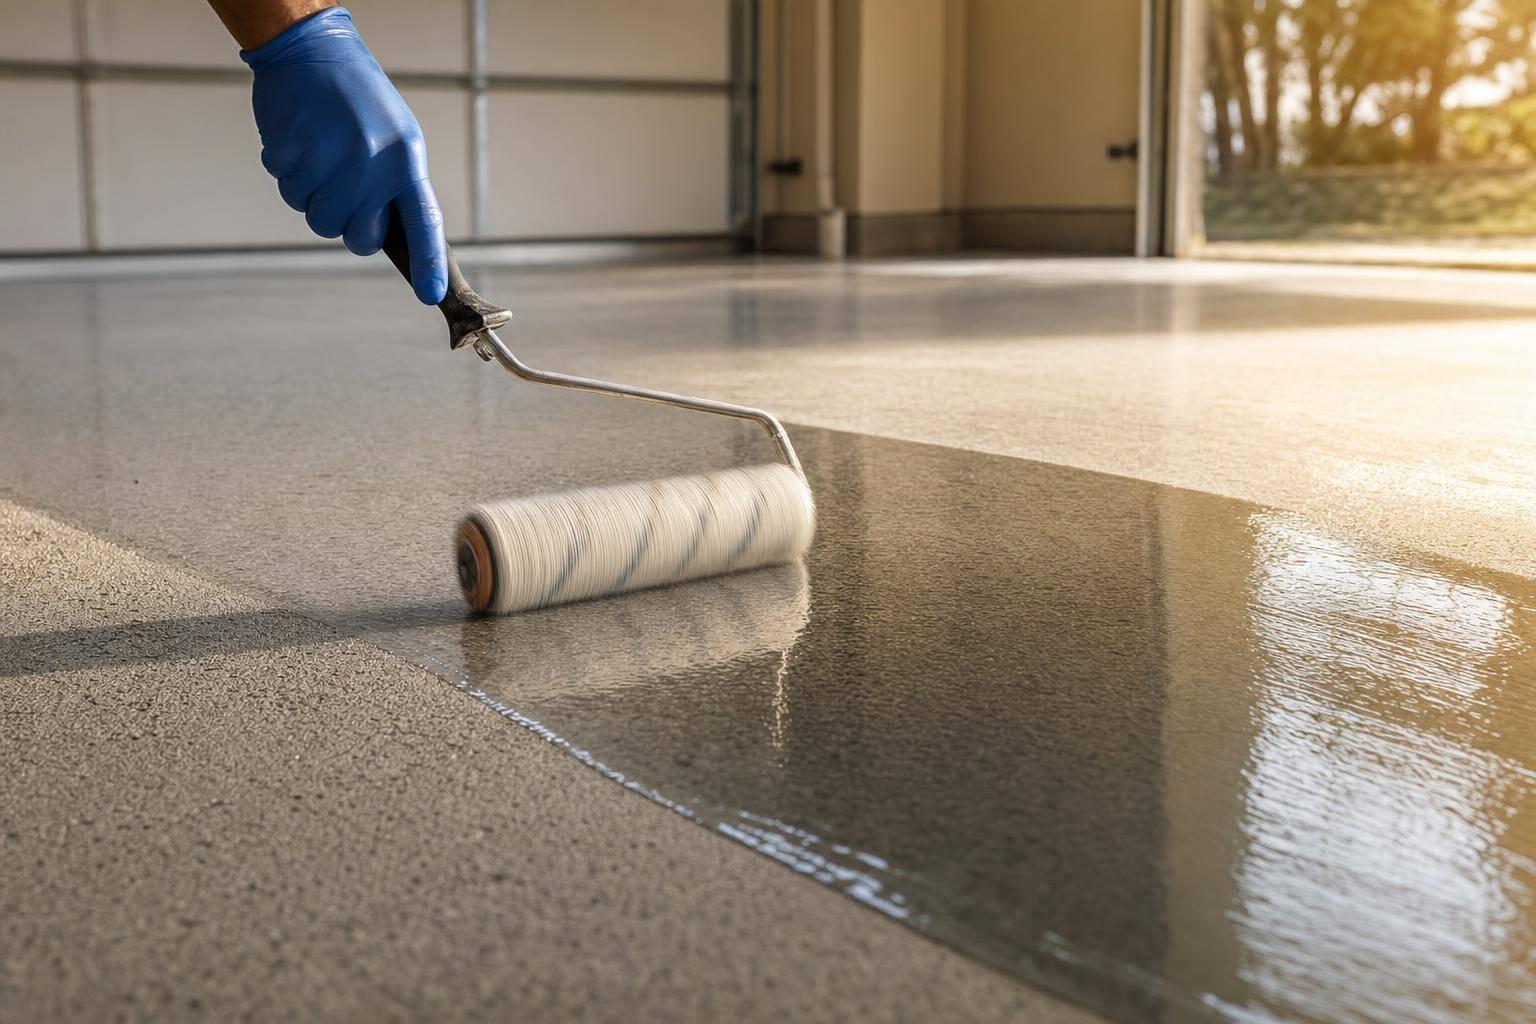
Crew roles should be set before anyone opens a container. A mixer measures and combines Part A and Part B, starts a timer for each batch, and keeps fresh pails ready at the application line. A spreader pulls the coating across the floor at the right thickness with a squeegee or gauge rake. A back-roller follows right behind to even out the material and hold a continuous wet edge. A flake broadcaster walks in spike shoes behind the back-roller and tosses flakes upward so they fall evenly into the still-wet base coat.
Mix Ratios, Batch Sizing, and Wet-Edge Control
Polyaspartic systems are two-component products with fixed mix ratios. Many clear topcoats use 1:1 by volume, and that ratio has to be followed exactly. Even small errors can change gel time and final film properties. Installers usually rely on marked pails or measuring cups to keep batches consistent, then mix for about 2 minutes with a drill mixer and move straight to application.
The rule is simple: never mix more than can be placed within the available working window. In practice, that means using the smallest batch the crew can place in time.
Wet-edge control matters just as much. Installers need to overlap slightly into still-wet coating with each new pass to avoid lap lines and roller marks. Some crews leave a 20–30 cm (~8–12 in.) wet skirting at the edge of each section so the next batch ties in cleanly.
Typical One-Day Floor Installation Sequence
A standard polyaspartic flake system follows the same core sequence from job to job. Croc Coatings uses the Penntek Evolution workflow for one-day installs on garages, patios, and shop floors, with videos on its YouTube channel.
| Stage | Purpose | Working Time Criticality |
|---|---|---|
| Diamond Grinding & Vacuum | Opens concrete pores; removes dust and contaminants | Low – no mixed product on the floor yet |
| Crack & Joint Repair | Creates a smooth, level substrate | Low – completed before any coating is mixed |
| Base Coat Application | Bonds to concrete; anchors the flake layer | High – must be spread before gelling begins |
| Flake Broadcast | Embeds decorative vinyl flakes into the wet base coat | High – must happen while base coat is still wet |
| Cure & Scrape/Vacuum | Removes excess flakes; creates a uniform texture | Medium – performed after the base coat reaches the appropriate stage |
| Clear Polyaspartic Topcoat | Seals the system; provides UV resistance and durability | High – wet edge must be maintained throughout |
Concrete prep usually takes 2–3 hours in the morning. Base coat application and flake broadcast come next and take about 1–2 hours, depending on floor size and crew size. Scraping and vacuuming happen mid-day after the base coat cures. Then the clear topcoat goes down in the afternoon. With the Penntek Evolution system, the floor can often be walked on the same evening and driven on the next morning.
Each stage has to wrap before the next one begins. Miss the pace early, and it shows up later in scrape time, topcoat timing, and when the floor is ready for foot or vehicle traffic.
Cure Timing, Floor Performance, and Warranty Coverage
Once the topcoat is down, the job shifts from install speed to patience. This part matters just as much as the prep and coating work that came before it.
When the Floor Can Be Used
Most systems are tack-free in 1–2 hours, ready for light foot traffic in 2–6 hours, ready for vehicles in 24–48 hours, and fully cured in 3–7 days, depending on the product and site conditions. Those timeframes can change based on film build, slab temperature, humidity, direct sun, and day-to-day weather changes. The installer’s written cure schedule should be the rule you follow.
During the first 24–48 hours, keep vehicles, mats, stored items, and moisture off the floor. Wear soft-soled shoes, and don’t drag tools, boxes, or anything else across the surface.
Those cure windows don’t just affect when you can use the floor. They also shape how the finish looks and how well it holds up over time.
How Timing Affects Adhesion, Finish Quality, and Durability
Cure timing affects both return-to-service and long-term floor performance. A floor can look done before it’s actually ready, and that’s where problems start.
| Installation Factor | Performance Outcome | Result of Poor Timing |
|---|---|---|
| Environmental limits (temp/humidity) | Even, consistent cure across the slab | Gloss variation, soft spots, or slow cure |
| Batch control and mix accuracy | Uniform gel time and film build | Lap lines, roller marks, or pinholes |
| Recoat timing | Strong intercoat adhesion | Peeling or delamination between layers |
| Proper cure window before vehicle traffic | Hot-tire and chemical resistance | Tire imprinting or permanent surface marks |
| Moisture testing before application | Long-term bond to concrete | Blistering or delamination within months |
Why Trained Penntek Installation Matters
When timing gets off track, warranty risk goes up too. Penntek’s limited lifetime residential warranty depends on correct prep, mix ratios, recoat timing, and cure conditions. Proper prep helps the coating cure the way it should, form a durable bond, and stay within warranty requirements. That kind of discipline is what supports one-day installations across North Idaho and Eastern Washington and helps homeowners meet Penntek warranty requirements.
Key Takeaways on Managing Polyaspartic Working Time
After prep and application, working time becomes the thing that can make or break the finish. Polyaspartic coatings get floors back in service fast, but there’s a catch: pot life can get VERY short in warm weather, which leaves almost no room to pause once mixing begins.
As the earlier jobsite conditions made clear, slab temperature and direct sun can change working time much faster than the product label may imply. A cooler slab can stretch the window. A hot slab can shrink it down to just minutes. Humidity plays a smaller but still important role, and when it shows up with heat, the window gets even tighter. That’s why crews need to check the best temps for concrete coatings before mixing. After the pour starts, it’s already too late to fix lap lines or thin spots without a fight.
So the application sequence needs to be locked in ahead of time. The crew should only mix what they can place and backroll before the coating starts to gel. Tools need to be staged first. Roles need to be clear first. The idea is simple: prep happens before the clock starts. Batch size has to fit the crew’s pace so they can keep a wet edge across the slab.
Once the topcoat is down, cure timing stops being just a calendar issue. It becomes a floor-performance issue. After topcoat, follow the product-specific cure schedule instead of relying on a generic guess. Putting the floor into heavy use too early can damage the surface and may fall outside warranty coverage.
In North Idaho and Eastern Washington, temperature swings can be sharp, sometimes within the same day. That makes trained crews and one-day Penntek installs a big part of keeping working time, cure timing, and warranty requirements on track.
FAQs
How can I tell if the slab is too hot to coat?
Use a handheld infrared thermometer to check the concrete surface temperature. If the slab is above 90°F, polyaspartic can cure too fast. That makes it much harder to hold a smooth, wet edge and can lead to lap marks, roller marks, or a patchy finish.
Hot concrete can also increase outgassing, which may cause bubbles. And there’s one more thing to watch: keep the slab at least 5°F above the dew point to help prevent condensation and bonding issues.
What happens if polyaspartic is applied over damp concrete?
Applying polyaspartic over damp concrete often leads to adhesion failure. That can show up as blistering, peeling, or delamination. When moisture gets trapped under the coating, it can build pressure and push the material away from the slab.
Because polyaspartic cures fast, these problems can set in almost right away. In many cases, the fix means full removal and reapplication. Proper moisture testing helps you avoid that mess.
How do installers prevent lap lines and roller marks?
Installers avoid lap lines and roller marks by keeping a continuous, smooth wet edge during the short application window.
With polyaspartic coatings, that takes tight workflow planning and close control of both ambient and substrate temperatures. The material has a short pot life and sets fast, so there’s not much room for error. Outside the 50°F to 85°F range, the coating may cure unevenly, skin over, or thicken, which can reduce smooth leveling.