If a concrete floor coating doesn’t bond well, it can peel, blister, or lift long before you expect it to. When I look at floor adhesion, I don’t rely on one test alone. I look at five checks together: pull-off testing, surface prep and CSP checks, moisture testing, cure checks, and failure review.
Here’s the short version:
- Pull-off testing shows how much force the bond can take
- Surface prep and CSP checks show if the slab is clean and rough enough
- Moisture testing checks for RH and vapor that can push coatings off the slab
- Cure checks show if the coating is ready to test or put into service
- Failure review shows where the system broke, not just how much force it took
A few numbers matter right away:
- Many specs call for about 200 to 360 psi pull-off strength
- Many systems want internal slab RH at 75% to 80% or lower
- A common MVER limit is 3.0 lbs/1,000 sq. ft./24 hours
- A 100% solids epoxy may need about 5 to 7 days for full cure at around 72°F
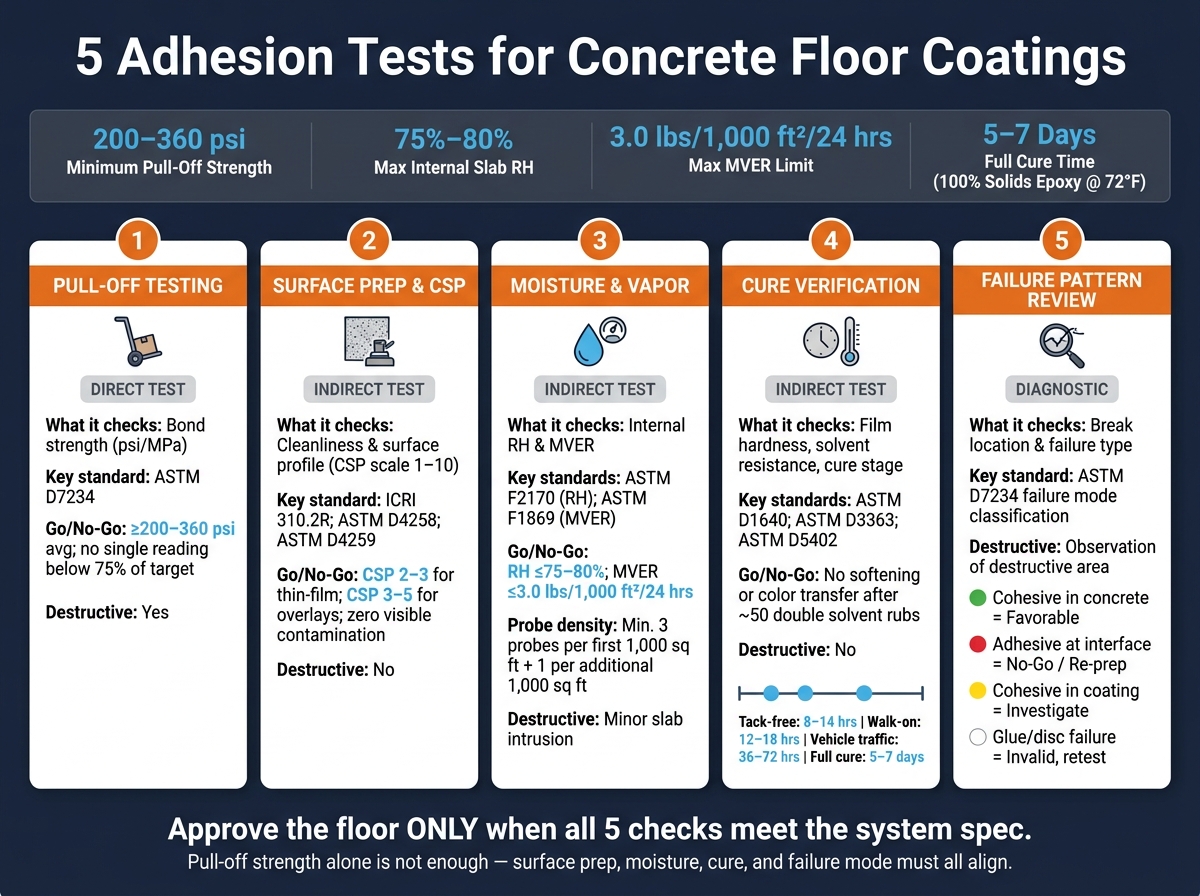
5 Adhesion Tests for Concrete Floor Coatings: At-a-Glance Guide
8. How to Measure the Pull-Off Adhesion of Coatings on Concrete
sbb-itb-a0e5ae3
Quick Comparison
| Test | What I check | What it tells me | Common go/no-go point |
|---|---|---|---|
| Pull-off test | Bond strength | Whether the coating is attached well enough | Often 200 to 360 psi, based on spec |
| Surface prep/CSP | Cleanliness and texture | Whether the slab is ready to receive coating | CSP must match system needs |
| Moisture testing | RH and MVER | Whether moisture may cause failure later | RH and MVER must stay within maker limits |
| Cure check | Film hardness and solvent resistance | Whether test results can be trusted | Coating must meet cure target first |
| Failure review | Break location | What layer failed | Interface failure often means stop and fix |
Bottom line: I approve a floor only when all five checks line up. A good psi number alone is not enough. The slab, the moisture level, the cure state, and the break pattern all have to match the system spec.
What Good Adhesion Depends On
Good adhesion comes down to five connected factors: substrate condition, moisture, surface profile, coating cure, and failure pattern after testing. They work together, not in isolation. If one part is off, the bond can suffer.
Substrate condition comes first. Coatings bond to the concrete itself, so the slab has to be sound and clean. Oil, dust, old sealers, and weak laitance can all block that bond. And here’s the catch: a slab can look clean and still have enough residue left behind to cause failure.
Moisture is another big factor. When vapor moves up through a slab, it can build pressure at the coating interface. Over time, that pressure can lead to blistering or delamination. Surface profile, on the other hand, is about texture. The profile created by grinding or shot blasting helps the coating grip the concrete through mechanical lock.
Coating cure also matters at the moment you test. If you test too soon, the result may make the bond look weaker than it actually is. Cure speed also shifts with temperature and humidity, so timing isn’t just a box to check.
Then there’s the failure pattern. This is where the test starts to tell the full story. A psi number by itself won’t show where the weak point is. The break pattern will. It can point to common causes of concrete coating failures like poor surface prep, moisture, cure, or product compatibility.
With those factors in view, start with pull-off adhesion testing.
1. Pull-Off Adhesion Testing
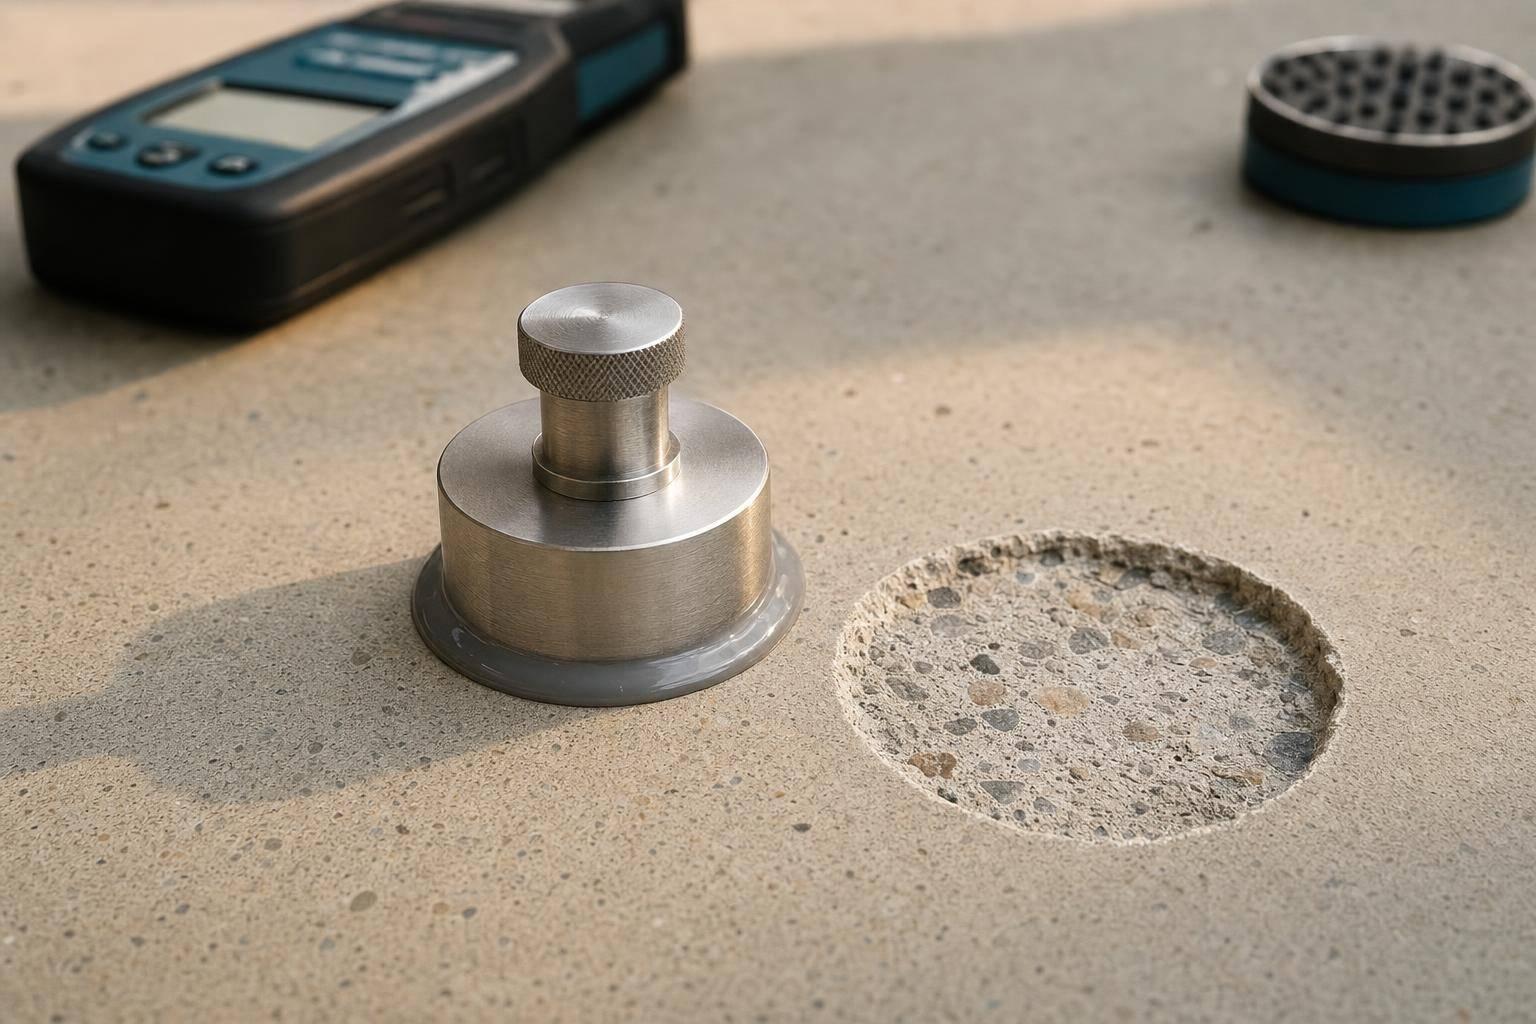
Pull-off testing is the most direct field check for adhesion strength. It measures how much force it takes to detach a bonded coating sample from concrete. In the field, a technician bonds a dolly to the surface and applies a load straight out from the slab until failure. The result is reported in psi or MPa.
For concrete floors, ASTM D7234 is the main reference. ICRI Guideline No. 210.3R adds direction on test layout, cut depth, adhesive selection, and pass/fail criteria. Many specs call for a minimum average pull-off strength of about 1.5-2.5 MPa (200-360 psi). They also often require that no single reading fall below a set share of that target, commonly 75%. That benchmark helps the crew decide if the slab is ready for coating or if it needs more work first.
Crews usually run pull-off tests before installation and again after cure. If the numbers come in low, stop there. Check surface prep, moisture, and contamination, fix the issue, and retest. If the bond is weak, don’t move on to the next test until the slab is corrected.
The failure mode matters just as much as the number. A break at the coating-to-concrete interface often points to poor prep or contamination. A break within the coating usually means the bond to the concrete is sound. If the dolly adhesive fails, throw out the result.
If pull-off values are low, or the failure mode points the wrong way, check surface preparation and profile next.
2. Surface Preparation and Concrete Surface Profile Checks
When pull-off results fail at the bond line, the next place to look is the slab surface. This step checks whether the concrete is clean, sound, and textured enough for good bond. In plain English, the slab needs the right concrete surface profile (CSP) and it can’t have anything on it that gets in the way. A floor may look fine at a glance and still miss both marks.
ICRI Guideline No. 310.2R is the main field reference for choosing CSP. Installers compare the slab to CSP chips on a 1–10 scale. CSP 2–3 is common for thin-film systems, while CSP 3–5 is more common for thicker overlays. ASTM D4258 covers cleaning, and ASTM D4259 covers abrasive prep methods used to remove laitance, weak concrete, and foreign matter while opening up the profile.
The slab also needs to pass a basic cleanliness check. That means no visible oil, grease, dust, curing compounds, or old sealers. A good profile doesn’t help much if residue is still sitting on the surface. A white-rag or fingertip swipe test is a fast field check. If the rag or fingertip comes back dirty, the surface isn’t ready.
The pass/fail rule here is pretty simple:
- If the profile is too smooth, the coating may not bond well.
- If the profile is too rough, thin systems may not wet out the surface the way they should, which can lead to pinholes or uneven coverage.
If either problem shows up, change the prep method or tooling, then check again before mixing material.
Surface prep and profile checks show whether the slab is physically ready. They do not fix moisture or cure problems. Even with the right CSP, you still need moisture testing and cure verification.
3. Moisture and Vapor Testing
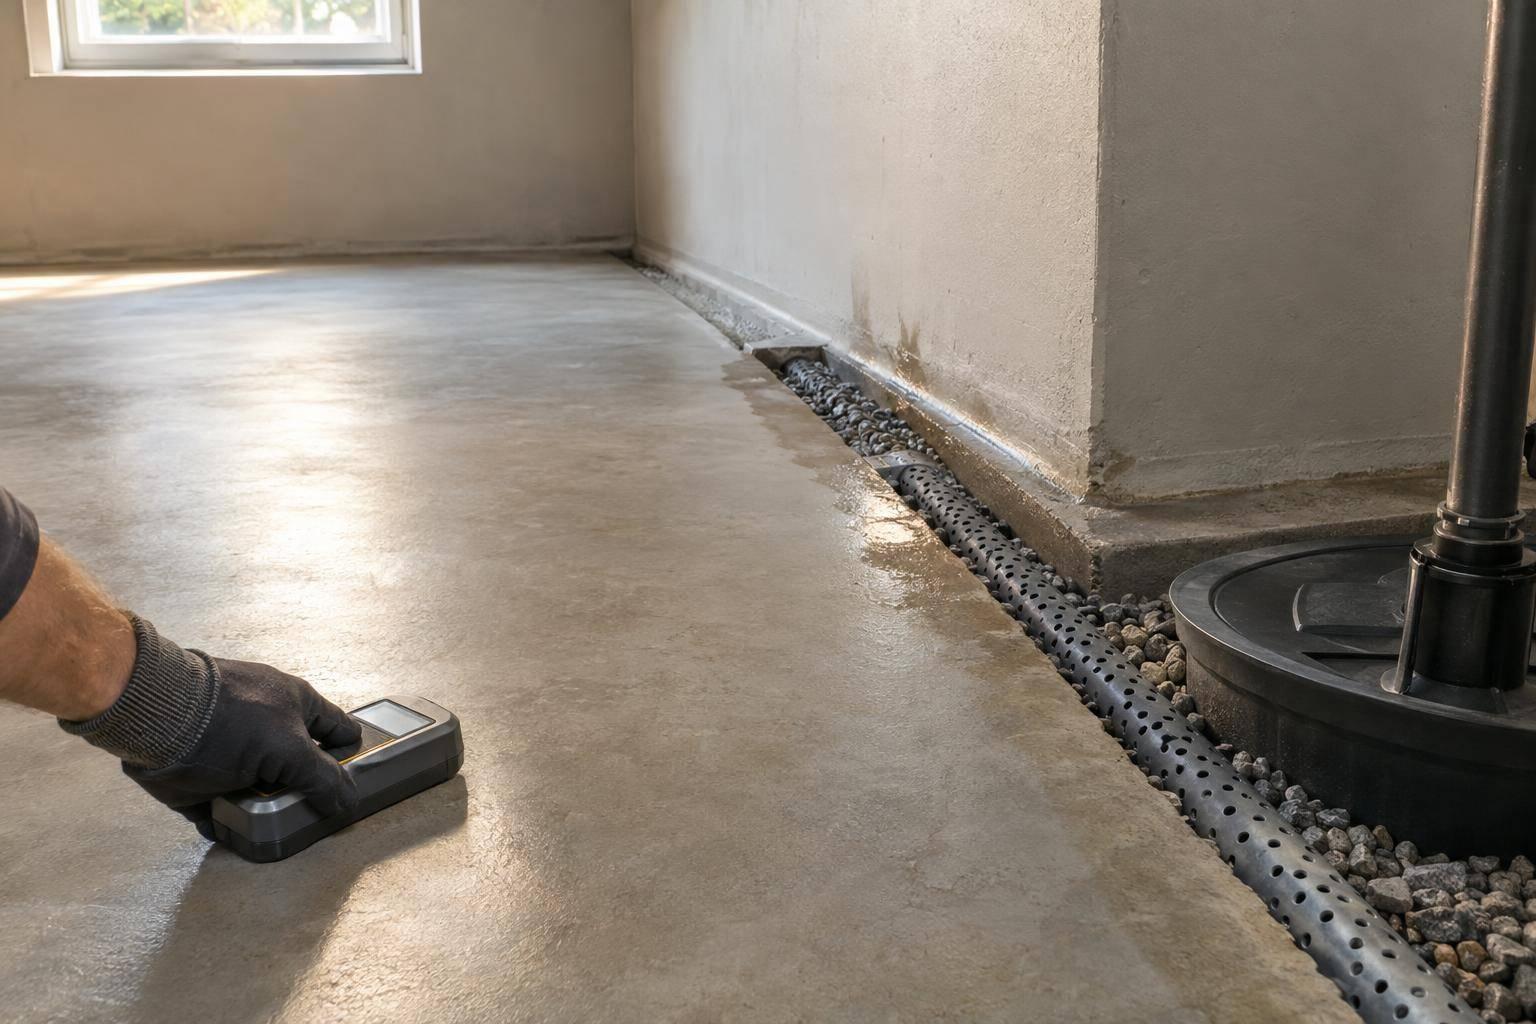
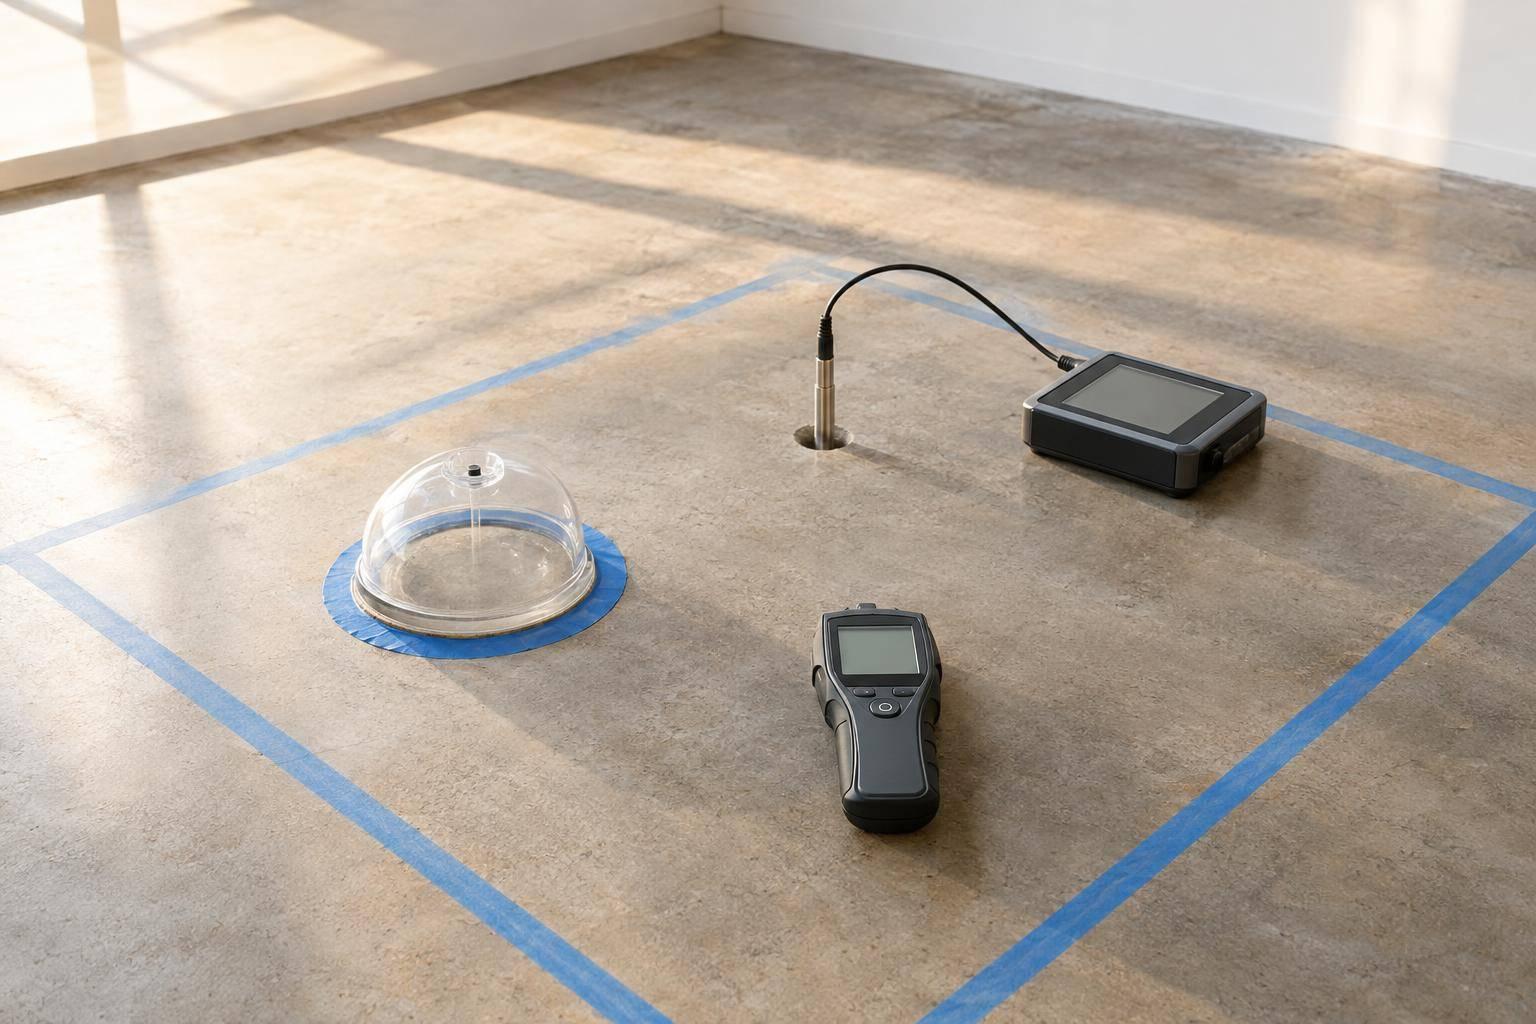
After surface prep, moisture is the next checkpoint. A slab can look ready and still wreck adhesion if moisture is hiding in it. That’s why these tests look at two things: moisture vapor emission rate (MVER) at the surface and in-slab relative humidity (RH) inside the concrete. Either one can flag a slab that’s likely to fail after installation.
The two main standards are ASTM F2170 for internal RH and ASTM F1869 for MVER. ASTM F2170 uses in-slab RH probes. ASTM F1869 uses sealed calcium chloride tests over bare concrete. The standard calls for at least three probes for the first 1,000 sq ft, plus one more probe for each extra 1,000 sq ft.
Common manufacturer limits are:
- Internal RH at or below 75% to 80%
- MVER at or below 3.0 lbs/1,000 ft²/24 hours
If either reading comes in above the manufacturer’s stated limit, the slab fails the moisture check. And here’s the part people sometimes miss: big differences between test points matter too. Even if the average seems fine, sharp swings across the slab can point to trouble.
If readings are too high, don’t push ahead. Delay installation and use a moisture-mitigation system or a coating rated for wet slabs. It also helps to document every test result, along with ambient temperature and ambient RH at the time of testing. That paper trail can save a lot of grief later if adhesion questions show up.
If moisture is within spec, move next to coating cure verification before any bond test is trusted.
4. Coating Cure Verification
Once moisture is within spec, the next check is cure. At that point, the question is simple: has the coating reached the strength, resistance, and film condition the manufacturer calls for? If the slab clears the moisture review, cure becomes the next go/no-go checkpoint.
Cure usually moves through four stages: tack-free, walk-on ready, service-ready, and fully cured. For a 100% solids epoxy at about 72°F, the timing is usually as follows:
| Cure Stage | Approximate Time at ~72°F |
|---|---|
| Tack-free / surface dry | 8–14 hours |
| Walk-on ready | 12–18 hours |
| Vehicle / heavy traffic | 36–72 hours |
| Full chemical cure | 5–7 days |
Temperature changes everything. The same epoxy that reaches full cure in 7 days at 68°F can take 21–28 days at 50°F. That delay matters a lot in unheated garages during fall and winter in places like Coeur d’Alene or Spokane. A floor may look dry and still not be ready.
To verify cure, installers usually use a mix of checks: thumb-twist, pencil hardness, and solvent-rub testing. For epoxies, about 50 double rubs with a solvent-soaked cloth is a common marker. A fully cured film should show no softening and no color transfer. One test alone doesn’t tell the whole story, so experienced crews combine results and document them with photos, slab temperature, and ambient relative humidity readings.
Cure verification is a hard go/no-go gate before check concrete coating adhesion. If you run a pull-off test on a coating that is still under-cured, the result can show cohesive failure inside the soft film instead of the bond to the concrete. That creates a false reading. Once cure is confirmed, the next step is to read the break pattern the right way so you can tell whether the failure points to the coating, the concrete, or the test itself.
5. Failure Pattern Review After Testing
Once cure is confirmed, check the break surface. ASTM D7234 and ASTM C1583 require failure mode reporting because the place where the break happens shows the weakest layer or interface. In many cases, that matters more than the psi number by itself. A high psi result can still fail if most of the break is adhesive at the interface.
Use the table below to classify the break pattern:
| Failure Pattern | What It Usually Means | Typical Implication |
|---|---|---|
| Cohesive failure in concrete | The coating stays attached while the concrete breaks away, showing the bond is stronger than the near-surface concrete | Often favorable if the psi value meets project spec |
| Adhesive failure at the coating–concrete interface | Weak bond, contamination, or poor surface prep | Usually a no-go; investigate and re-prep |
| Cohesive failure in coating | The coating tears within the film, which can point to a coating, formulation, or cure issue | May still be acceptable if project criteria allow |
| Glue/disc adhesive failure | Test artifact rather than a true system result | Typically invalid; repeat the test |
Estimate how much of each failure type appears on the dolly surface, then record that mix with the pull-off value. That detail matters. A single test can show more than one failure type, and the split tells you where the system gave out.
Don’t just test the easy areas. Check representative zones like entries, wet areas, and prior repairs. If the same interface keeps failing, that usually points to poor prep, contamination, incomplete cure, or materials that don’t work well together. The failure pattern should help the installer decide whether the floor should be accepted, reworked, or tested again.
Summary Table: All 5 Checks at a Glance
Use this table to match each check to the decision it supports.
| Check | Purpose | Direct or Indirect | Key Standards | Destructive? | Decision It Supports |
|---|---|---|---|---|---|
| 1. Pull-Off Adhesion Testing | Measure coating-to-concrete bond strength | Direct | ASTM D7234 | Yes – leaves a pull-off scar | Accept or reject bond strength; determine whether re-prep or a system change is needed |
| 2. Surface Preparation and CSP Checks | Confirm the slab is clean, sound, and at the target CSP | Indirect | ICRI 310.2R and CSP chips | Usually non-destructive; localized cuts only when needed | Approve the surface for coating; select or adjust prep method and repairs |
| 3. Moisture and Vapor Testing | Check internal RH and surface moisture | Indirect | ASTM F2170; ASTM F1869 | Pre-coating; minor slab intrusion for RH probes | Approve the slab for coating or trigger moisture mitigation/system change |
| 4. Coating Cure Verification | Confirm the coating is ready for service or recoat | Indirect | ASTM D1640, ASTM D3363, ASTM D5402 | Non-destructive or lightly marked | Decide timing for next coats or service; adjust cure conditions if needed |
| 5. Failure Pattern Review After Testing | Classify the break location and failure type | Diagnostic | ASTM D7234 failure mode classification | Observation of a destructive test area | Identify root cause of failures and choose corrective actions |
Checks 2–4 deal with slab conditions that allow adhesion to happen. Checks 1 and 5 show whether the bond actually held and where it broke.
One point matters a lot here: use the manufacturer’s moisture limit for the installed system. ASTM methods tell you how to test. They do not set the pass/fail line.
In cold, wet climates, timing and moisture control can make or break the job.
A Note for North Idaho and Eastern Washington Installers
Installers in North Idaho and Eastern Washington – especially Coeur d’Alene, Spokane, the LC-Valley, and the Tri-Cities – should use the same adhesion checks before approving a floor for service. In this region, climate makes those checks critical. Weak adhesion tends to fail faster here.
That’s why pre-installation testing is nonnegotiable for crews in this area. Croc Coatings serves this region and follows substrate profiling, how moisture affects concrete evaluation, and cure verification before service.
Those checks should also extend to edges, transitions, and repair zones, where bond failure often starts.
Run moisture-related failure prevention tests under representative slab conditions. In cooler months, unheated garages may need longer cure times and supplemental heat. In hot, dry Tri-Cities summers, monitor substrate temperature closely to reduce outgassing before the coating sets.
Conclusion
Pull-off testing measures bond strength. But that number alone doesn’t tell the whole story.
Surface prep, moisture, cure, and failure review are what show whether that bond is likely to hold up over time. Each check rules out a different kind of failure. That’s why the five checks need to be read together, not one by one in isolation.
Moisture and under-cure can make a pull-off result look better than it is. Once you rule out those risks, the approval call gets pretty simple.
Match every result to the system spec. If pull-off values fall below the specified minimum, or if failure happens at the coating-to-concrete interface instead of within the concrete itself, stop, fix the issue, and retest. The same goes for moisture readings above published limits or cure conditions that were not met. Approve the floor only when pull-off strength, surface prep, moisture, cure, and failure mode all meet the system spec.
FAQs
Which adhesion test matters most?
No single test is the “best” on its own. The right one depends on what you need to learn.
For critical applications like industrial floors or high-traffic areas, where you need precise, measurable data, the ASTM D7234 pull-off test is the better fit.
For routine inspections or quick field checks, where a pass/fail style result is enough, the ASTM D3359 tape test makes more sense. It’s simpler and more practical on the spot.
Both tests can help spot weak bond planes and check whether surface preparation was done properly.
Can a floor pass pull-off testing and still fail later?
Yes. A pull-off test shows bond strength at one moment in time, but a floor can still fail later.
Why? Because the bond can weaken after the test. Poor surface prep, not enough surface roughness, trapped moisture vapor, jobsite conditions, or concrete movement can all chip away at adhesion over time.
That’s when problems start to show up, including:
- Peeling
- Bubbling
- Delamination
What should I do if moisture readings are too high?
If concrete moisture readings are above the manufacturer’s limit, fix that issue before you move ahead. If you don’t, you run a much higher risk of blistering, peeling, or delamination.
Sometimes the fix is simple: give the slab more time to dry. If the schedule is tight, you can help it along with:
- Dehumidifiers
- Ventilation
- Heat
After that, retest the slab to make sure it falls within the required range.
If the concrete has at least 3,500 psi strength, you may also be able to use moisture-tolerant primers or specialized epoxy moisture barriers before application.