Vapor barriers are the unsung defenders of your concrete floors and walls — blocking moisture, soil gases, and radon from seeping into your home. But when they fail, the damage is often silent and expensive: mold blooming behind baseboards, efflorescence creeping across your garage floor, and adhesives breaking down underfoot. Even a small puncture or an unsealed seam can undo years of protection. The good news? Most vapor barrier failures are preventable, and even a compromised barrier can be repaired or replaced before the damage spreads. Here’s what you need to know:
Key Causes of Failure:
- Low-quality materials: Thin or non-compliant barriers tear easily under construction traffic and long-term soil pressure.
- Installation mistakes: Unsealed seams, improper overlaps, or mechanical fasteners that puncture the barrier compromise its effectiveness from day one.
- Environmental factors: Condensation, trapped moisture, and climate-zone mismatches can turn a vapor barrier into a moisture trap.
How to Prevent Failures:
- Use materials meeting vapor barrier standards — minimum 10 mil thickness and ASTM E1745 Class A compliance.
- Overlap seams by at least 6–12 inches and seal with vapor barrier tape, never duct tape.
- Address water leaks and ensure proper drainage before installation — understanding why moisture barriers fail starts with controlling water at its source.
Signs of Failure:
- Musty odors, visible mold, or persistent condensation on windows and walls.
- Efflorescence (white residue) and adhesive breakdown on concrete floors.
- In crawl spaces: sagging insulation, standing water on the barrier, or rodent damage.
Repairs:
- Remove damaged sections, fix leaks, and replace with compliant materials.
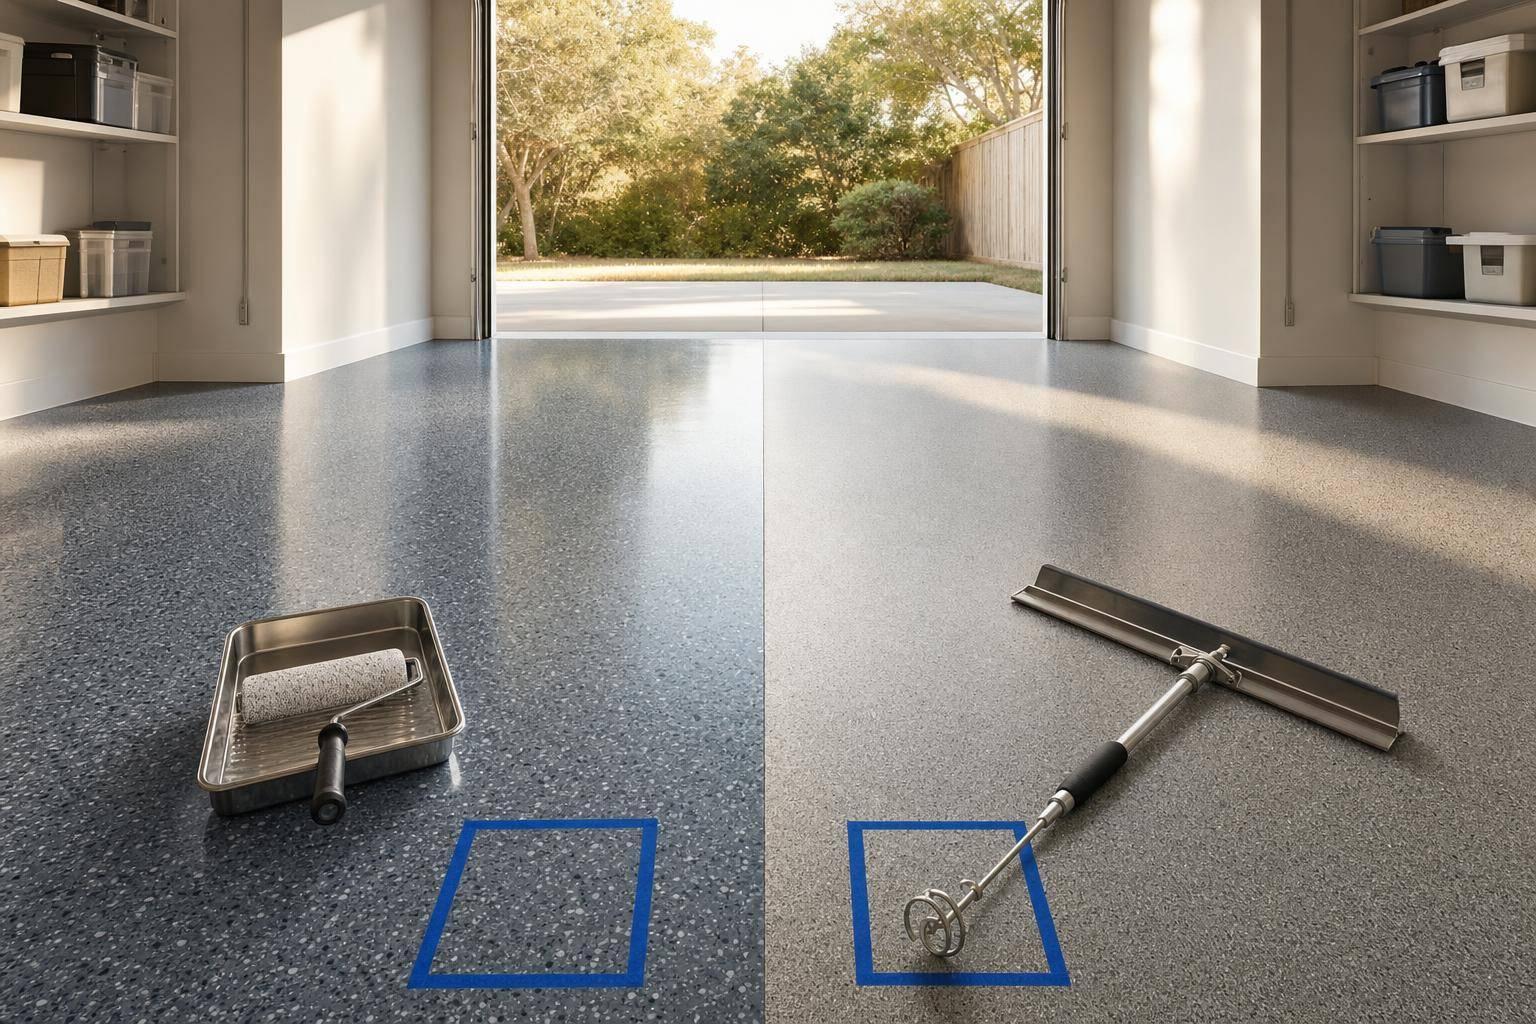
- Protect concrete with industrial floor coatings like Penntek Evolution.
Proper materials, installation, and maintenance ensure long-lasting vapor barrier performance.
Common Causes of Vapor Barrier Failures
Low-Quality Materials
Using poor-quality materials, like a 6 mil polyethylene sheet, significantly increases the likelihood of tearing under normal stress. To address this, the 2021 International Residential Code now mandates a minimum thickness of 10 mil for vapor retarders beneath concrete slabs.
However, thickness alone isn’t enough. Materials should also meet ASTM E1745 Class A standards, which require a puncture resistance of at least 2,200 grams. Anything less is prone to failure during both construction and long-term use. Another frequent mistake involves choosing a material with the wrong permeance rating for the climate. For instance, Class I barriers (0.1 perm or less) are ideal for cold climates but can trap moisture in hot, humid regions, leading to the very moisture issues they are meant to prevent.
Even the highest-quality materials can fail if they aren’t installed properly.
Installation Mistakes
Improper installation is one of the most common reasons vapor barriers fail. Unsealed seams are a major issue — sheets should overlap by at least 6 inches as per code, though many professionals prefer 12-inch overlaps to account for shifting during concrete placement. Carrie Powers from Polyguard emphasizes:
Those overlap and edge-seal details are minimums, not options.
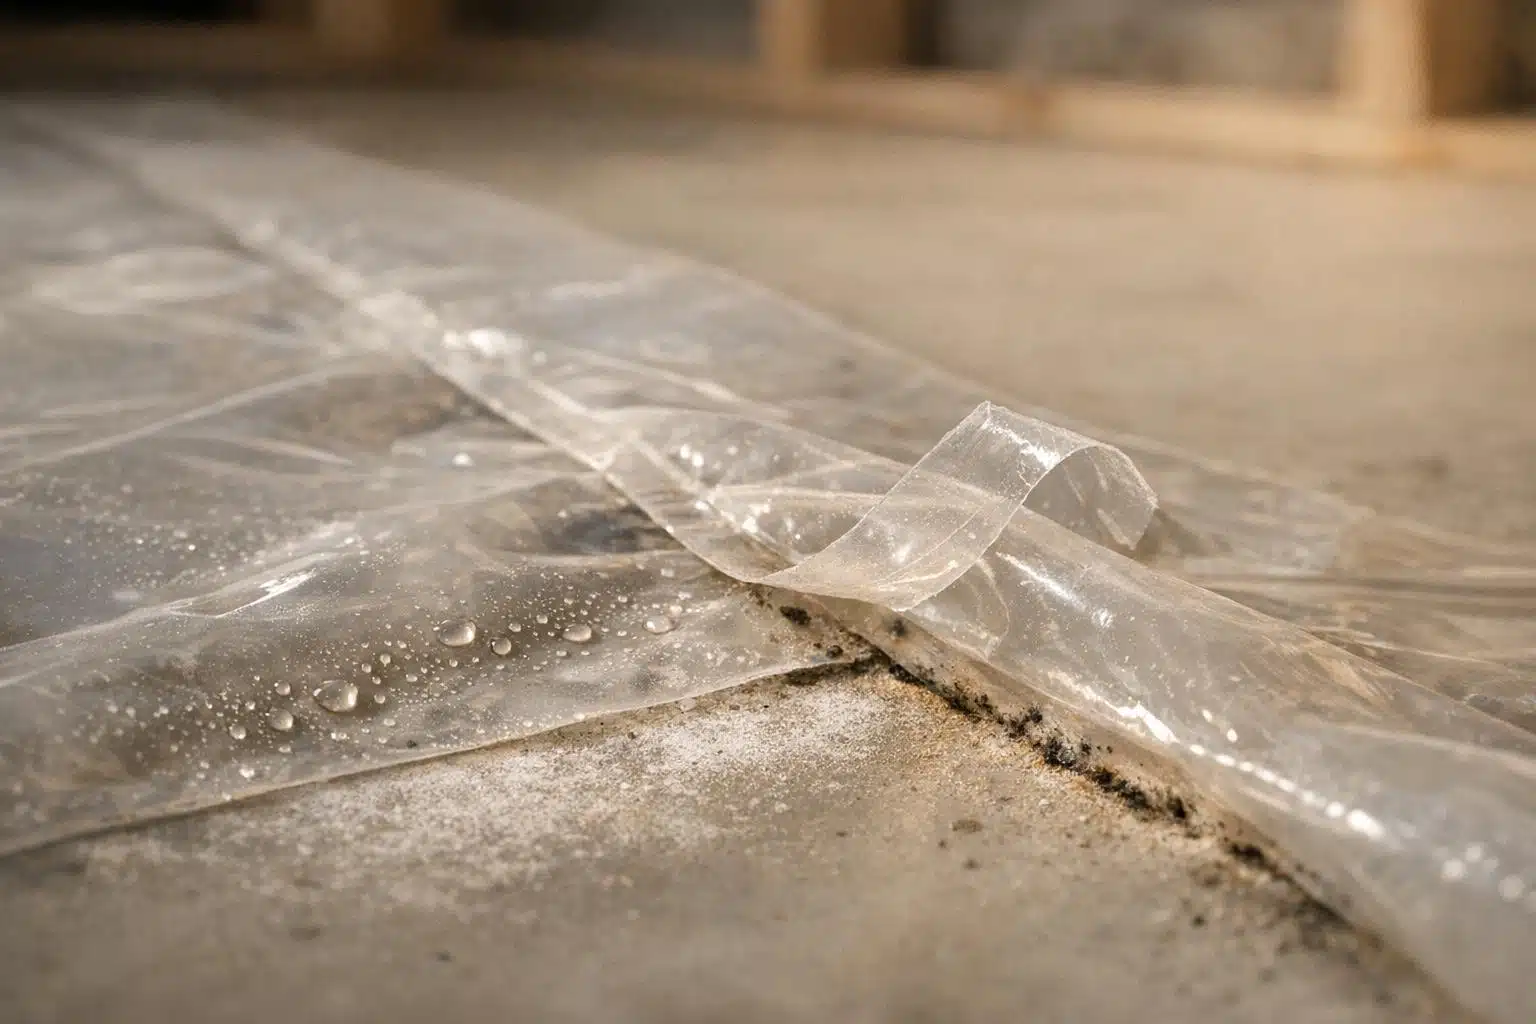
Another frequent mistake is the use of mechanical fasteners like staples or nails, which permanently puncture the barrier. Instead, use two-sided butyl tape for securing the barrier to foundation walls and specialized vapor tape for sealing seams. Additionally, neglecting to extend the membrane 6–12 inches up the foundation walls and seal it properly allows vapor to bypass the floor layer entirely. Be mindful of "fishmouths" — gaps left around plumbing, wiring, or posts — that can compromise the entire system.
Environmental Factors and Water Leaks
Environmental factors also play a significant role in vapor barrier failures. When warm, moist air meets a cold surface — often the vapor barrier itself during winter — condensation occurs. This moisture can saturate insulation and encourage mold growth.
Porous materials like brick or stone can absorb rainwater and release it inward when heated by the sun. Without proper ventilation, this trapped moisture has no escape route. Building scientist Joseph Lstiburek explains the issue:
Vapor barriers were originally intended to prevent assemblies from getting wet. However, they often prevent assemblies from drying.
The key isn’t just installing a vapor barrier — it’s managing water at its source. Proper drainage, ventilation, and selecting materials suited to the climate are essential. Ignoring these factors can compromise the integrity of concrete and lead to costly repairs, requiring professional moisture control for concrete.
Signs of Vapor Barrier Failure
What to Look For
Spotting vapor barrier issues early can save you from expensive repairs down the line. One of the first red flags is a musty odor. According to the New York State Department of Health, "Most molds produce musty odors that are the first indication of a problem." Even if you don’t see mold, that smell could mean moisture is hiding in places like behind furniture or under carpets.
When mold is visible, it often appears as fuzzy or slimy patches in black, white, or green. In high-moisture environments, antimicrobial coatings can help inhibit this growth. Mold can start growing fast — sometimes within just 24 to 48 hours after water exposure — and preventing mold growth starts with controlling moisture at the source.
Another clue? Condensation. If you notice water droplets on windows, walls, or cold pipes, it’s a sign of high indoor humidity. The US EPA warns, "If you see condensation or moisture collecting on windows, walls or pipes act quickly to dry the wet surface and reduce the moisture/water source."
Other symptoms include water stains on ceilings or walls, especially near recessed lights or other penetrations, as well as peeling paint, warped wood or drywall, and rusted metal fixtures. To keep track of humidity levels, a simple hygrometer (priced around $10 to $50) can help. Ideally, indoor humidity should stay between 30% and 50%, and it should never exceed 60%.
There’s also a risk you can’t see or smell: radon. A compromised vapor barrier can allow radon — a radioactive soil gas and the second leading cause of lung cancer in the U.S., responsible for about 21,000 deaths per year according to the EPA — to enter your home. If you suspect your vapor barrier has failed, testing for radon is a low-cost precaution that provides real peace of mind.
These indoor warning signs often point to deeper issues, including damage to concrete floors.
Damage to Concrete Floors
A failing vapor barrier doesn’t just affect indoor air — it can also wreak havoc on concrete floors. One telltale sign is efflorescence, a white, powdery residue. This happens when moisture seeps up through the concrete, bringing salts and minerals to the surface as it evaporates.
Another indicator is adhesive breakdown, which might show up as oily, brown, or murky stains. This occurs when moisture beneath the slab raises the pH level to 9 or 10, breaking down adhesives and causing field blisters — those dome-shaped bubbles that form in the middle of the floor due to vapor pressure. To identify problem areas, you can use a metal rod for a tap test. If you hear a hollow sound, it means the coating has separated from the concrete.
Crawl Space Vapor Barrier Failures
Crawl spaces present a distinct set of vapor barrier challenges that differ from under-slab installations. While a concrete slab sits on top of a barrier, protecting it from above, a crawl space barrier lies directly on the ground — exposed to soil moisture, foot traffic, pests, and the elements.
The most common crawl-space-specific failure points include:
- Ground moisture saturation: Unlike under-slab barriers, crawl space barriers sit in direct contact with damp soil. Without a proper gravel or sand base, water can pool underneath and degrade the material over time.
- Punctures from storage and traffic: Homeowners often use crawl spaces for storage. Dragging boxes, tools, or seasonal items across a 6-mil barrier can tear it almost immediately.
- Unsealed perimeter edges: In many crawl spaces, the barrier is simply laid on the ground without being sealed to the stem walls. This leaves the edges open, allowing moisture and soil gases to bypass the barrier entirely.
- Rodent and pest damage: Mice and rats readily chew through thin polyethylene, creating holes that go unnoticed for months.
- Sagging or fallen insulation: When moisture saturates fiberglass insulation between floor joists, it becomes heavy and sags — a clear sign the vapor barrier below isn’t doing its job.
The fix often goes beyond patching: crawl space encapsulation — sealing the entire space with a heavy-duty barrier that extends up the walls and is taped at all seams — provides more comprehensive protection than a basic ground cover. If you’re seeing standing water on top of the barrier, sagging insulation, or rodent damage, a full vapor barrier assessment for your concrete floors is the right next step.
How to Prevent Vapor Barrier Failures
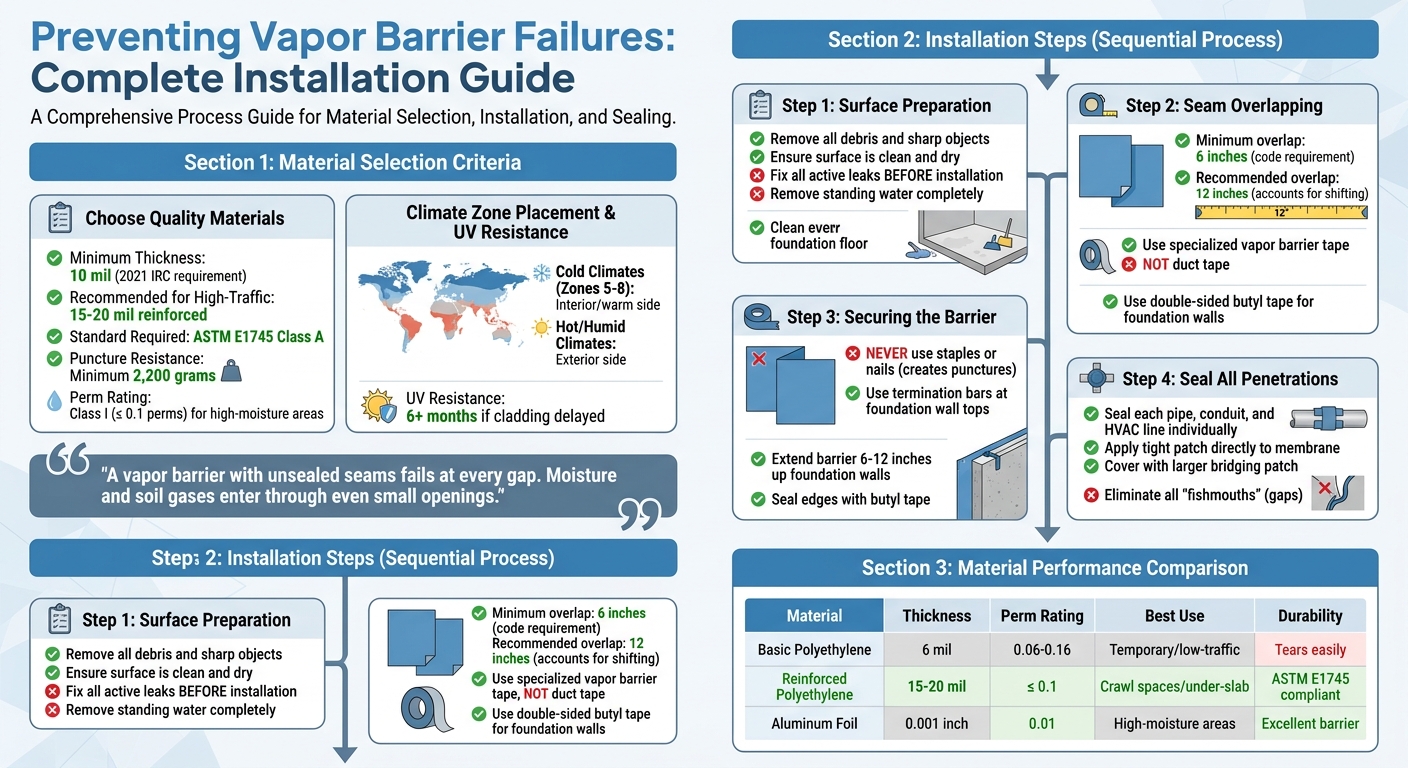
Vapor Barrier Installation Best Practices: Material Selection to Proper Sealing
Selecting Quality Materials
When choosing materials for a vapor barrier, focus on those with low perm ratings to effectively block moisture. Class I vapor retarders (≤ 0.1 perms) are the best option for high-moisture areas like crawl spaces and under-slab installations. For example, 0.004-inch polyethylene has a perm rating of 0.08, while 0.001-inch aluminum foil is even lower at 0.01.
Thickness matters, especially in high-moisture or high-traffic areas. Standard 6-mil polyethylene can tear easily during installation or underfoot. For demanding applications like crawl spaces or underslab jobs, opt for reinforced materials between 15 and 20 mils in thickness that meet ASTM E1745 standards for puncture and tensile strength. The IRC Section R506.2.3 specifies a minimum thickness of 10 mils and a puncture resistance of 2,200g. Going further, the American Concrete Institute recommends 15 mil or thicker for barriers that will see construction traffic, and many flooring manufacturers require moisture emission from concrete not to exceed 3.0 pounds per 1,000 square feet per 24 hours before installation.
Lifespan also depends on material quality. A 6-mil polyethylene barrier may last just 5 to 10 years before it needs replacement — especially in active crawl spaces or high-moisture environments. In contrast, a well-installed 10–20 mil reinforced barrier can last 20 to 25 years under typical conditions.
Climate zones also play a big role in where the barrier should go. In colder climates (Zones 5–8), barriers are typically installed on the interior (warm side) of walls. In hot, humid areas, they are placed on the exterior to keep humidity from entering air-conditioned spaces. If your project involves a delay in cladding installation, choose UV-resistant materials that can handle six or more months of sun exposure — some cheaper barriers can start breaking down in just 60 days.
Once you’ve picked the right materials, proper installation is the next critical step to ensure the barrier performs as intended.
Correct Installation Methods
Even the best materials won’t work without proper installation. Seam integrity is key — a vapor barrier is only as effective as its weakest joint. Overlaps should be at least 6 inches, though 12 inches is better to account for shifting during construction. Avoid duct tape, which doesn’t hold up in humid environments. Instead, use specialized vapor barrier tape for seams and double-sided butyl tape for securing the barrier to foundation walls.
"A vapor barrier with unsealed seams fails at every gap. Moisture and soil gases enter through even small openings." – Americover
Prepare the surface carefully. Make sure it’s clean, dry, and free of debris before installation. If there’s standing water or active leaks, address those first — otherwise, the barrier could trap moisture and lead to mold growth. Never use staples or nails, as they create punctures. Instead, secure the barrier with termination bars at the top of foundation walls.
For pipes, conduits, or HVAC lines passing through the barrier, seal each penetration individually. This involves attaching a tight patch directly to the membrane and covering it with a larger bridging patch. In crawl spaces, extend the barrier 6 inches up the stem wall and seal it with butyl tape. Avoid installing plastic directly on the underside of floor joists, as this can trap moisture against the wood.
Once your vapor barrier is properly installed, a concrete floor maintenance plan helps you catch early signs of moisture trouble before they escalate.
Material Comparison
| Material Type | Perm Rating | Thickness | Typical Lifespan | Best For | Durability |
|---|---|---|---|---|---|
| Basic Polyethylene | 0.06–0.16 | 6 mil | 5–10 years | Low-traffic, temporary use | Tears easily; not ideal for active crawl spaces |
| Reinforced Polyethylene | ≤ 0.1 | 15–20 mil | 20–25 years | Crawl spaces, under-slab, high-traffic zones | Meets ASTM E1745; resists punctures and construction traffic |
| Penntek Evolution System | N/A | Industrial-grade | Lifetime* | Concrete floor protection after barrier installation | 4× stronger than epoxy; lifetime warranty; one-day install |
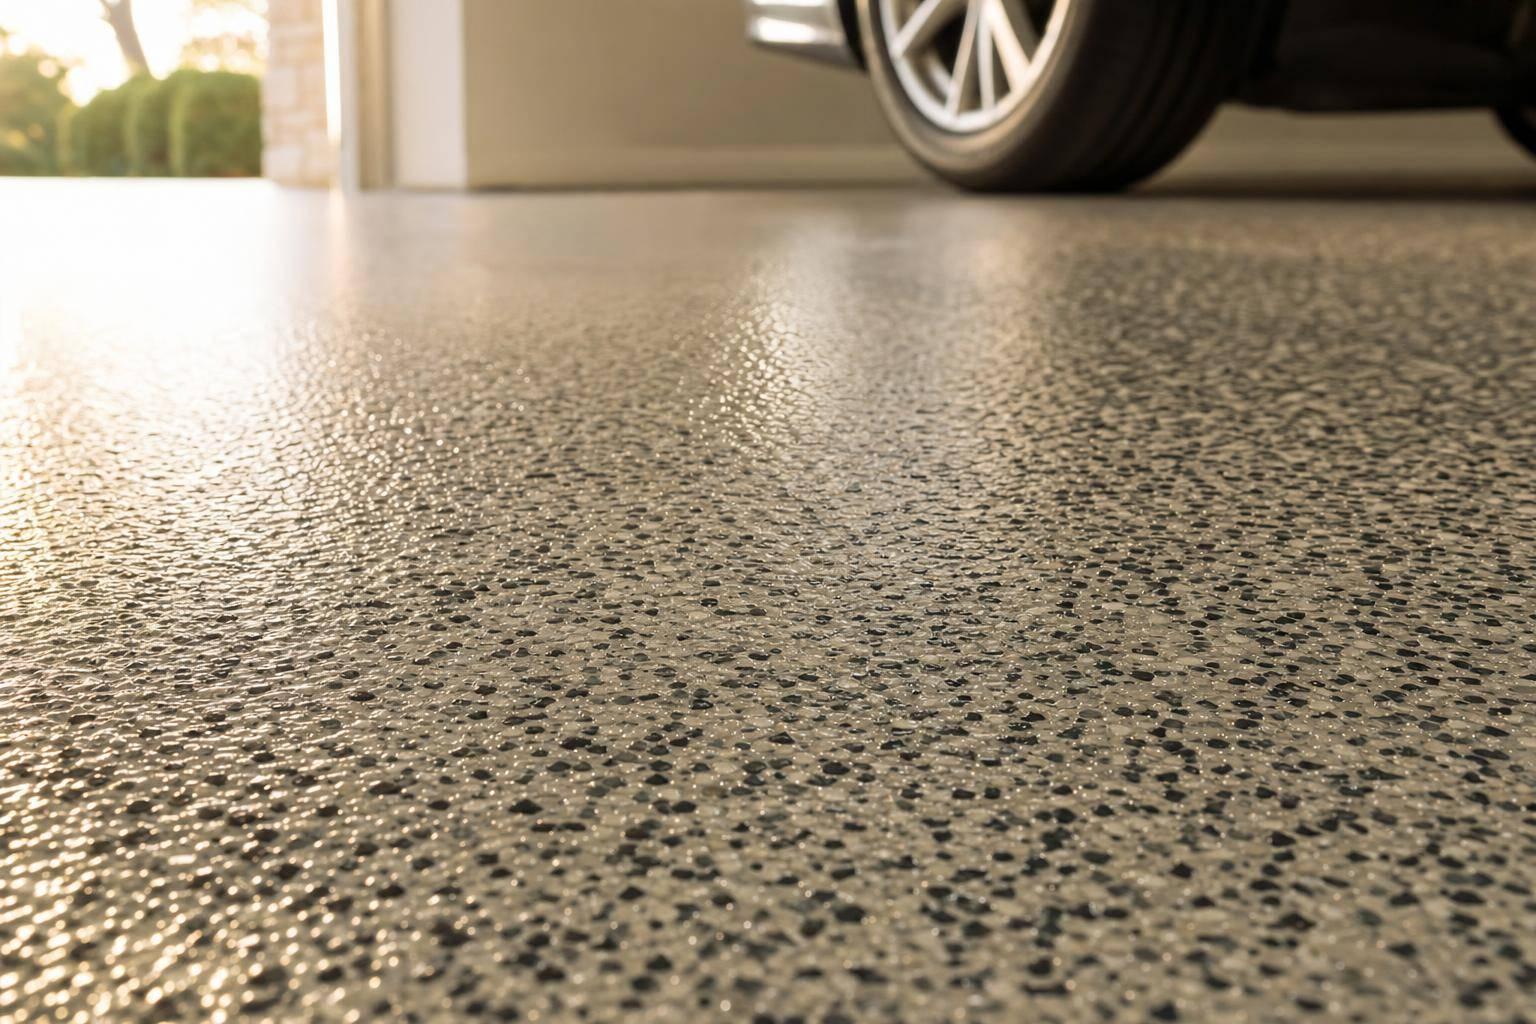
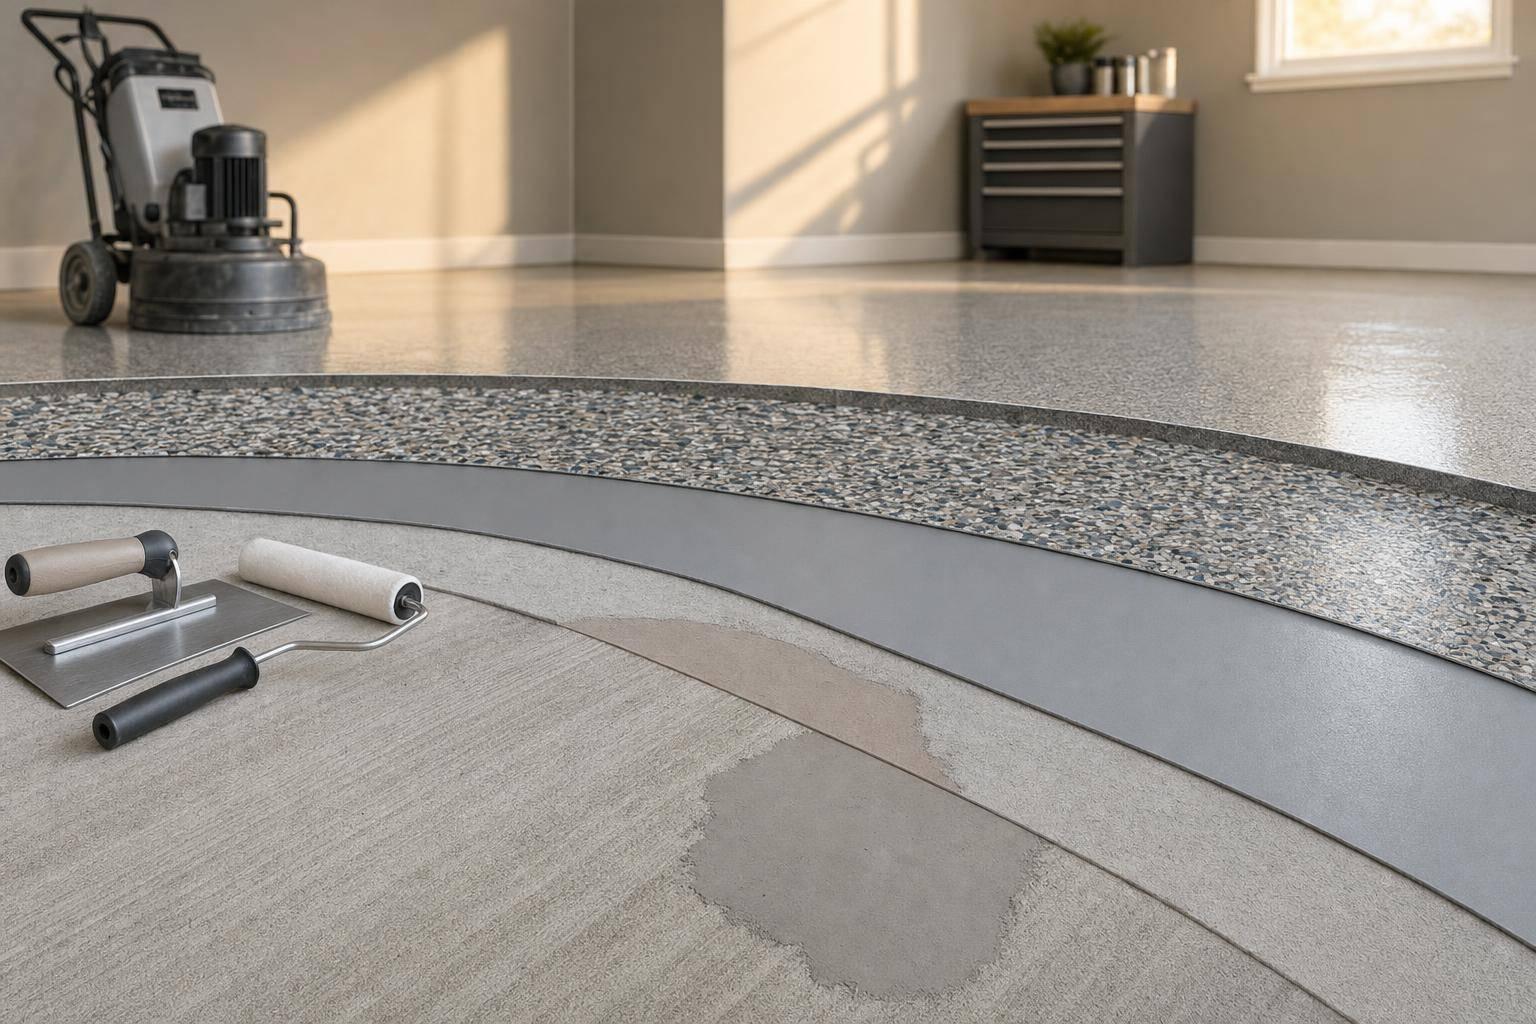
For concrete floors that already have vapor barriers installed, Penntek Evolution from Croc Coatings provides an extra layer of protection. This industrial-grade coating is four times stronger than epoxy and works on surfaces like garage floors, basements, patios, and pool decks. It’s particularly popular in areas like North Idaho and Eastern Washington, including Spokane and the Tri-Cities. The system installs in just one day and comes with a lifetime warranty, making it a reliable option for shielding concrete from moisture-related damage.
This breakdown of materials and methods can help you make informed choices to avoid vapor barrier failures in the future.
How to Repair Failed Vapor Barriers
Identify the Problem
Start by closely inspecting your vapor barrier system. Look for punctures caused by staples or nails, and check every seam, edge, and penetration point where pipes, conduits, or HVAC lines pass through.
If you notice standing water, remove it using a wet/dry vacuum or a submersible pump. Once the area is dry, run a dehumidifier to see if moisture continues to build up. This step helps you figure out whether the issue is condensation, poor ventilation, or an active leak.
Make sure the barrier complies with current standards. According to the 2021 IRC Section R506.2.3, vapor retarders under concrete slabs should be at least 10 mils thick. Also, check that the barrier is installed on the correct side of the wall for your climate zone — on the exterior in hot climates and the interior in cold ones.
"Installing [a vapor barrier] in the wrong location — or without addressing existing water problems first — can cause more damage than having no barrier at all." – Americover
Remove and Replace Damaged Materials
Once you’ve pinpointed the problem areas, tackle repairs immediately. Address any sources of water intrusion first — don’t install a new barrier over active leaks or areas with mold. Avoid layering a new barrier over an old one, as this can trap moisture and lead to mold growth.
After resolving the water issue, remove the damaged sections of the barrier and thoroughly clean the surface. Ensure the concrete is dry and free of debris or sharp objects. When replacing the barrier, opt for one between 10 and 20 mils thick that meets ASTM E1745 Class A standards for repair applications.
For crawl space repairs specifically, expect to pay between $1,000 and $3,000 for a professional vapor barrier replacement, depending on square footage, accessibility, and whether the old barrier needs removal. A full crawl space encapsulation — sealing the entire space with a heavy-duty barrier that runs up the walls — is a bigger job, typically ranging from $1,500 to $15,000 based on size and condition. These are ballpark figures; every project is different, so a professional assessment is always the best next step.
Once the new barrier is in place, take additional steps to safeguard the concrete floor from future moisture-related damage.
Protect Concrete Floors
Consider using a protective system like Penntek Evolution from Croc Coatings. This industrial-grade solution offers exceptional protection against moisture damage. It’s four times stronger than epoxy, installs in just one day, and comes with a lifetime warranty. Plus, it’s UV stable, antibacterial, antimicrobial, and slip-resistant — making it a great choice for garage floors, basements, patios, and pool decks in areas like North Idaho and Eastern Washington, including Spokane and the Tri-Cities.
Adding this layer of protection ensures your floors stay safe, even in cases where minor moisture might penetrate the barrier, especially in regions where vapor barriers are essential in framed walls.
Conclusion
Main Points
Vapor barrier failures often boil down to three primary issues:
- Poor material selection: Using barriers thinner than the 10 mil minimum specified by the 2021 IRC Section R506.2.3 can result in punctures and tears, compromising their effectiveness.
- Improper installation: Mistakes like double barriers, unsealed seams, or placing the barrier on the incorrect side for your climate zone can trap moisture instead of controlling it.
- Ignoring existing moisture problems: Installing a barrier over active leaks or standing water can worsen the damage rather than prevent it.
The key to success lies in addressing moisture problems before installing the barrier. Once the source of water intrusion is resolved, choose materials that meet the necessary standards and seal all penetrations — pipes, conduits, or HVAC lines — with proper tape, ensuring seams overlap by at least 6 inches. For climate zones 5 through 8 and Marine 4, building codes require Class I or II vapor retarders in framed walls, while warmer zones may need different approaches to avoid trapping moisture.
By understanding these common failure points, you can take the right steps to ensure your concrete floors remain durable and well-protected.
How Croc Coatings Can Help

For added protection, consider reinforcing your concrete floor with a chemical-resistant floor coating. Croc Coatings offers the Penntek Evolution system, which provides industrial-grade protection that’s four times stronger than epoxy. It’s a great solution for garage floors, basements, patios, and pool decks across North Idaho and Eastern Washington, including Spokane and the Tri-Cities.
This system installs in just one day and comes with a lifetime warranty. It’s UV stable, antibacterial, antimicrobial, and slip-resistant — perfect for safeguarding your investment, even if minor moisture breaches the vapor barrier. For homes and businesses where vapor barriers are essential, this coating system delivers extra peace of mind with its durable, moisture-resistant surface, built to handle the Pacific Northwest’s demanding conditions.
FAQs
Do I need a vapor barrier if my concrete slab looks dry?
Even if your concrete slab looks dry, a vapor barrier might still be a smart move. Moisture vapor can still seep through the slab, even if the surface seems dry, and this can lead to problems with some types of flooring or coatings. Whether you need a vapor barrier largely depends on the slab’s moisture emission levels and the specific flooring or coating you’re planning to use.
How can I tell if moisture is coming from below the slab or from indoor humidity?
To figure out where the moisture is coming from, look for any gaps, seams, or penetrations in the vapor barrier that might allow moisture from below the slab to seep through. Another approach is to monitor indoor humidity levels, which can help pinpoint if the moisture is coming from inside the building. Taking steps like proper sealing and careful planning can go a long way in avoiding vapor barrier issues and keeping moisture under control.
How much does vapor barrier repair cost?
For a crawl space, professional vapor barrier replacement typically ranges from $1,000 to $3,000, depending on square footage, accessibility, and whether the old barrier needs to be removed first. A full crawl space encapsulation — sealing the entire space with a heavy-duty barrier running up the walls — is a larger investment, generally falling between $1,500 and $15,000 based on size and condition. Under-slab repairs are harder to price broadly because access is limited; costs vary significantly by project. Every situation is different, so a professional inspection is the most reliable way to get an accurate estimate.
When should I repair the vapor barrier vs. add a concrete coating?
If a vapor barrier shows visible damage, punctures, or signs of failure, it’s essential to repair it to maintain its ability to block moisture or radon — especially in areas like crawl spaces or under concrete slabs. For surfaces that are still intact but require improved protection, durability, or a refreshed appearance, consider applying a concrete coating. A great option is Croc Coatings’ Penntek Evolution system, which is designed for spaces such as floors, patios, or industrial areas, offering both durability and style.
How much does vapor barrier repair cost?
For a crawl space, professional vapor barrier replacement typically ranges from $1,000 to $3,000, depending on square footage, accessibility, and whether the old barrier needs to be removed first. A full crawl space encapsulation — sealing the entire space with a heavy-duty barrier running up the walls — is a larger investment, generally falling between $1,500 and $15,000 based on size and condition. Under-slab repairs are harder to price broadly because access is limited; costs vary significantly by project. Every situation is different, so a professional inspection is the most reliable way to get an accurate estimate.
How long does a vapor barrier last?
Lifespan depends almost entirely on material quality and installation conditions. A basic 6-mil polyethylene barrier may last just 5 to 10 years — and far less if it’s in an active crawl space with foot traffic or pest activity. A properly installed 10–20 mil reinforced barrier that meets ASTM E1745 standards can last 20 to 25 years under typical conditions. Barriers in climate-controlled, low-moisture environments tend to reach the upper end of that range; those exposed to standing water, UV light, or physical wear will deteriorate faster.
Can a vapor barrier be repaired, or does it always need full replacement?
Small, isolated punctures or seam separations can often be repaired with vapor barrier tape or a patch made from the same material — provided the surrounding barrier is still in good condition and the source of moisture has been addressed. However, if the damage is widespread, the material has become brittle, or there are signs of mold growth underneath, a full replacement is usually the safer long-term solution. When in doubt, have a professional assess whether a patch will hold or if the barrier has reached the end of its service life.
If a vapor barrier shows visible damage, punctures, or signs of failure, it’s essential to repair it to maintain its ability to block moisture or radon — especially in areas like crawl spaces or under concrete slabs. For surfaces that are still intact but require improved protection, durability, or a refreshed appearance, consider applying a concrete coating. A great option is Croc Coatings’ Penntek Evolution system, which is designed for spaces such as floors, patios, or industrial areas, offering both durability and style.