If I were buying a luxury garage floor today, I’d check 8 things before signing: climate fit, daily use, UV hold, slip texture, color, cleaning, cabinet timing, and installer proof. In North Idaho and Eastern Washington, freeze-thaw cycles, road salt, moisture, and sun can wear out the wrong system fast. A floor may look good on day one and still fail later.
Here’s the short version of what matters most:
- Climate fit: The coating needs to handle freeze-thaw movement, moisture, and road salt.
- Daily use: Parking, workshop use, storage, and show-garage goals call for different features.
- UV hold: Sun-exposed garages need a UV-stable topcoat to help stop yellowing and fading.
- Slip texture: Wet boots, snowmelt, and wash-downs can make smooth floors slick.
- Cleaning: Salt and grit should be swept up often so they don’t wear the finish over time.
- Cabinet planning: Cabinet layout should be set before coating day.
- Surface prep: Grinding to CSP 3–4 and moisture testing should be in the written scope.
- Installer proof: Ask for Penntek-certified status and the warranty in writing.
A few facts stand out. The article says polyurea is 10 times more flexible than epoxy for slab movement in freeze-thaw conditions. It also notes a one-day install for Penntek Evolution, but you still need to clear the garage 2–3 days ahead and stay off the floor for 48 hours after installation.
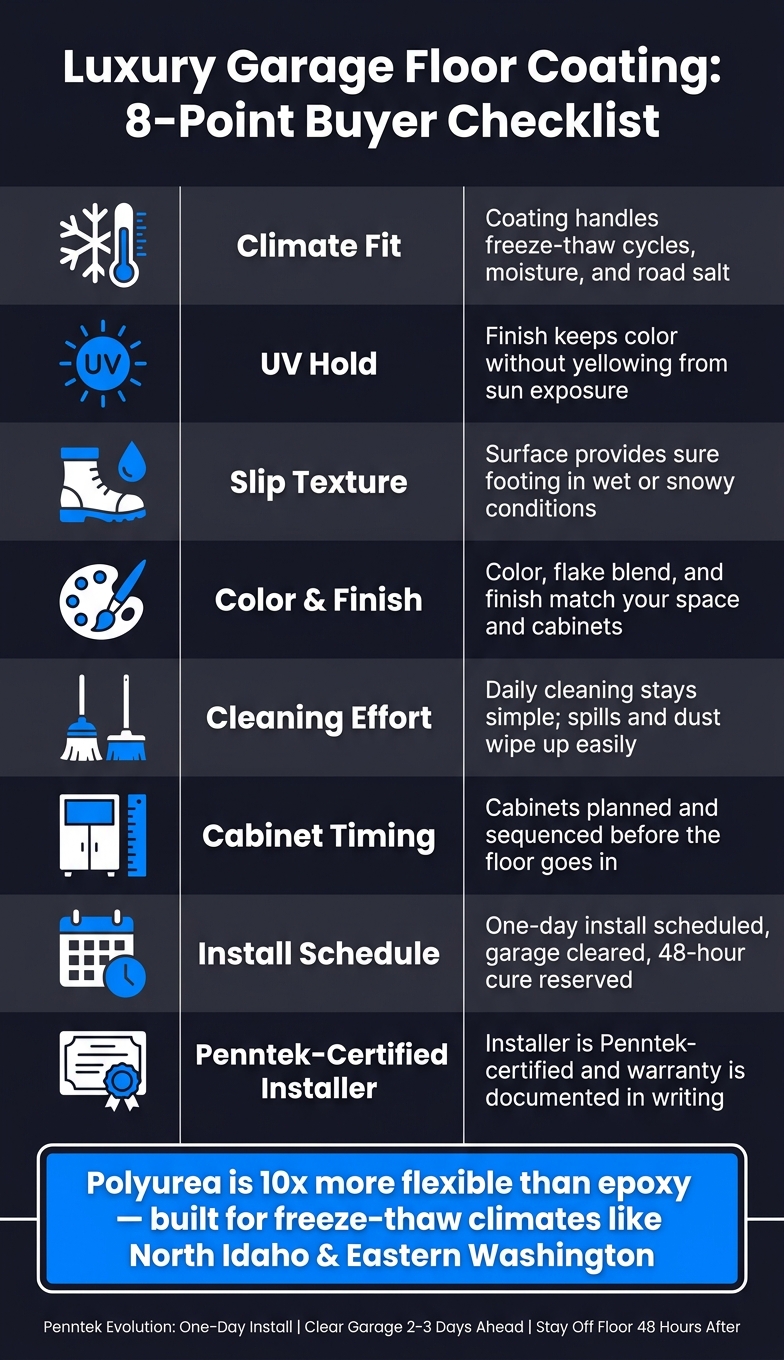
Luxury Garage Floor Coating Buyer Checklist: 8 Things to Verify Before You Buy
Quick comparison
| What I’d check | What I’d want to see |
|---|---|
| Climate and moisture | Slab moisture test, coating built for freeze-thaw and salt |
| Use case | Hot-tire hold, impact resistance, UV hold, or more grip based on use |
| Surface safety | Full-flake or added anti-slip texture for wet or snowy traffic |
| Appearance | Color and flake blend that hide dust and tire marks |
| Upkeep | Simple sweeping and mopping, with salt cleaned up often |
| Install plan | Written prep steps, crack repair, old coating removal if needed |
| Timing | One-day install, garage cleared early, 48-hour cure window |
| Installer proof | Penntek certification and written warranty before work starts |
My takeaway: a premium garage floor is not just about gloss. It’s about prep, product fit, traction, and proof on paper. The checklist below helps you judge all of that fast.
sbb-itb-a0e5ae3
Checklist 1: Confirm Climate Fit and Daily Use
Freeze-Thaw, Moisture, and Temperature Swings
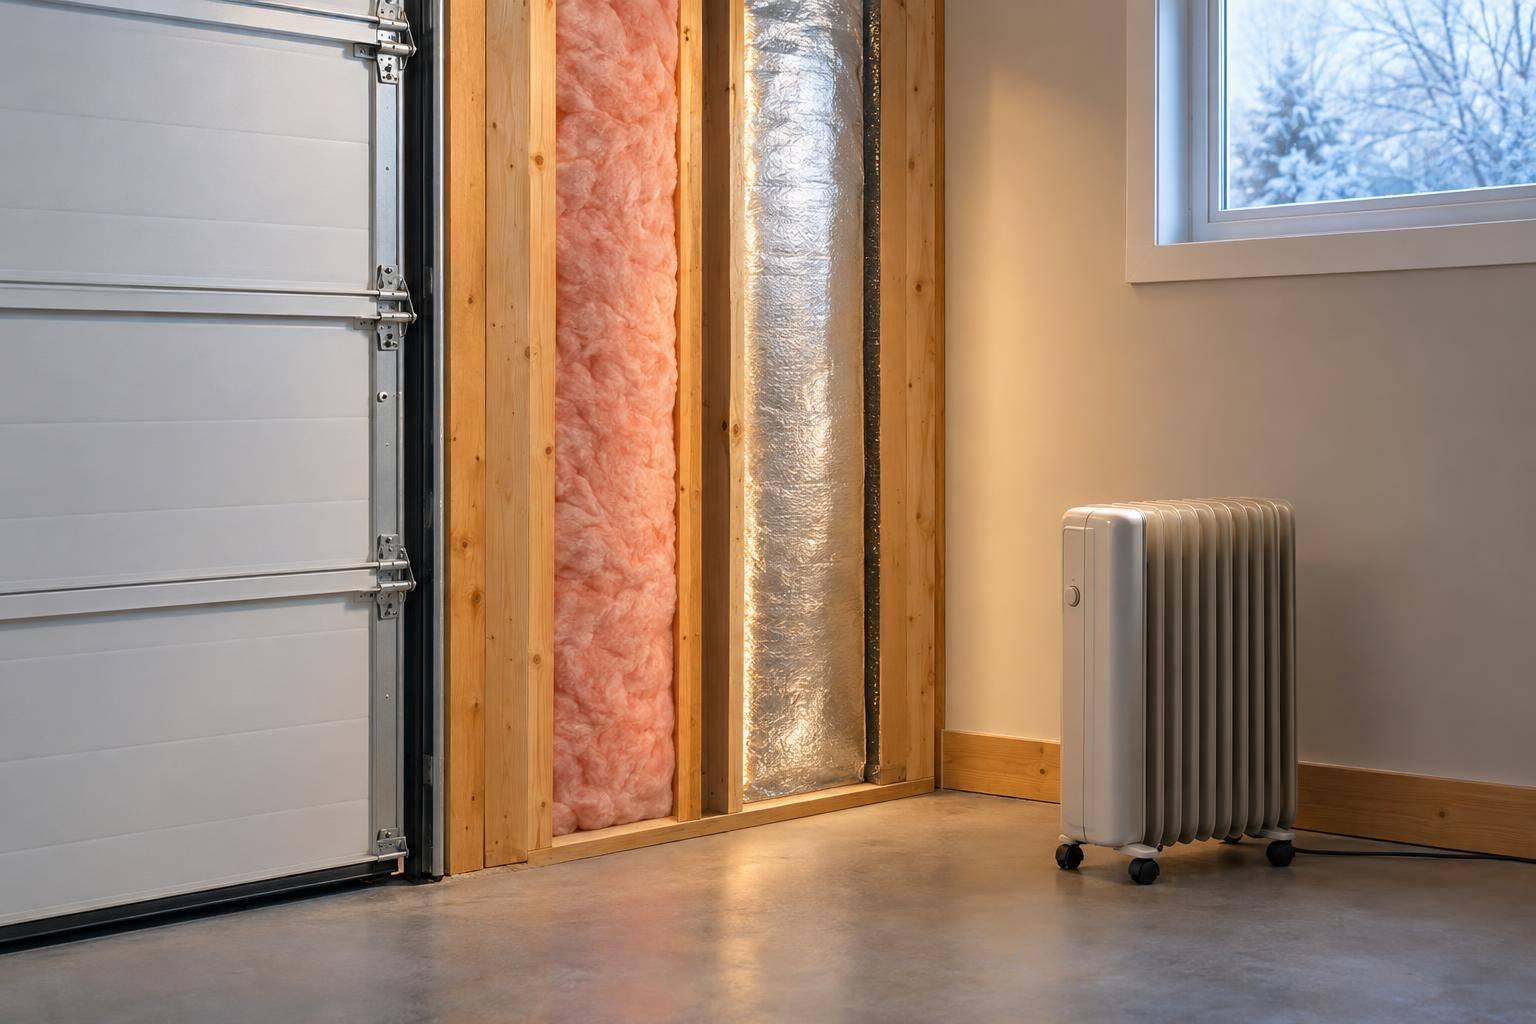
In the Inland Northwest, garage floors take a beating. Hard freezes, road salt, spring moisture, and big temperature swings can push a floor coating past its limits fast.
That’s why standard coatings often show their weak spots here.
As concrete expands and contracts during freeze-thaw cycles, the coating needs to move with it. If it can’t, you start seeing peeling and chipping. Polyurea is 10 times more flexible than epoxy, so it can move with the slab instead of cracking under stress.
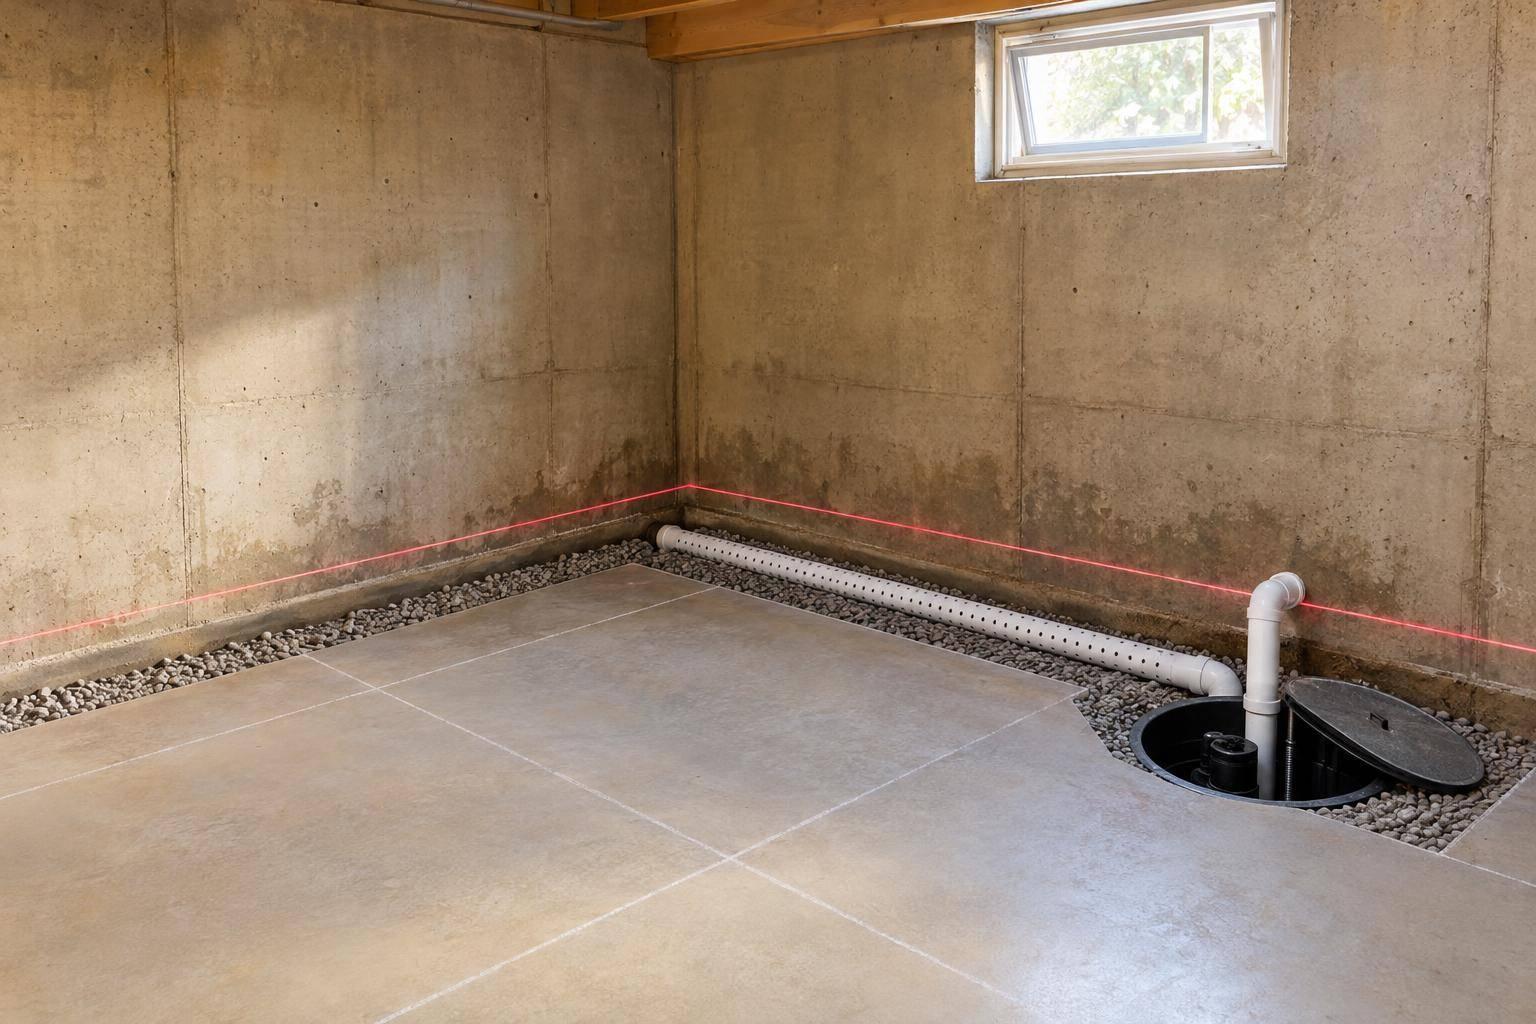
Moisture matters too. Before installation, require a slab moisture test with a digital meter. It’s a simple step, but it can save you from a coating failure later.
Once the slab is a fit for the climate, the next step is simple: match the coating to how the garage gets used every day.
Parking, Workshop, Storage, or Show Garage
A garage floor should match the job it has to do. A space used for daily parking needs something different from a workshop or a show garage. And no matter how the space is used, chemical exposure is part of the deal. Oil, antifreeze, gasoline, and de-icing residue all put pressure on the surface.
Use this checklist to line up the floor’s features with the garage’s main purpose:
| Garage Use | Must-Have Feature | Why It Matters |
|---|---|---|
| Daily vehicle parking | Hot-tire resistance | Prevents lifting under warm tires |
| Workshop or heavy storage | Impact resistance + anti-slip texture | Handles dropped tools and wet floors |
| Show garage | UV stability + full-flake or metallic finish | Keeps color from yellowing |
| Cold-climate garage | High flexibility | Moves with the slab during freeze-thaw cycles |
If your garage does more than one job, pick the system built for the toughest kind of use.
Checklist 2: Verify UV Hold, Slip Texture, and Surface Safety
UV Stability and Color Hold
After climate fit, make sure the finish will stay safe and keep its color.
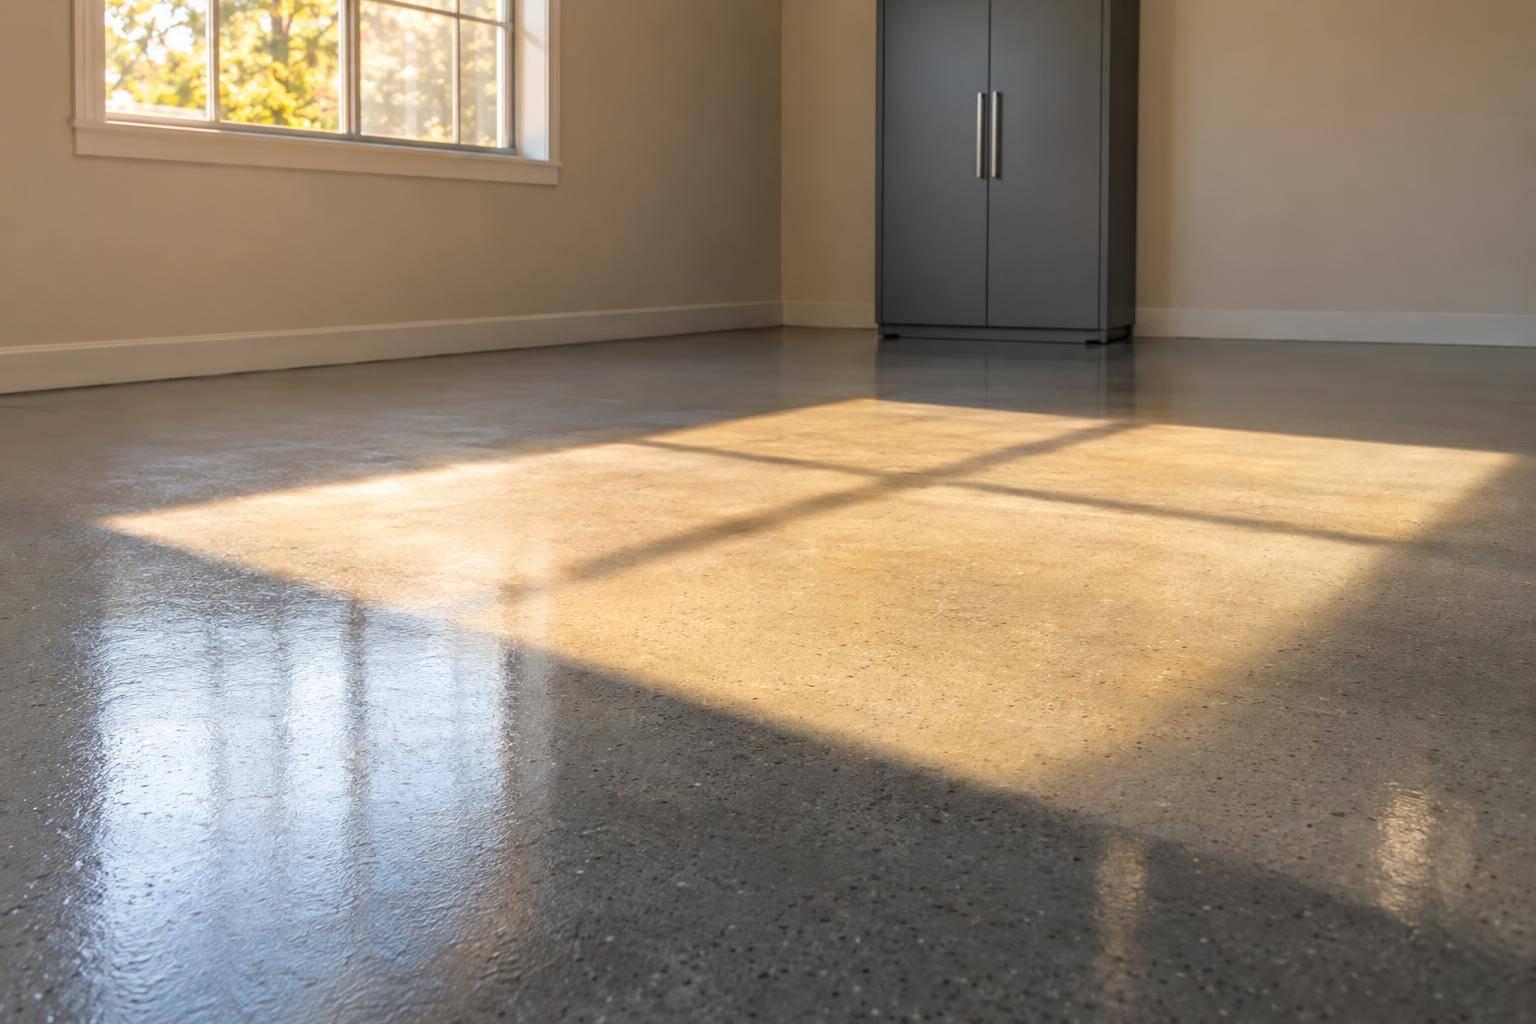
Then check UV stability. Front-facing garages take direct sun, so this matters more than many people expect. Standard epoxy coatings can yellow, fade, or chalk under UV light. A UV-stable topcoat – usually polyaspartic or polyurea – is the better pick for garages with a lot of sun exposure.
Ask the installer one simple question: "Is the topcoat UV stable?" Then ask for the product data sheet.
Slip Texture for Wet and Snowy Conditions
Traction is one of those things people often ignore until there’s a close call. If your garage sees snowmelt, wet boots, or routine wash-downs, a smooth floor can turn slick fast.
Full-flake systems give you a speckled, textured finish with more traction than a smooth finish. If the garage doubles as a workshop or gets a lot of wet-weather foot traffic, installers can add anti-slip additives to the topcoat for more grip.
Before you buy, ask to see samples of both options:
- A smooth finish
- A full-flake finish
With UV hold and traction covered, move on to color, cleaning, and cabinet planning.
Checklist 3: Review Color Choices, Cleaning Needs, and Cabinet Plans
Color, Flake Blend, and Finish Level
Medium-toned flake blends do a better job of hiding dust, dirt, and tire marks than very light or very dark solid colors.
Before you choose a color, step back and look at the whole space: your garage walls, your vehicles, and your home’s exterior. When the flake blend fits with the rest of the area, the garage feels more pulled together and finished.
Cleaning and Long-Term Maintenance
After color, look at how much upkeep the finish will need. A premium polyurea system keeps maintenance pretty simple – sweep on a regular basis, then mop or use a squeegee when needed. Road salt and grit can act as a mild abrasive over time if they sit on the surface, so routine cleanup helps protect the finish.
Plan Cabinets Before the Floor Goes In
Once you’ve chosen the finish, map out your cabinets before installation starts. Cabinet placement should be settled before coating day so wall bases, slab edges, and workbench areas line up with the final floor layout.
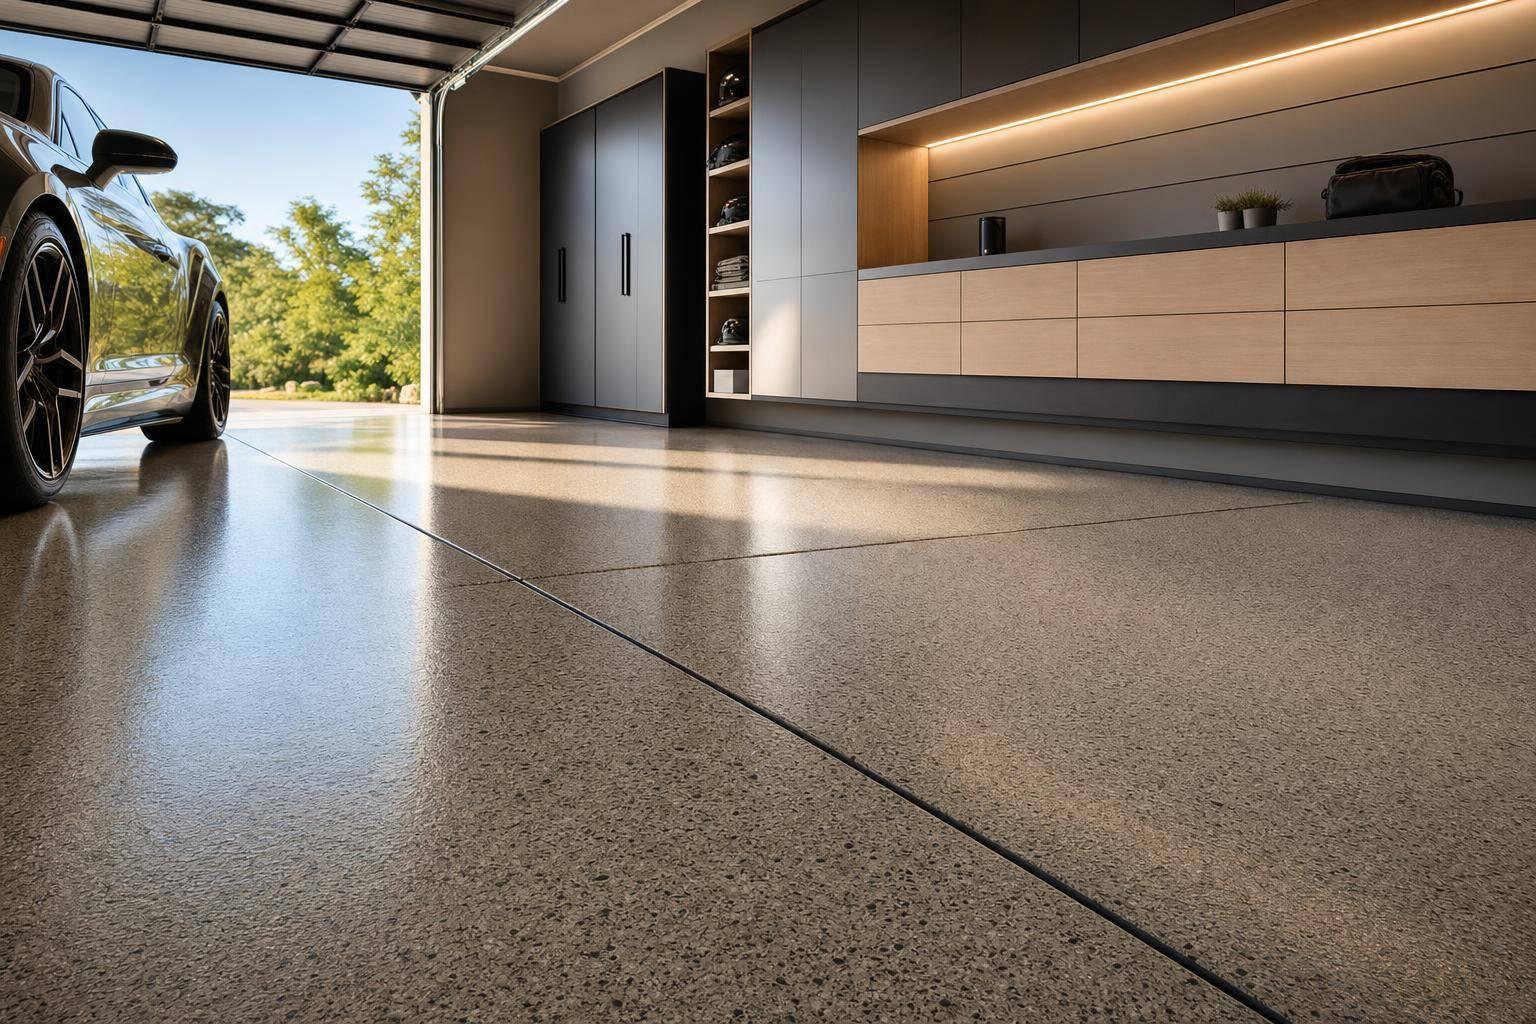
Croc Coatings offers custom garage cabinets that can be matched to the floor for a cleaner finished look. Planning both at the same time keeps the layout neat and helps you avoid changes after the coating is down.
Checklist 4: Confirm Installation Timing and Penntek-Certified Status
After you choose the color and layout, take a close look at how the floor will be installed and who will install it. That part matters just as much as the finish itself. If you’re aiming for a high-end result, install quality can’t be treated like a side note.
Project Schedule, One-Day Install, and Return-to-Use Timing
The Penntek Evolution system is built for a one-day install. Before the crew arrives, clear out the garage 2–3 days in advance. After the coating goes down, keep the floor off-limits for 48 hours.
For temporary storage, use a storage pod or heavy-duty tarps if items need to stay outside for a short stretch. It also helps to put up caution tape or a simple sign so kids, pets, and delivery drivers don’t wander in during that time.
Once the timing is set, the next thing to check is the slab prep.
Surface Prep and Concrete Repair Standards
Good prep comes first. A pro installer should use industrial diamond grinders to prep the slab and reach a Concrete Surface Profile of 3–4 (CSP 3–4). Acid etching alone is not enough.
Ask for a written scope of work that includes:
- Crack cutting, which means cutting and opening cracks so the repair material bonds well
- Moisture testing with a digital meter such as the Tramex CMEX5
- Removal of any old sealers or failing coatings
"The floors must be prepared by using industrial grinders that open the pores of the concrete and create a CSP (Concrete Surface Profile) between 3-4." – Jim Hobart, Owner, Croc Coatings
If the slab needs major crack repair or old coating removal, expect extra time or added cost.
After prep is confirmed, get the certification and warranty details in writing.
Penntek Certification and Written Warranty Proof
Before you approve the job, confirm in writing that the installer is Penntek certified. Also ask for the warranty in writing before installation day.
The Short List to Review Before You Buy
Before you buy, run through these eight checks. This is your final screen for comparing written proposals side by side.
| Check | What to Confirm |
|---|---|
| Climate fit | Coating handles freeze-thaw cycles, moisture, and road salt |
| UV hold | Finish keeps its color without yellowing from sun exposure |
| Slip texture | Surface provides sure footing in wet or snowy conditions |
| Color and finish | Color, flake blend, and finish match your space and cabinets |
| Cleaning effort | Daily cleaning stays simple; spills and dust wipe up easily |
| Cabinet timing | Cabinets are planned and sequenced before the floor goes in |
| Install schedule | One-day install is scheduled, the garage is cleared, and the 48-hour cure period is reserved |
| Penntek-certified installer | Installer is Penntek-certified and warranty coverage is documented |
If you’re comparing options, this table helps cut through the sales talk. You can line up each proposal and see, in plain English, whether it covers weather resistance, appearance, safety, cleanup, timing, and warranty details.
A Penntek Evolution system installed by a Penntek-certified team checks all eight boxes.
"A little preparation goes a long way toward achieving a flawless garage floor that looks great and stands up to the demands of daily life." – Penntek Industrial Coatings
FAQs
How do I know if my garage slab has a moisture problem?
Try a simple plastic sheet test: tape a clear piece of plastic to the floor for 18 to 24 hours. If you notice condensation underneath, or the concrete looks darker after you remove it, that usually means moisture is trapped in the slab.
If you want a more exact read, pro installers use digital moisture meters or relative humidity probes. That early check matters. Trapped moisture can make coatings blister, peel, or delaminate over time.
What slip-resistant finish is best for snowy or wet garages?
For snowy or wet garages, a slip-resistant finish is a must for safety. The Penntek Evolution system from Croc Coatings builds that grip right into a durable, multi-layer coating.
Its flexible, non-porous, polyurea-based system is made to hold up and keep traction in the face of moisture, road salt, and freeze-thaw cycles.
What should I have in writing before installation day?
Before installation day, get everything in writing.
Ask for a detailed contract that covers:
- The full scope of work
- Material specs
- The project timeline
- Full warranty terms, including what’s covered for materials and workmanship
That way, you’re not left guessing about what was promised.
If your slab needs prep work, ask for a written repair map that shows any crack or spall repairs. It’s a simple step, but it can save a lot of back-and-forth later. You and your installer both have a clear record of the plan.