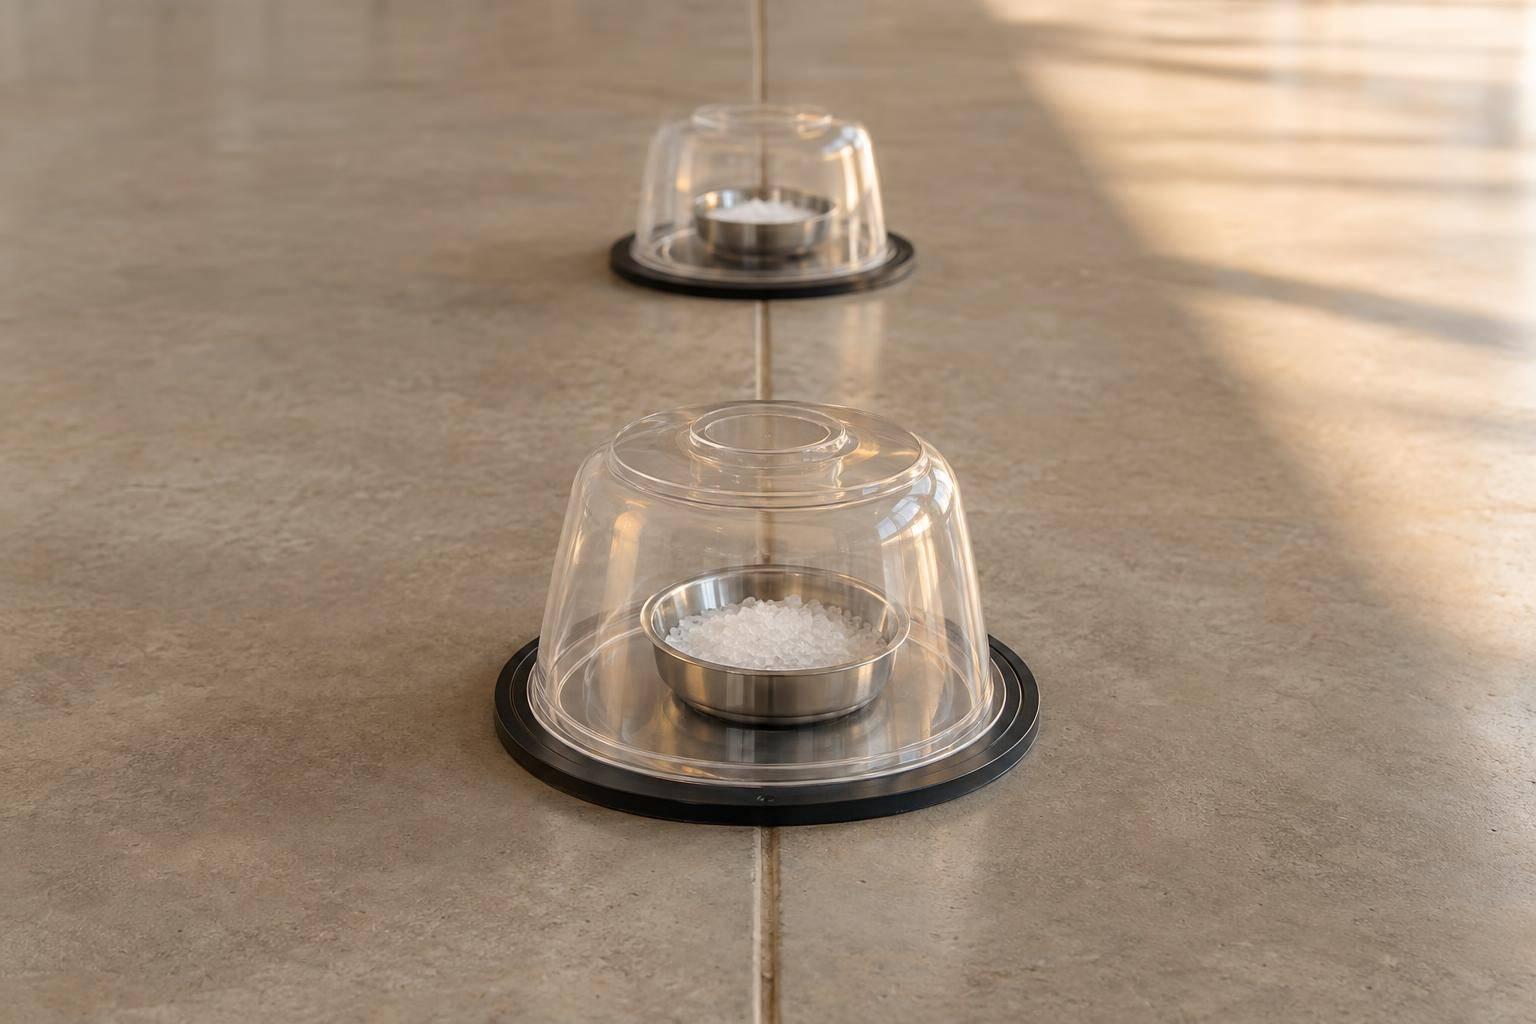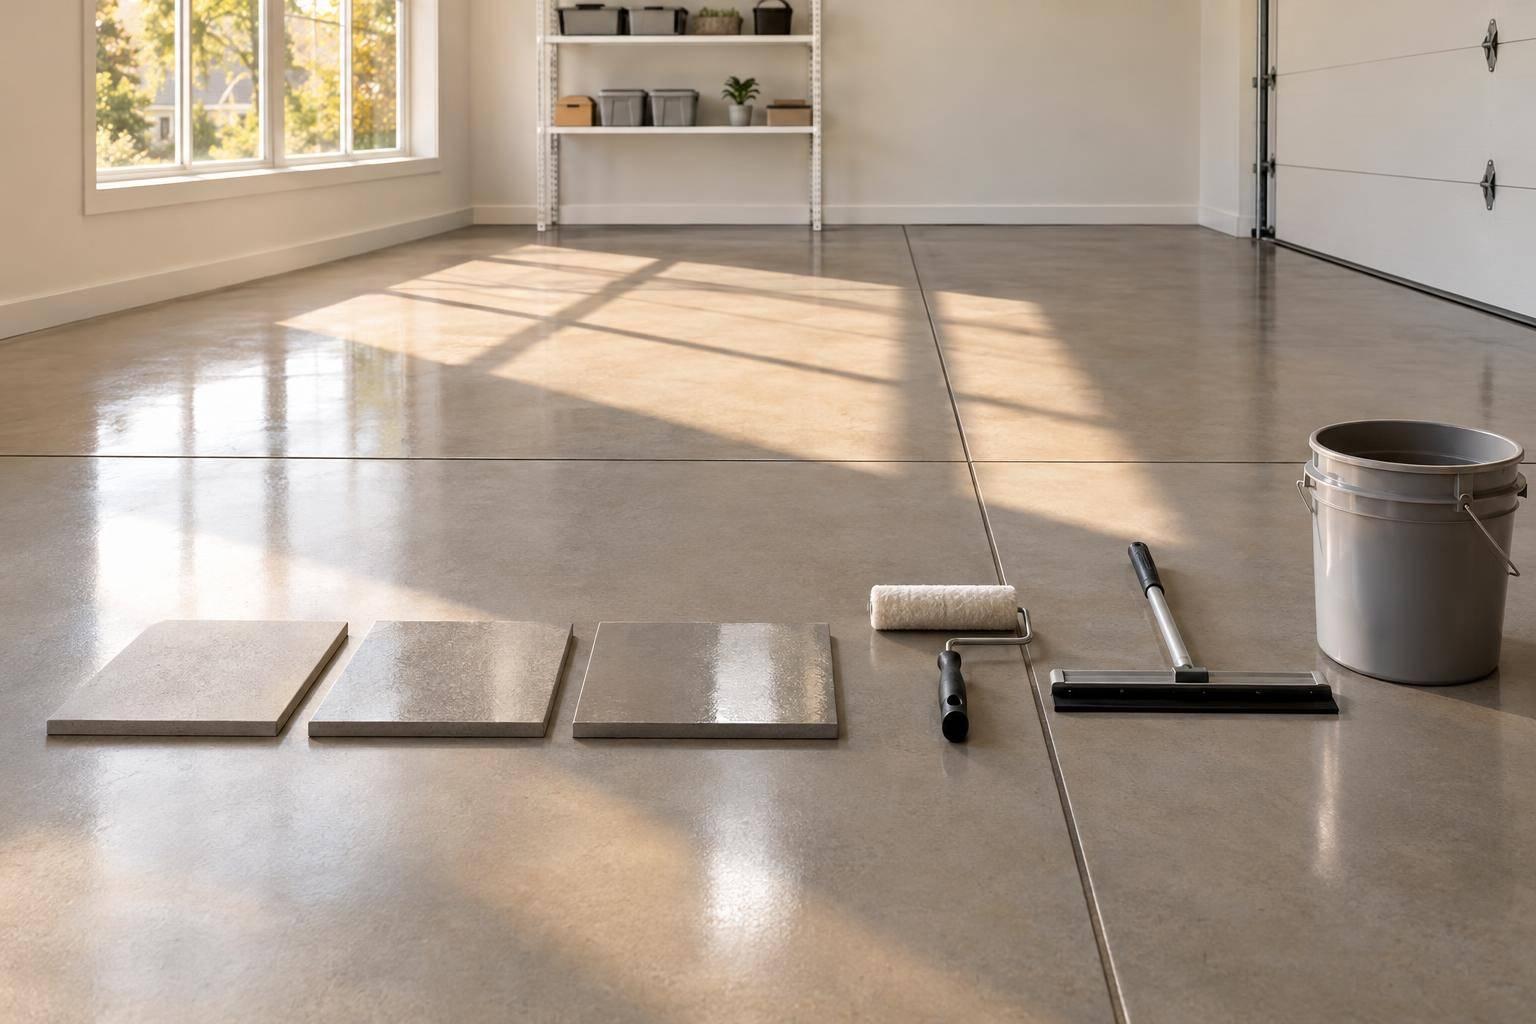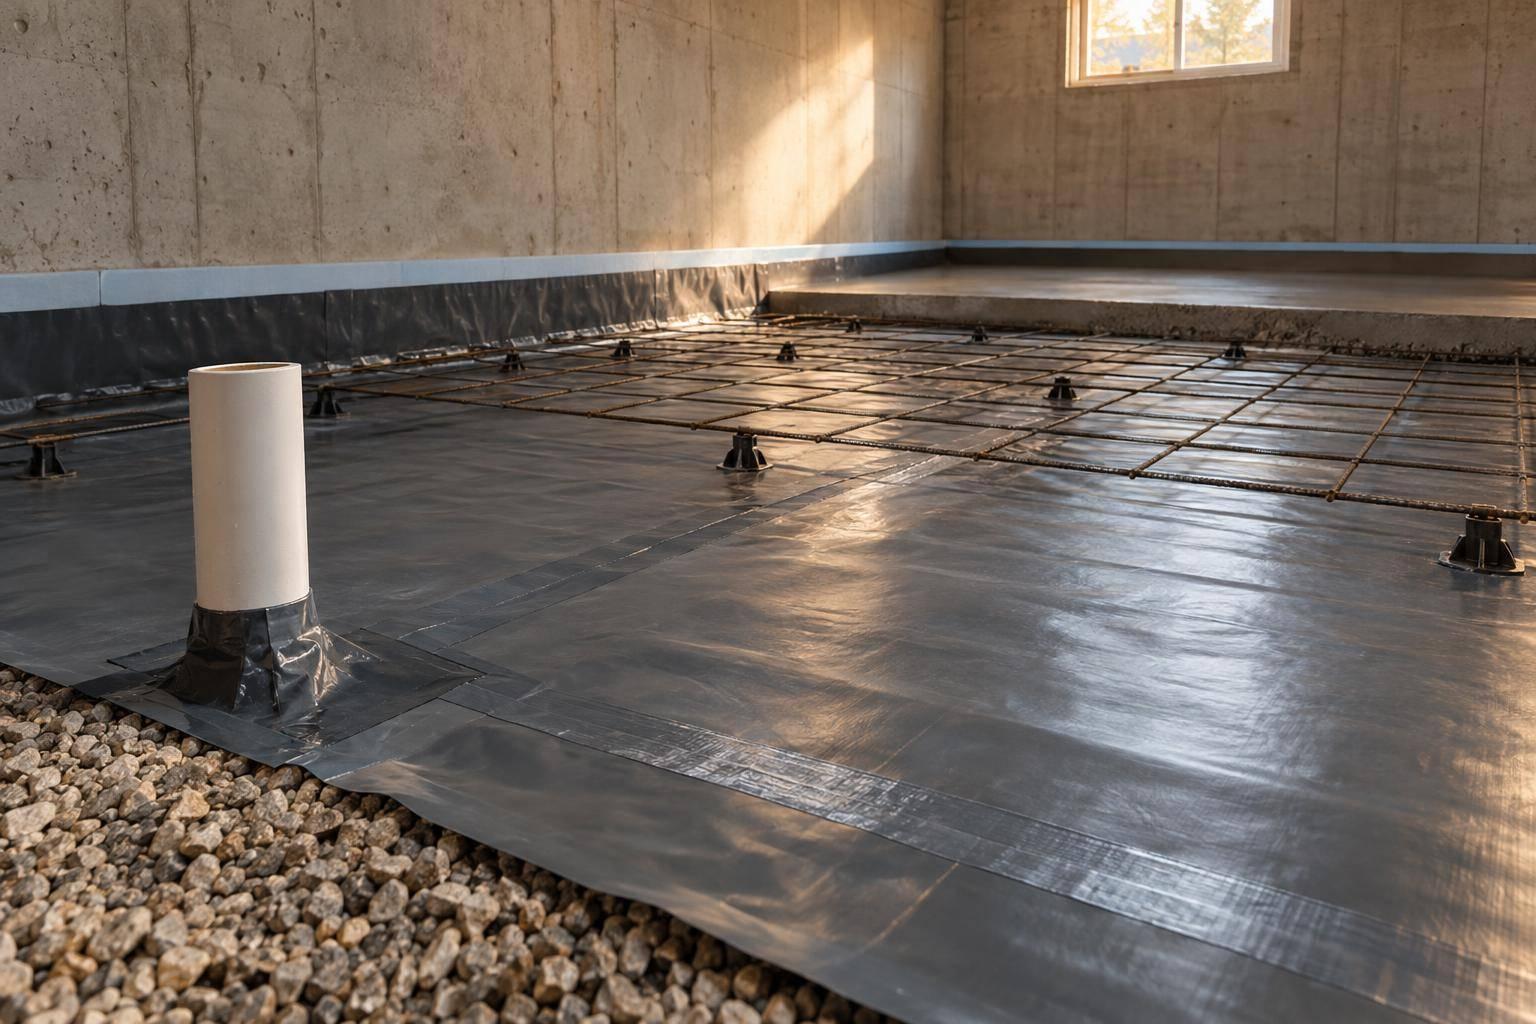
I recommend planning basement moisture control before the concrete pour – not when you’re ready to coat the floor. Choose a tested vapor retarder, seal overlaps of at least 6 inches, and inspect repairs before concrete covers them.
Here’s the plan I’d follow:
- Control water first. Check grading, roof runoff, drains, and sump systems. A vapor retarder slows vapor; it does not stop liquid-water leaks.
- Confirm the slab layers. Review the base, insulation, reinforcement, radon details, and membrane placement. NRMCA recommends a 10-mil minimum, but thickness alone doesn’t prove performance.
- Seal and protect the membrane. Check seams, pipes, slab edges, and patches. Keep photos and inspection records.
- Cure, test, then coat. <u>Elapsed time alone does not prove the slab is ready.</u> Follow the coating system’s moisture limits, fix leaks, and prepare the surface.
For basements in North Idaho and Eastern Washington, I’d also account for snowmelt and seasonal groundwater. If your existing slab has no known vapor retarder, start with a moisture assessment before scheduling coating work.
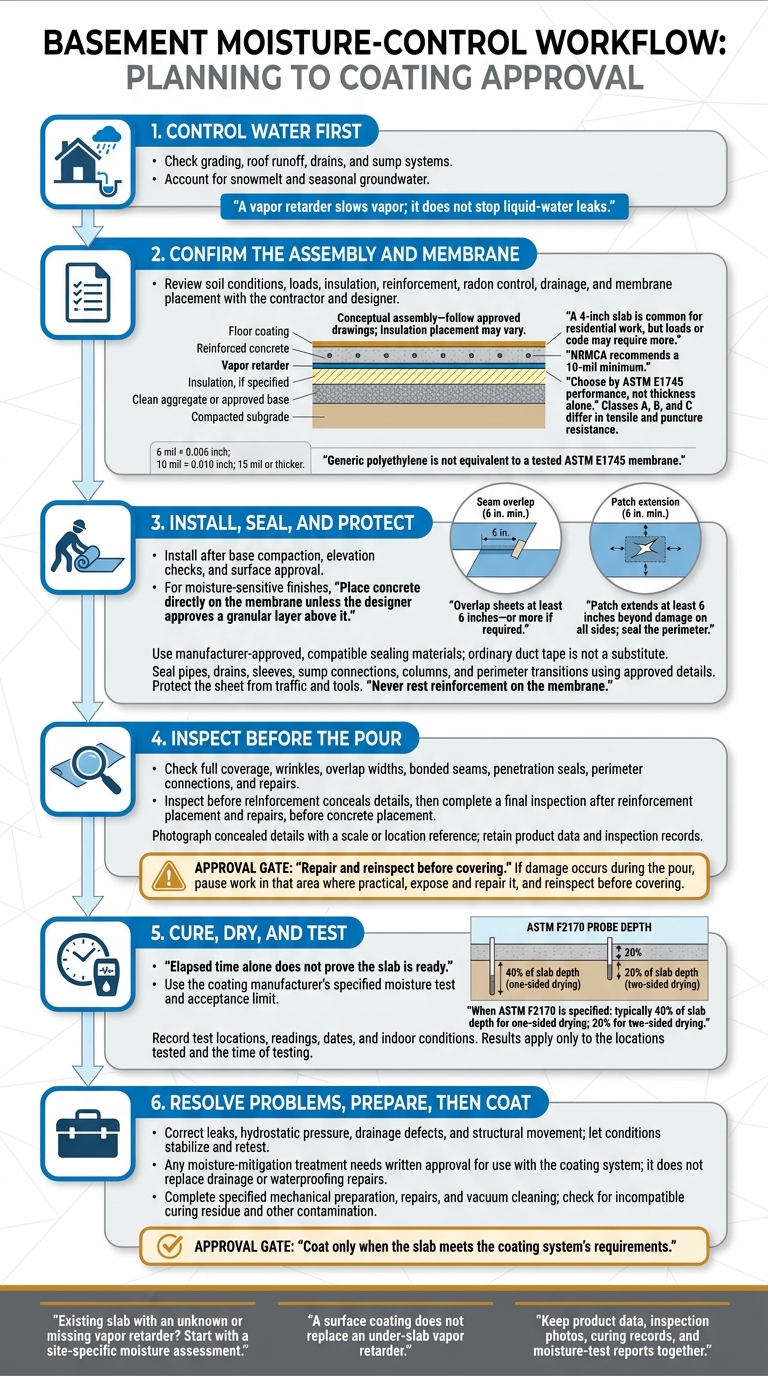
Under-Slab Vapor Barrier: Planning to Coating
Installing a Vapor Barrier Before Pouring a Concrete Slab | Worth The Wait | AFT Construction
sbb-itb-a0e5ae3
Plan the Slab and Choose the Vapor Retarder
Confirm the slab assembly before choosing materials. Ask the concrete contractor and project designer to check soil conditions, loads, insulation, radon control, and drainage. Follow local code, approved details, and manufacturer instructions. The right assembly solves basement moisture problems by giving the coating a drier, more stable base and controls how the slab dries beneath it.
Plan the Layers From Soil to Coating
Show the approved layer sequence on the slab drawing. Use the approved slab thickness. A 4-inch slab is common for residential work, but loads or code may require more. Before the pour, mark reinforcement elevations and supports, control and isolation joints, perimeter insulation, membrane terminations, and radon vent piping. Keep reinforcement at its specified elevation – never rest it on the membrane.
| Layer, from bottom up | Purpose | Installation timing | Main moisture or installation risk |
|---|---|---|---|
| Compacted subgrade | Stable support to limit settlement and cracking | After excavation and soil correction | Trapped water or settlement |
| Clean aggregate or approved base | Capillary break beneath the slab | After subgrade approval | Poor drainage or sharp stones |
| Insulation, if specified | Thermal control to help limit condensation | Where shown in the approved assembly | Wet storage, gaps, or compression |
| Vapor retarder | Limits upward vapor movement | After base preparation, before concrete | Tears and unsealed connections |
| Reinforced concrete | Stable substrate for the coating | After membrane inspection | Excess mix water, cracking, or poor curing |
| Floor coating | Surface protection and finish on a tested, prepared slab | After curing, testing, and preparation | Excess moisture or incompatible curing residue |
Choose a membrane that fits this assembly and can withstand jobsite conditions.
Compare Membrane Thickness and Performance
Some residential provisions allow 6-mil polyethylene. Many specifications, though, require at least 10 mil and a specified ASTM E1745 class. NRMCA’s CIP 29 recommends a 10-mil minimum. Choose by ASTM E1745 performance, not thickness alone: Classes A, B, and C differ in tensile and puncture resistance. Match the membrane’s durability to jobsite traffic and handling to help prevent damage during the pour.
| Thickness | Performance and ASTM documentation | Limitation | Sealing materials to confirm |
|---|---|---|---|
| 6 mil – 0.006 inch | Actual permeance, tensile, and puncture results; E1745 class if required | May meet some residential provisions but can be more vulnerable to jobsite damage | Manufacturer-approved tape, sealant, and penetration details |
| 10 mil – 0.010 inch | E1745 class, tested permeance, and puncture resistance | Thickness alone does not establish jobsite durability | Compatible seam tape, mastic, and pipe boots |
| 15 mil or thicker | Full test data and specified E1745 class | Added thickness does not guarantee better vapor control | Approved accessories and handling instructions |
With the material submittal, request the current technical data sheet, installation instructions, thickness tolerance, temperature limits, and warranty restrictions. Check that the membrane is suitable for direct concrete contact and compatible with insulation, radiant tubing, and the planned curing method. Generic polyethylene is not equivalent to a tested ASTM E1745 membrane.
Decide Where and When to Install the Membrane
Install the membrane after base compaction, elevation checks, and surface approval. Schedule it as close to reinforcement placement and the pour as practical. For moisture-sensitive finishes, place concrete directly on the membrane unless the designer approves a granular layer above it. Show insulation placement on the drawing, and detail overlaps, seams, and penetration treatments before installation.
Protect rolls from sun, rain, mud, freezing conditions, and damage. Delay installation if the sheet would remain submerged or contaminated. Schedule inspection after reinforcement placement and all membrane repairs are complete, but before concrete placement. Confirm the curing method in advance to make sure it’s compatible with the coating system.
Install and Inspect the Vapor Retarder
Once the base is approved, install the membrane without gaps. Inspect every seam before reinforcement goes in. Each seam, patch, and termination helps keep the slab dry enough for coating.
Cover the Slab and Protect the Membrane
Lay the membrane flat on the approved base. Keep it clean and continuous across the entire slab area, with as few wrinkles and open folds (fishmouths) as possible. Extend or terminate it at footings, foundation walls, grade beams, and slab edges as specified in the approved design and manufacturer instructions.
Use walk boards or protected paths. Don’t drag rebar, chairs, tools, or forms across the membrane.
Patch damage before covering it: clean and dry the area, apply a compatible patch that extends at least 6 inches beyond the damage on all sides, and seal the perimeter.
Overlap Sheets at Least 6 Inches and Seal Seams
Overlap sheets at least 6 inches. Use a larger overlap if the manufacturer, code, or project documents require it. Apply approved tape, adhesive, or mastic to clean, dry, dust-free surfaces. Then press or roll the seal as directed.
Flatten and seal wrinkles and open folds. Ordinary duct tape is not a substitute for approved sealing materials.
Once the seams are sealed, finish all openings and edge details.
Seal Penetrations and Perimeter Connections
Cut tight openings around each penetration and seal each one. Follow the approved membrane details without interfering with drainage, waterproofing, or radon-control measures.
| Location | Sealing action and check | Risk if gaps remain |
|---|---|---|
| Pipes and conduits | Fit compatible boots, collars, tape, mastic, or patches; check the seal around each pipe | Soil vapor and radon bypass |
| Drains, sleeves, and blockouts | Seal with compatible collars, tape, or mastic; check for tears and open edges | Concentrated vapor paths |
| Sump basins | Coordinate sealing with sump and radon details; check for a continuous seal at the basin connection | Moisture and soil-gas entry |
| Columns and structural penetrations | Follow the structural and membrane detail; check continuity at penetration transitions | Interrupted coverage |
| Perimeter terminations | Follow the approved termination detail at each edge condition; check before reinforcement conceals it | Moisture bypass at slab edges |
Inspect the Membrane Before the Pour
Inspect the membrane before reinforcement hides repairs and terminations. Check full coverage, wrinkles, measured overlap widths, bonded seams, boots, perimeter connections, and every repair. A defect missed now can shorten coating life later.
Photograph details that will be concealed, using a scale or location reference. Keep the photos, product data, and inspection records.
Assign responsibility at each stage: the installer checks the initial sealing, the reinforcement crew protects the sheet, and the concrete contractor controls placement traffic and equipment. The superintendent, inspector, or quality-control representative should approve repairs before concrete placement.
If damage occurs during the pour, pause work in that area where practical. Expose and repair the damage, then reinspect it before covering it.
Cure and Test the Slab Before Coating
After the pour, the slab needs curing, drying, and moisture testing before coating. Follow the concrete and coating manufacturers’ limits – not elapsed time alone.
Check Moisture and Surface Conditions
Excess moisture can cause coatings to lose their bond, damage finishes, and support microbial growth. Use the coating manufacturer’s specified moisture test and acceptance limit.
When ASTM F2170 is specified, place in-situ probes at the required depth – typically 40% of slab depth for one-sided drying and 20% for two-sided drying. Record test locations, readings, dates, and indoor conditions. Test representative areas near exterior walls, plumbing, cracks, low spots, and visibly damp areas. Results apply only to the locations tested and the time of testing.
Check for curing compounds, sealers, oil, paint, dust, efflorescence, and weak or friable concrete. Also inspect the surface profile, cracks, control joints, construction joints, spalls, and uneven areas. Require the specified mechanical preparation, repairs, and vacuum cleaning before coating.
Fix Moisture Problems Before Coating
Hold off on coating until readings meet the system’s limits and leaks, how hydrostatic pressure affects concrete, drainage defects, and structural movement are corrected. Fix the source, let conditions stabilize, and retest. Any moisture-mitigation treatment needs written approval for use with the coating system. It cannot replace drainage or waterproofing repairs.
For an existing basement with an unknown or missing vapor retarder, request a site-specific moisture assessment. Review construction records, inspect for dampness and efflorescence, document seasonal water problems, and test multiple locations using the coating manufacturer’s approved methods.
A surface coating does not replace an under-slab vapor retarder. An existing coating does not prove a vapor retarder is present. Once the slab meets the moisture limit, move to coating prep and scheduling.
Plan Basement Coating With Croc Coatings
Croc Coatings can review substrate suitability, moisture limits, and preparation requirements before scheduling basement coating work in North Idaho and Eastern Washington. Confirm when furniture can return and normal use can resume based on actual slab conditions.
Conclusion: Confirm Your Basement Floor Plan
After curing and moisture testing, review the basement floor for approval. Confirm the full assembly before approving the pour: control surface water and groundwater, check slab and membrane specifications, and install and inspect the membrane. After the pour, complete curing, moisture testing, repairs, and surface prep before coating. A durable coated floor depends on every step – not just the membrane. Approve coating only when the slab meets the system’s requirements.
Final Planning Checklist
Use this checklist before releasing the slab for coating.
- Confirm that soil slopes away from the foundation and roof runoff drains away from the walls. Where groundwater is present, check that perimeter drains or a sump system work.
- Review the drawings, local code, membrane specifications, layer placement, and base prep.
- Before placing concrete, verify 6-inch overlaps, or more if required, and sealed seams.
- Inspect penetrations and perimeter transitions, repair damage, and photograph the work.
- If you find open seams or tears, pause the pour in that area until repairs are complete and reinspected.
- Keep product data, inspection notes, photos, curing records, and moisture test reports in one file.
Work with the concrete professional and coating installer to verify that leaks and structural concerns have been resolved. Use the records to confirm that the slab is ready for the coating system.
FAQs
Can I coat a basement slab without a vapor barrier?
Yes, but moisture can cause the coating to fail. Groundwater and moisture vapor can move up through the slab, which can lead to blistering or delamination – the coating separating from the concrete.
Before applying the coating, test the slab using ASTM F2170 and/or ASTM F1869 to check whether it meets the coating’s moisture limits. If it doesn’t, you’ll need a proper vapor barrier, a moisture-mitigating primer system, or more drying time.
How can I verify a vapor barrier is installed?
- Confirm the vapor retarder sits directly under the slab, not just on the fill. Seams and edges must overlap by at least 6 inches. Seal seams and penetrations with the proper tape or caulk.
- Check every seam, edge, and penetration for punctures, tears, and staple or nail holes.
- Before installing flooring or applying coatings, test slab moisture using ASTM F2170 (in-situ relative humidity: maximum 75%) and/or ASTM F1869 (moisture vapor emission rate: maximum 3 lb/1,000 sq ft/24 hours).
Should I test slab moisture during snowmelt?
Yes. Test your basement slab for moisture during or after snowmelt. Melting snow, heavy rain, and high humidity can strain moisture barriers and push moisture through the slab.
Before testing, run your HVAC system for at least 48 hours to stabilize indoor temperature and humidity. Before installing flooring or coatings, use professional testing methods such as ASTM F1869 (calcium chloride) or ASTM F2170 (in-slab relative humidity probes).