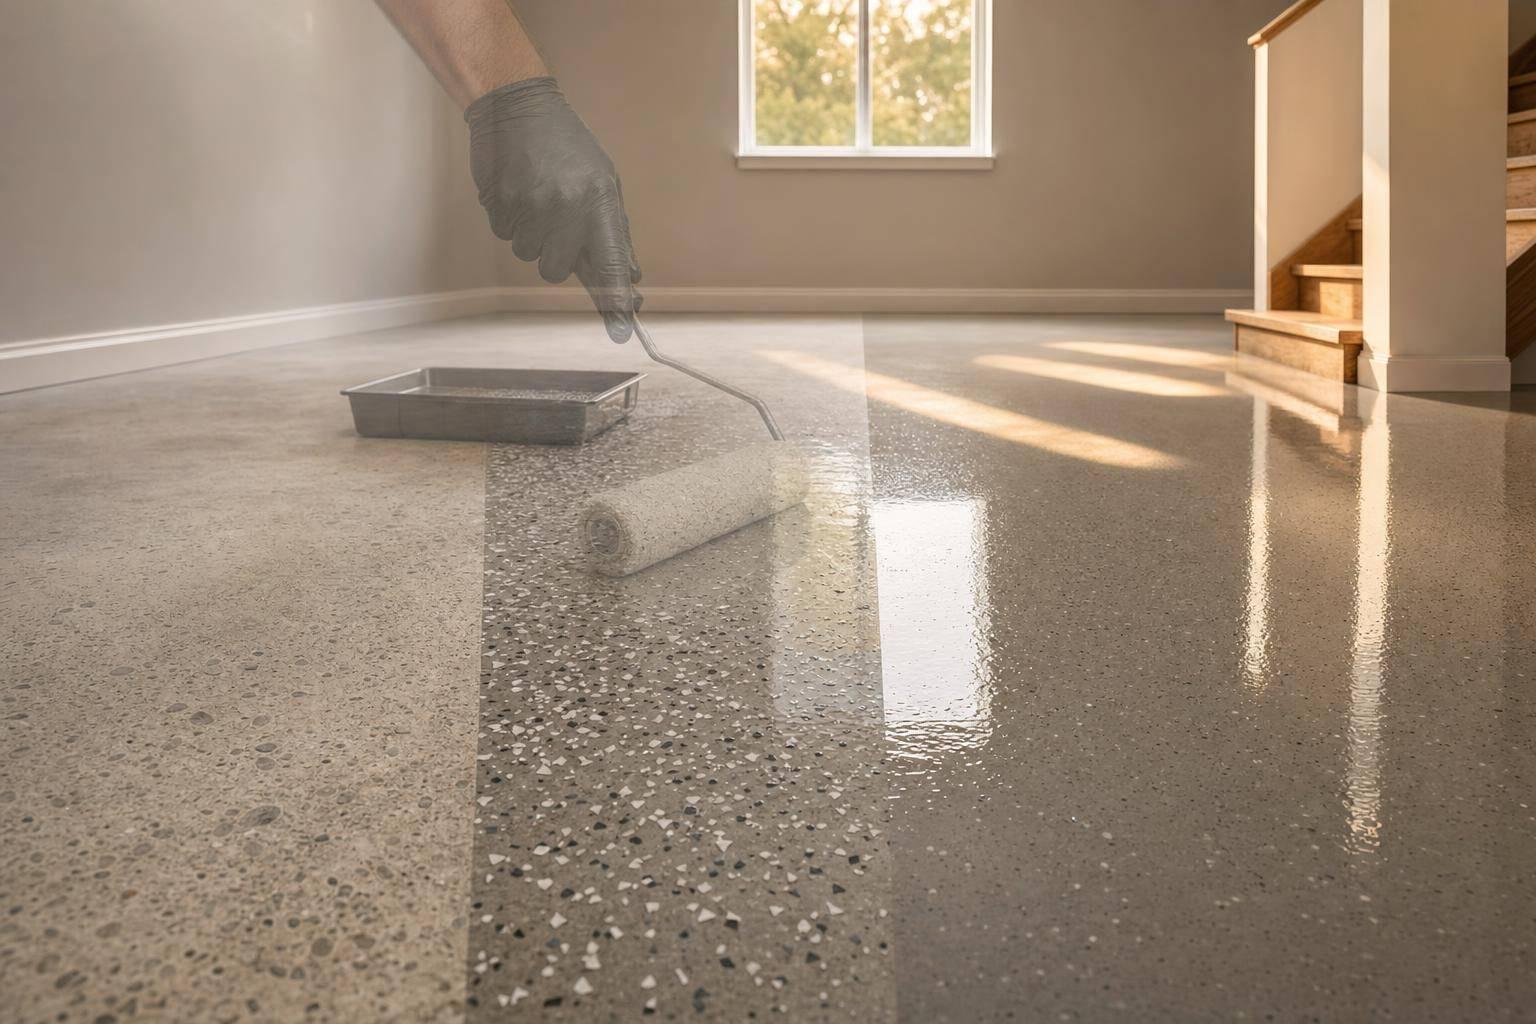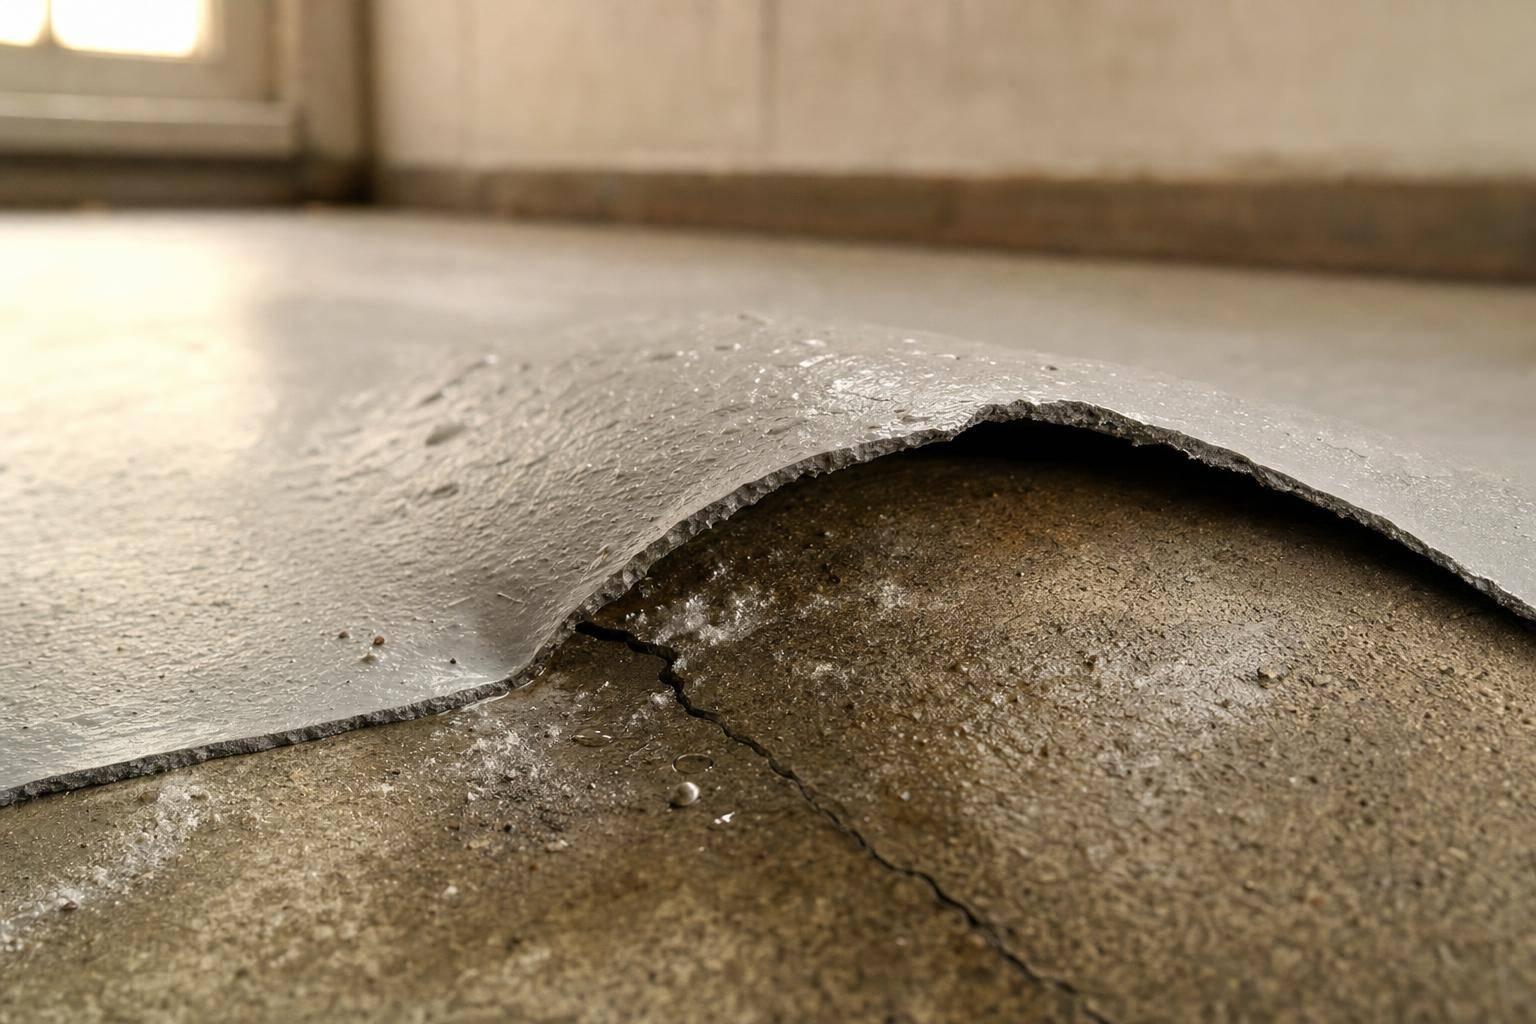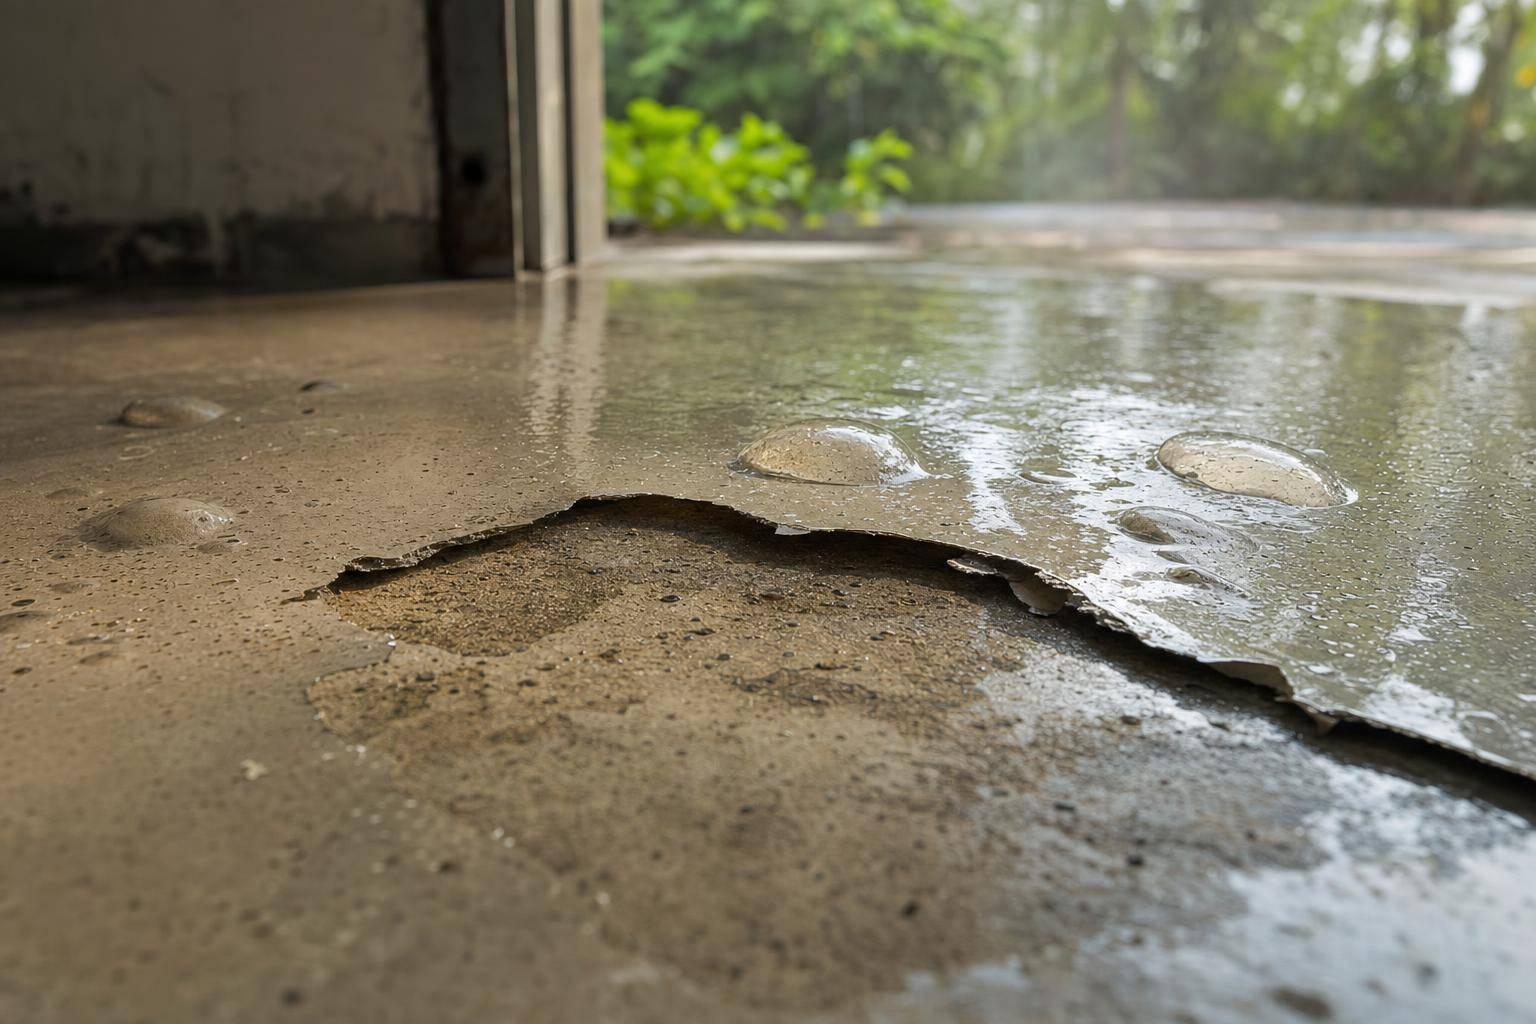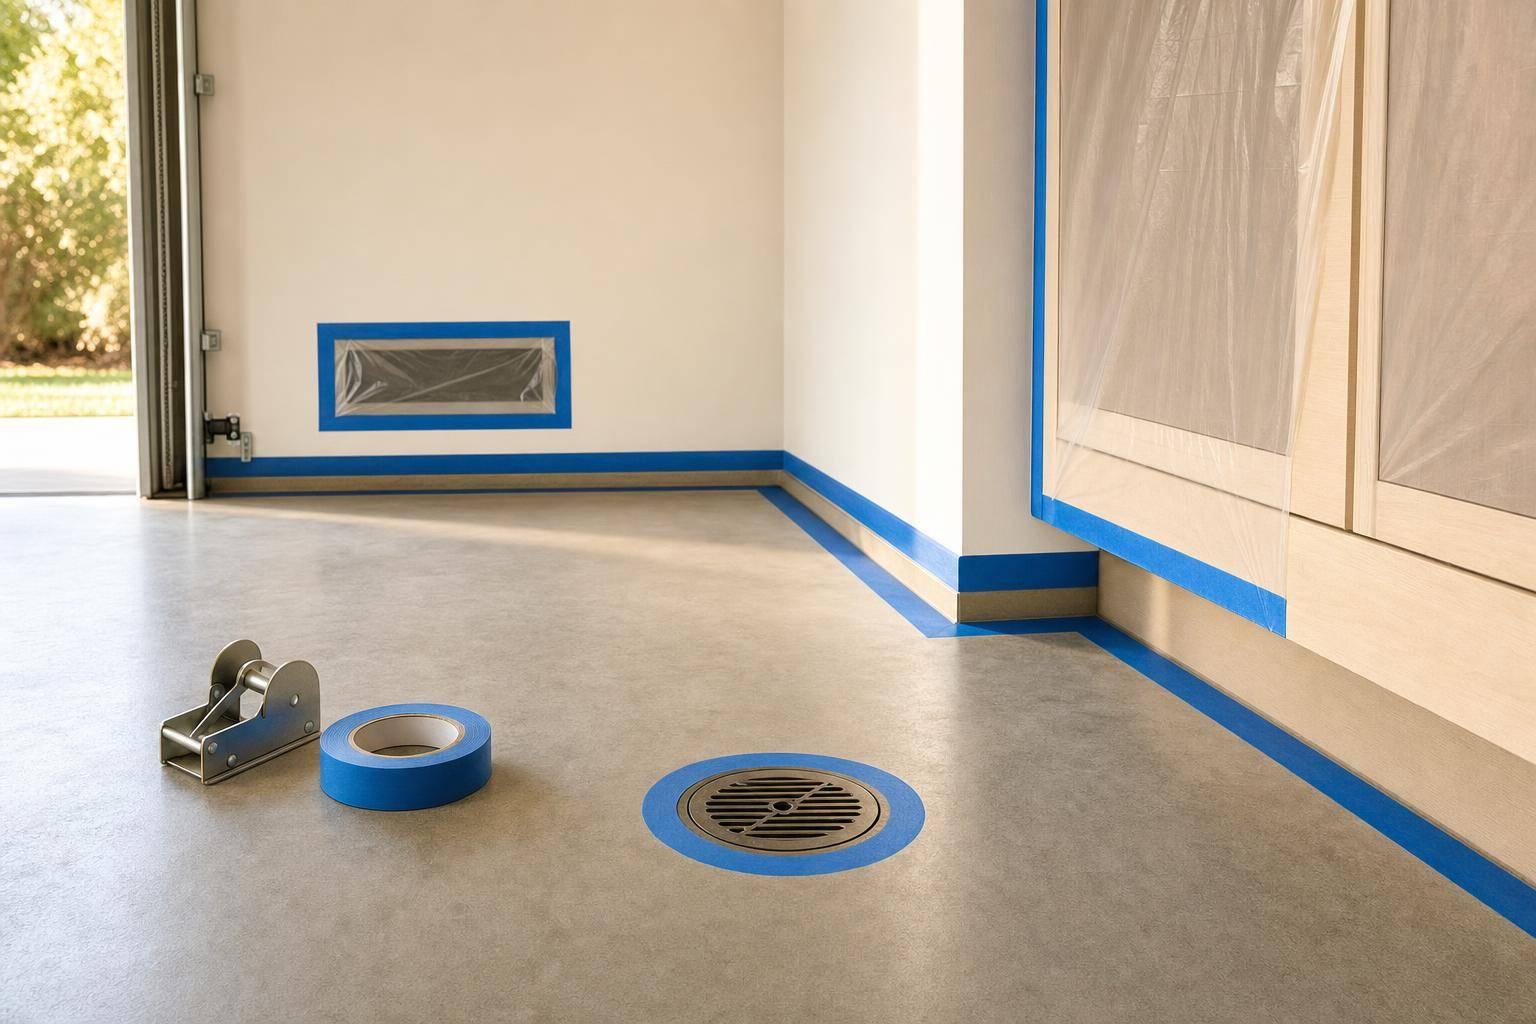
If I want straight coating lines and less cleanup, I mask first. In most floor coating jobs, the edge work decides how clean the whole floor looks. A few minutes with tape, paper, and plastic can help stop splatter, dust, flakes, and bleed at walls, doors, stairs, cabinets, drains, and fixtures.
Here’s the short version:
- I start with a clean, dry slab and dust-free wall edges.
- I move out vehicles, tools, bins, and loose items before work starts.
- I tape and cover the full perimeter first: walls, baseboards, doors, thresholds, and stairs.
- I protect fixed items next: cabinets, benches, appliances, posts, and equipment bases.
- I mask small low items near the slab: outlets, vents, drains, sensors, and wall plates.
- I do one final walk-around to check for gaps, loose tape, wavy lines, and missed corners.
- I remove tape at the right cure stage, not too early and not after it gets too hard.
A few numbers matter here. Wall protection often goes 2–3 ft high. Cabinet bases usually need 6–12 in of cover. Low electrical parts within 12–24 in of the floor should be masked. Garage safety sensors often sit just 4–6 in above the slab, so they need close attention.
My takeaway: clean edges come from three things – tight tape lines, full splatter coverage, and one last inspection before coating starts. If I skip any one of those, the odds of bleed, rough lines, and touch-up work go up fast.
Use this checklist if you’re masking a garage, basement, patio, workshop, or light commercial floor and want the coating edge to stop where it should – clean, straight, and easy to inspect.
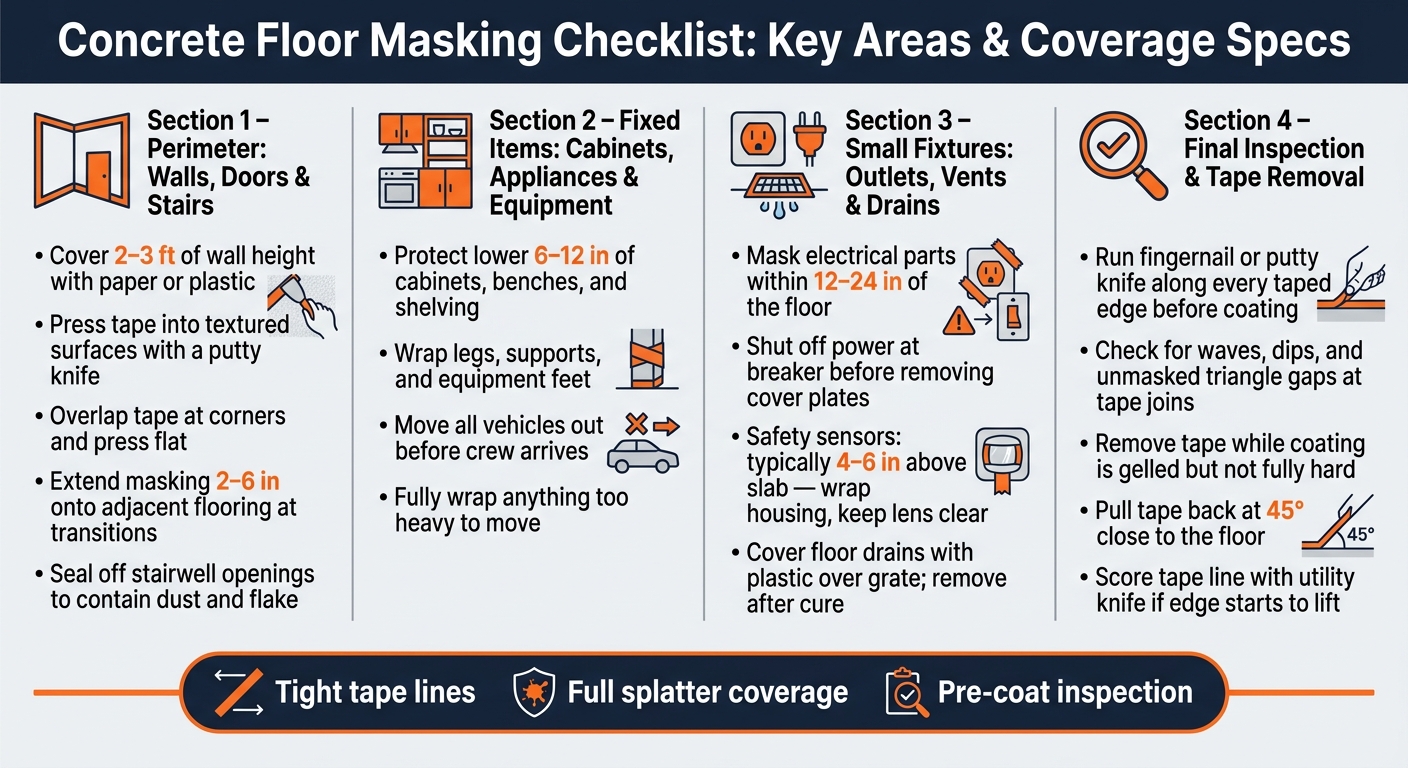
Concrete Floor Masking Checklist: Key Areas & Coverage Specs
Best Polyaspartic Masking Tape | Clean Green®

sbb-itb-a0e5ae3
Checklist 1: Mask walls, baseboards, doors, and stairs
Start with one continuous mask around the perimeter to set the coating edge.
Walls, baseboards, posts, and lower vertical surfaces
Cover 2–3 ft of wall height with paper or plastic secured with painter’s tape. That extra coverage helps catch roller splatter and broadcast flake before it hits the wall.
Run the tape tight along the wall-to-floor joint. Press it firmly into textured areas with a putty knife or 5-in-1 tool so you close small gaps where coating could seep through.
At corners, overlap tape runs and press the overlap flat. Corners are a common trouble spot, and coating can slip through if the overlap lifts. On rough surfaces like brick or block masonry, add extra tape and plastic along the edge.
If baseboards or trim are still installed, tape the bottom edge where the floor coating will meet the trim. Then cover the face of the baseboard with paper or plastic film so splatter doesn’t mark the painted surface. For posts and columns, tape every exposed side at the base and follow the actual shape instead of trying to force one straight line.
Entry doors, overhead doors, thresholds, and floor transitions
Tape thresholds all the way across so the coating stops cleanly and doesn’t stick to moving parts or hardware. At garage or overhead door seals, mark the floor line with care so the edge stays straight and won’t get pulled or disturbed when the door opens and closes.
If interior flooring meets the coating area at a transition strip, extend masking 2–6 in onto that adjacent floor to catch drips. Before you tape near any door, make sure the door can still open and close without dragging the tape. Leave enough clearance for the full swing.
Stairs, risers, landings, and nearby hallways
Where the coated floor meets the stairs, tape the nosing edge with care to protect it from splatter. Mask the risers, stringers, and any trim along the stair sides. Landings should be treated like any other perimeter edge: tape the stop line and cover every surface that won’t be coated.
If the staircase opens into a hallway or lower level, seal off that opening. Dust from grinding and flake from broadcast can travel much farther than most people expect through an open stairwell. Tape plastic across the opening to keep dust and flake inside the work zone.
Once the perimeter is masked, move to cabinets, appliances, vehicles, and stored items.
Checklist 2: Cover Cabinets, Appliances, Vehicles, and Stored Items
Once the perimeter walls and doors are masked, focus on everything inside the garage. Follow a garage cleanout checklist to move loose items out first. Then fully wrap anything fixed in place or too heavy to shift.
Cabinets, Built-Ins, Benches, and Equipment Bases
Fixed cabinets, workbenches, and built-in shelving don’t always budge. In that case, careful masking does the job.
Protect the lower 6 to 12 inches of cabinets, benches, and shelving. Pay close attention to toe kicks, sides, legs, and supports. Wrap legs, supports, and equipment feet so the coating ends cleanly at the base.
Vehicles, Tools, Appliances, and Remaining Belongings
Move all vehicles completely out of the garage before the crew arrives. Keep them away from the driveway and any other work-access paths too. Dust from grinding can settle on glass and paint fast.
Portable items like rolling tool chests, lawn equipment, storage bins, and loose hardware should go to another room or a temporary storage area. If something has to stay nearby, place it well away from the active coating zone and fully wrap it.
For appliances that can be disconnected and slid out – refrigerators, freezers, water softeners, and similar units – move them so the floor can be coated underneath. If a gas water heater or a hard-plumbed unit can’t be moved, mask the base and lower sides with plastic and tape to keep splatter and grinding dust off the finish.
Checklist 3: Protect Outlets, Switches, Vents, and Fixtures
Once the walls, cabinets, and stored items are covered, finish the job by protecting the smaller fixtures near the floor.
Electrical Outlets, Switches, Conduit, and Wall Plates
Mask any low-mounted electrical part within 12 to 24 inches of the floor. Before you remove a cover plate, shut off power at the breaker. OSHA notes that taping over an uncovered receptacle is not a substitute for turning off power.
Take off cover plates before masking. If conduit or junction boxes need to stay in place, press painter’s tape tight along the lower edge of the fixture. Around uneven shapes, use short pieces of tape so they lie flat instead of bunching up.
Leave emergency shutoffs and GFCI test buttons easy to reach.
Then move on to vents and drains.
Vents, Drains, Lights, and Other Nearby Fixtures
Mask floor-level HVAC grilles, drains, and sensor housings before coating begins. If a vent grille or register cover can come off, remove it and tape the opening at slab level so you get a clean, straight line. If it can’t be removed, cover the front with painter’s tape and add a layer of masking paper to keep coating mist and flakes out of the ductwork.
Garage door safety sensors are often mounted 4 to 6 inches above the finished floor, so leave them in place. Wrap the housing with painter’s tape and a small piece of masking paper, but keep the lens or beam path clear. Do the same for motion detectors and alarm sensors: protect the housing, but don’t block the lens or any indicator light.
For floor drains, tape around the drain in rings, with the outer ring showing the stop line. A small piece of plastic over the grate can catch flakes or coating. Remove the plastic after cure.
Final inspection and tape removal for a clean edge
Pre-coating walk-through: check adhesion, gaps, and straight lines
Before the coating goes down, do one full lap around the space. This is especially critical when applying coatings for high-traffic garages where edge durability is paramount. This is your last chance to catch small problems before they turn into messy edges.
Run a fingernail or a plastic putty knife along every taped edge – at walls, door jambs, stair bases, cabinet toe-kicks, and fixtures. Press down any area that feels loose or blistered. Then step back a few feet and look at each line. You’re checking for waves, dips, and those tiny unmasked triangles that like to show up where two tape runs meet. On long runs, like garage doors and perimeter walls, use a straightedge to make sure the line stays clean and even.
Check the plastic sheeting and floor paper too. Every seam should be secure, and nothing should shift under foot traffic or flap into wet coating if air movers are on. A loose edge can let coating slip underneath.
When to remove tape and how to inspect the finished edge
Remove tape while the coating is gelled but not fully hard, and follow the product data sheet or your garage floor coating planner for timing. Pull the tape back over itself at a 45° angle, keeping it close to the floor. If the edge starts to lift, score the tape line with a sharp utility knife and keep going.
Once the tape is off, inspect walls, thresholds, stairs, drains, and cabinet bases under both overhead light and low-angle light. Look for bleed, rough edges, or chips. Minor bleed can sometimes be trimmed with a razor while the coating is still slightly soft. Small missed spots along the edge can be touched up with a brush if you still have material left before the coating sets.
FAQs
What masking materials work best on rough concrete edges?
For rough concrete edges, use painter’s tape with plastic sheeting to protect nearby surfaces and keep the coating line crisp. That helps stop the coating from creeping onto walls, trim, baseboards, and thresholds.
Also, make sure the edge texture stays consistent. Grind down repaired areas or spots that are too smooth, then clean up the dust so the masking stays tight and neat.
How do I keep coating from bleeding under tape?
Apply painter’s tape to a clean surface. Dust, oil, and loose debris can keep the tape from sticking well and leave small gaps where coating can seep through.
Use high-quality, moisture-resistant tape, then press it firmly along the full edge. That helps seal the plastic sheeting tight against the concrete and gives you clean, crisp lines.
What if I remove the tape too late?
Removing tape too late can leave adhesive residue or pull up cured or feathered coating edges. The result? Messy transitions instead of clean lines.
To avoid that, remove masking on time based on your crew’s schedule, once the coating has set enough to hold its edge. Until then, leave the tape and plastic sheeting in place to protect nearby surfaces.