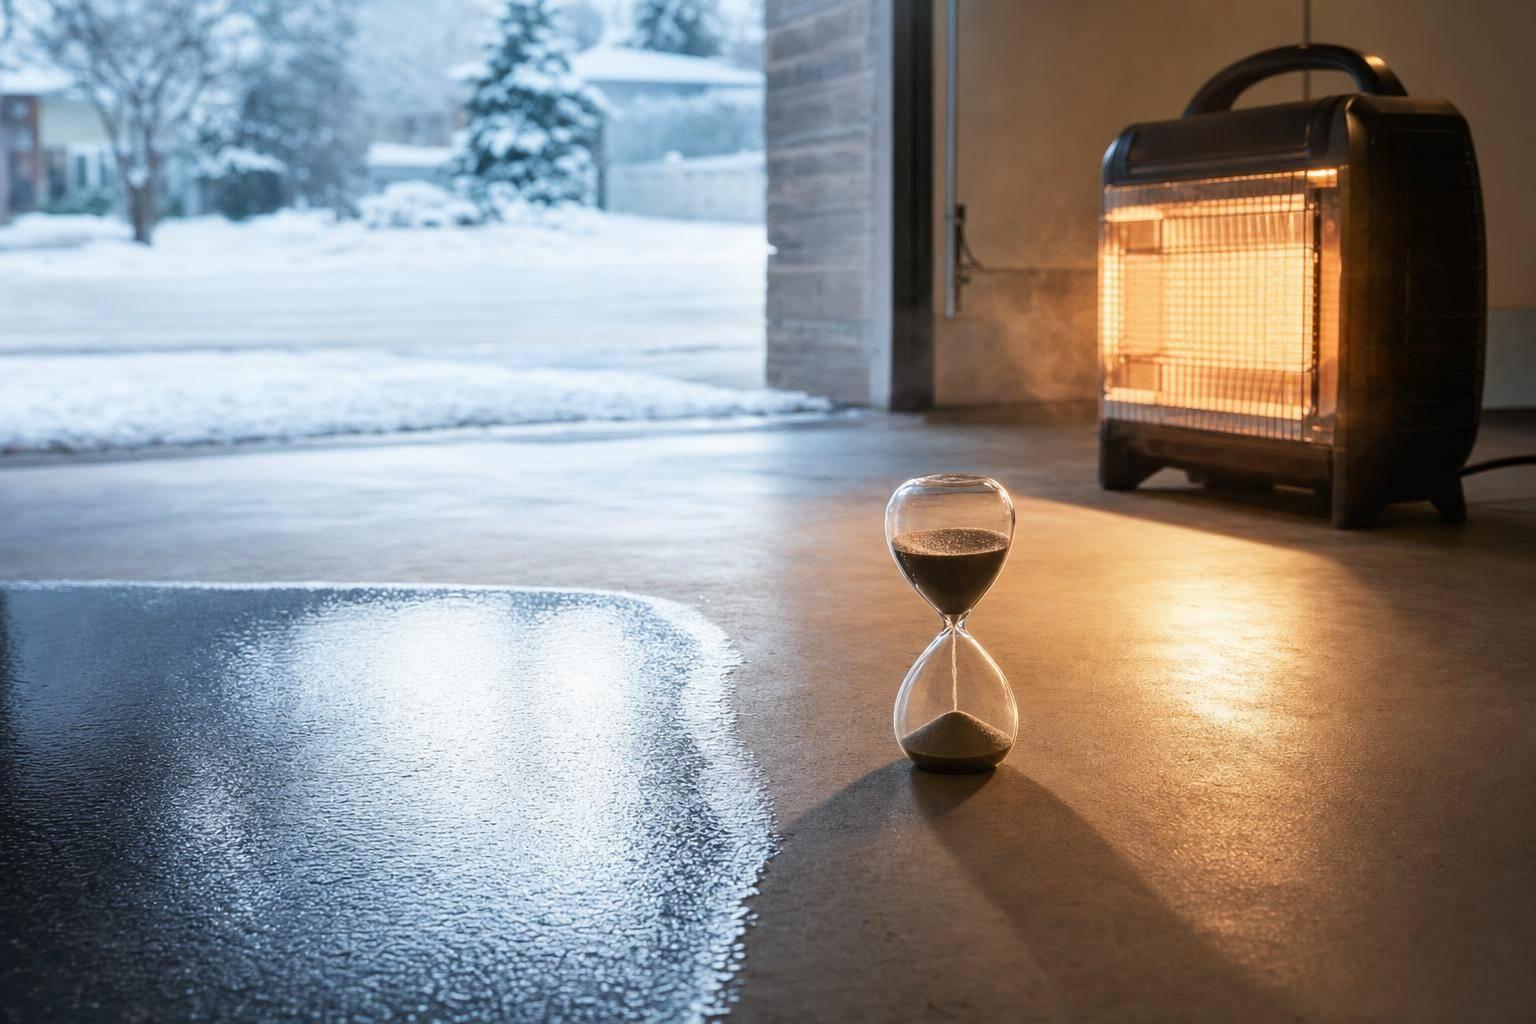
Cold weather can turn a 24-hour polyurea cure into a 48-hour wait – or longer. If I’m planning a winter coating job, I need to watch slab temperature, dew point, humidity, and surface moisture, not just the air temperature.
Here’s the short version:
- At around 70°F, many polyurea floors turn tack-free in 1–2 hours and may be ready for vehicles in about 24 hours.
- In winter, that same floor may need 24–48+ hours before vehicle traffic.
- The concrete slab often stays colder than the air, so it usually controls cure time.
- The slab should be dry and at least 5°F above the dew point before coating.
- Many standard systems need slab and air temperatures around 35°F to 40°F or higher.
- If RH goes above 85%, the risk of moisture-related coating failures like bubbles, foam, or bond failure goes up.
- Materials should be stored at 70–80°F for at least 24 hours before use.
- In winter, I’d plan for at least 48 hours before driving on the floor.
If I had to boil the article down to one point, it’s this: winter installs can work, but only when the slab is warm enough, dry enough, and given more time to cure. Good prep, steady heat, and careful timing do more than speed alone.
| Check | What I’d look for |
|---|---|
| Cure time at ~70°F | 1–2 hours tack-free, ~24 hours vehicle-ready |
| Cure time in winter | 24–48+ hours for vehicle traffic |
| Slab vs. air | Slab temp matters more |
| Dew point gap | Slab must be 5°F+ above dew point |
| High humidity risk | 85% RH+ can cause coating problems |
| Material storage | 70–80°F for 24 hours before install |
That gives me the full picture up front: longer cure times, tighter weather limits, and no room for moisture on the slab.
Are freezing temps stopping your for coatings floors? POLYUREA to the rescue!
sbb-itb-a0e5ae3
Temperature, Moisture, and Timing Checks Before Coating
Once you know the cure window, the next move is making sure the slab can actually handle the install. Before any polyurea goes down in cold weather, check four readings: ambient air temperature, concrete slab temperature, relative humidity (RH), and dew point. If even one is out of range, hold off until conditions improve.
Ambient Temperature, Slab Temperature, and Dew Point
Air temperature matters, but it’s not the main thing. Slab temperature drives the cure because concrete stays cold much longer than the air around it. A garage might feel warm, yet the floor can still be too cold to coat.
Standard polyurea formulas usually need both air and slab temperatures above 35°F to 40°F. Some cold-weather formulas are made to cure at 0°F to -20°F, but those limits depend on the product. Check the slab surface with a handheld infrared thermometer.
You also need to keep the slab at least 5°F above the dew point. If that spread gets too small, condensation can form on the surface and hurt adhesion. Air temperature by itself won’t protect the bond. Slab temperature and dew point are the readings that matter most.
| Metric | Target Range (Standard Formula) | Target Range (Cold-Weather Formula) |
|---|---|---|
| Ambient Air Temp | 35°F to 50°F | -20°F to 35°F |
| Concrete Slab Temp | Minimum 35°F and rising | As low as 0°F (product-specific) |
| Dew Point Gap | Slab must be >5°F above dew point | Slab must be >5°F above dew point |
Humidity, Frost, and Condensation Risks
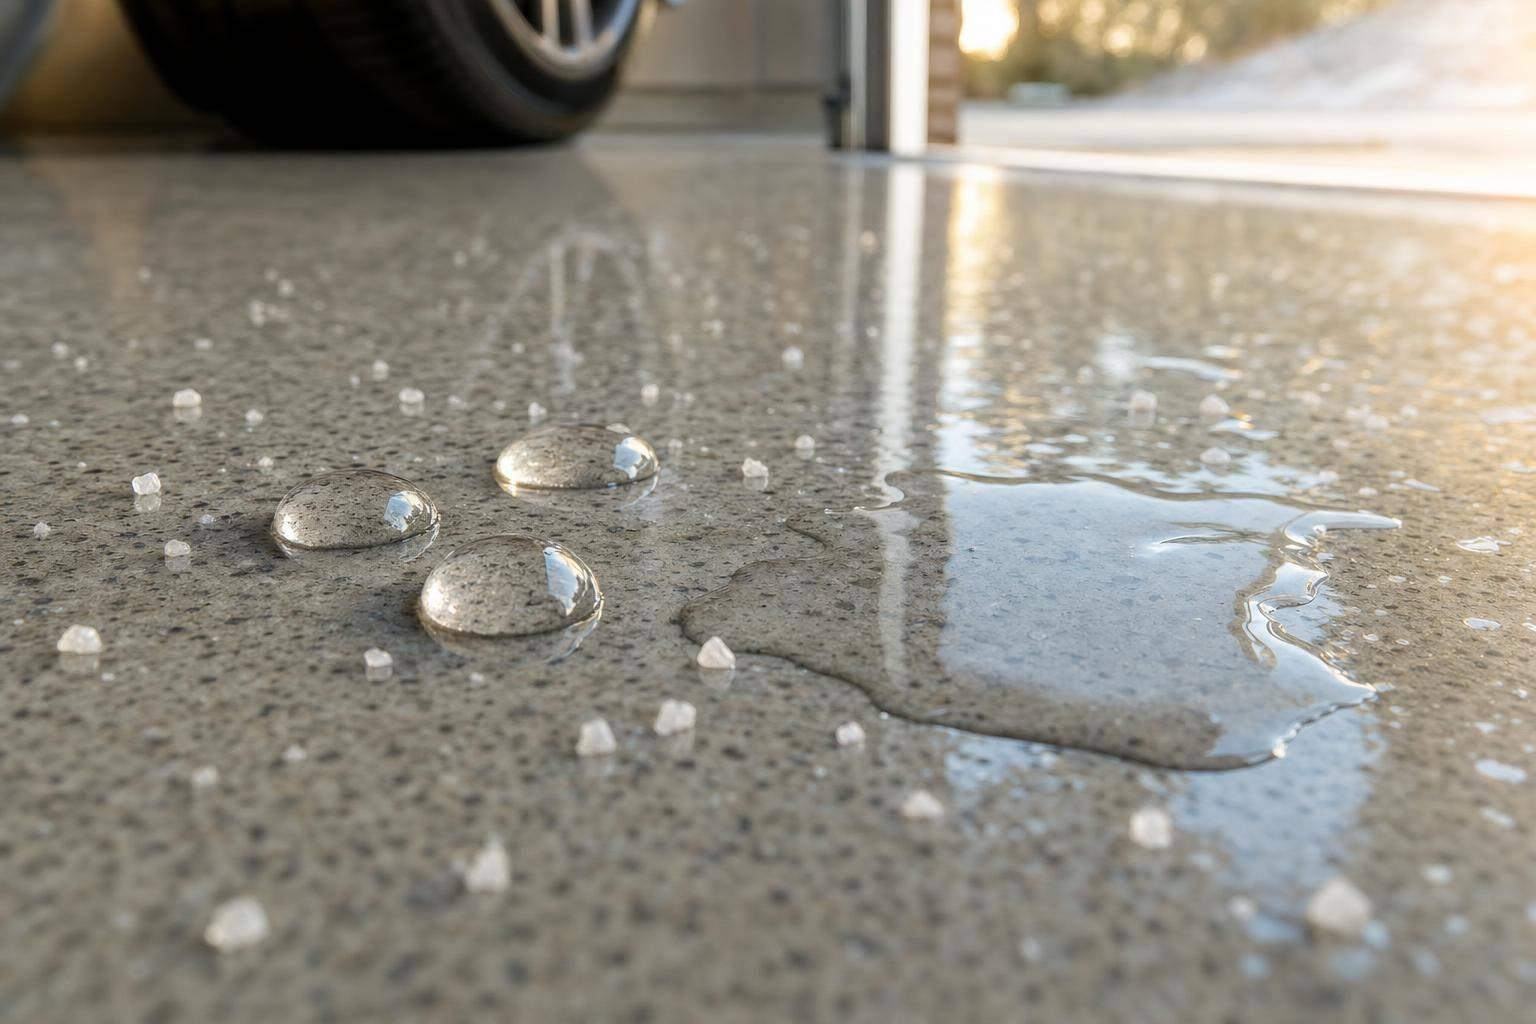
Cold slabs can hide frost, tracked-in snowmelt, and condensation, so the surface needs to be fully dry before coating. If relative humidity goes above 85%, the risk of foaming, bubbling, or delamination goes up. In winter, the indoor-outdoor temperature swing can also push moisture through the slab, which is why moisture testing and control matters even more during cold-weather installs.
Best Time of Day for a Winter Install
Timing still matters, even when all the readings look good. The best window is usually late morning, after the slab has had time to warm up a bit. Stay away from snow, rain, or wind during application and for 6 to 8 hours after.
Surface Prep Steps That Count More in Cold Weather
Winter installs can go sideways fast if the concrete is dirty or damp. You need a clean, dry, properly profiled slab. Once temperature and dew point are where they need to be, surface prep does a lot of the heavy lifting.
Remove Salt, Ice, Slush, and Moisture Before Grinding
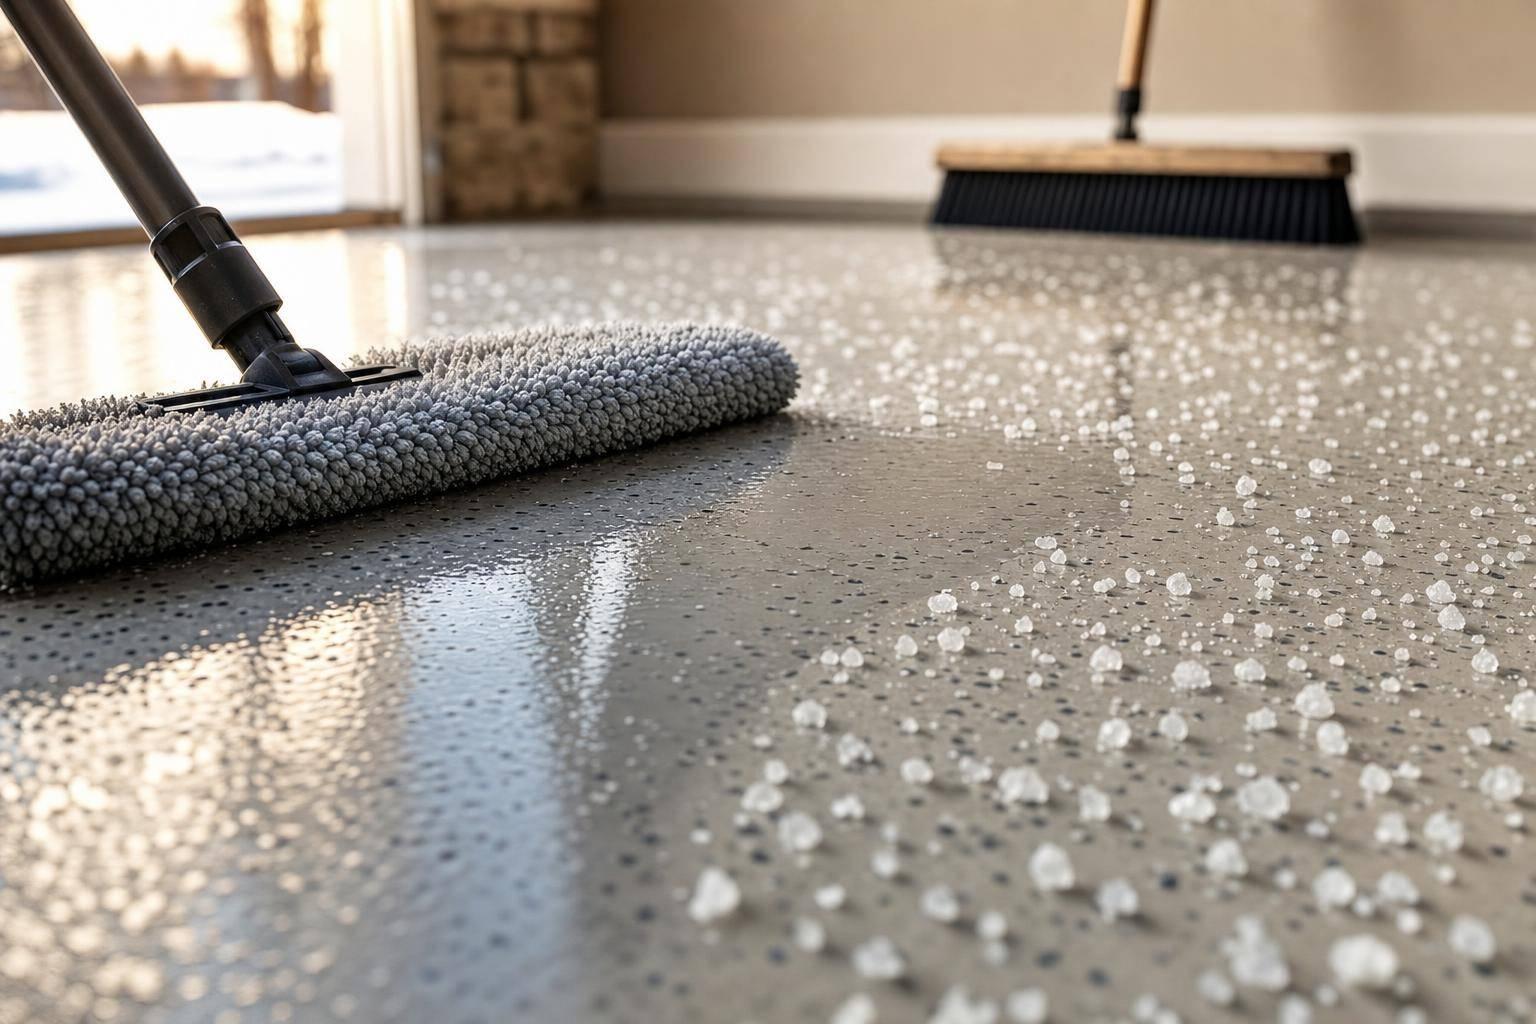
Winter floors bring extra mess with them. Road salts, de-icing chemicals, snowmelt, and tracked-in slush can sink into concrete pores and lead to pitting, staining, and chemical corrosion. Before grinding, sweep and clean the entire slab.
Any visible moisture, frozen patches, or damp spots need to be fully dried first. A propane or electric heater can help, but what matters is the slab itself – not just the air above it. If the concrete still holds even a little dampness, you can end up with bubbling, peeling, or blistering.
Mechanical Prep and Moisture Testing on Cold Concrete
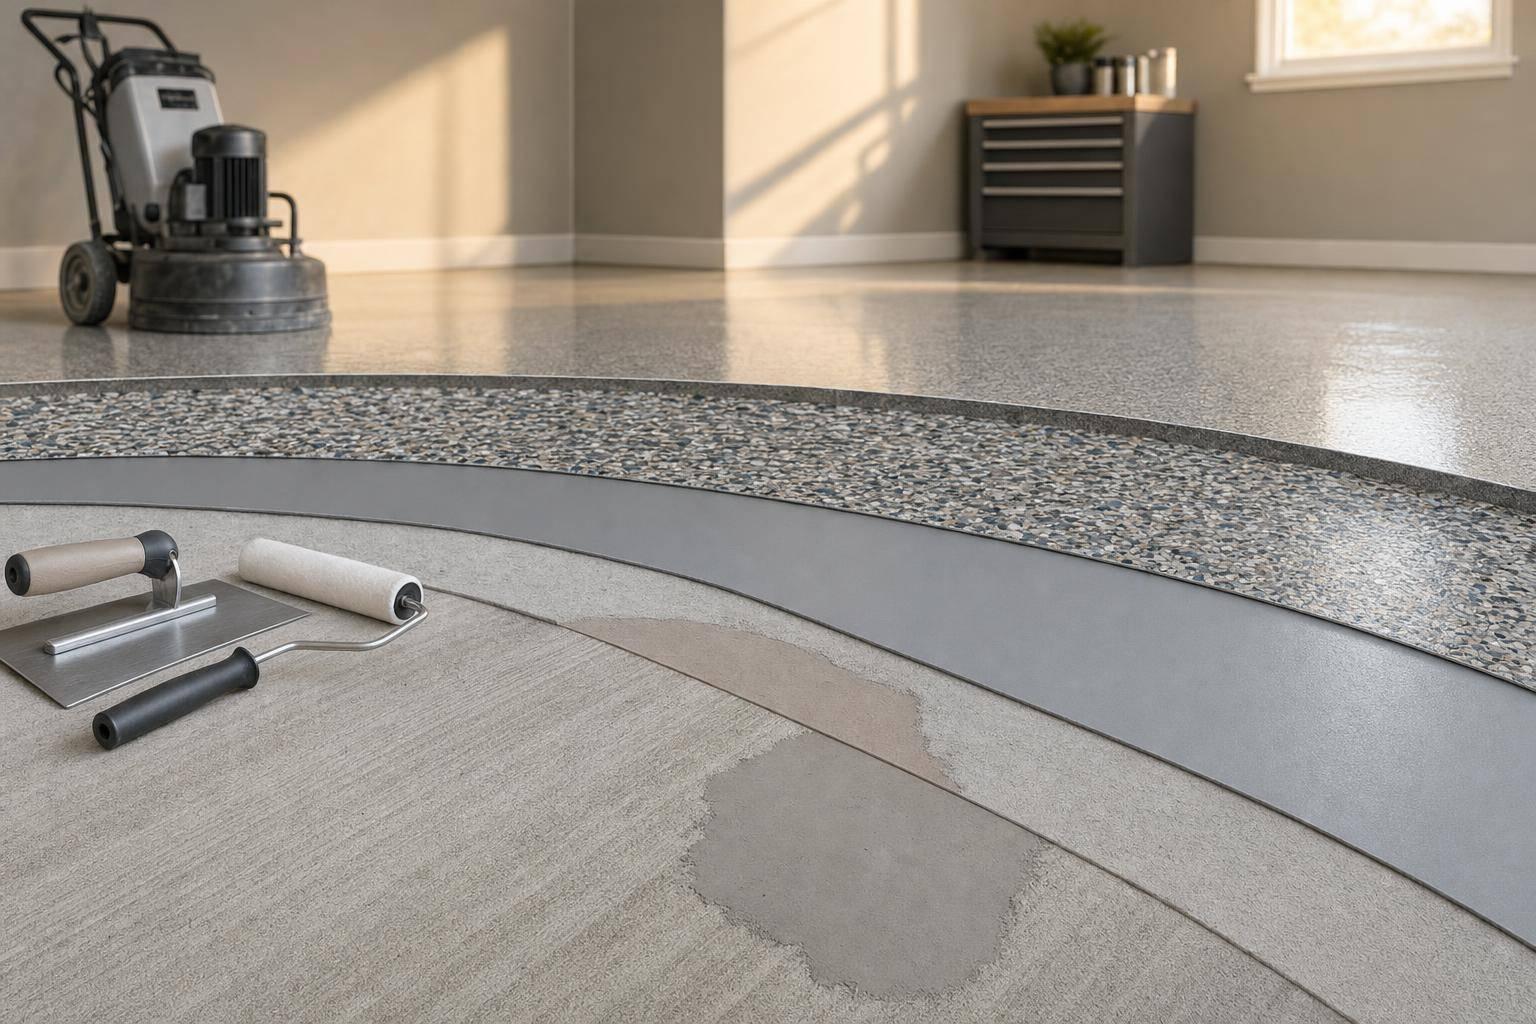
Once the slab is clean and dry, mechanical prep isn’t optional. Grinding or shot blasting opens the concrete surface so the coating can bond the way it should.
Cold concrete tends to hold moisture longer, which is why moisture testing matters even more during a winter install. Frozen water can crack or spall porous concrete. Test the slab before mixing the coating. If the readings come back too high, keep heating the space and wait to start until conditions are in range.
Warm the Coating Materials Before Application
Cold resin gets thicker and harder to spread. When temperatures drop, materials may not flow evenly. They can also cure unevenly or turn cloudy, which shortens the working window and makes cure timing harder to predict.
Store components at 70–80°F for at least 24 hours before installation. Warmed materials react with more consistency and give installers a steadier working window. Don’t pull materials from an unheated truck or storage unit and mix them right away. Cold material can lead to poor flow and a weak bond.
With the slab prepped and the materials warmed, the crew then has a short winter window to get the install done right.
How Pros Plan and Run Winter Polyurea Installs
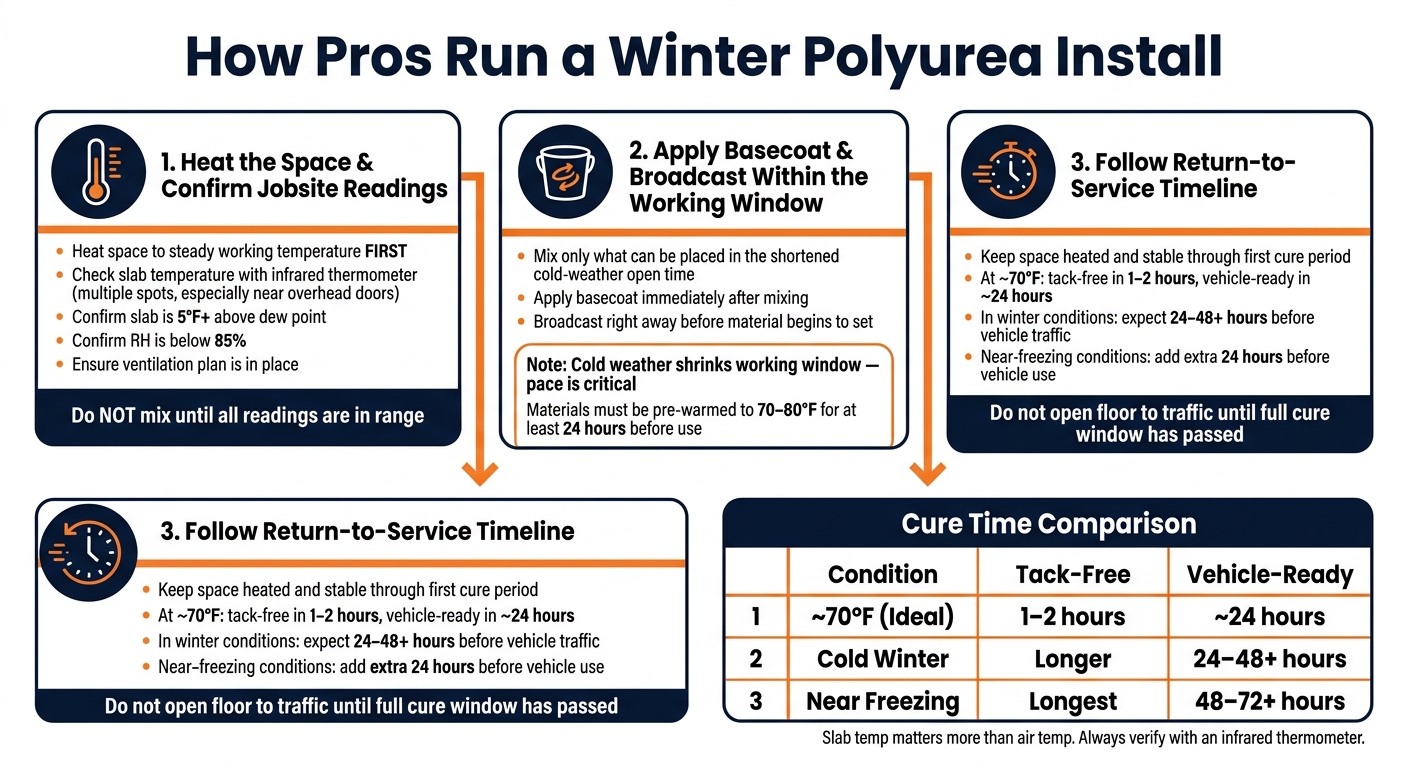
Winter Polyurea Install: Step-by-Step Process & Cure Timeline
Once the slab is in range and the materials are warm, winter installs turn into a tightly managed sequence. The crew gets the space stable, checks conditions, applies the coating within a short working window, and leaves extra room in the schedule before the floor goes back into use.
Step 1: Heat the Space and Confirm Jobsite Readings
First, heat the space to a steady working temperature. Then check the slab temperature and moisture readings before mixing anything. That order matters. If the room temperature swings around, the slab can lag behind, and that can throw off the install.
Ventilation also needs a plan from the start, especially when heating equipment is running inside an enclosed workspace. The goal is simple: keep exhaust and added moisture out of the space.
Once conditions are steady, crews move right into mixing.
Step 2: Apply the Basecoat and Broadcast Within the Working Window
Cold weather shrinks the open time, so crews have to work with less margin for delay. Mix only what can be placed within that shorter window. Then apply the basecoat and broadcast right away, before the material starts to set.
This is the part where pace matters most. If the crew waits too long, the coating can start to tighten up, and that makes even coverage harder to get.
After broadcast, the focus changes. It’s no longer about placement speed. It’s about protecting the polyurea curing process.
Step 3: Follow the Right Return-to-Service Timeline
Even if the space is heated and the materials were warmed ahead of time, homeowners and businesses should still expect a more cautious timeline before using the floor again. Keep the space steady through the first cure period before reopening it to traffic.
That timing matters even more when the floor needs to go back into service on schedule.
What Cold-Region Homeowners and Businesses Should Expect
Even after the coating goes down, winter keeps putting the floor to work. The first freeze-thaw cycles are often the first big test.
Why Freeze-Thaw Cycles and Road Salt Raise the Stakes
Winter freeze-thaw cycles put concrete under stress. Water gets into the slab, expands when it freezes, and then contracts when it thaws. Over time, that can lead to more cracking and spalling. And once the surface starts breaking down, it becomes harder to get a strong bond. It also becomes more likely to keep cracking or spalling.
Road salt and de-icers add another problem. They can leave behind residue and pull moisture from the air, which may get in the way of bonding.
That’s where polyurea has an edge. Its flexibility helps it move with the concrete as temperatures swing through freeze and thaw. It also holds up better around salt exposure.
How Croc Coatings Handles Winter Installs

Croc Coatings serves North Idaho and Eastern Washington – including Coeur d’Alene, Post Falls, Spokane, and the Tri-Cities – using the Penntek Evolution coating system. For winter jobs, the team pre-warms materials to about 70°F before arrival.
That’s why winter installs depend on jobsite readings, not just the time of year. The crew uses infrared thermometers to check slab temperature in several spots, especially near overhead doors, where the concrete is often coldest. One-day installs are still the target. But when conditions get close to freezing, vehicle traffic may need to wait an extra 24 hours.
Those checks help the coating make it through the first cold snap.
Conclusion: Key Rules for Faster, Safer Winter Cures
Winter installs work best when slab temperature, moisture, and dew point are kept in range, and the floor gets its full cure time before traffic comes back.
FAQs
How can I tell if my concrete slab is too cold to coat?
Check both the air temperature and the concrete surface temperature before you start. Polyurea works best between 50°F and 90°F. If the temperature drops below 50°F, the cure time slows down, and that can lead to weak adhesion or even coating failure.
You’ll also want to make sure the slab is free of frost, ice, and extra moisture. In cold weather, pros usually check that moisture levels stay below 8%.
What happens if polyurea is applied to a damp slab?
Applying polyurea to a damp slab can lead to adhesion failure. That can show up as blistering, delamination, or peeling. The reason is simple: moisture trapped under the coating creates hydrostatic or vapor pressure, which pushes the polyurea away from the concrete.
There’s another issue too. If the slab temperature is within 3°F of the dew point, even a thin layer of surface moisture can stop the coating from bonding the way it should.
Croc Coatings requires moisture levels below 8%, checks dryness through testing, and makes sure the surface is free of frost or ice.
Can a winter polyurea install still be done in one day?
Yes. A winter polyurea installation can still be done in one day. Croc Coatings usually handles prep, repairs, and coating in 6 to 10 hours.
Cold weather can slow curing a bit, but pro installers use climate control and time the job for the warmest part of the day so the Penntek Evolution system cures the way it should. In most cases, the floor is ready for foot traffic in 6 hours and for vehicles in 24 hours.