How to Turn a Cluttered Garage Into a Functional Budget Workshop
A garage can become one of the most valuable spaces on a property – or one of the most frustrating. For many homeowners, it starts as storage overflow and slowly becomes too dark, too crowded, and too inconvenient to use well. That was the central challenge in this garage transformation: poor lighting, water concerns, no real organization, and barely enough room to move.
What makes this project worth paying attention to is not the premium tool chest reveal at the end. It’s the practical sequence behind the makeover. The real lesson is that a usable workshop doesn’t begin with expensive gear. It begins with lighting, access, cleanup, storage, and problem-solving.
For homeowners and small property owners in places like Coeur d’Alene, Hayden, Post Falls, Spokane, and the Tri-Cities, that’s an important distinction. In regions where garages often double as workshops, gear storage, utility zones, and seasonal catch-all spaces, a smart setup can improve both daily function and property appeal.
sbb-itb-a0e5ae3
Why This Garage Makeover Works
The video follows a clear problem-to-solution arc:
- The garage is hard to use
- Basic infrastructure gets fixed first
- Clutter is removed before storage is redesigned
- Vertical space is used to reclaim floor area
- Tools and supplies are given permanent homes
- The garage shifts from "dumping ground" to usable room
That sequence matters. Too many garage makeovers fail because people buy cabinets, shelves, or floor coatings before solving the issues that actually make the space unpleasant.
In this case, the biggest wins came from simple fundamentals, not luxury upgrades.
Key Takeaways
- Start with lighting first. Better visibility changes how the entire garage feels and functions.
- Clear everything out before organizing. You can’t design a good layout around hidden clutter.
- Fix moisture issues before investing in finishes or storage. Water intrusion can ruin tools, shelving, and flooring.
- Use overhead and wall space aggressively. Bikes, wheels, and seasonal items don’t belong on the floor if vertical storage is available.
- Create zones for specific uses. Separate tools, detailing products, lifting equipment, and bulky gear.
- Budget solutions can work well if they solve a real problem and are installed safely.
- A garage should feel like an extension of the home, not a forgotten utility box.
- The most important upgrade isn’t more stuff – it’s better workflow.
Step 1: Fix the Lighting Before Anything Else
The first major issue was obvious: the garage was too dark to work in comfortably. That may sound cosmetic, but poor lighting creates a cascade of problems:
- You miss dirt, leaks, and damage
- Tools become harder to find
- Tasks take longer
- The space feels smaller and more chaotic
- Safety drops, especially when cutting, lifting, or repairing
The project replaced an older single fixture with modular hex-style LED lighting. The immediate effect was dramatic. The garage looked larger, cleaner, and more usable.
What homeowners can learn from this
You do not need trendy lights specifically. What you need is:
- Even light distribution
- Brightness suitable for detailed work
- Coverage across the whole garage, not just the center
- Reliable electrical installation
The video makes the lights look like a bargain win, but it also includes an important caution: the setup reportedly blew a fuse. That’s a reminder that ultra-cheap imported lighting can be hit or miss.
If you’re planning a garage upgrade for a home or small commercial space, ask:
- Is the fixture rated properly?
- Can the circuit handle the load?
- Is the product certified for your region?
- Will the installation be safe long-term?
For readers in North Idaho and Eastern Washington, where garages often see cold weather, moisture shifts, and year-round use, dependable lighting matters more than visual trend appeal.
Step 2: Empty the Space Completely
After the lights came the least glamorous part of the project: pulling everything out.
That step is often skipped because it’s tedious. But in reality, full removal is what reveals the true condition of the garage. Once everything was cleared, the project uncovered forgotten tools, bulky items, contaminated areas, rodent evidence, and layout limitations that weren’t obvious before.
Why total reset beats "organizing around the mess"
When you empty a garage fully, you can finally answer useful questions:
- What do you actually use?
- What is taking up room with no purpose?
- What belongs elsewhere?
- What needs repair before storage goes back in?
- Where are the moisture, pest, or access problems?
For workshop conversions, this is also where workflow starts. A garage is not just storage – it’s a sequence of movement. You need room to enter, unload, work, clean, and put things away without constant shuffling.
Step 3: Solve Functional Problems Before Aesthetic Ones
One of the smartest parts of the transformation was the attention to small annoyances that affect daily use.
The garage door would not stay open, so a simple homemade stop was created from scrap wood. It was a budget fix, but the principle is bigger than the project itself: if something fights you every time you use the garage, fix that before buying décor or accessories.
The same applies to pests and debris. Evidence of mice or rats had to be cleaned up, and stored bird feed appeared to be part of the issue.
The broader workshop lesson
Before you think about finishes, ask whether your garage has:
- Door problems
- Pest entry points
- Damp corners
- Poor ventilation
- Unsafe floor clutter
- Tripping hazards
- Difficult access to frequently used items
These issues lower the value of every other upgrade.
Step 4: Investigate Moisture Before It Becomes Expensive
Water intrusion through the wall was one of the most important issues mentioned. Interestingly, the fix was not a dramatic reconstruction. Once the area was cleared, improved drainage seemed to reduce the problem.
That’s a useful reminder: some garage moisture problems are made worse by blocked airflow, stacked materials, or exterior drainage issues, not just structural failure.
Why this matters for Inland Northwest garages
In Coeur d’Alene, Spokane, and the Tri-Cities region, garages often deal with:
- Snow and ice melt
- Wind-driven rain
- Irrigation overspray
- Poor grading
- Trapped moisture behind stored materials
Before installing shelving, floor coatings, cabinets, or workshop benches, inspect for:
- Damp masonry
- Staining along lower walls
- Musty odor
- Rust on stored metal items
- Efflorescence on concrete or block
- Pooled water after storms
If moisture is active, deal with that first. Otherwise, organization systems may simply hide the problem until it gets worse.
Step 5: Reclaim the Floor With Vertical Storage
One of the most effective changes in the garage was moving bikes and loose wheels off the ground and onto rafters or hooks. That instantly improved walkability.
This is a classic workshop principle: floor space is premium space.
Every item left on the ground competes with:
- Parking
- Workbench movement
- Tool access
- Cleaning
- Safety
- Visual clarity
Smart vertical storage priorities
Items that are used less often or have awkward shapes are good candidates for hanging or elevated storage:
- Bicycles
- Spare wheels
- Seasonal equipment
- Long-handled tools
- Hoses and cords
- Sporting gear
The video uses low-cost hooks and improvised protection for hanging components. While the exact methods may not be ideal for every setup, the strategy is solid: put bulky items overhead or against the perimeter.
For homeowners who want a cleaner, more durable garage long-term, vertical storage also pairs well with upgraded floor systems. A garage floor is easier to clean, maintain, and show off when equipment is not scattered across it.
Step 6: Build Around Zones, Not Random Shelves
Once the space was cleared and major items were rehung, shelving was repopulated with more intention. Detailing supplies, tools, lifting gear, and larger items were grouped rather than piled.
That is the difference between storage and organization.
A strong garage layout usually includes zones like:
Work zone
A bench or toolbox area for repairs, assembly, and tool access
Storage zone
Bins, shelves, and labeled containers for backup supplies and infrequently used items
Vehicle support zone
Jacks, stands, fluids, tire tools, and wash/detailing products
Overhead zone
Bikes, wheels, seasonal items, and low-frequency gear
Entry zone
A clear path from the garage door to the interior door or key work area
The video doesn’t present a formal design system, but it naturally moves in this direction. That’s why the finished garage feels so different. The change is not just visual; it’s operational.
The Big Toolbox Is Exciting – But It’s Not the Main Lesson
The featured premium toolbox and matching tool organization system are clearly a dramatic moment in the makeover. It creates a polished "dream workshop" effect and gives the garage a centerpiece.
But for readers looking for practical value, it’s important to separate the aspirational reveal from the transferable lessons.
The creator openly acknowledges that this level of tool setup is not realistic for everyone. That honesty helps. Because if you remove the high-end chest from the story, the garage still improves significantly due to:
- Better lighting
- Less clutter
- Improved storage
- Better door function
- Moisture awareness
- Dedicated placement for equipment
- Cleaner floor area
That’s the real budget workshop formula.
A great workspace is not defined by owning every tool. It’s defined by whether you can find what you need, move safely, work comfortably, and clean up easily.
What This Means for Homeowners Planning Garage Upgrades
This kind of workshop transformation highlights something property owners often underestimate: garages are not just utility spaces. They affect lifestyle, maintenance habits, and even resale impressions.
A bright, organized garage can make it easier to:
- Maintain vehicles
- Store equipment without damage
- Complete home improvement projects
- Keep seasonal items protected
- Reduce stress from clutter
- Improve the feel of the whole property
And once the layout is working, many owners start thinking about surfaces too – especially the floor.
Where flooring fits into the bigger picture
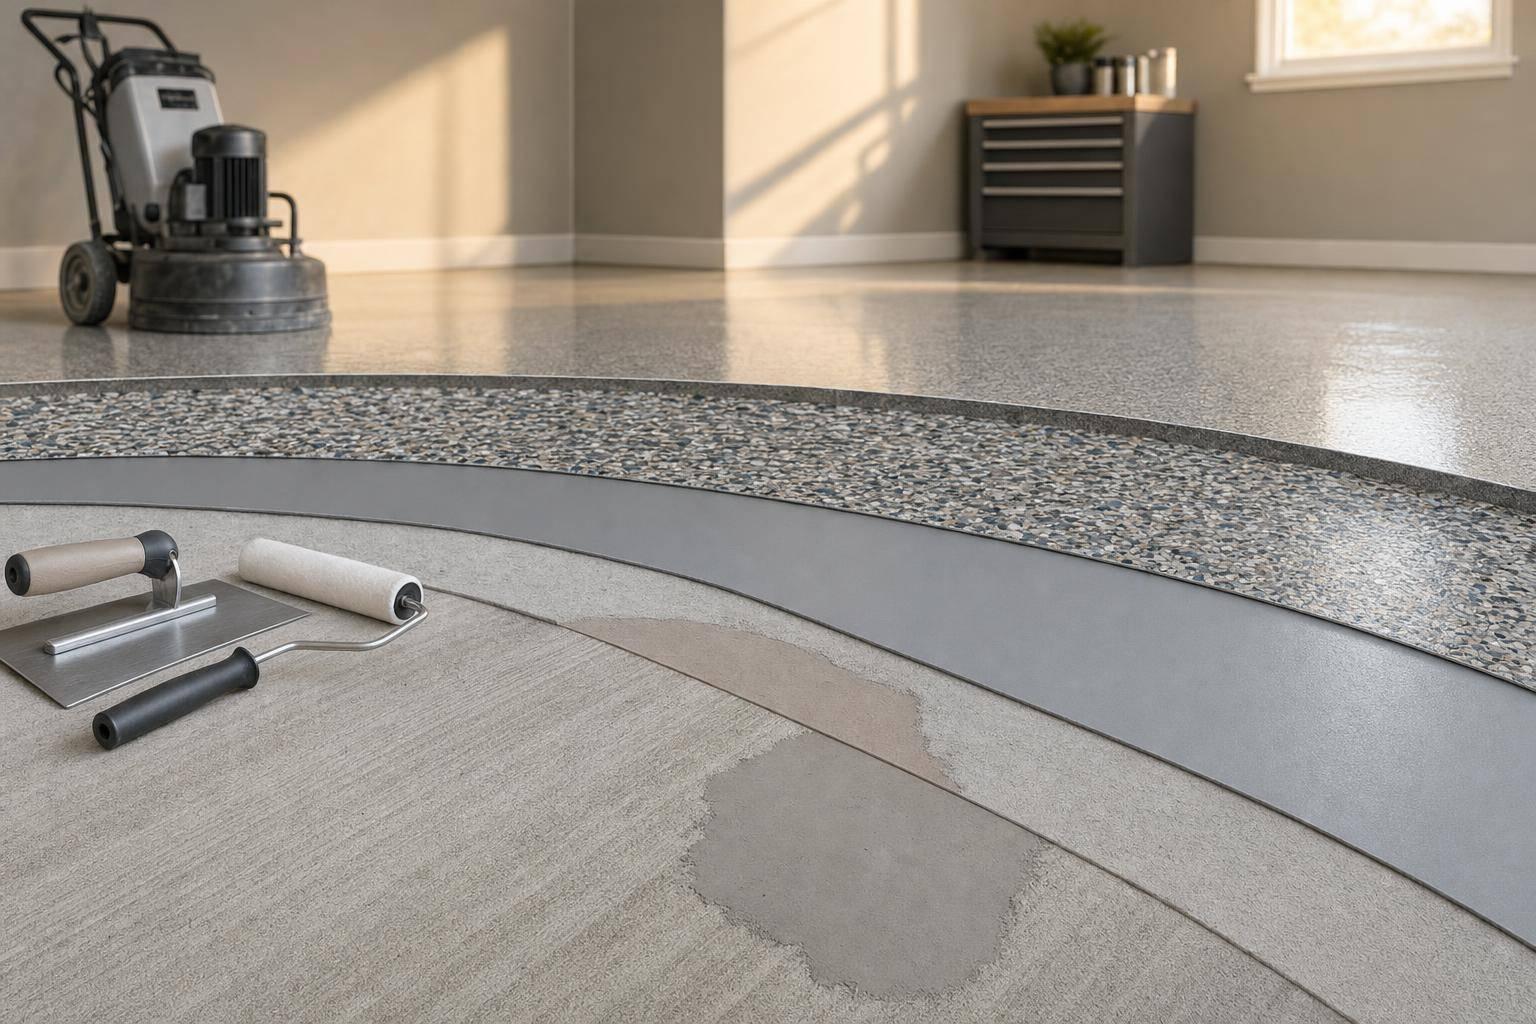
The video focuses more on organization than floor renovation, but the final result points to a natural next step. Once a garage is bright, clean, and better arranged, the condition of the floor stands out more.
For homeowners in markets like Spokane, Coeur d’Alene, Hayden, Post Falls, Richland, Kennewick, and Pasco, durable garage floor upgrades are often a logical follow-up because they can help:
- Resist stains from automotive fluids
- Improve cleanability
- Brighten the room by reflecting light
- Reduce dust from raw concrete
- Support a more finished workshop look
- Hold up better to regular use
That said, floor upgrades should come after moisture and layout issues are addressed, not before.
A Practical Order of Operations for Your Own Budget Workshop
If you want to replicate the useful parts of this transformation, here’s the smartest sequence:
1. Assess the real problems
Identify lighting, moisture, clutter, pests, access issues, and electrical limitations.
2. Empty the garage fully
Sort items into keep, relocate, donate, discard, and repair.
3. Clean and inspect
Sweep, vacuum, and look for cracks, dampness, damage, and rodent evidence.
4. Upgrade lighting
Focus on coverage, brightness, and safe installation.
5. Fix operational annoyances
Door problems, blocked access, unstable storage, and unsafe floor clutter come next.
6. Use wall and ceiling space
Move large, awkward items out of the walking and working area.
7. Rebuild with zones
Place tools and supplies based on frequency of use and task type.
8. Improve surfaces later
Once the garage works better, consider flooring, cabinetry, or finish upgrades.
Final Thoughts
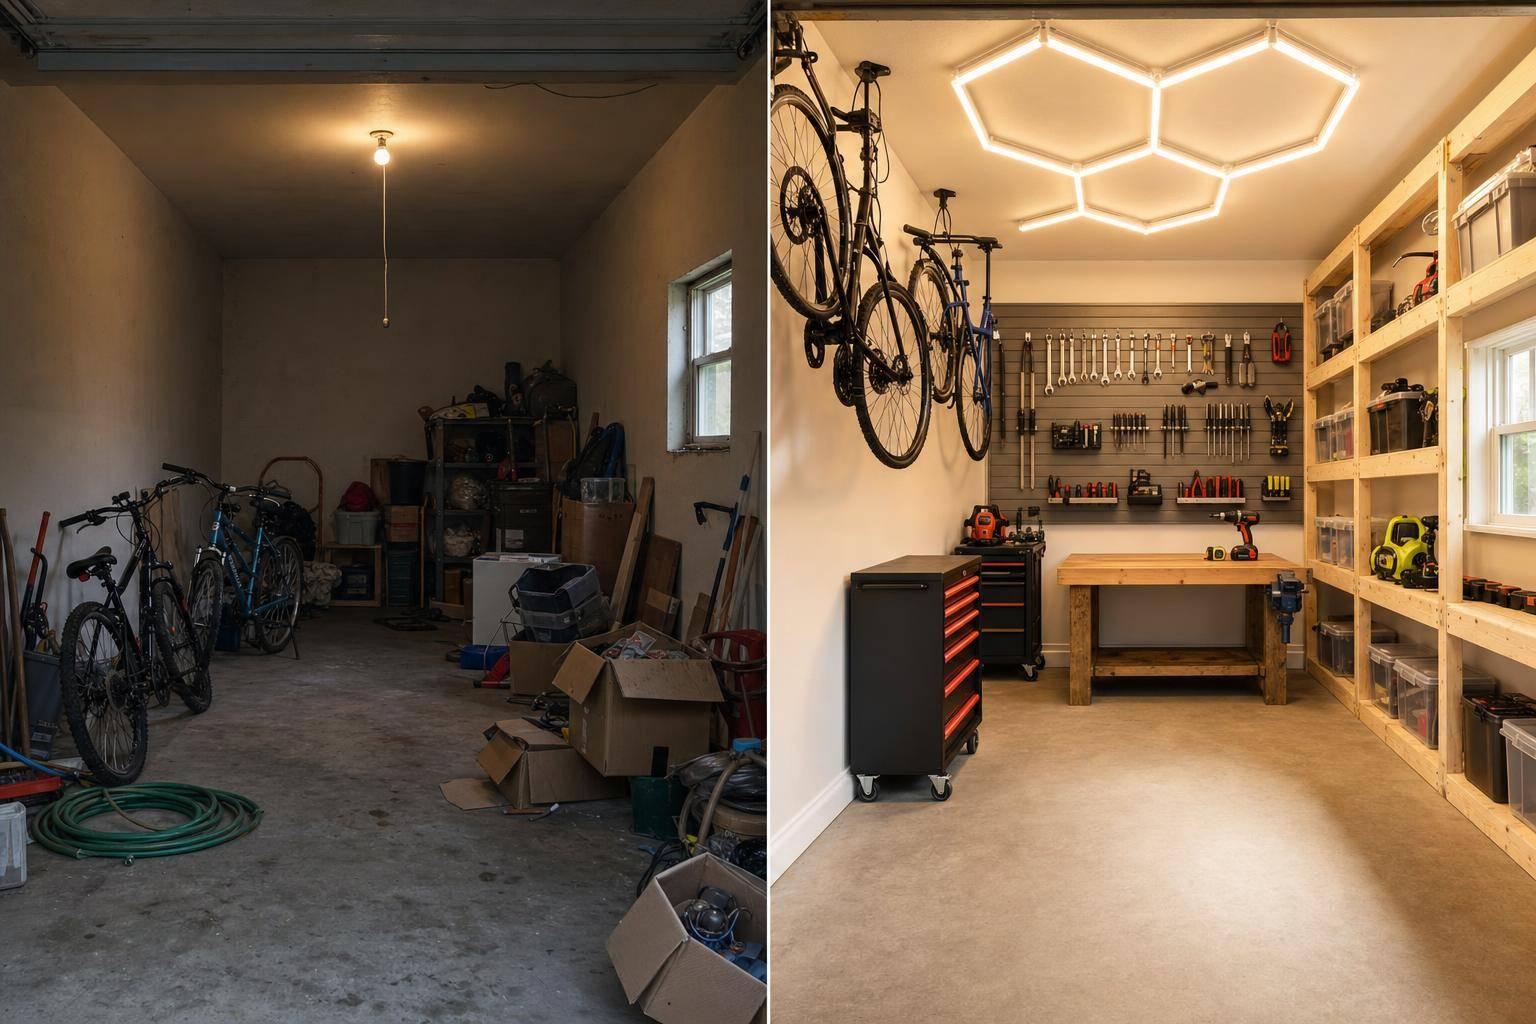
The most compelling part of this garage transformation is not the dramatic before-and-after image. It’s the reminder that budget-friendly workshops are built through priorities, not perfection.
The garage in the video started with familiar problems: dim light, too much clutter, awkward storage, water concerns, and poor usability. By tackling those fundamentals in the right order, the space became functional, brighter, and far more satisfying to use.
For homeowners and small business owners in North Idaho and Eastern Washington, that’s the real takeaway. Whether you’re maintaining vehicles, storing gear, or creating a serious work area, the best garage upgrades are the ones that make the space easier to use every single day.
A dream workshop doesn’t have to start with expensive products. It starts with a clear floor, good light, dry walls, and a layout that finally makes sense.
Source: "Turning My Garage Into a DREAM Workshop On A BUDGET" – Josh Sanderson, YouTube, Apr 28, 2026 – https://www.youtube.com/watch?v=rTzLHWG78FA