If concrete prep is wrong, the coating can fail early. The short version is simple: I look at surface profile first, then moisture, then film thickness, and I write each result down.
Here’s the article in plain English:
- Concrete surface profile (CSP) is the roughness left after prep.
- The ICRI scale has 10 levels, from CSP 1 to CSP 10.
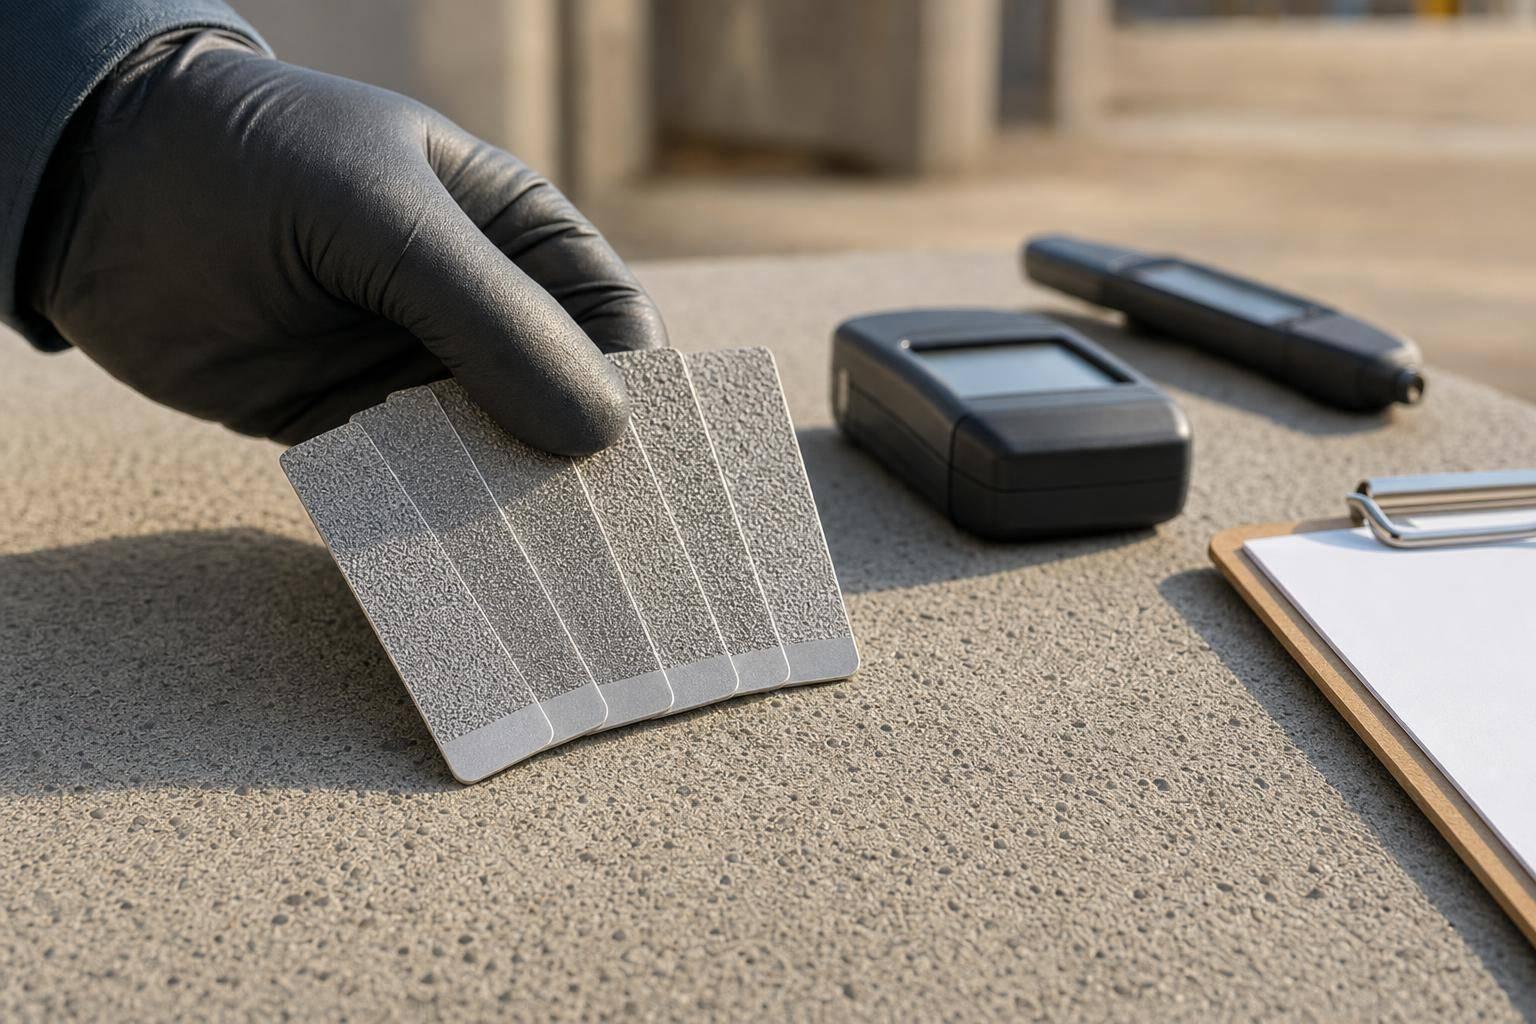
- ICRI CSP chips help me compare the slab to the target texture on site.
- ASTM D7682 lets me record the profile with replica putty and a measured reading.
- ASTM D4259 covers mechanical abrasion used to prep the concrete.
- ASTM D4263 checks for moisture before coating.
- ASTM D6132 checks dry film thickness after the coating is installed.
- A surface does not pass just because it feels rough. It needs to be uniform, match the product’s CSP range, and be logged for the job file and warranty file.
A few points matter most:
- Too smooth can lead to peeling or loss of bond.
- Too rough can use more coating and leave an uneven finish.
- Edges, corners, and repairs need to match the main field.
- Written records help show what the slab was like before the coating went down.
How To: Concrete Surface Profile Creation
sbb-itb-a0e5ae3
Quick comparison
| Standard / Tool | Main use | When I use it |
|---|---|---|
| ICRI CSP chips | Visual profile match | After prep, on site |
| ASTM D7682 | Measured profile record | When I need written proof |
| ASTM D4259 | Surface abrasion prep | Before coating |
| ASTM D4263 | Moisture check | Before coating |
| ASTM D6132 | Dry film thickness check | After coating |
Put another way: the job is to prep the slab, match the target CSP, test concrete moisture, and document everything. That is the core point of the full article.
The Main ASTM Standards for Concrete Surface Profile
These ASTM standards make surface prep repeatable. The basic flow is simple: match the target CSP, prep the slab, then record the result. Here are the ASTM tools that turn CSP from a general idea into something crews can check on-site.
ICRI CSP Chips and ASTM D7682 for Profile Measurement
ICRI CSP chips are physical reference samples that show the 10 roughness levels on the CSP scale. Installers and inspectors use them as a shared visual guide to match the prepared concrete to the intended profile.
ASTM D7682 measures that profile directly. It uses replica putty pressed into the concrete surface to capture the actual texture. That replica can then be compared to the CSP chips in Method A or measured with a micrometer in Method B, which gives the project a measurable record of the profile.
Used together, these tools give inspectors both a field check and a documented measurement for the project file.
ASTM D4259 for Surface Abrasion and Prep
ASTM D4259 covers abrading concrete to remove weak surface material and roughen the slab so a coating can bond more reliably. Put simply, it strips away weak material and leaves the slab ready for coating, with the bond going to sound concrete instead of a weak top layer.
After prep, moisture and film thickness still need separate checks.
Related ASTM Standards That Support Coating Success
Two related checks support the process even though they do not measure profile: ASTM D4263 checks for moisture, and ASTM D6132 verifies dry film thickness.
They handle the rest of the workflow without taking the place of profile testing. In other words, they help protect the prep work that came before it.
| Standard / Tool | What It Does | Where It Fits |
|---|---|---|
| ICRI CSP chips | Visual comparison of surface roughness | Sets the target profile on-site |
| ASTM D7682 | Replica putty method for profile measurement | Creates a permanent, measurable record |
| ASTM D4259 | Mechanical abrasion of concrete | Prepares the surface before coating |
| ASTM D4263 | Plastic sheet moisture test | Checks for moisture risk before application |
| ASTM D6132 | Dry film thickness measurement | Verifies coating thickness after installation |
How Inspectors and Installers Use These Methods on the Job
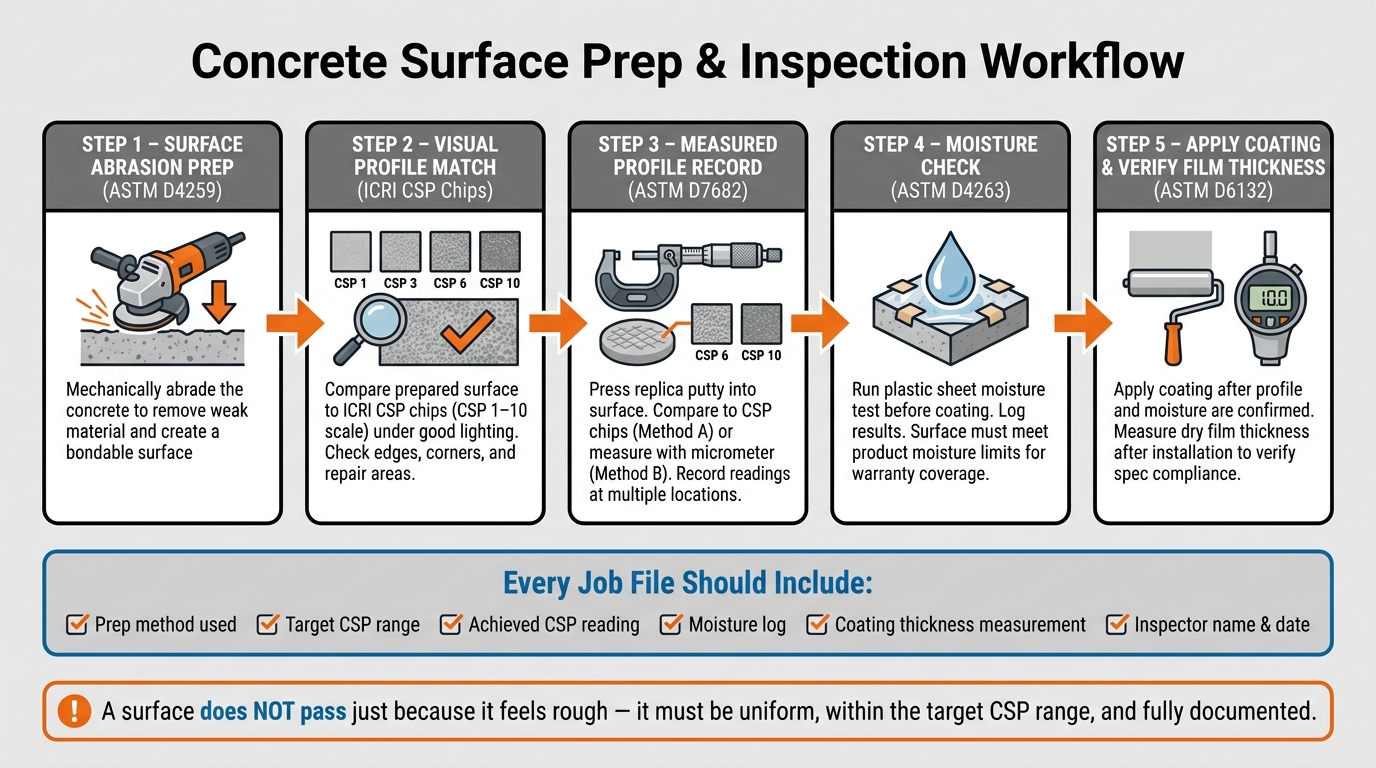
Concrete Surface Prep Workflow: ASTM Standards Step by Step
On the job site, CSP chips and ASTM D7682 turn a target profile into a hands-on check and a written record. That’s how an ASTM profile requirement moves off the spec sheet and onto the slab. Once the target CSP is set, inspectors and installers use it to make sure the floor is ready before any coating goes down.
A Simple Inspection Workflow from Prep to Documentation
After surface prep is done, the installer compares the slab to the target profile with ICRI CSP chips under good lighting. When the spec calls for written proof, ASTM D7682 replica putty is used to take recorded readings at multiple spots, including transition zones, edges, and repair areas.
Once the profile checks out, the next step is moisture testing. Only after that does the surface get approved for coating. The record should include the date, test area, prep method, target range, measured result, moisture check, and inspector name.
That sequence matters. A slab doesn’t pass just because it feels rough to the touch.
What a Passable Surface Looks Like to an Inspector
A passable surface is uniform, not just rough. Inspectors check for even texture across the whole area, with no glossy patches and no smooth spots near edges, corners, or repaired sections. Those edges, corners, and repaired areas need to match the texture of the main field. The surface also has to fit the product’s required CSP range, not just some general idea of roughness.
If the reading falls outside the target, the crew adjusts the prep before coating starts.
How Installers Correct an Off-Target Profile
If the profile comes out too smooth after the first pass, crews can step up to a more aggressive abrasive, make extra passes, or run the blast process longer until the surface hits the target profile. The aim isn’t the roughest surface possible. It’s the profile the coating system calls for.
Too much profile can cause problems too. It can make even coating thickness harder to get, increase material use, and leave a finish that looks uneven. When that happens, installers may dial back the prep method, switch to a finer abrasive, or patch overprofiled spots before moving ahead. Whatever fix they use, it gets written into the project record so the documentation matches the finished floor.
Why Documented Testing Supports Performance and Warranty Value
How Test Records Support Long-Term Coating Performance
Once the surface profile is measured, the next step is simple: was it documented well enough to prove what happened later? A written record does what a visual check can’t. It links the achieved profile and supporting checks to a specific date, which gives you a baseline if the floor fails down the road.
That becomes a big deal when peeling, blistering, or early wear show up months or years later. Documented CSP and moisture data can show whether the slab met the coating system’s requirements on day one.
Most product data sheets also set moisture limits for warranty coverage. If those readings were never written down, it’s much harder to prove the install met the rules.
That’s why the profile record matters just as much as the profile itself.
Why Documentation Matters for Warranties and Project Files
ASTM D7682 can help with later warranty disputes, which is why it belongs in both quality control records and warranty files.
A solid project file should include:
- The prep method
- The target and achieved CSP
- Moisture logs
- Coating thickness
Those records support warranty claims and give owners a clean file to look back on later.
How This Applies to Croc Coatings Projects

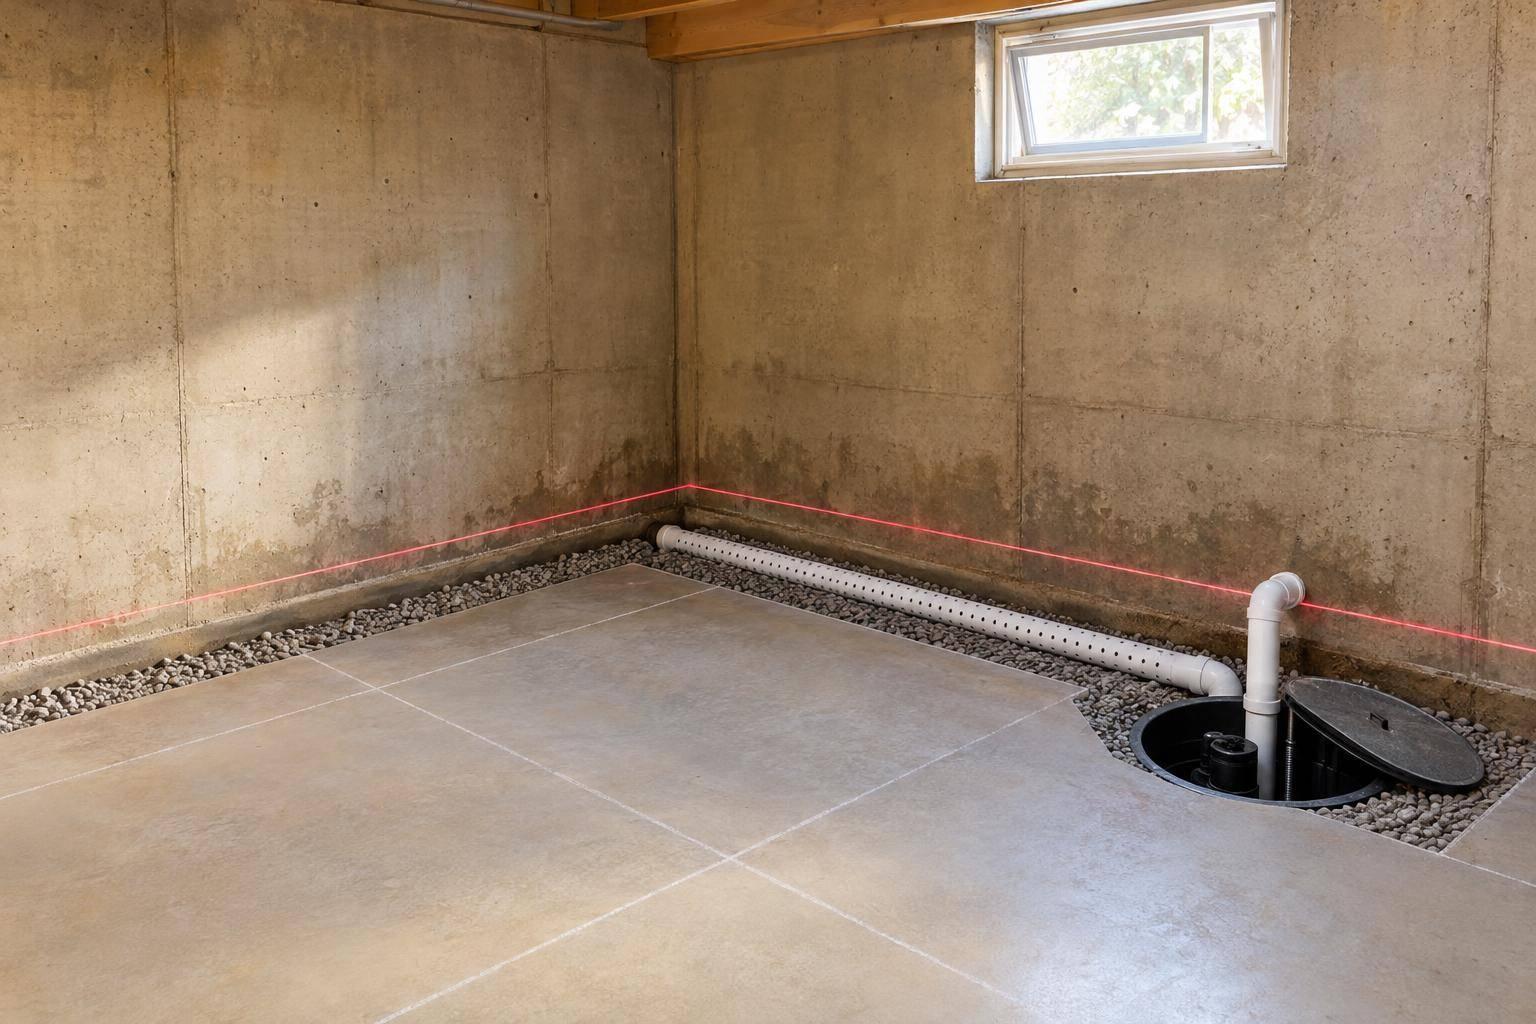
The same approach carries over to day-to-day jobs. For Croc Coatings projects in North Idaho and Eastern Washington, the same ASTM and ICRI checks are used for garage floors, patios, pool decks, basements, and commercial floors. Documented prep, moisture, and thickness readings help support the lifetime warranty.
Conclusion: The ASTM Methods That Matter Most
The main takeaway is simple: inspect concrete before coating to check the profile, confirm moisture, and document the result. ICRI CSP chips, ASTM D7682, and ASTM D4259 cover the core profile and prep checks: compare the surface, record the texture, and make sure the slab is sound and ready to bond.
Profile checks come first. Moisture and thickness finish the job. ASTM D4263 checks for moisture before coating, and ASTM D6132 confirms dry film thickness after installation.
Measure the profile, verify the slab, then record the result. Taken together, these methods turn surface prep into a documented standard instead of a judgment call. That gives owners and installers a measurable, repeatable basis for performance and warranty records.
FAQs
What CSP does my coating need?
The right Concrete Surface Profile (CSP) comes down to your coating type and how thick it goes on.
Here’s the simple version: thin sealers usually need a smoother surface, around CSP 1–3. Thicker, high-build systems need more texture to grip, so they often call for CSP 5–9. For many residential floors, CSP 2–4 tends to be a good fit.
That said, don’t guess. Always check the coating manufacturer’s technical data sheet. The target profile can change from one system to the next. For example, the Penntek Evolution system used by Croc Coatings calls for CSP 4–6.
How many test spots should be checked?
Check several areas across the surface because texture can change from the center out to the edges.
For small residential jobs, checking a few spots is usually enough. On larger installations, you’ll need a more structured method, like a measurement grid. In every case, document each check with photos and measurements so you can confirm the required surface profile for coating adhesion and warranty.
What records should I keep for warranty?
To protect your lifetime warranty, keep clear records of surface prep and jobsite conditions. Write down the project address, application date, concrete age, prep method, equipment used, and both the target and actual Concrete Surface Profile (CSP) readings.
You’ll also want to log ambient air and slab temperature, relative humidity, dew point, and moisture test results. On top of that, save high-resolution, date-stamped photos of the full area, close-up shots with a scale for reference, and before-and-after images of any sections that had to be reworked.