Moisture is one of the top causes of concrete coating failures, even when the floor looks dry. In many cases, the slab still holds high internal moisture, vapor pushes up through the concrete, and the coating loses its bond.
If I had to sum this up in plain English, it would be this:
- Dry-looking concrete can still be too wet to coat
- Internal RH above about 75%–85% can be a problem for many systems
- Epoxy is often the first coating to fail when moisture is high
- ASTM F2170 and ASTM F1869 are the main tests used before coating
- Fixing moisture issues first can prevent peeling, blistering, and rework
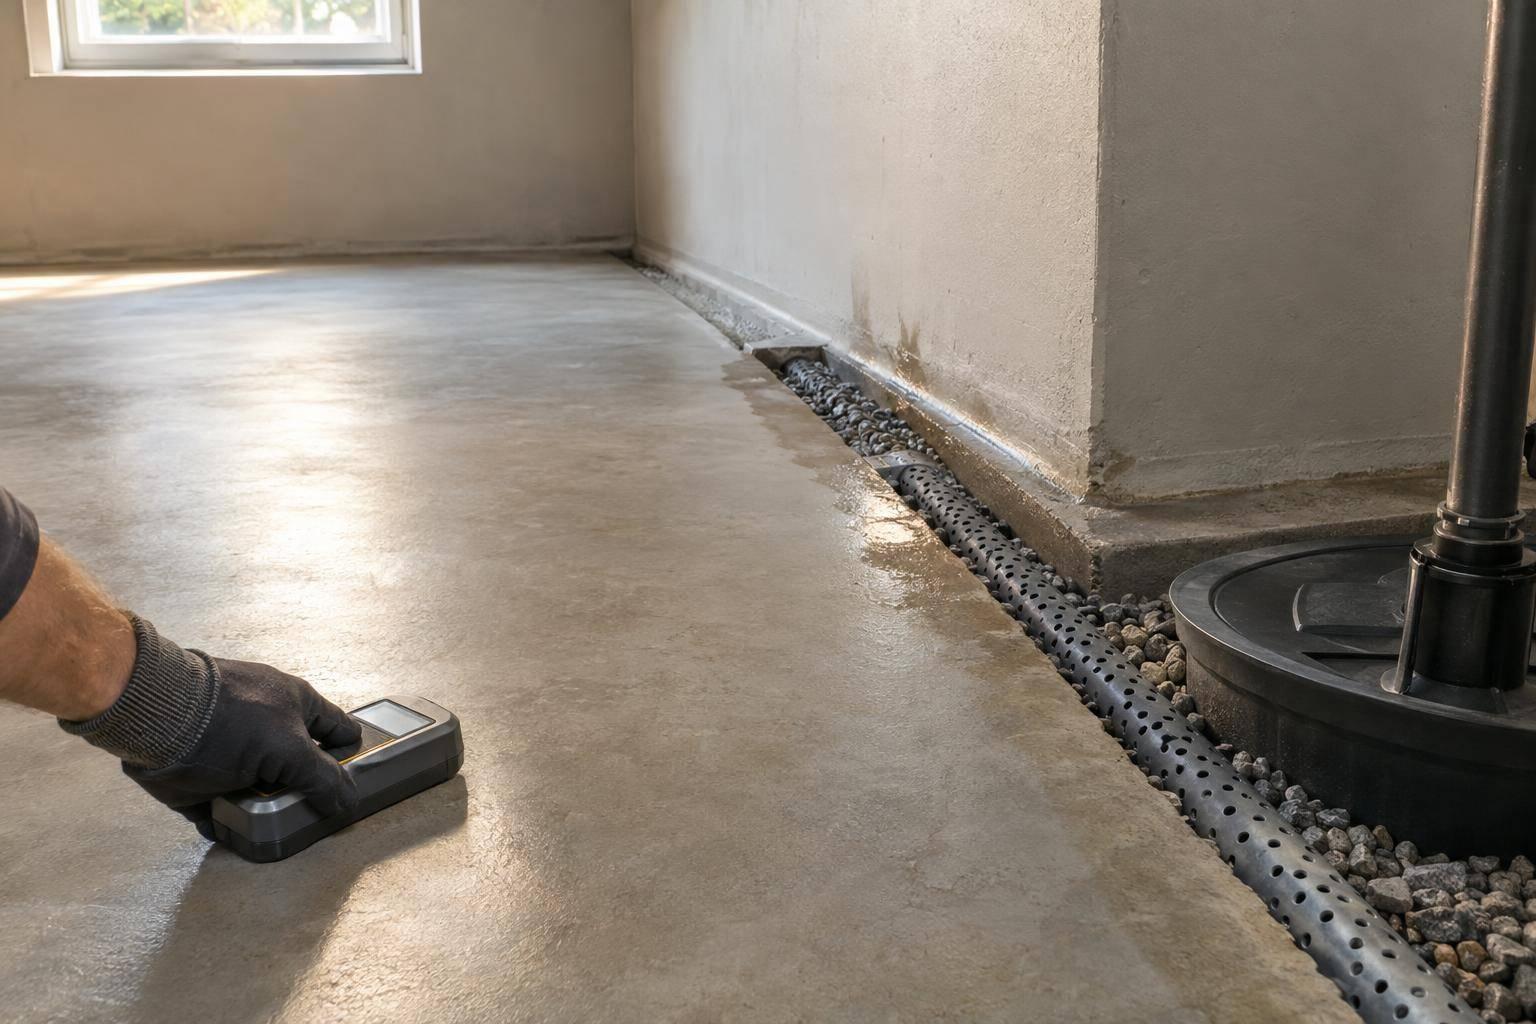
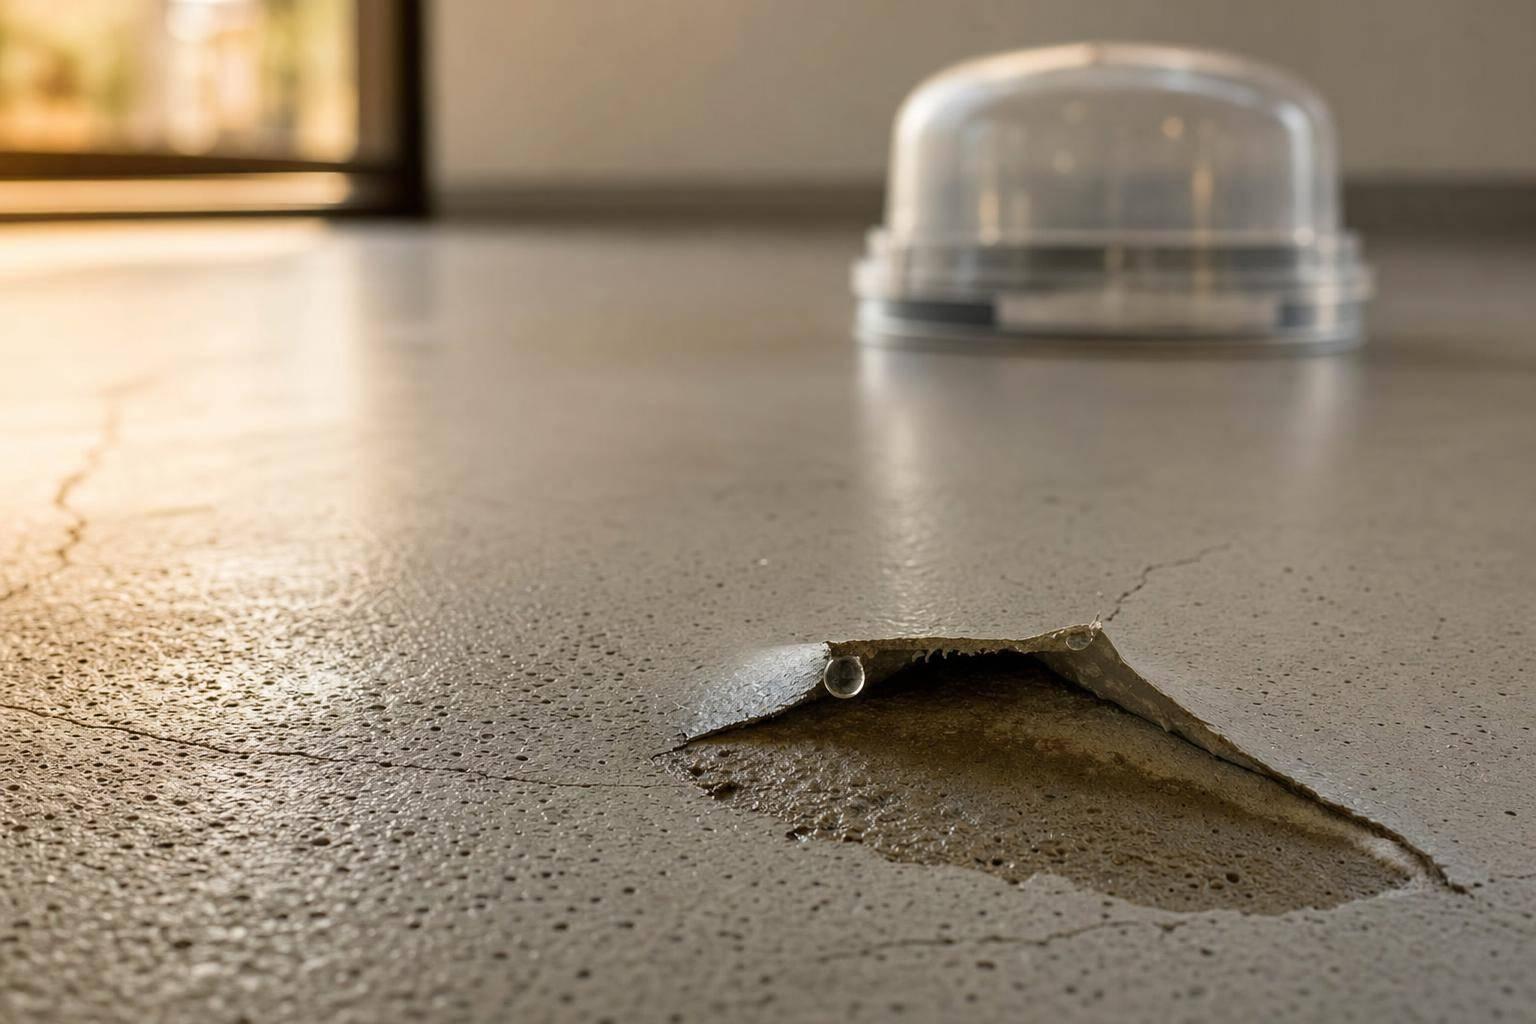
Moisture can come from the ground below the slab, trapped water inside the concrete, poor drainage, snowmelt, basement water pressure, leaks, or humid indoor air. That moisture can lead to blistering, delamination, efflorescence, mold below the coating, and low pull-off strength.
A few numbers stand out:
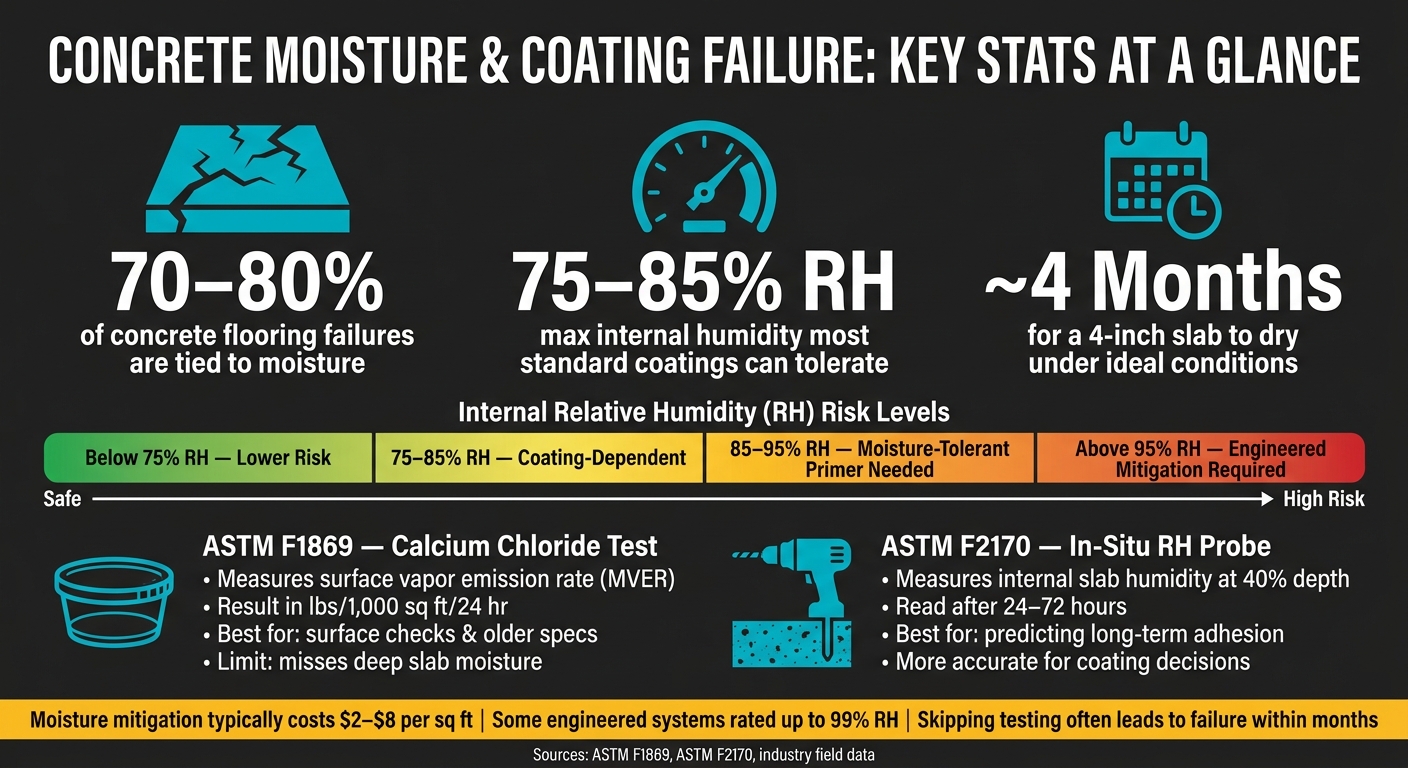
- Moisture is tied to 70%–80% of concrete flooring failures
- Many standard coatings need about 75%–85% RH or less
- Some moisture-control systems can handle up to 90%–99% RH
- A 4-inch slab may need about 4 months to dry under good conditions
- Moisture mitigation often costs about $2 to $8 per sq. ft.
Concrete Moisture & Coating Failure: Key Stats at a Glance
What Happens When Moisture Gets Into My Concrete?
sbb-itb-a0e5ae3
Quick Comparison
| Topic | What you need to know |
|---|---|
| Main problem | Vapor moves up through concrete and pushes against the coating bond |
| Common warning sign | The slab looks dry, but internal moisture is still high |
| Common failures | Blisters, peeling, hollow spots, soft areas, white salt deposits |
| High-risk areas | Basements, garages, shops, patios, and older slabs without a vapor barrier |
| Best test for long-term risk | ASTM F2170 in-situ RH testing |
| Surface-only test | ASTM F1869 calcium chloride |
| When to wait or mitigate | When test results are above the coating maker’s limit |
| If liquid water is active | Fix drainage, leaks, or water pressure before coating |
So before I coat a concrete floor, I’d want two things: moisture testing and a plan that matches the slab’s actual condition, not just how the surface looks.
How Moisture Moves Through Concrete and Causes Coating Failure
Concrete has tiny capillaries that move moisture vapor from the soil or from deep inside the slab up to the surface. That movement is driven by vapor pressure differences and temperature shifts. Once a coating traps that moisture at the surface, the pressure starts to work against the bond.
Concrete also dries from the top down. So a slab can look dry on the surface while the core still holds a lot of moisture. That’s where trouble starts. If you apply a low-permeability coating like epoxy, you shut off the slab’s main escape path. Vapor still moves upward, pressure builds at the coating interface, and the bond can fail over time.
Hydrostatic pressure is a different, but related, issue. It happens when liquid water is physically forced through the slab, often because of a high water table or poor drainage outside the building. This shows up most often in below-grade spaces like basements. The exact source of that pressure depends on the building, making it vital to test for hydrostatic pressure before proceeding.
Main Moisture Sources in U.S. Homes and Small Commercial Buildings
In basements, moisture usually comes from groundwater and capillary rise, especially when there’s no underslab vapor barrier. On-grade garage and shop floors deal with a different set of problems. Seasonal snowmelt and bad exterior drainage can soak the soil around the foundation and add pressure beneath the slab.
Indoor humidity can make things worse. Many garages and shops are unconditioned, with no HVAC to control temperature and moisture. That makes them more prone to vapor drive when the slab temperature and the air above it pull in different directions. In plain terms, a floor can seem dry and still be set up for failure.
What Research Shows About How Coatings Fail
Once moisture gets to the coating interface, a few failure modes can kick in.
- Salt-driven blistering is the most common. Water-soluble salts in the concrete create a gradient that pulls moisture toward the bond line, which forms pressurized bubbles under the coating.
- Moisture also carries alkaline compounds to the surface, pushing pH levels to 12 to 14. At that level, the resin at the bond line starts to break down. This is called alkaline bond breakdown, and it can lead to peeling or soft spots in the coating.
Research also gives a useful way to think about internal RH risk levels:
- Below 75% RH: usually lower risk
- 75% to 85% RH: depends on the coating system
- 85% to 95% RH: often calls for moisture-tolerant primers or mitigation
- Above 95% RH: typically calls for engineered moisture mitigation
What Studies and Field Data Show About Adhesion and Long-Term Durability
Field data backs up what slab tests sometimes miss: moisture can wreck adhesion long after a floor seems cured. A slab may look dry, pass a quick visual check, and still fail months after the coating is installed. When internal RH stays high, vapor pressure can climb past the bond strength and break the coating free. In moisture-affected slabs, pull-off strength can fall well below the ≥200 psi mark needed for jobsite performance.
Once moisture reaches the bond line, the damage can be both obvious and hidden. You might see surface defects first. Or the coating may stay in place for a while, with delamination building underneath until the floor starts to lift.
Common Defects Linked to Excess Slab Moisture
These failures tend to show up in a few familiar ways. Osmotic blistering creates pressurized domes as salts pull moisture toward the bond line. Delamination forms large unbonded areas that may not show up until a tap test finds hollow spots or the coating cracks under load. Efflorescence leaves white salt deposits on the surface. In below-grade spaces, trapped dampness can also support mold and mildew below the coating interface.
How Different Coating Types Hold Up Under Moisture Exposure
Choosing between polyaspartic vs epoxy depends on chemistry, which plays a big role in how much moisture a system can handle, and that shows up over time.
| Coating Type | Moisture Sensitivity During Installation | Typical Failure Mode | Moisture Durability |
|---|---|---|---|
| Standard Epoxy | High; generally requires <75–85% RH | Osmotic blistering, delamination, saponification | Non-breathable; most susceptible to alkaline attack at the bond line at pH >10 |
| Polyurea | Moderate to High | Outgassing, bubbles, pinholes | Sensitive to humidity and precise mix ratios during the application window |
| Polyaspartic | Moderate | Inter-coat delamination if recoat window is missed | High UV stability; requires strict adherence to moisture limits |
| Engineered industrial systems | Low (engineered) | Mechanical bond failure if prep is poor | Designed for higher moisture tolerance than standard systems |
That’s why moisture testing needs to happen before any coating goes down.
How to Test Concrete Moisture Before Installing a Coating
A slab can look dry and still hold enough moisture to wreck a coating. And when that happens, the failure usually starts right at the bond line. That’s why moisture testing needs to happen before installation, not after problems show up. Standard tests give you measured slab moisture data before you coat.
ASTM F1869 and ASTM F2170: What They Are and How They Work
ASTM F1869 is the calcium chloride test. A calcium chloride dish sits on the slab surface and absorbs moisture vapor. The result is reported as pounds of moisture per 1,000 square feet per 24 hours (lbs/1,000 sq ft/24 hr). Since it reads vapor leaving the surface, it only shows what’s happening in the slab’s near-surface zone.
ASTM F2170 checks deeper moisture. Probes are placed at 40% of slab depth and read after 24–72 hours to record internal relative humidity (RH). Because this test measures moisture inside the slab, it usually does a better job of showing how the coating is likely to perform over time.
These tests don’t just tell you whether moisture is there. They also help determine which coating system makes sense and when installation should happen. Both standards require at least 3 test locations for the first 1,000 sq ft, plus 1 more location for every 1,000 sq ft after that.
What Each Test Can and Cannot Tell You
The difference is pretty simple: F1869 measures surface vapor loss, while F2170 measures internal slab moisture.
| Test Method | What It Measures | Type | Main Limitation | Best Use Case |
|---|---|---|---|---|
| Calcium Chloride (ASTM F1869) | Moisture vapor emission rate (MVER) | Quantitative | Surface-only; misses deep moisture; sensitive to ambient conditions | Older specs; surface checks |
| In-Situ RH Probes (ASTM F2170) | Internal slab humidity | Quantitative | Requires drilling and equilibration | Predicting long-term coating adhesion |
Plastic-sheet checks and electronic meters can help screen trouble spots, but they shouldn’t be used as the main basis for installation decisions.
Accepted Moisture Ranges and When to Delay Installation
Most coating specs call for 3–5 lbs/1,000 sq ft/24 hr or 75%–85% RH, depending on the system. The coating manufacturer’s published specs always come first. Some engineered systems are rated for up to 90%–95% RH.
Timing matters too. A standard 4-inch slab needs roughly one month per inch under ideal drying conditions. So if your numbers come back high, the next move is usually to wait for more drying or install a moisture mitigation system, which often runs $2–$8 per sq ft depending on conditions.
If there’s active water intrusion or hydrostatic pressure forcing liquid water through the slab, that issue has to be fixed before any coating or mitigation system goes down. A basement, garage, patio, and shop don’t all deal with moisture the same way, so the right plan depends on the space.
Action Steps for Basement, Garage, Patio, and Shop Floors
Once testing shows high moisture, the next move is picking the right fix for that space. Basements, garages, patios, and shop floors don’t all deal with moisture the same way. Some slabs pull in vapor from below. Others get hit by drainage problems, leaks, or day-to-day humidity. The best fix depends on where that moisture is coming from.
When Moisture Mitigation Is Needed Before Coating
If your ASTM test results come back above the manufacturer’s published limit, you usually have two options: let the slab dry longer or install a moisture-blocking primer before the finish coat. That primer is a specialized epoxy primer made to reduce vapor transmission.
For slabs with high moisture, many installers use engineered systems built around high-solids epoxy primers. These systems can be used on high-moisture slabs up to 99% RH. That’s a big deal, especially in basements or work areas where moisture tends to linger.
But don’t jump straight to primer and hope for the best. External water issues need to be fixed first. That includes:
- poor site drainage
- plumbing leaks
- foundation water movement pushing moisture up through the slab
Those problems need attention before any primer or coating goes down. Testing conditions matter too. The HVAC should run under normal operating conditions for at least 48 hours before testing so the readings reflect how the space normally performs.
The Cost and Risk of Skipping Moisture Testing
Skipping testing can look like a money-saver at first. In practice, it often just moves the bill to the repair stage.
| Strategy | Relative Upfront Cost | Risk of Adhesion Failure | Likely Defect Types | Effect on Service Life |
|---|---|---|---|---|
| Skip Testing | $0 | Very High | common concrete coating defects like bubbling, peeling, and delamination | Significant reduction; often fails within months |
| Basic Screening (Meters/Visual) | Low | Moderate | Blistering, cloudy spots, localized peeling | Unpredictable; likely premature wear |
| ASTM Testing + Mitigation | Moderate to High | Low | Minimal if thresholds are met | Maximized; protects manufacturer warranty |
Most manufacturer warranties exclude moisture-related failures if there isn’t testing documentation. So if the coating fails, the cost of removal, surface prep, and reinstallation usually lands on the property owner.
Conclusion: Moisture Testing Protects Adhesion, Durability, and Project Value
Moisture testing and mitigation help protect adhesion, durability, and the money going into the project.
FAQs
Can concrete be too wet to coat even if it looks dry?
Yes. Concrete can be too wet to coat even when the surface looks dry.
Here’s the catch: concrete is porous. So moisture can stay inside the slab and slowly move up to the surface as vapor. When that happens, the vapor can build pressure under the coating and lead to blistering, peeling, or adhesion failure.
That’s why a dry-looking surface isn’t enough. ASTM-compliant relative humidity probes or calcium chloride tests can help confirm whether the moisture level is safe before coating.
Which moisture test is better before coating concrete?
The In-Situ Relative Humidity (RH) test (ASTM F2170) is widely seen as the gold standard for checking concrete moisture before coating.
Here’s why: it doesn’t just look at the surface.
Unlike surface-level tests, RH probes measure moisture deeper in the slab – usually at 40% of the slab’s thickness. That gives you a much clearer read on the moisture conditions that can affect long-term coating adhesion.
What should I do if my slab fails a moisture test?
If your slab fails a moisture test, don’t coat it yet. First, confirm the result with ASTM-standard testing. Also make sure the HVAC system was running and the jobsite conditions were stable before testing.
From there, you have two paths: give the slab more time to dry with proper ventilation and then test again, or apply a moisture-mitigation primer or vapor barrier to help prevent bubbling, blistering, delamination, and adhesion failure.