Garage Floor Epoxy Done Right: Why Prep Matters More Than the Coating
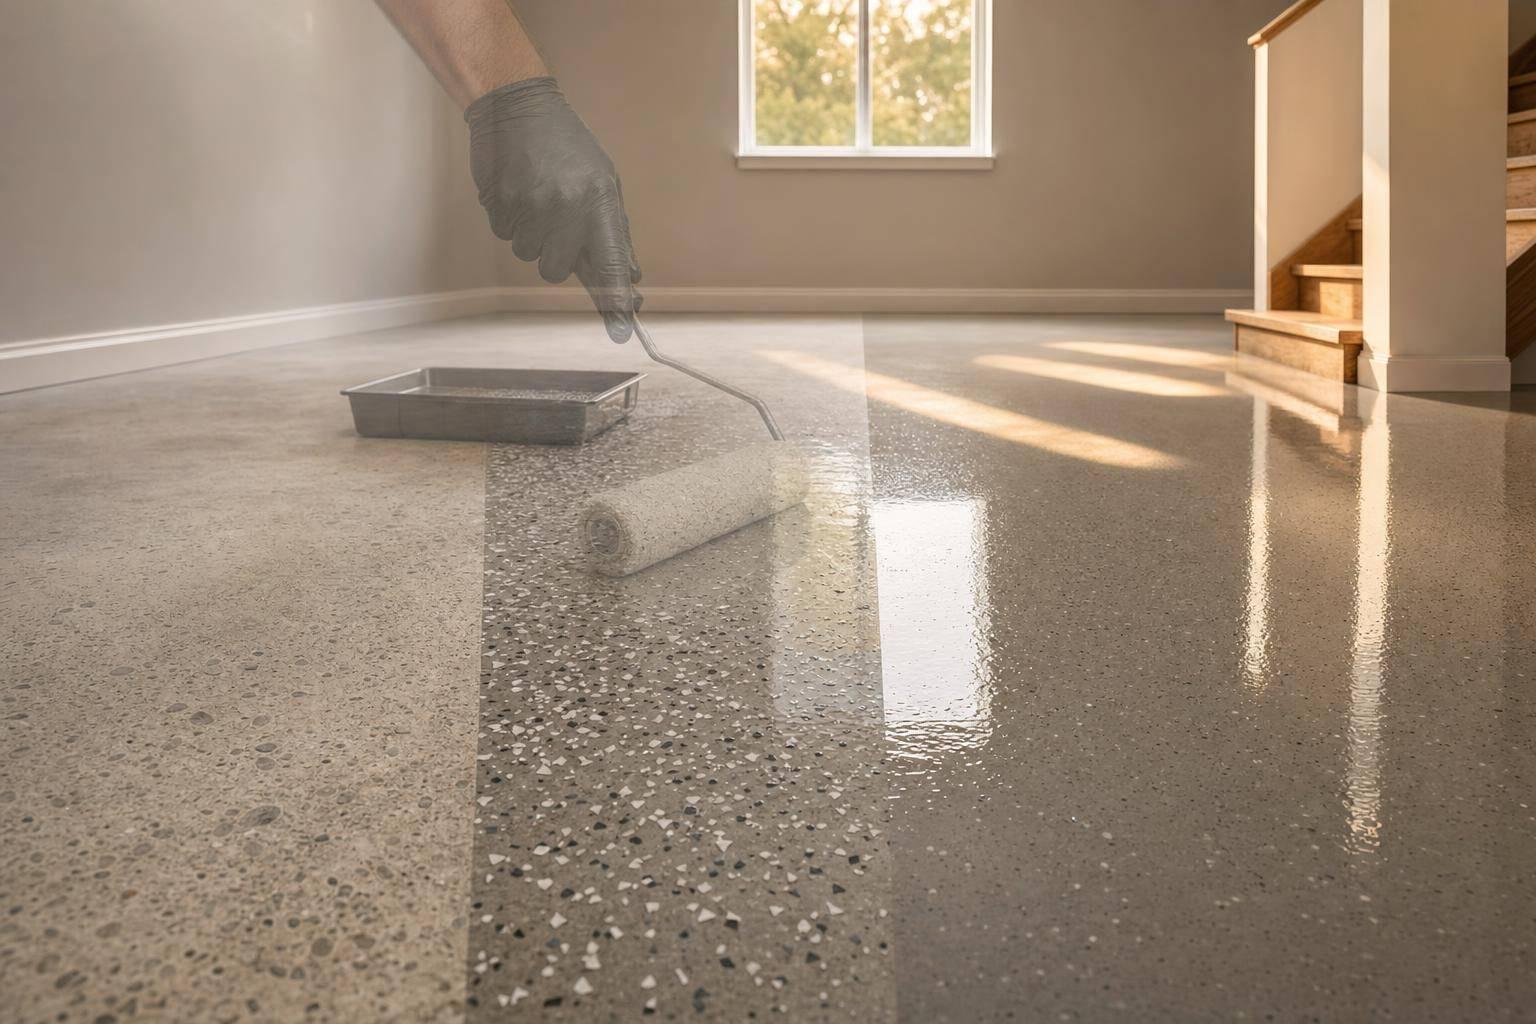
A garage floor epoxy project can make an ordinary concrete slab look cleaner, brighter, and far easier to maintain. For homeowners and property owners across North Idaho and Eastern Washington, that matters. Snow, road grit, moisture, tire wear, and everyday shop use can quickly expose the weaknesses in a poorly coated floor.
The video behind this guide makes one point especially clear: epoxy success is won during preparation, not during the final roll-out.
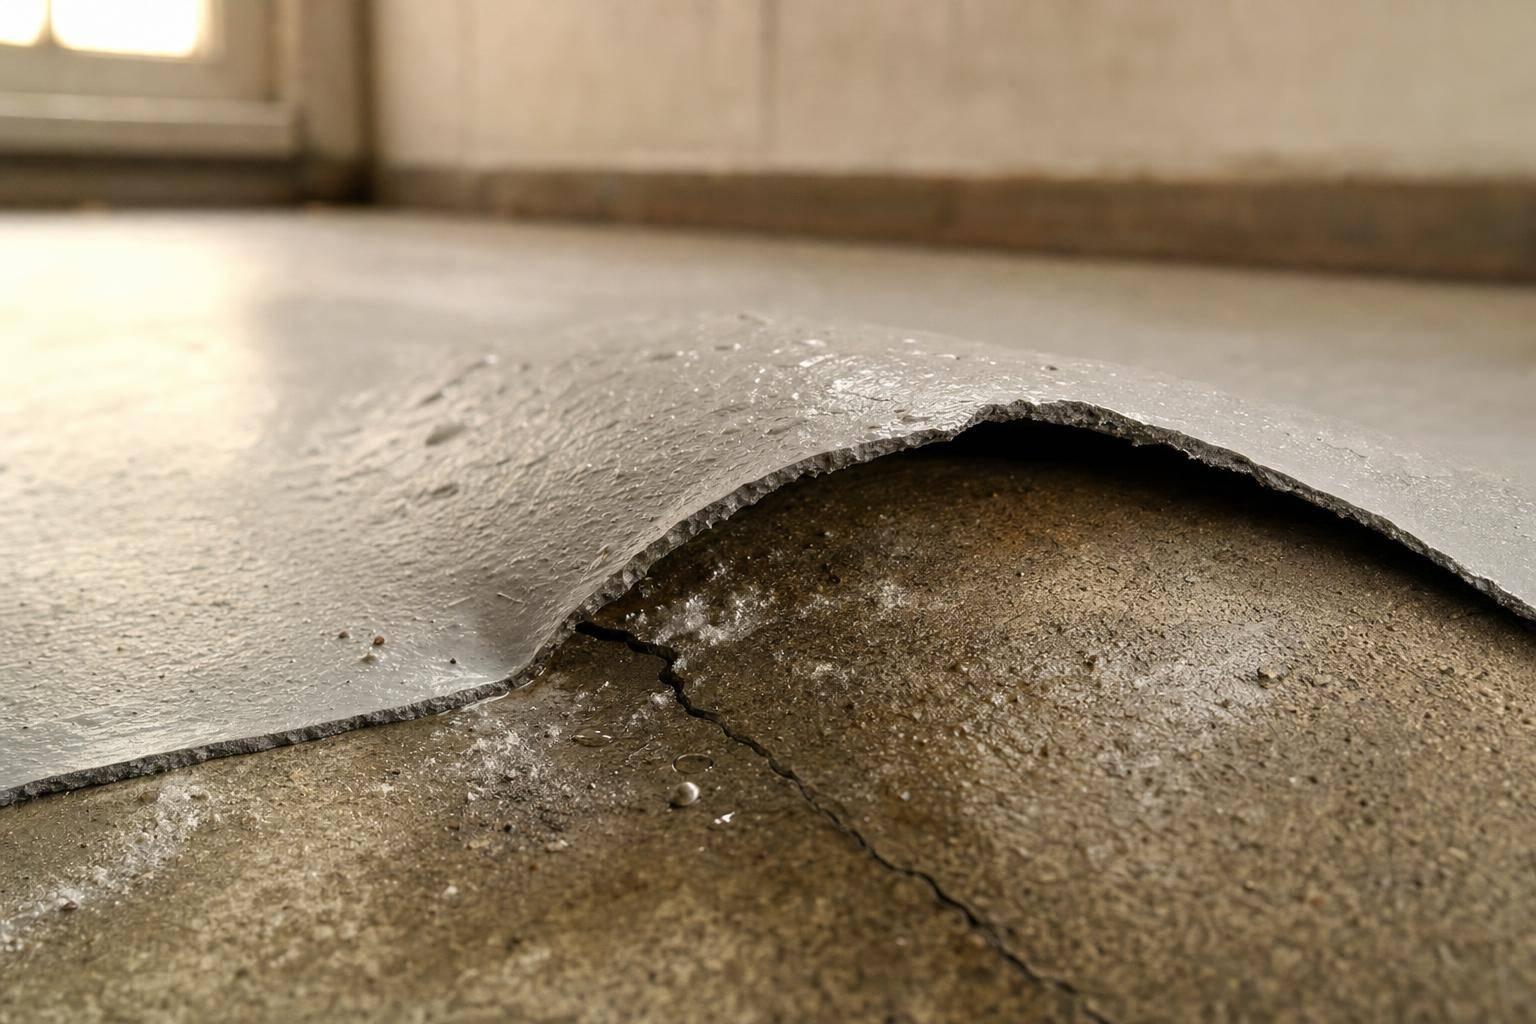
That’s the real lesson worth carrying forward. Applying epoxy is only one part of the job. The condition of the concrete, the amount of cleaning, the handling of cracks, and the choice to resurface, etch, or prime certain areas all determine whether the finished floor lasts or starts peeling early.
This article turns that process into a practical, professional framework you can use to evaluate your own garage, shop, or workspace floor.
sbb-itb-a0e5ae3
Key Takeaways
- Surface prep is the most important step in any epoxy floor project.
- Scrape off bumps, residue, flaking concrete, and contaminants before coating, or adhesion will suffer.
- Pressure washing removes deep dust and brittle material that sweeping alone will miss.
- Resurfacing damaged or porous concrete can improve epoxy bond and coverage.
- Cracks should be filled before coating, even small ones, to prevent weak spots.
- Porous, greasy, sealed, or damp areas may need extra treatment, such as priming or etching.
- Epoxy has a limited working time, so smaller batches are often easier to control.
- A squeegee can outperform a roller for spreading thick epoxy, especially on rough concrete.
- A topcoat is not optional if you want durability and flake retention.
- Always follow the manufacturer’s instructions, especially for cure time, mixing ratio, and traffic limits.
Step 1: Evaluate the Concrete Before You Buy Anything
One of the most useful insights from the video is that not every slab is equally ready for epoxy.
A garage floor with stains, pitting, flaking, old sealers, or moisture issues needs more than a quick cleaning. If you skip that assessment, you may underestimate both the labor and the material required.
Before starting, look for these conditions:
Signs your floor may need resurfacing
- Widespread pitting
- Surface spalling or chipping
- Rough, porous areas
- Shallow voids and uneven texture
- Sections where the concrete is breaking down
Signs you may need additional prep beyond resurfacing
- Grease that has soaked into the slab
- Shiny areas that may still be sealed
- Cracks or joints that need filling
- Moisture intrusion through the slab or perimeter
This matters because epoxy doesn’t hide concrete problems well. In fact, it often magnifies them. A glossy coating can make patched areas, pits, texture differences, and adhesion failures more visible.
For property owners in climates with seasonal moisture and freeze-thaw stress, this step is especially important. Concrete that looks merely "old" may also be weak at the surface.
Step 2: Remove Anything the Epoxy Can’t Bond To
The video emphasizes an unglamorous truth: epoxy won’t stick to dirt, residue, crusted spills, or loose concrete.
That means the prep phase starts with mechanical cleaning, not coating.
What should be removed first
- Sticky residue
- Hardened spills
- Paint drips or foreign material
- Loose or flaking concrete
- Raised ridges and surface imperfections
The methods shown are straightforward:
- A putty knife for softer residue
- A wire brush for hardened buildup
- A drill-mounted wire brush for tougher spots
The deeper principle is this: epoxy needs direct contact with sound concrete. Any layer between the coating and the slab becomes a failure point.
If your garage has seen years of vehicle leaks, fertilizer storage, workshop chemicals, or winter grime, assume more contamination than you can see.
Step 3: Clean Grease Aggressively – But Recognize Its Limits
Grease is one of the most common reasons epoxy fails in garages. The video notes that some grease can be scrubbed and blotted, but some stains remain because oil penetrates the pores of the concrete.
That distinction matters.
A dark stain is not automatically a problem if it is only cosmetic. But if the concrete is still contaminated beneath the surface, the coating may not adhere evenly.
Practical takeaway
If grease is embedded:
- Clean it as thoroughly as possible
- Assume the affected area may still be higher risk
- Consider priming if recommended by the coating system
The video’s advice here is cautious and realistic. Not every stain can be restored to bare, pristine concrete. What matters is reducing contamination as much as possible and identifying where extra bond support may be needed.
Step 4: Don’t Stop at Sweeping – Deep Clean the Pores
A broom can make a floor look clean. It cannot fully prepare it for epoxy.
One of the better procedural points in the video is the recommendation to pressure wash after scraping and sweeping. That step pulls dust and brittle debris out of pores and pockets that dry cleaning often leaves behind.
Why this matters
Concrete is porous. Dust trapped inside those pores can interfere with adhesion, especially if you are trying to coat a rough or weathered slab.
Pressure washing can:
- Remove fine debris embedded below the surface
- Expose weak concrete that needs removal
- Improve the cleanliness of the bonding surface
After washing, the floor may reveal gritty fragments that need to be swept away. That is not a bad sign. It often means weak surface material has finally been loosened and removed before it can compromise the coating.
Step 5: Resurfacing Can Improve Both Appearance and Coverage
A major theme in the video is that resurfacing damaged concrete can help epoxy perform better.
This is more than a cosmetic upgrade. On a rough, porous slab, epoxy can disappear into pits, leave uneven gloss, and struggle to cover consistently. A resurfacer helps create a more uniform substrate.
What resurfacing accomplishes
- Fills shallow pockets and surface imperfections
- Reduces excessive porosity
- Creates a more consistent base for coating
- Helps epoxy spread more predictably
The mixing guidance shown in the video is also useful: add water gradually and work toward a thick, smooth consistency rather than overwatering the mix.
That caution is important because cement-based repair materials are sensitive to water ratio. Too wet, and they may weaken or shrink more. Too dry, and they become harder to spread and bond.
Application principles that matter
- Lightly dampen the slab before applying resurfacer
- Keep the trowel workable and clean
- Push material into voids, not just over them
- Feather edges to blend into surrounding concrete
- Discard clumped or partially dried material
Even with careful troweling, thin resurfacing layers may not cure perfectly smooth. The video acknowledges this honestly, then follows with a smart next step: brushing down high spots after cure.
That post-cure refinement helps reduce edges, remove weak particles, and improve the final coating surface.
Step 6: Vacuuming After Dust Settles Is a Small Step With Big Payoff
After brushing a cured repair surface, dust settles again. The video recommends sweeping first, then vacuuming later once the fine dust has had time to settle.
This is easy to overlook, but it is one of the better details in the workflow.
Why vacuuming matters
Fine dust is often the last invisible contaminant before coating. If it remains on the floor, it can interfere with bond and create texture issues.
For best results:
- Sweep the larger debris
- Wait for dust to settle
- Vacuum thoroughly before applying fillers, primer, or epoxy
For a garage floor project, cleanliness is not just visual. It is structural.
Step 7: Fill Cracks Before They Print Through the Finish
The video recommends filling cracks and working the filler firmly into the void with a putty knife. It also notes that even small cracks are worth addressing.
That’s solid advice.
Cracks don’t just affect appearance. They can also:
- Create weak points in the coating
- Trap air
- Allow uneven epoxy thickness
- Telegraphed through decorative finishes
Good crack repair practice
- Clean out the crack first
- Force filler into the void
- Allow it to settle
- Apply a second pass if it shrinks back
The broader insight is that small defects tend to become obvious under glossy finishes. If your goal is a clean, durable floor, this is not the place to rush.
Step 8: Estimate Material Conservatively
The video warns against underbuying epoxy, especially because coverage depends heavily on concrete condition.
That’s one of the most practical budgeting points in the entire project.
Why rough floors use more epoxy
- Pores absorb material
- Texture increases surface area
- Patches and repairs create variation
- Inexperienced application can waste product
Even when resurfacing improves the slab, coverage can still be less than the maximum advertised yield.
For homeowners comparing DIY and professional installation, this is one of the hidden costs worth understanding. Material estimates on packaging are usually based on ideal conditions, not a weathered working garage.
Step 9: Mix Smaller Batches Than You Think You Need
The video shares an important lesson learned in real time: the stated working time for epoxy can feel much shorter when you’re actually spreading it.
That’s because epoxy application is not just about chemistry. It’s also about:
- Your speed
- Room temperature
- Floor condition
- Tool choice
- How quickly you can maintain a wet edge
Why smaller batches help
- Less stress during application
- Better control over spread rate
- Lower risk of material kicking off in the bucket
- Easier correction if the first section behaves differently than expected
The video suggests that mixing half a kit at once felt too aggressive, and that quarter-batches may have been more manageable. That’s a useful operational insight for anyone working alone or in a non-ideal layout.
Step 10: Tool Choice Can Make or Break the Application
One of the clearest value-adds in the video is the comparison between a roller and a squeegee for epoxy placement.
The takeaway: thick epoxy does not always behave like paint.
A roller may:
- Require more pressure than expected
- Absorb product
- Offer less control on rough or porous surfaces
A squeegee, by contrast, can:
- Move thicker material more efficiently
- Let you direct the puddle with more precision
- Help spread product across textured areas
That distinction is especially important on garage slabs that are not perfectly smooth. A roller can still be useful in some systems, but the video makes a strong practical case for using a squeegee first and reserving rolling for where the manufacturer recommends it.
Step 11: Porous Areas Create a Hidden Challenge
The video points out a problem many first-time applicators don’t anticipate: air trapped in porous concrete can resist the coating.
On unresurfaced sections, the epoxy had difficulty settling into the slab. The explanation offered is sensible:
- The epoxy was too thick to flow like paint
- Air in the pores had trouble escaping through the coating film
This is a good reminder that concrete profile matters. The more irregular and open the surface, the more likely you are to fight pinholes, dry-looking spots, or uneven build.
That is also why resurfacing, priming, or other surface-conditioning steps can sometimes be worth the extra effort.
Step 12: Decorative Flakes Are the Easy Part – Topcoat Is the Real Protection
Broadcast flakes often get the most attention because they transform the look of the floor. But the video correctly emphasizes that the topcoat is essential, not decorative.
It serves two main purposes:
- Adds another layer of protection
- Locks loose flakes into the system
Without a proper topcoat, the floor may wear faster and flake broadcast can shed more easily over time.
Additional benefit: slip resistance
The video also adds anti-slip powder to the topcoat. That is a smart move for garages, especially in regions where wet shoes, melted snow, or occasional washdowns are common.
Importantly, the additive described is very fine rather than sandy. That suggests a subtle texture rather than a harsh abrasive feel underfoot.
Step 13: Respect Cure Times Before Using the Floor
A finished epoxy floor may look ready long before it is actually ready.
The video’s timeline is straightforward:
- About 24 hours before foot traffic
- Several more days before vehicle traffic
Those specifics may vary by product, temperature, and humidity, so the larger point is to follow the product instructions, not your impatience.
Driving onto the floor too early can damage the finish before it reaches full hardness, especially under hot tires or heavy point loads.
Important "What Wasn’t Done" Lessons From the Video
One of the strongest parts of the source material is the speaker’s willingness to point out skipped steps and possible consequences. That honesty adds value because it highlights where coating failures often begin.
Etching
The video explains that previously sealed concrete may need etching to create a more receptive surface.
A simple field clue: shiny concrete may still have sealer present, while dull concrete may have worn it off.
That’s a critical distinction because epoxy bonds differently to open concrete than to sealed concrete. If a slab has mixed conditions, prep may also need to vary by area.
Priming
The video notes that priming may be wise in:
- Grease-affected spots
- Damp areas
- Sections that couldn’t be resurfaced
- Places with pitting or questionable adhesion risk
This is an important nuance. Priming is not always mandatory across the whole slab, but selective priming can reduce risk in problem areas.
Moisture
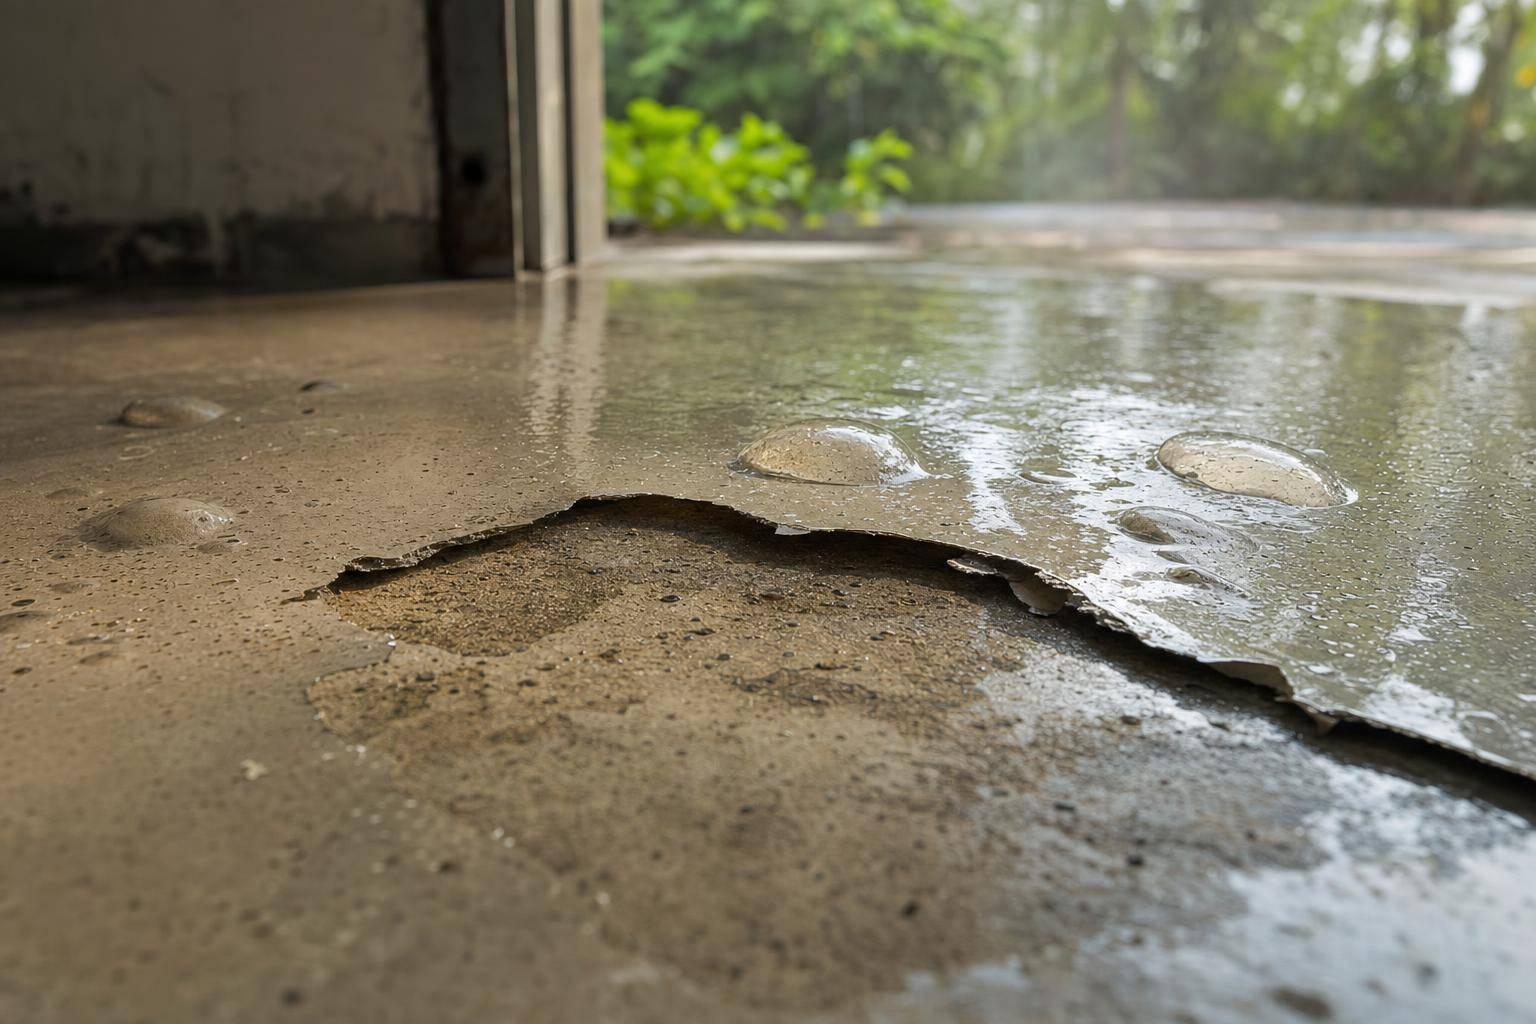
If moisture is coming through the slab or walls regularly, that’s not a minor issue. It’s one of the biggest red flags for any film-forming floor coating.
The video references moisture testing but also offers a practical rule: if you consistently see moisture, you already know the slab is a concern.
For garages in colder climates or older buildings, that is a warning worth taking seriously.
What This Video Gets Right About DIY Epoxy Projects
Beyond the step-by-step process, the video offers a realistic message: a good-looking epoxy floor is possible, but the details matter more than most people expect.
Here are the strongest practical insights:
1. Prep determines longevity
This cannot be overstated. Most coating failures are surface-prep failures wearing a chemistry disguise.
2. Rough concrete changes everything
Coverage, spread, finish quality, and adhesion all become less predictable on damaged or porous slabs.
3. Smaller batches reduce mistakes
Working time is limited, and stress leads to wasted material.
4. Tool choice should match product viscosity
If the epoxy is heavy-bodied, treat it like a coating system, not wall paint.
5. Honest assessment beats optimistic assumptions
If the concrete is contaminated, sealed, damp, or weak, address it up front.
A Smarter Way to Think About Garage Floor Epoxy
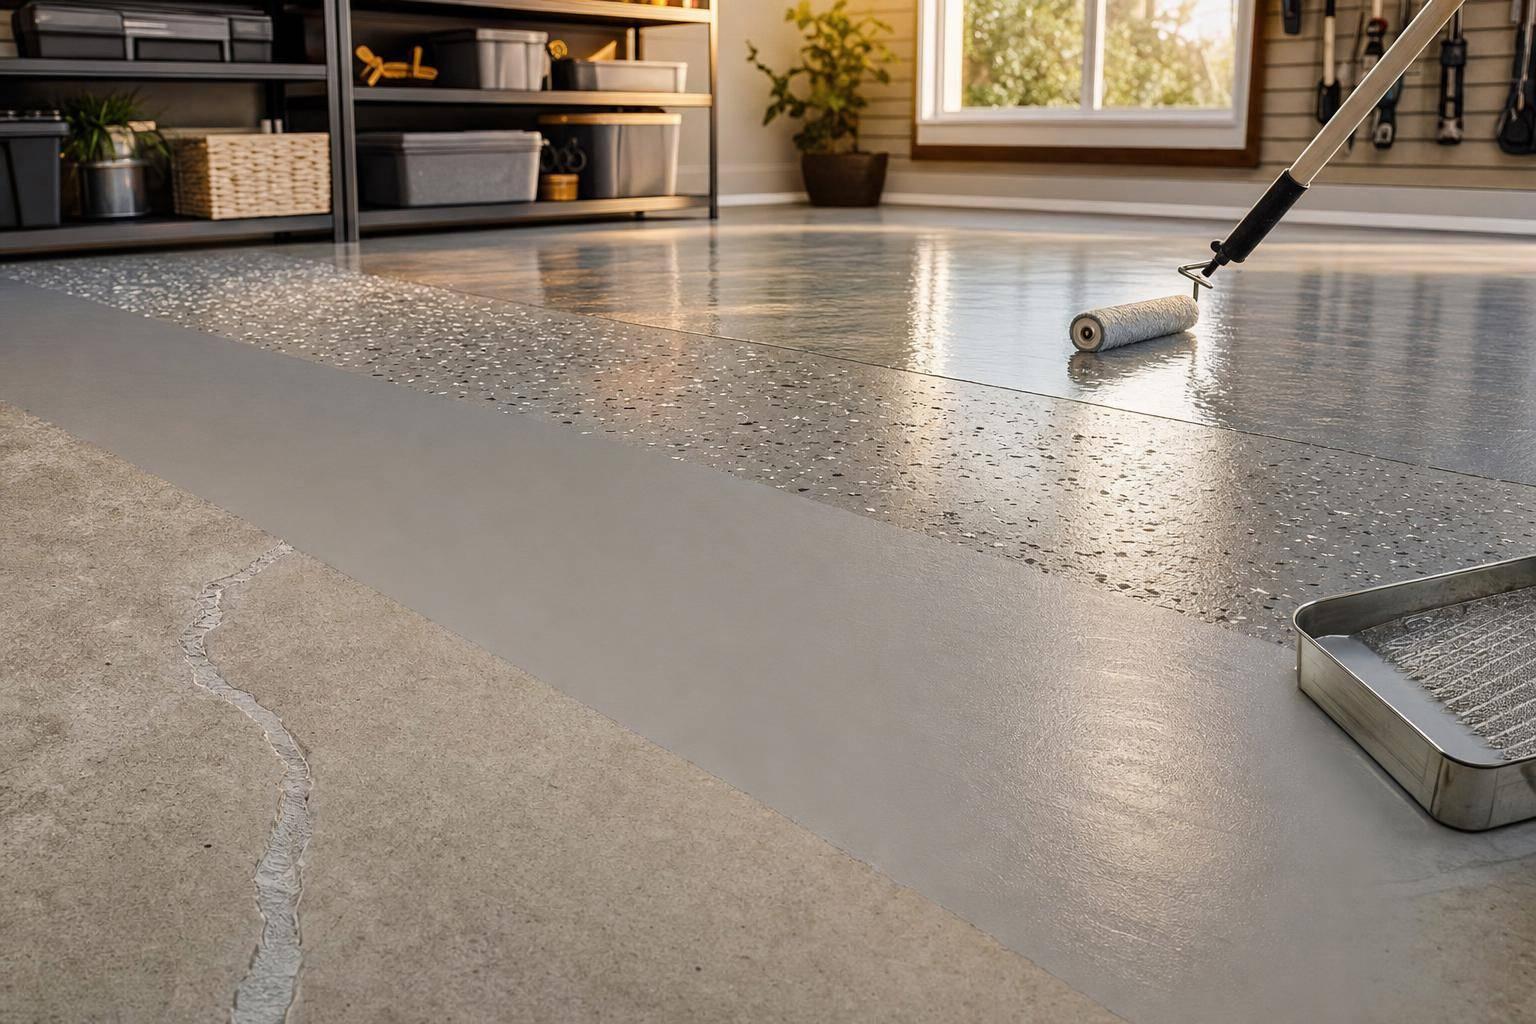
If you’re planning a garage floor upgrade, the biggest mistake is treating epoxy as a cosmetic product alone. It’s better understood as a surface system:
- Clean and stabilize the slab
- Repair and level problem areas
- Improve adhesion where needed
- Apply the body coat correctly
- Protect the finish with a topcoat
That systems mindset is especially relevant for homeowners and small business owners who want durable results rather than a short-lived facelift.
In practical terms, the video shows that the best epoxy jobs are not always the fastest ones. They’re the ones where the installer respects the condition of the concrete and adjusts the process accordingly.
Conclusion
The core lesson from this garage floor epoxy guide is simple: the coating is only as good as the concrete beneath it.
Scraping, degreasing, pressure washing, resurfacing, brushing, vacuuming, crack filling, and selective priming may not be the exciting part of the project, but they are what make the final finish durable. The actual epoxy application, while important, is the reward for doing all the earlier steps well.
For anyone considering an epoxy floor in a garage, workshop, or utility space, this video offers a useful blend of instruction and caution. It shows what to do, what can go wrong, and where extra effort pays off. The result is a more realistic view of the project – and that realism is often what leads to better outcomes.
Source: "Garage Floor Epoxy Steps That Are Easy to Miss" – Building With Blake, YouTube, Apr 15, 2026 – https://www.youtube.com/watch?v=mnPx9nvJaWM