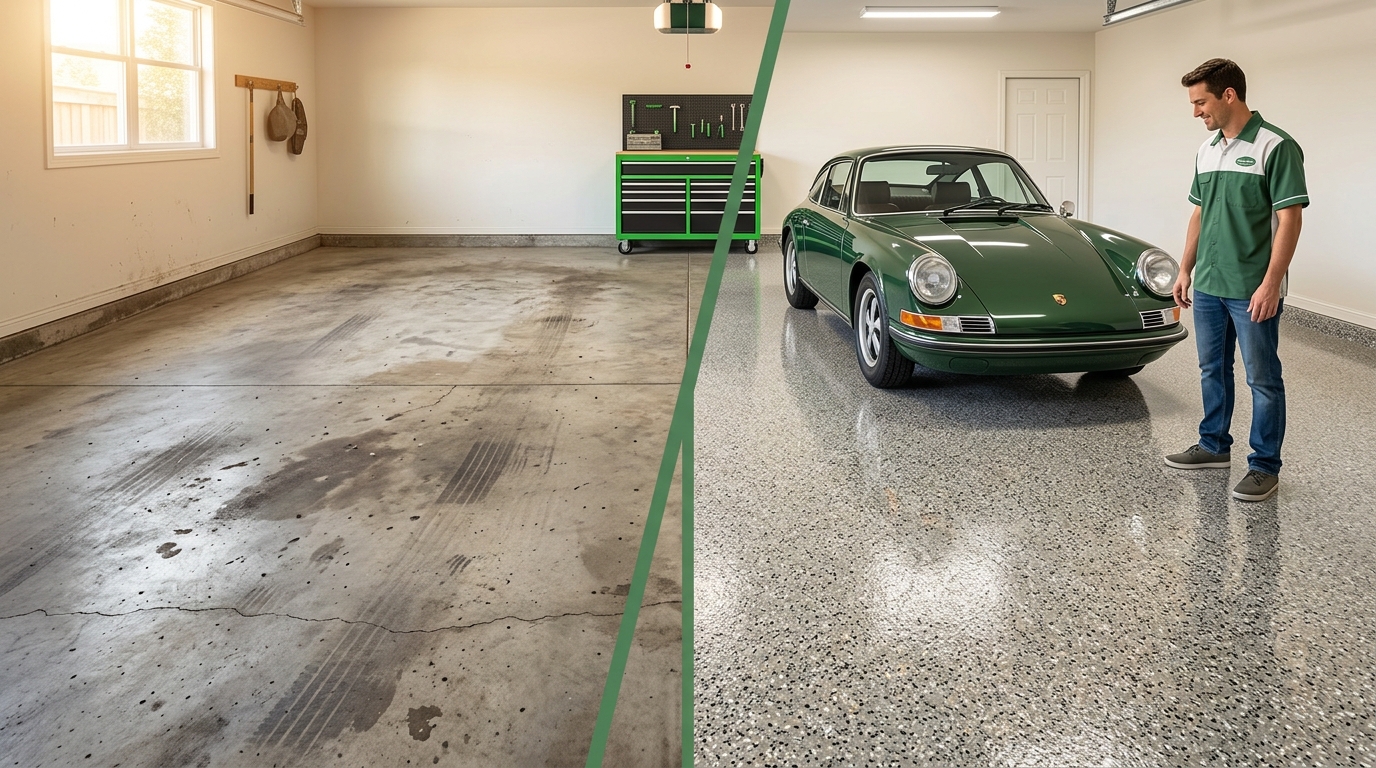
Deciding on the best garage floor coating isn’t just about picking the strongest option — it’s about balancing cost, durability, and how you actually use your garage. A showroom-quality finish that can’t handle welding slag is the wrong call for a workshop. A bargain DIY kit that peels in two winters costs more in the long run than a professional install. The right answer depends on your budget, your climate, and what happens inside those four walls.
The US floor coatings market hit an estimated $1.99 billion in 2026 and continues growing at over 4% annually — proof that more homeowners are investing in better garage floors. But with epoxy commanding 41.7% of the market and polyaspartic systems growing at 5.5% CAGR, the options are expanding faster than most homeowners can research them.
This guide compares the four main garage floor coating types side-by-side — polyurea/polyaspartic, epoxy, polished concrete, and DIY kits — using real installer pricing where available and industry benchmarks where not. Start with the table below for the at-a-glance answer, then dive into each option’s tradeoffs to match the right coating to your garage. If you’re comparing specific brands rather than coating chemistry, see our garage floor coating brands comparison for a side-by-side look at Penntek, Rust-Oleum, Garage Living, and more.
Quick Comparison: Garage Floor Coating Options at a Glance
| Coating Type | Cost per Sq Ft | Total (400 sq ft 2-Car) | Durability | Cure Time | Best For |
|---|---|---|---|---|---|
| Polyurea (Pro) | $7–$9 | $2,800–$3,600 | 15–25 years | 1 day | Daily-use garages, harsh climates, quick turnaround |
| Epoxy (Pro) | $5–$7 | $2,000–$2,800 | 10–20 years | 2–5 days | Budget-conscious homeowners, moderate-use garages |
| Polished Concrete | $3–$6 | $1,200–$2,400 | 20+ years (surface) | 2–3 days | Modern/industrial aesthetic, low-maintenance preference |
| DIY Epoxy Kit | $1–$3* | $400–$1,200* | 1–5 years | 1–3 days | Short-term flips, light-use storage, tightest budget |
*Materials only — does not include floor prep equipment, repair products, or the cost of redoing a failed application.
Polyurea & Polyaspartic Coatings: Premium Protection, One-Day Install
Polyurea and polyaspartic coatings represent the top tier of garage floor protection. Unlike epoxy, which cures through a slower chemical reaction, polyurea systems cure rapidly — most professional installations are complete in a single day, and the floor is ready for vehicle traffic within 24 hours. That speed isn’t just convenient; it also means less downtime and fewer scheduling headaches.
Pricing
Professional polyurea installation runs $7–$9 per square foot through a Penntek-certified installer like Croc Coatings. For a standard 400-square-foot two-car garage, expect $2,800 to $3,600 installed. Broader industry pricing for polyaspartic systems ranges from $7 to $10 per square foot — or roughly $2,000 to $6,900 for a typical two-car garage — depending on the region and the complexity of the floor prep. Add decorative flake broadcasting, custom color blends, or metallic finishes and costs can increase by 15–40%.
Durability & Lifespan
Polyurea coatings are roughly four times stronger than epoxy in abrasion resistance. They handle temperature swings from sub-zero winters to triple-digit summers without softening or becoming brittle — a critical advantage in regions like North Idaho and Eastern Washington where garages see extreme seasonal shifts. UV stability means no yellowing or chalking in sun-exposed areas. Chemical resistance covers road salt, gasoline, oil, and most household solvents. A properly installed polyurea floor lasts 15 to 25 years with basic maintenance.
Install Timeline
- Day 1: Surface prep (diamond grinding), crack repair, primer coat, base coat with decorative flakes, and polyurea topcoat — all in one day.
- Cure time: Ready for foot traffic in 4–6 hours; vehicles after 24 hours.
- Total project: Complete and usable within 24 hours.
Pros and Cons
Pros:
- One-day install with 24-hour cure — no multi-day downtime
- 4x stronger than epoxy; resists hot-tire pickup, chemicals, and impacts
- UV-stable — no yellowing even in sunlit garages
- Flexible enough to handle concrete movement without cracking
- Lifetime manufacturer warranty through Penntek-certified installers
Cons:
- Higher upfront cost than epoxy or DIY
- Requires professional installation — not a DIY product
- Limited installer availability outside major metro areas
- Decorative flake coverage can hide cracks that need monitoring over time
Epoxy Coatings: The Tried-and-True Workhorse
Epoxy has been the default garage floor coating for decades — and it still holds over 41% of the US floor coatings market. When installed professionally with proper surface preparation, epoxy delivers a hard, glossy finish that handles moderate garage use well. The key word is "professional": a high-solids epoxy applied over diamond-ground concrete behaves very differently from a big-box kit rolled onto an un-prepped floor.
Pricing
Croc Coatings offers professional epoxy installation at $5–$7 per square foot. A standard 400-square-foot two-car garage totals $2,000 to $2,800. That price includes diamond grinding, crack repair, primer, color base coat, decorative flakes, and a clear topcoat — the full system needed for a durable finish. For a complete line-item cost breakdown of epoxy garage floors, including prep costs and add-ons, see our detailed guide.
Durability & Lifespan
A professionally installed epoxy floor lasts 10 to 20 years in a residential garage. Epoxy provides good resistance to oil, gasoline, and household chemicals. It tolerates moderate impact but can chip under heavy tool drops or dragged equipment. Its main weakness is UV exposure: epoxy yellows and chalks in direct sunlight, making it better suited for fully enclosed garages. Hot-tire pickup — where warm tires soften and lift the coating — is a known issue with lower-quality epoxy formulations, though high-solids commercial-grade products resist it well.
Install Timeline
- Day 1–2: Surface preparation (diamond grinding), crack and joint repair.
- Day 2–3: Primer application, followed by base coat with decorative flakes.
- Day 3–5: Clear topcoat application and cure.
- Cure time: Foot traffic after 12–24 hours; full vehicle traffic after 48–72 hours depending on temperature and humidity.
Pros and Cons
Pros:
- Lower upfront cost than polyurea — saves $800–$1,200 on a standard two-car garage
- Proven track record across millions of residential installations
- High-gloss finish looks excellent in showroom-style garages
- Good chemical and stain resistance for typical garage use
Cons:
- Yellows with UV exposure — not ideal for garages with windows or open doors
- 2–5 day install timeline with multi-day cure
- Susceptible to hot-tire pickup with lower-grade formulations
- More brittle than polyurea — can chip under heavy impact
Polished Concrete: The Sleeper Option for Garage Floors
Polished concrete flies under the radar in most garage floor coating discussions — but it deserves a seat at the table. Instead of covering the concrete with a polymer layer, polishing mechanically grinds and densifies the surface to a smooth, reflective finish. The result is a floor that looks modern and industrial, requires almost no maintenance, and never peels or delaminates because there’s no coating to fail.
Pricing
Professional concrete polishing runs $3 to $6 per square foot for a standard garage. A 400-square-foot two-car garage typically costs $1,200 to $2,400. The price varies with the level of aggregate exposure and the number of polish passes — a basic smooth finish costs less than a high-gloss exposed-aggregate look. The slab must also be in good structural condition; extensive crack repair or leveling adds to the total.
Durability & Lifespan
A polished concrete floor can last the life of the slab — 20-plus years or more — with no coating to wear through. It resists impact, won’t peel or bubble, and handles vehicle traffic without complaint. The tradeoff is chemical vulnerability: polished concrete is porous even when densified, so oil, road salt, and automotive fluids can stain if not cleaned promptly. It offers zero protection against moisture vapor transmission from below the slab, which matters in regions with high water tables. Polished concrete is also cold and hard underfoot — not a dealbreaker for a garage, but worth knowing.
Install Timeline
- Day 1–2: Multi-stage diamond grinding (progressively finer grits).
- Day 2–3: Densifier application, final polish passes, and optional stain guard.
- Cure time: Usable immediately after final pass — no chemical cure time.
- Total project: Typically 2 to 3 days.
Pros and Cons
Pros:
- No coating to peel, chip, or delaminate — the surface IS the floor
- Extremely low maintenance — dust mop and occasional damp cleaning
- Unique modern/industrial aesthetic unavailable with coatings
- Longest potential lifespan of any option
Cons:
- Stains from oil, chemicals, and road salt if not sealed regularly
- No moisture barrier — doesn’t protect against slab moisture issues
- Cold, hard surface with zero cushion or warmth
- Cracks and spalls in the original concrete remain visible
- Higher cost than DIY, lower chemical protection than polyurea
DIY Epoxy Kits: Low Sticker Price, Real-World Tradeoffs
The DIY epoxy kit is the most popular starting point for cost-conscious homeowners — and the most misunderstood. A $150 kit from the home center promises a glossy garage floor for a weekend’s work. The sticker price is undeniably attractive. But the true cost of a DIY epoxy floor isn’t what you pay at the register; it’s what happens when the coating fails.
Pricing
DIY epoxy kits cost $1 to $3 per square foot in materials. For a 400-square-foot two-car garage, that’s $400 to $1,200 at the hardware store. That number doesn’t include concrete grinding equipment rental ($75–$150/day), crack repair products, degreasers, acid etching supplies, or protective gear. Nor does it account for the cost of having a professional remove and re-coat a failed DIY floor — which can run higher than a first-time professional install if the failed coating needs aggressive stripping. For a look at what the sticker price leaves out, see our breakdown of the hidden costs of garage floor coatings.
Durability & Lifespan
Here’s the gap most DIY buyers don’t anticipate: a big-box epoxy kit typically lasts 1 to 3 years in a functioning garage before showing signs of failure — peeling edges, hot-tire marks, chemical stains, or flaking. The core problem isn’t the epoxy itself but the preparation: most homeowners can’t replicate the diamond-grinding profile that professional-grade adhesion requires. Acid etching, the common DIY alternative, produces a weaker mechanical bond. Water-based DIY epoxies also contain lower solids content (30–50% versus 90–100% for professional-grade products), meaning a thinner, less durable film.
Install Timeline
- Day 1: Cleaning, degreasing, acid etching (or grinding), and drying.
- Day 2: Patch and repair cracks; apply primer (if included).
- Day 2–3: Apply epoxy base coat, broadcast flakes, and wait for tack.
- Day 3–4: Apply clear topcoat (if included in kit).
- Cure time: Foot traffic in 12–24 hours; vehicles in 48–72 hours.
- Realistic timeline: 3 to 4 days for a first-timer, often longer if humidity slows drying.
Pros and Cons
Pros:
- Lowest upfront material cost of any option
- Complete on your own schedule — no contractor coordination
- Satisfying weekend project for confident DIYers
- Wide color and flake selection at home centers
Cons:
- Short lifespan (1–5 years) before recoating or replacement is needed
- Inconsistent results — heavily dependent on prep quality
- Lower chemical and abrasion resistance than professional coatings
- No warranty coverage on labor or performance
- Failed DIY floor costs more to fix than a first-time professional install
Which Garage Floor Coating Is Right for You?
The best garage floor coating depends less on which option wins on paper and more on how you actually use your garage. Here’s how to match your situation to the right choice.
If You Use Your Garage Daily — Parking, Projects, and All-Season Traffic
Polyurea is the strongest fit. It handles road salt in winter, heat in summer, and chemical spills year-round without degrading. The one-day install means you’re only displaced for a single night. The higher upfront cost amortizes to roughly $150–$240 per year over a 15-year lifespan — less than the annual cost of repeatedly recoating a failed DIY floor. For a deeper look at how coatings compare over a decade of ownership, see our short-term vs. long-term cost comparison.
Best choice: Polyurea/polyaspartic professional install.
If You Want a Great Floor on a Moderate Budget
Professional epoxy delivers the best balance of performance and price. You’ll save $800–$1,200 versus polyurea on a standard two-car garage while still getting a floor that lasts a decade or more. Choose epoxy if your garage is fully enclosed (no direct sun), you’re not running a heavy workshop, and you can accommodate a 3–5 day install window.
Best choice: Professional epoxy.
If You Want a Modern, Low-Maintenance Look
Polished concrete is the dark-horse pick. It’s the lowest-maintenance option over the long haul — no coating to maintain, no reapplication schedule — and the industrial aesthetic fits modern home design. Choose polished concrete if your slab is in good condition, you’re okay with the occasional stain, and you want a floor that outlasts everything else.
Best choice: Polished concrete.
If You’re Flipping, Renting, or on the Tightest Budget
A DIY epoxy kit can make sense — but only in low-stakes scenarios. Use it for a garage you’re selling within a year, a rental unit where tenants won’t complain about wear, or a storage-only space with no vehicle traffic. If you plan to park cars, work on projects, or stay in the home more than two years, the math tilts hard toward professional installation.
Best choice: DIY epoxy kit (short-term only).
Quick Decision Checklist
- [ ] Garage sees daily vehicle traffic? → Polyurea or epoxy (professional).
- [ ] Garage has windows or gets direct sun? → Polyurea or polished concrete (no UV yellowing).
- [ ] Budget under $1,500 all-in? → DIY kit (short-term) or save for professional epoxy.
- [ ] Need the garage back in one day? → Polyurea (one-day install, 24-hour cure).
- [ ] Planning to stay in the home 5+ years? → Professional install of any type — the annual cost beats replacing DIY every 2–3 years.
- [ ] Slab has moisture issues or cracks? → Polyurea (flexible, seals cracks) or consult a pro before coating.
Still deciding? Get a free, no-obligation quote tailored to your garage — we’ll assess your floor in person and give you an exact price, not a range. Contact Croc Coatings for a free in-home consultation in North Idaho and Eastern Washington. Or try our garage floor coating cost calculator for a quick estimate.