A radiant barrier won’t heat your garage. For winter comfort in Spokane and Coeur d’Alene, I’d fix moisture problems, seal drafts, and add insulation before choosing a heater or reflective foil.
Here’s the order I’d follow:
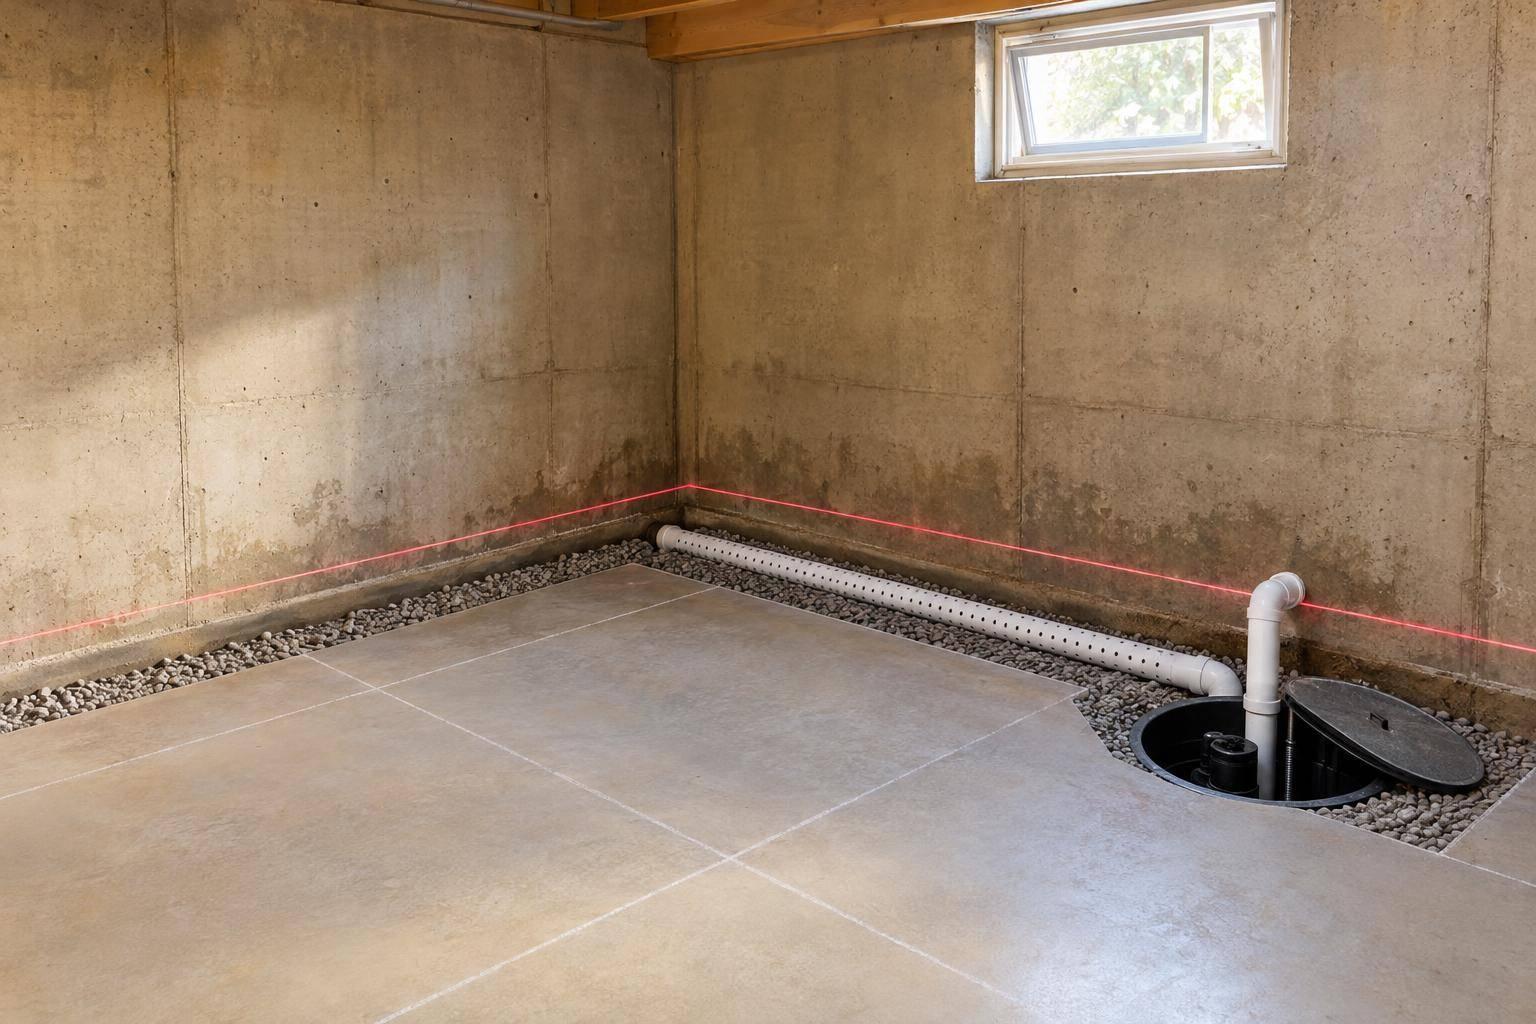
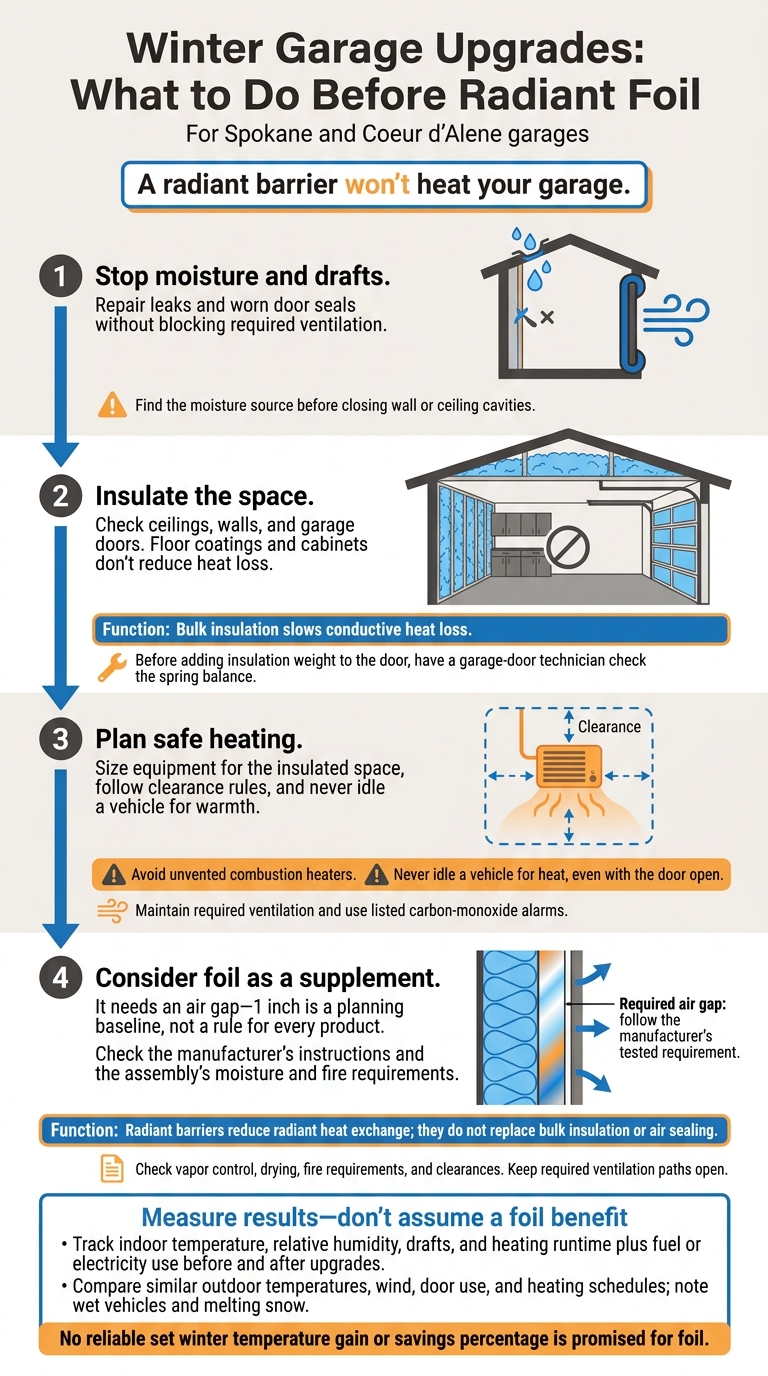
- Stop moisture and drafts. Repair leaks and worn door seals without blocking required ventilation. You should also protect concrete from water damage to prevent long-term structural issues.
- Insulate the space. Check ceilings, walls, and garage doors. Floor coatings and custom or big-box cabinets don’t reduce heat loss.
- Plan safe heating. Size equipment for the insulated space, follow clearance rules, and never idle a vehicle for warmth.
- Consider foil as a supplement. It needs an air gap – 1 inch is a planning baseline, not a rule for every product. Check the manufacturer’s instructions and the assembly’s moisture and fire requirements.
<u>I wouldn’t count on a set winter temperature gain or savings percentage from foil.</u> Instead, I’d compare temperature, humidity, and heating use before and after the work under similar weather conditions.
Winter Garage Upgrades: What to Do Before Radiant Foil
Radiant Barrier Performance in Winter
How Reflective Surfaces Reduce Heat Transfer
Radiant barriers reflect radiant heat. Their low-emissivity surface gives off little heat. That’s different from bulk insulation, which slows conductive heat flow, and weather seals, which block air leaks.
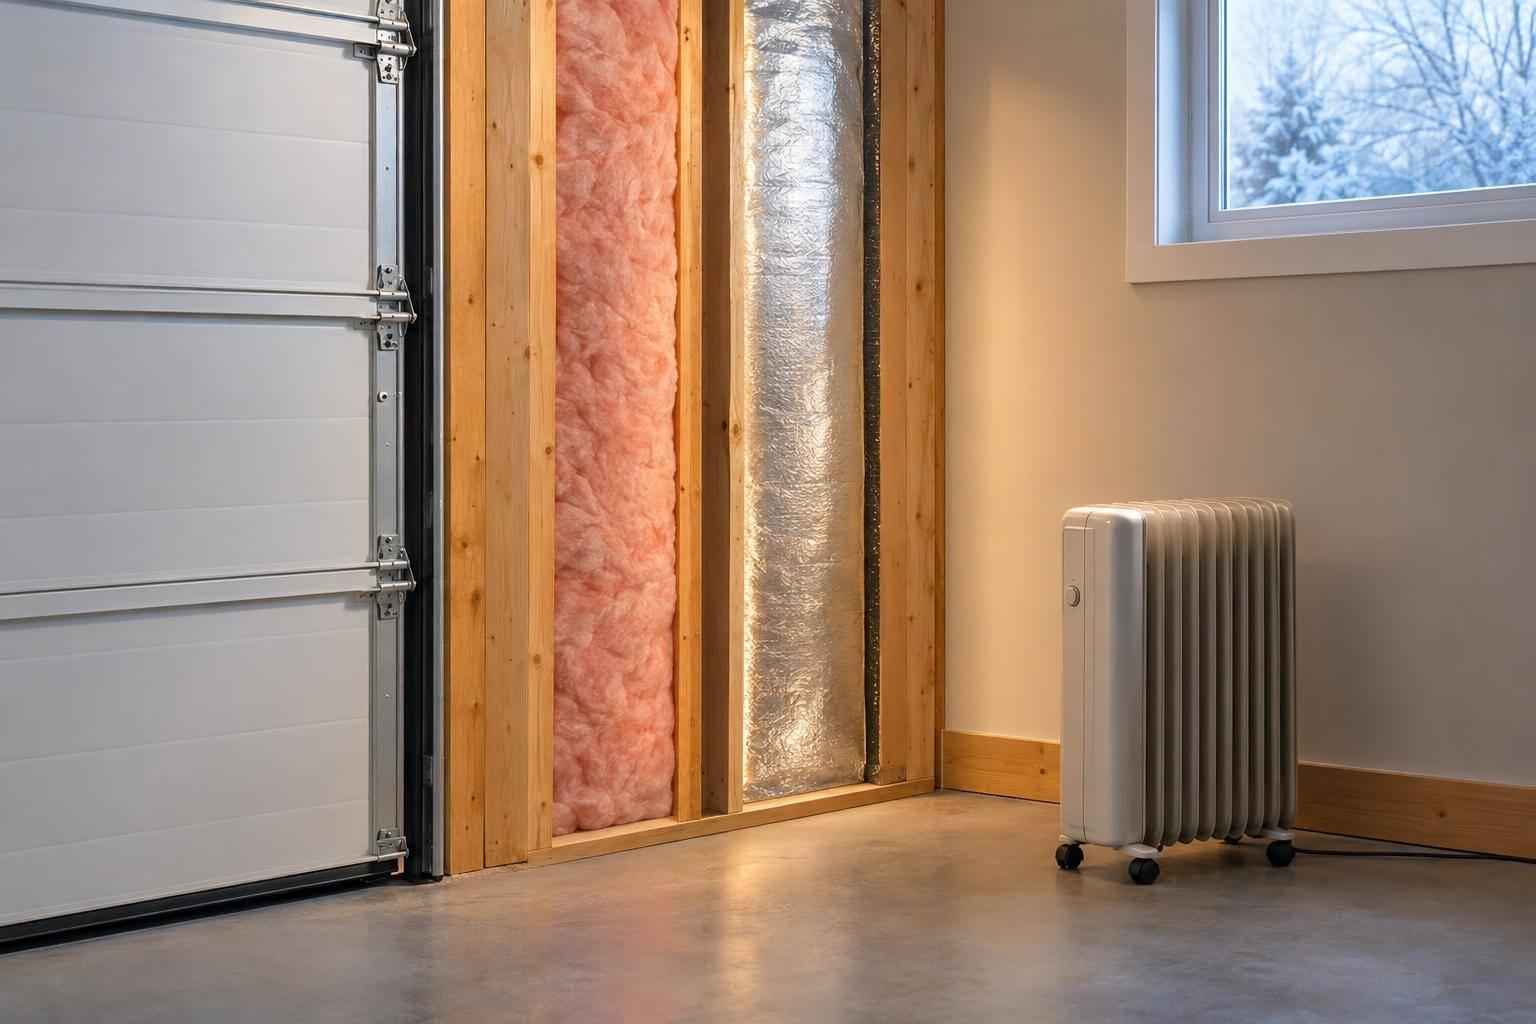
The reflective face needs an unobstructed air space. Follow the manufacturer’s tested air-gap requirement; 1 inch is only a planning baseline. If foil presses against drywall, sheathing, or insulation, heat can pass through that contact instead.
Limits on Warming a Cold Garage
Winter comfort starts with reducing the garage’s biggest heat-loss paths. In Spokane and Coeur d’Alene, underinsulated surfaces and drafts remain major sources of winter heat loss. ENERGY STAR links radiant barriers mainly to cooling loads in hot climates, so that guidance doesn’t predict a reliable winter temperature gain here.
Suitable Locations and Installation Requirements
Placement and spacing matter just as much as the reflective surface. Some ceiling, wall, and garage-door assemblies can use a radiant barrier as a supplement. Before installing one, confirm the approved location, reflective-face orientation, fastening method, and required cavity. Compression, sagging, direct contact, and dust on the reflective surface all reduce performance. Keep required ventilation paths open.
Warm, humid air can condense on the foil or nearby cold surfaces, so check the assembly’s vapor-control and drying strategy. Follow the product’s flame-spread, smoke-development, and clearance rules. Keep vents, electrical equipment, access panels, and the house-to-garage separation unobstructed.
sbb-itb-a0e5ae3
DOES IT WORK? Radiant Barrier Insulation on Garage Door! (RESULTS ARE IN)
What Radiant Barriers Cannot Replace
In cold Inland Northwest garages, comfort starts with reducing heat loss, then adding heat where it’s needed.
Bulk Insulation for Conductive Heat Loss
A radiant barrier limits radiant heat transfer. It does not supply the R-value needed to slow conductive heat loss. Look at the whole assembly – not just the foil label. Performance depends on the materials, thickness, framing, air space, and installation quality.
| Measure | Main function | Installation requirements |
|---|---|---|
| Radiant barrier | Limits radiant heat transfer | Reflective face must face the specified air space |
| Cavity insulation | Slows heat flow through framed cavities | Fill cavities evenly at the specified thickness; keep insulation dry |
| Rigid insulation | Adds continuous thermal resistance across framing | Use the correct thickness, fastening, joint treatment, and required fire protection |
| Air sealing | Limits uncontrolled air movement | Seal gaps with compatible materials without blocking required ventilation |
Choose insulation that fits the assembly and meets local code. Check ceilings, exterior walls, door panels, and the garage-to-house separation for missing, compressed, or wet insulation.
Weather Seals and Air Sealing for Drafts
Even well-insulated garages lose heat through gaps and joints. Start with the garage door’s bottom and perimeter seals. Then check service-door weatherstripping, window gaps, framing joints, and utility penetrations.
Replace hardened or flattened seals. Use compatible caulk for fixed gaps and code-approved low-expansion foam where suitable around rough openings. Keep required ventilation and combustion-air openings clear.
A reflective layer only works as an air barrier if the assembly is designed and sealed for that purpose. To stop drafts, you need a continuous, sealed air-control layer.
Safe Heating for the Space
Once you’ve sealed and insulated the garage, size the heating system for the remaining heating load. Account for ventilation, electrical capacity, fuel source, and code requirements. Options include listed electric heat, a ductless heat pump, or a code-compliant vented fuel-burning system.
Avoid unvented combustion heaters because they add moisture and combustion products. Maintain required clearances and ventilation, and never idle a vehicle for heat, even with the door open. Follow fuel-appliance inspection guidance and use listed carbon-monoxide alarms.
Planning a Winter Garage Upgrade
Once you know the garage’s limits, plan the work in the right order.
Repair Moisture Problems and Insulate First
Find the moisture source before closing wall or ceiling cavities. Rain, snowmelt, and wet vehicles are common causes. Check drainage, downspouts, and the garage-door perimeter. Have persistent dampness or suspected mold investigated before adding insulation.
Start with moisture repairs, then air sealing, ceiling and wall insulation, and finally garage-door insulation and seals. Before adding insulation weight to the door, have a garage-door technician check the spring balance. Plan radiant-barrier placement and heating last, keeping required ventilation and garage-to-house fire separation intact.
Checking Winter Performance
After the upgrade, track both comfort and moisture. For Spokane and Coeur d’Alene winters, keep a before-and-after log of indoor temperature, relative humidity, drafts, and cold surfaces.
Compare days with similar outdoor temperatures, wind, door use, and heating schedules. Note wet vehicles and melting snow, too. An infrared thermometer or thermal camera can help locate cold spots, but compare heating runtime and fuel or electricity use to assess savings.
Look for steadier temperatures, fewer drafts, and controlled humidity. Get professional help for recurring moisture, combustion equipment, electrical changes, or structural work. Visual checks alone aren’t enough.
Floor Coatings Are Not Slab Insulation
Treat floor finishes and storage separately from thermal upgrades. Concrete coatings improve durability, ease of cleaning, and appearance – not slab insulation or heat retention. Address drainage and slab-moisture concerns before finishing the floor.
Croc Coatings’ garage floor coatings and custom cabinets improve durability and storage, but they don’t replace slab insulation, ceiling insulation, wall insulation, air sealing, or heating.
Conclusion: Prioritize Insulation, Seals, and Safe Heating
For garages in Spokane and Coeur d’Alene, fix moisture problems and worn weather seals first. Then add bulk insulation and properly sized heating. Getting that order right matters more than which product you choose.
Each step has a separate job. Insulation slows heat loss through conduction, air sealing stops drafts, and radiant barriers only reduce radiant heat exchange across an air space. No single measure handles all three.
If you still need heat, choose equipment sized for the improved space. Install it with proper clearances, ventilation, and carbon-monoxide protection. A radiant barrier doesn’t produce heat or make an unsafe heating setup safe.
Work on the garage envelope first, then add only enough heat to meet the remaining heating load.