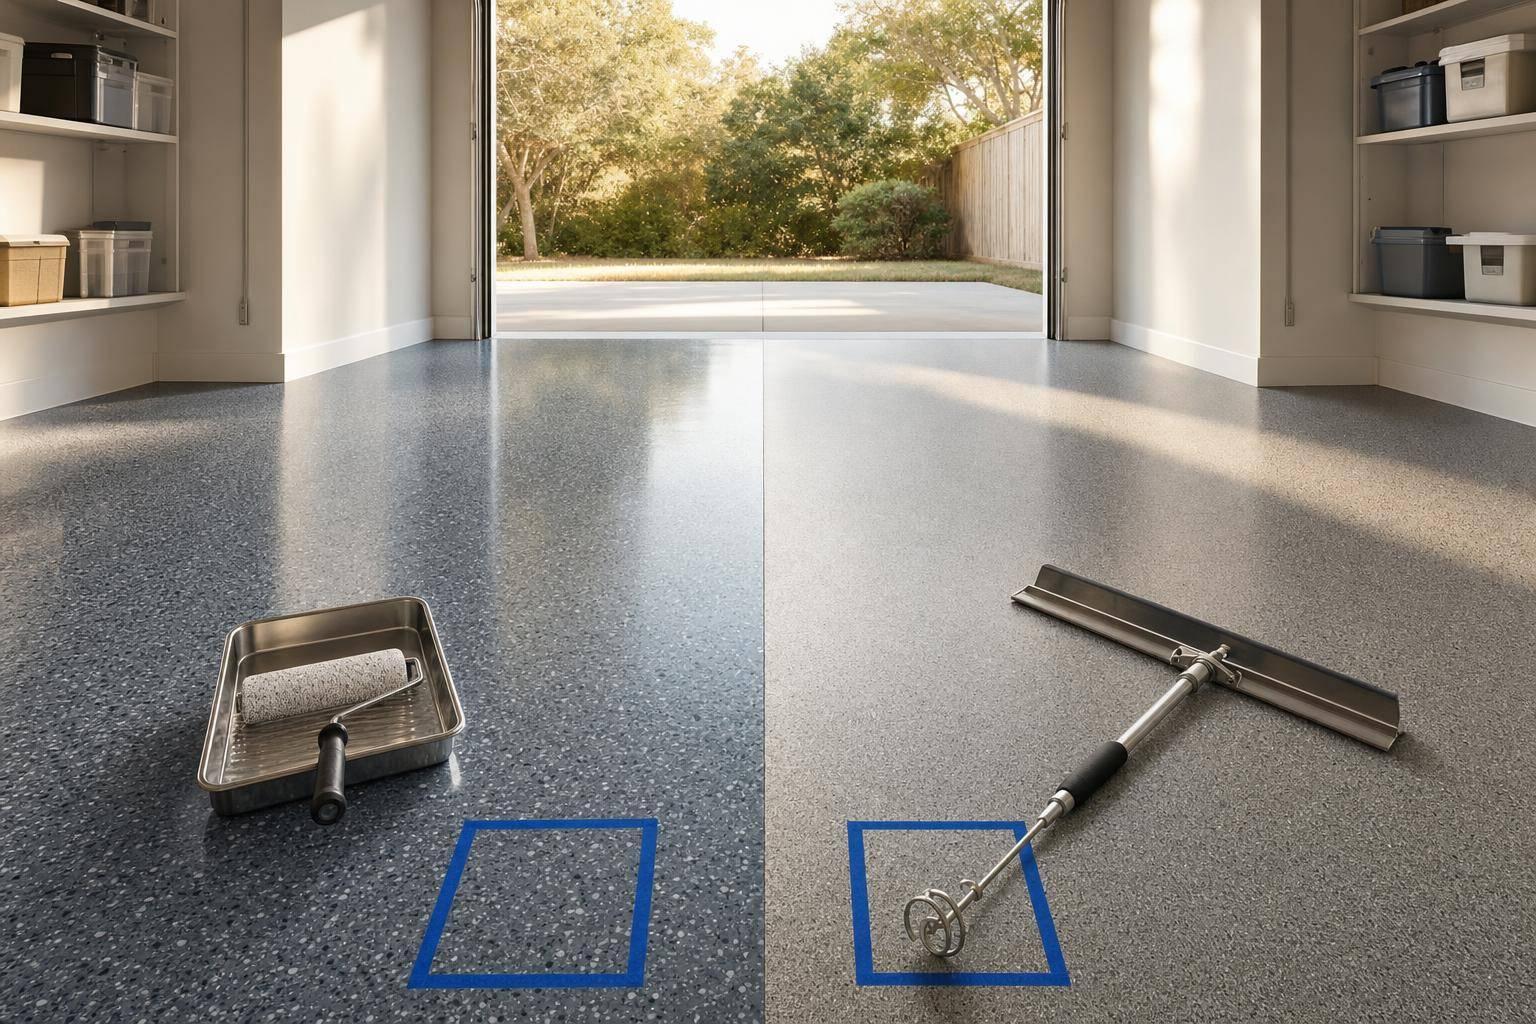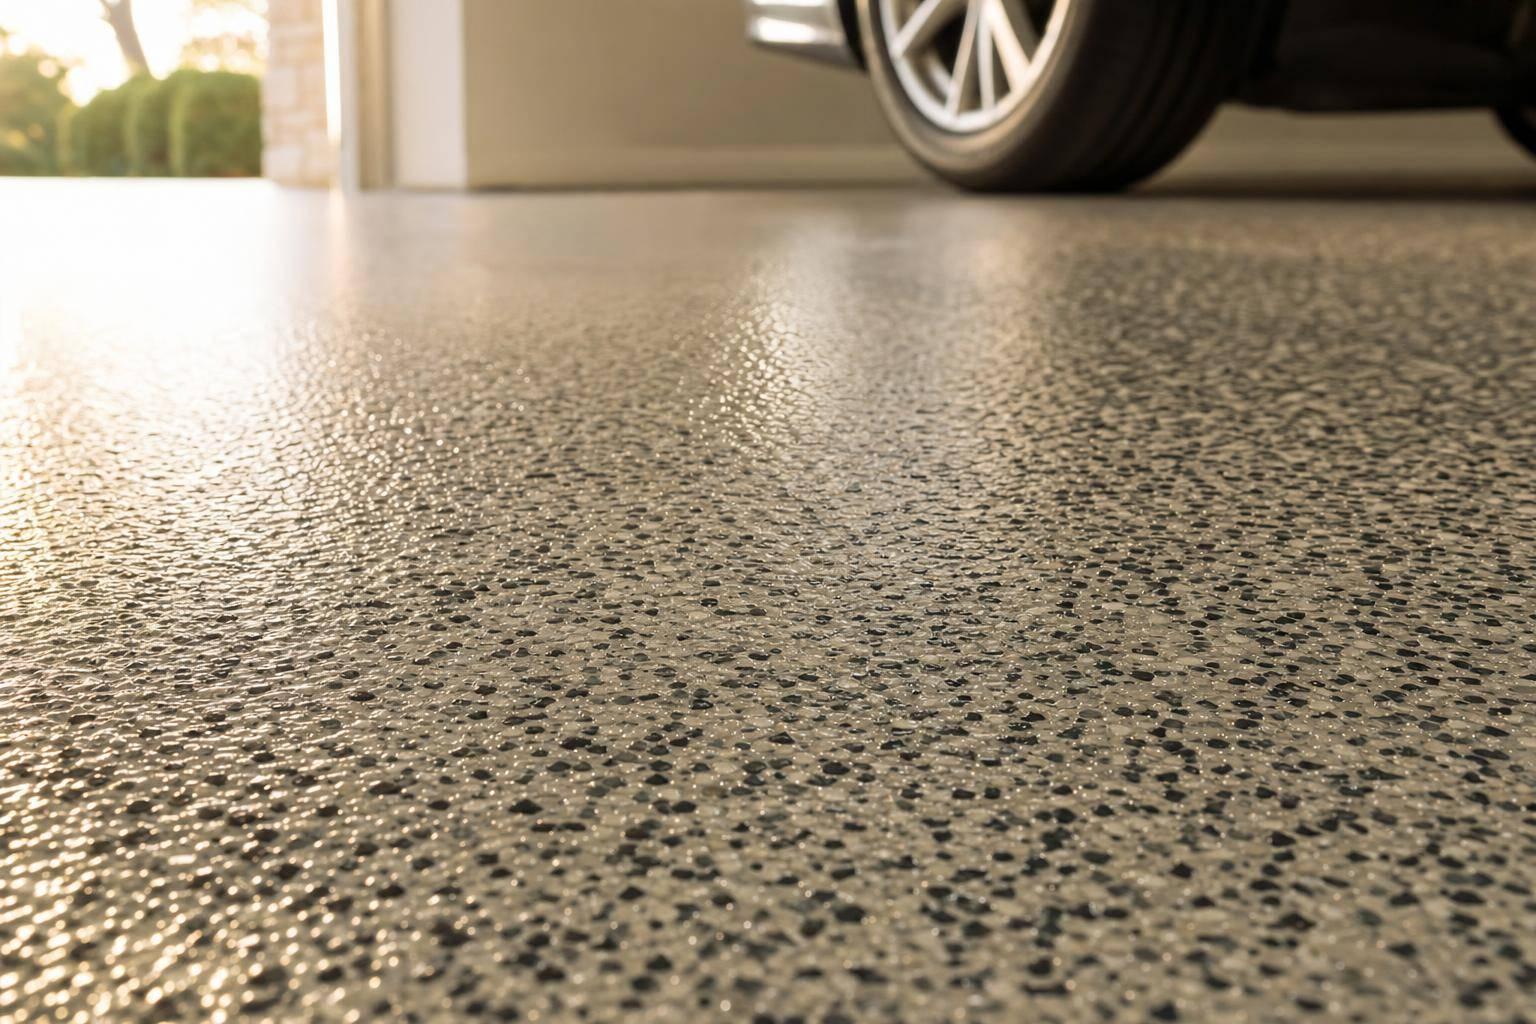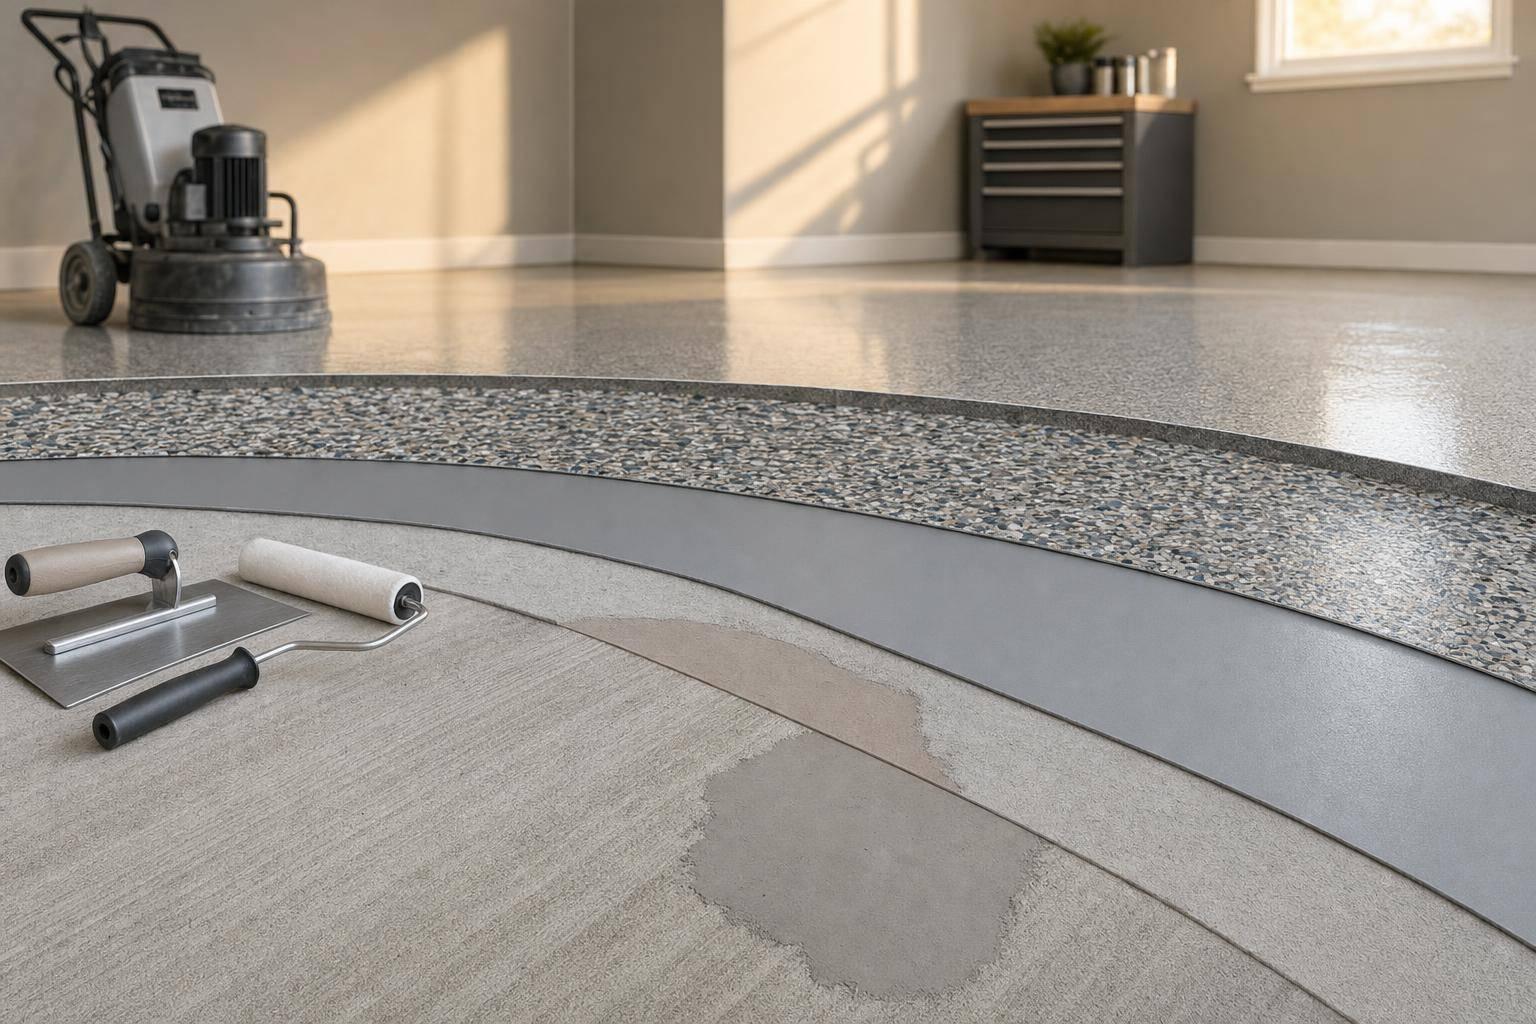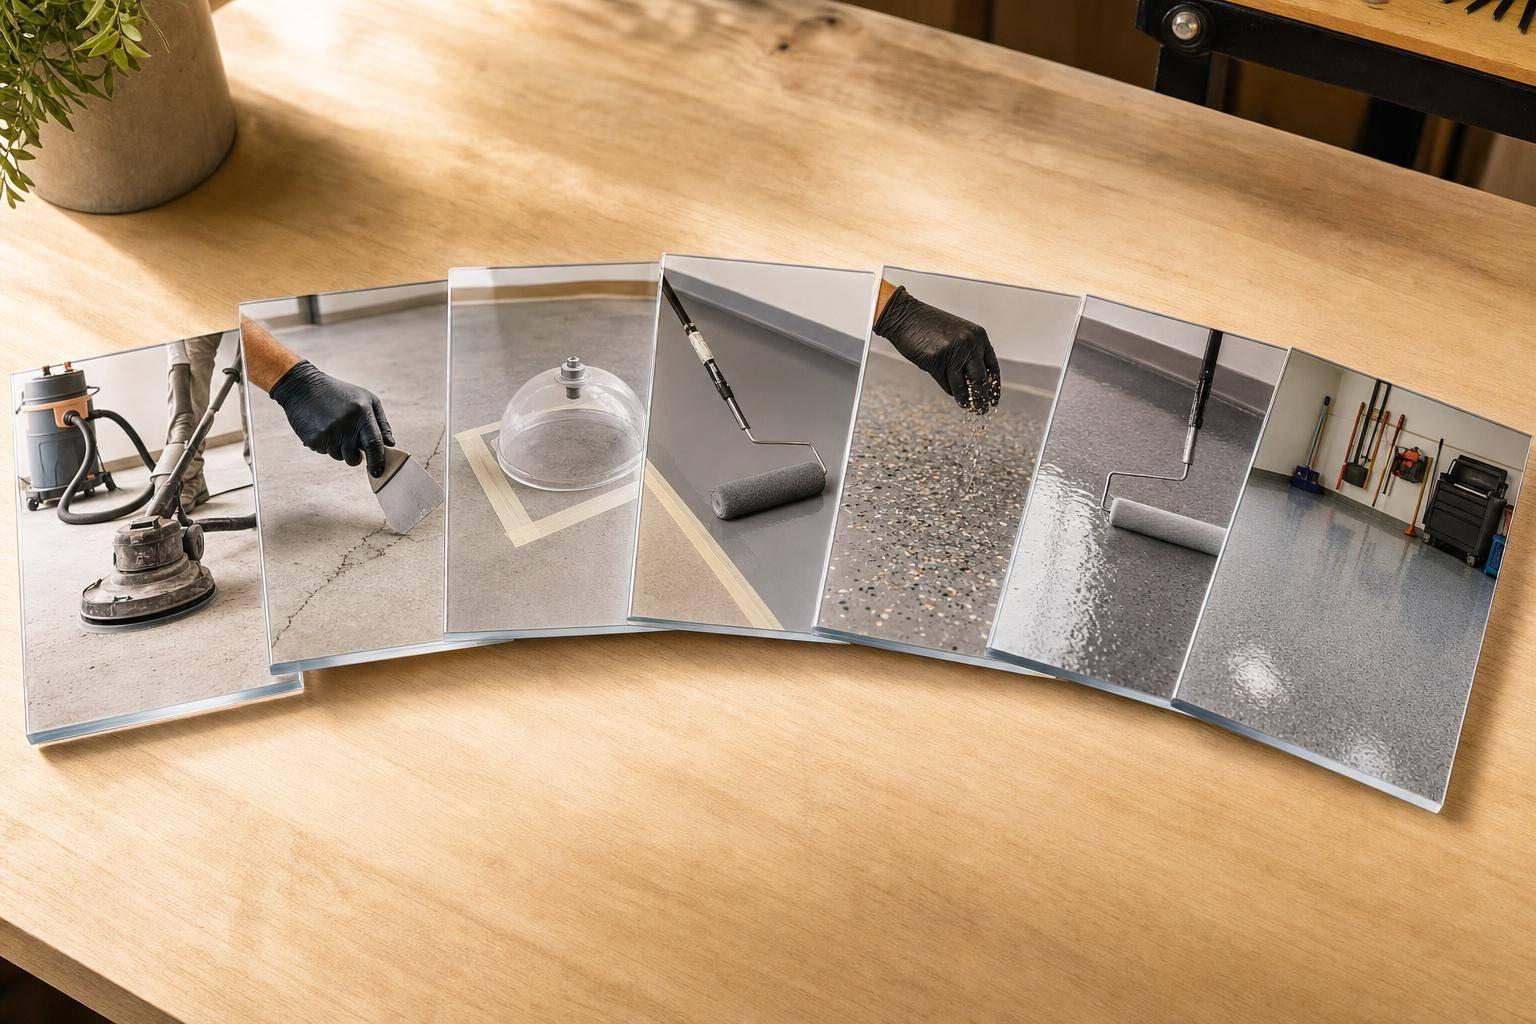
If you don’t photograph the job, you lose the proof. For a coated floor, the work that matters most is often hidden after the next layer goes down.
I’d sum this up in one line: take date-stamped photos of all 7 stages – before prep, during repairs and testing, and after finish work – to show what the slab looked like, what was done, and what changed. That matters for inspections, service calls, and warranty files.
Here’s the short version of what needs to be in the record:
- Surface condition before work: cracks, stains, old coatings, drains, edges, and room layout
- Crack repair steps: before, opened up, filled, and ground flush
- Moisture signs and test readings: damp spots, efflorescence, test location, and meter results
- Basecoat coverage: full coverage before flakes hide it
- Chip or flake broadcast: spread density, edge coverage, and color blend
- Topcoat finish: sheen, edges, transitions, and finish defects
- Final walkthrough: corrected items, handoff condition, and closeout proof
A few numbers stand out:
- 7 photo records build the job timeline
- At least 3 RH tests are needed for the first 1,000 sq. ft., then 1 more per 1,000 sq. ft.
- Some flake systems may give crews only about 15 minutes to broadcast into the basecoat
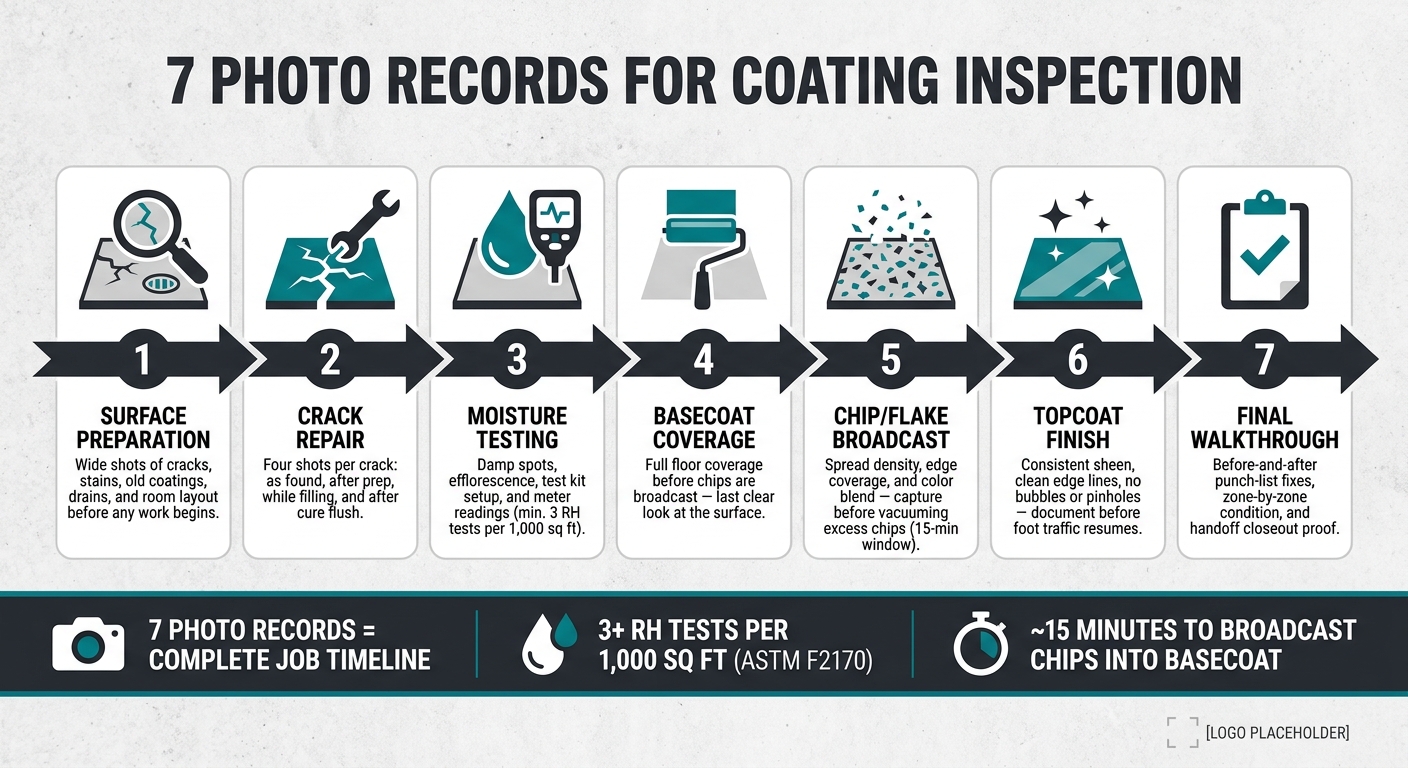
7 Photo Records for Coating Inspection: A Visual Checklist
Quick Comparison
| Photo record | What I’d show | What it helps answer later |
|---|---|---|
| Surface prep | Slab condition before work | Was the issue already there? |
| Crack repair | Each repair step | Was the crack treated and how? |
| Moisture testing | Signs, setup, and readings | Was moisture checked before coating? |
| Basecoat | Coverage before flakes | Were there thin or missed spots? |
| Chip broadcast | Density and uniformity | Was the spread too light or uneven? |
| Topcoat | Final finish and edges | Did the floor leave the jobsite in good shape? |
| Final walkthrough | Punch-list fixes and closeout | What was the condition at handoff? |
I’d also label files by date, stage, area, and view, then store them in the cloud with a local backup so the record stays easy to review later.
Why Photo Records Matter Before, During, and After a Coating Job
Every coating step gets covered by the next one. After the topcoat cures, photos are often the only way to show what happened underneath.
That’s why photo records matter so much. They build a clear visual timeline from surface prep to final signoff. They can also speed up warranty reviews by showing when a problem first showed up. And later, during service calls, they make it easier to track what changed over time.
Photos can also cut down on disputes. If the slab already had cracks, stains, or moisture issues before work started, the images help show that. Add timestamps and project location data, and each photo becomes much more useful because it’s tied to a specific date and job stage.
This is even more helpful for decorative flake systems, where the work follows a clear sequence: prep, crack repair, moisture testing, basecoat, flake broadcast, and topcoat. In those jobs, organized photo sets make the whole story easier to follow. Dated moisture-test photos can also help support warranty requirements.
| Stage | What Photos Prove | Why It Matters |
|---|---|---|
| Before work | Existing slab condition | Separates pre-existing issues from installer responsibility |
| During work | Prep, repairs, and moisture checks | Confirms installer and manufacturer requirements were met |
| After work | Finished appearance and open items | Confirms completion and remaining fixes |
Use these seven photo records to document each stage in order. Start with the slab’s condition before any prep begins.
1. Surface Preparation and Existing Condition Photos
Before any grinding or cleaning begins, photograph the floor exactly as it is. These baseline images show the slab before prep and give you a clear starting point. Begin with the slab’s original condition, then document repairs and coating layers in sequence.
Stage-specific proof
Start with wide shots from each corner and doorway so the full room layout is visible, including walls, drains, posts, and obstacles like cabinets or vehicles that affect access and prep. After that, get close-up shots of the problem areas: oil stains, tire marks, rust spots, spalled or pitted sections, existing sealers, old coatings, and earlier repairs such as patches, joint fills, or overlays. Then retake those same angles after prep to show the cleaned surface profile.
Warranty file value
Photograph cracks that were filled without movement coverage and note any past moisture issues before work starts. Each photo should be paired with notes that explain what was repaired and what was left out of coverage. Croc Coatings can use those baseline images to separate coating problems from pre-existing slab conditions during warranty reviews.
Future troubleshooting reference
Take close-ups of transitions at garage doors, drains, and stained areas for later root-cause review. These spots often show failure first.
Visible quality checkpoints
Before any coating is applied, the photos should show that the floor is actually ready. That means a clean, dry surface, flush repairs, and a consistent profile in corners, along edges, and under moved obstacles. In close-up shots, place a coin or tape measure next to a crack or spall so the size is easy to understand.
Once the baseline is documented, move to crack repair photos.
2. Crack Identification and Repair Photos
Crack photos give you proof of work that will soon disappear under the coating. Once that coating goes down, you can’t see the repair anymore. That’s why these images matter. A scale in the frame also helps later, because it shows the crack width instead of leaving it up to memory.
These photos tie the slab’s starting condition to the repair work hidden below the coating.
Stage-specific proof
Photograph each crack in four stages: as found, after prep, while filling, and after cure. Start with a context shot that shows where the crack sits in the slab, such as near a control joint, wall, door, post, or drain. Then take a close-up with a tape measure or ruler across the crack so the width and length are easy to read later.
After routing or grinding, photograph the open crack once it’s clean and free of debris. Next, capture the filler as it’s being placed, slightly above the surface. Finish with a photo of the cured repair after it has been ground flush.
Warranty file value
Take a photo of the filler product label beside the repair so the material used is clear. For Croc Coatings warranty files, pair that image with the cured repair photo to confirm the crack was filled with the correct repair material.
Future troubleshooting reference
If a crack shows through the coating months or years later, archived repair photos give you a direct way to compare the original location and width with the current failure pattern. That side-by-side check helps show what happened:
- The crack reopened
- The filler failed
- A new line formed nearby
Visible quality checkpoints
Before coating starts, the cured repair should look flush, smooth, and free of pinholes or raised ridges. A low-angle photo across the slab surface is usually the best way to spot high areas that a straight-on shot can miss.
Also check, and photograph, that there are no shrinkage cracks in the filler itself. If you see them, refill that area before coating begins.
Next, record moisture signs and test locations before coating starts.
3. Moisture Signs and Test Location Photos
Moisture is one of the main reasons concrete coatings fail early. That’s why crews need a clear visual baseline before any coating goes down. These photos should show existing moisture, test locations, and the actual readings. If moisture shows up, document it before coating work starts.
Stage-specific proof
Start with a wide photo of the full floor. Then move into close-ups of damp spots, efflorescence, or blistering in any existing coating. After that, document the test setup and the reading in that same order so the file is easy to follow.
For calcium chloride tests, photograph:
- The test kit
- The exact location
- The final reading
For in-slab RH probes, photograph the drilled hole, probe placement, and meter display. ASTM F2170 requires at least three RH tests for the first 1,000 sq ft, plus one more for each additional 1,000 sq ft. If mitigation is needed, photograph the repair, then retest those same locations.
Warranty file value
For Croc Coatings warranty files, pair each reading with a wide photo that ties the test spot to a fixed landmark, like a garage door, column, or drain. That simple step makes the location easy to verify later.
Penntek‘s technical data sheet sets a moisture limit of less than 5.0% by non-destructive electronic meter (ASTM F2659) for bare concrete floors. A passing reading shown right next to that spec limit gives you clean warranty proof. For Croc Coatings jobs backed by a lifetime residential warranty, this helps show the Penntek Evolution system was installed under controlled conditions.
Future troubleshooting reference
Efflorescence points to an active moisture source and possible hydrostatic pressure – conditions that can push a coating off the slab from below. If blistering appears later, archived photos can show whether that area already had moisture, efflorescence, or a drainage low spot.
That side-by-side comparison can clear things up fast. It helps crews tell the difference between a new drainage issue and a problem that was there from day one.
Visible quality checkpoints
Walk the perimeter and photograph slab edges along foundation walls, garage door thresholds, and any wall-base intersections. Also photograph spots where grinding causes the concrete to darken fast, which can point to moisture pressure.
Before coating begins, each flagged area should appear dry, clean, and free of efflorescence. If it doesn’t, document it, fix it, and take another photo before coating starts.
Once the slab passes moisture checks, move to basecoat coverage photos.
4. Basecoat Coverage Photos
Once the slab passes moisture checks, take photos of the basecoat before chips are broadcast. This is the moment that shows whether the floor has full coverage, clean edges, and no visible flaws. After the basecoat cures, later layers hide most of that detail. Put simply: this is your last clear look at the surface before the flake layer covers it up.
Stage-specific proof
Start with one last photo of the bare, prepped concrete right before coating begins. Then take photos of the basecoat while it’s being applied so you can see the wet edge and the tools in use. After that, photograph the floor again once the whole surface is covered.
Use the same two vantage points each time, like the main garage door and the back wall. Keep the angles consistent so it’s easy to compare coverage from one stage to the next.
Warranty file value
These photos help show whether the installer coated the slab all the way before decorative layers made the basecoat hard to inspect. Wide shots should show a uniform sheen with no dull patches, exposed texture, or missed spots.
Close-ups matter too. Document edges along stem walls, garage door thresholds, control joints, drains, and posts. The goal is simple: show that the basecoat runs tight to every detail with no bare concrete left showing.
For Croc Coatings projects with a lifetime residential warranty, this photo set helps confirm the system was applied the right way across the full surface, including high-wear tire lanes and entry zones.
If a spot needs correction, photograph the fix before moving on.
Future troubleshooting reference
If a touch-up is needed, such as thin coverage near a porous area, roller lap lines, or a missed corner, photograph it before and after the correction from the same angle and distance. That side-by-side record can save a lot of guesswork later. If peeling shows up down the road, these images help show whether the problem started with coverage or came later after installation.
Visible quality checkpoints
Do a quick visual sweep under both ambient and raking light from about 20 ft away. Raking light is especially useful because it reveals pinholes, surface craters, and lap ridges that flatter lighting can hide.
Photograph any defect you find, then photograph the corrected result before flakes are broadcast. If something gets missed at this stage, it becomes much harder to spot once the flakes go down.
sbb-itb-a0e5ae3
5. Chip or Flake Broadcast Photos
The chip broadcast stage is the last time you can clearly see decorative coverage before later coats cover it up. In many polyurea and polyaspartic systems, crews usually have only 15 minutes after rolling the basecoat before the broadcast window closes. That short window makes this step easy to miss with a camera.
Still, these photos matter. They show what the basecoat coverage looked like at the exact point it was meant to be covered. They also give you the last clean record before the topcoat seals the final look.
Stage-specific proof
Take photos before vacuuming or scraping excess chips. That’s when the original spread density is still easy to see. Use wide shots from both ends of the room to show overall coverage. Then add angled shots to show surface texture and how fully the chips are embedded.
If the project calls for a full broadcast, where chips fully hide the basecoat, the photos should show that no base color is coming through. If the floor uses a partial or random broadcast, the images should show that too, because the final appearance is supposed to look different.
Warranty file value
Chip broadcast photos are the main proof of coverage density, color blend, and broadcast consistency. A solid photo set should make it clear whether the broadcast matched the specified finish density.
If a later claim involves thin coverage, uneven appearance, or early wear, these images can help show whether the issue was there from the start or showed up later. For Croc Coatings projects backed by a lifetime residential warranty, that record adds support to the warranty file.
Future troubleshooting reference
These photos can also help later if the floor shows thin spots, bald areas, or uneven color. Say a floor starts to show shiny patches or an exposed-basecoat look months or years later. The original images can help sort out whether the broadcast was too light for the intended finish or whether something else caused the problem.
Visible quality checkpoints
Before moving on to the topcoat, photos should confirm a few things:
- Chips cover the planned areas without major gaps
- Edges, drains, control joints, and door thresholds match the center coverage
- Thin spots are checked under both natural and artificial light
- Custom color blends look balanced, without one shade taking over
Lighting can change what you see. A floor that looks fine in one condition can show weak coverage in another. If coverage looks even and the edges are clean, move to topcoat finish photos.
6. Topcoat Finish and Detail Photos
After the chips are cleaned and the topcoat is on, this is your last window to document the floor in its finished state. The topcoat is the final visible layer, so this is when you show exactly how the surface looked at turnover.
Stage-specific proof
Take wide shots of the full floor as soon as the topcoat is dry to the touch and before people walk on it or equipment goes back in. Then move to mid-range photos along each wall edge, the garage door threshold, control joints, and any transitions to nearby surfaces. Close-up shots should show that the chip layer is fully sealed, with no loose or sharp chips sticking through the clear coat. If the spec calls for 4–6 mil dry film thickness, the finish should look even, not patchy or streaky.
Show the final sheen, edge coverage, and coated transitions before traffic starts again.
Once you’ve documented the finish, those same photos also lock in the floor’s condition at handoff.
Warranty file value
In a warranty file, edge and transition photos do a lot of heavy lifting. Shots where the coating meets door thresholds, drains, column bases, and control joints show that adhesion and film build were sound at those stress points from day one. That matters because these photos help sort out installation issues from wear that happened later.
A peeling threshold edge tells one story on its own. It tells a very different story when you can place it next to an earlier image showing a clean, fully coated termination line.
Future troubleshooting reference
Photograph small defects at turnover too, including orange peel, color shifts, or bubbles. Later, an inspector can compare those images with current conditions and see whether the flaw was there at turnover or showed up after. That saves guesswork.
Use low-angle light from a phone flashlight to reveal sheen changes across high-traffic lanes and low-use corners. Archived turnover photos also make wear checks easier because they show the floor’s original gloss, color, and edge condition.
Visible quality checkpoints
Before you wrap up this photo set, make sure the camera confirms:
- Consistent sheen across the full floor, with no hazy patches, dull spots, or gloss waves
- Clean, straight edge lines along walls, posts, and thresholds, with no missed spots or squeeze-out
- No bubbles, fish-eyes, pinholes, or runs in the clear coat
If you spot a defect, mark it, photograph the location, and add it to the punch list.
7. Final Walkthrough and Punch-List Photos
The final walkthrough is the last record before handoff. It shows the corrected floor as it looked at closeout, so this photo set should clearly document what was fixed before the job changed hands.
Stage-specific proof
Walk the floor zone by zone so nothing slips through the cracks. This set should show the final condition after prep, repairs, moisture checks, and topcoat photos. Wide shots from each corner help confirm the space is ready.
Take photos in both natural light and artificial light. That way, shadows or glare don’t hide defects. Medium shots should show transitions to driveways, adjacent rooms, steps, and edges.
For each punch-list item that was corrected, take a photo before the fix and after the fix from the same angle and distance. That side-by-side record shows the defect was found and corrected before sign-off. Include the job number in at least one frame.
It also helps to document handoff conditions. At closeout, the space should look clean, dry, and free of dust, debris, or standing water. Then file the closeout photos by project, date, and location.
Warranty file value
These final photos create a visual baseline for later warranty questions. Close-ups of high-wear zones, like vehicle parking areas, garage entrances, and doorway thresholds, show what the floor looked like at closeout.
For Croc Coatings projects, these images become part of the warranty file and help support future claim decisions.
Future troubleshooting reference
Final walkthrough photos also help with troubleshooting months or years after installation. If a customer reports a problem near a drain or expansion joint, the original closeout images can show whether that detail was sound at handoff or already marginal.
That makes the next step – labeling and storage – faster.
Visible quality checkpoints
Before wrapping up, make sure the camera clearly shows:
- Overall finish matches the approved look, with no dull, hazy, or mismatched areas
- Clean edges and transitions at walls, posts, drains, steps, risers, and door thresholds, with no missed coverage or ragged edges
- Surface texture, shown with angled shots that reveal how the broadcast material and topcoat create a consistent profile
If it isn’t photographed, it isn’t in the record.
How to Label and Store Inspection Photos
Photos only do their job when you can find them fast.
The simplest way to keep things organized is to match your photo archive to the job timeline. Use the same seven stage names from the inspection checklist, so anyone reviewing the project can follow the work from start to finish without guessing.
Create one top-level project folder using the property address, city and state, and job number. For example: 123-Main-St_Coeur-dAlene-ID_2026-041.
Inside that folder, use numbered stage folders so everything stays in order:
- 01 Surface Prep
- 02 Crack Repair
- 03 Moisture Testing
- 04 Basecoat Coverage
- 05 Chip Broadcast
- 06 Topcoat Finish
- 07 Final Walkthrough
For each photo, use this file naming format: YYYY-MM-DD_Stage_Area_View_Initials_Sequence.
Example: 2026-09-15_03-Moisture-Testing_Garage-North-Wall_Wide_JD_001
Starting each file name with the date in YYYY-MM-DD format keeps photos sorted by time, which makes reviews much easier later.
Each photo should also include a short caption. Use this format: [Stage] – [Area] – [View] – [Condition or Action].
For example: Crack repair – driveway expansion joint – close-up – filled with polyurea; excess shaved flush.
That extra line of context matters. A good caption turns a random image into a useful job record. It shows what was happening, where it happened, and what changed. When captions connect to inspection findings and repair outcomes, the archive becomes useful for future troubleshooting, not just basic file storage. Tie each photo back to the inspection notes and the job ID.
Store the full archive in a cloud-based system with at least one local backup. Upload photos the same day you take them. Forwarded images can lose metadata, and that can create headaches later when you’re trying to confirm timing, location, or sequence.
Once the archive is in order, it becomes much easier to spot the small details crews often miss.
Details People Often Forget to Photograph
Most crews do a solid job photographing the big stages. What slips through the cracks are the small details that later become the main proof during a review. Add these shots to the seven inspection records above, not as a separate step.
Edge conditions at walls, baseboards, and door thresholds get missed all the time. Take one low-angle side photo at each threshold, then pair it with a straight-on close-up. Put a tape measure in the frame so the step height is clear in inches.
Control joints and saw cuts need photos both before and after. The goal is simple: show whether the coating was filled, bridged, or left open.
Moisture signs near exterior doors and perimeter walls also tend to get overlooked. Photograph dark staining, efflorescence, damp concrete, and rust around metal thresholds. If you ran moisture tests there, include those spots in the photos so the label matches the image.
Floor drains need closer attention too. Capture the drain ring transition, the caulk or sealant detail, and the slope leading into the drain.
Take these close-ups while the floor is still easy to read, before the finish covers key details. Also photograph repaired patch areas and touch-ups after coating from the same angle used in the before shot.
Conclusion
A coating inspection photo set should track the floor from surface prep to final handoff. When you capture each stage in order, you create a clean record of how the floor came together. Once that set is done, it becomes the go-to reference for warranty coverage, maintenance, and future repairs.
That record also helps with workmanship reviews, homeowner signoff, and warranty claims – especially when the system includes a lifetime residential warranty from Croc Coatings. The photos give everyone the same starting point when questions come up later.
They also work as a maintenance baseline. Topcoat photos show the finished condition owners are expected to keep up, while moisture and crack-repair photos point to spots worth checking over time, especially near exterior doors and drains where conditions can change with the seasons.
To keep the photo set useful, store it with the warranty file and maintenance log so it’s easy to pull up later. Then cleaning, repairs, and warranty claims all begin from the same record. Used this way, the photo record helps protect the job long after installation.
FAQs
Who should keep the photo record?
Both the property owner and the installation crew should keep photo records. It’s a simple step, but it matters for quality checks and warranty support.
Property owners should save the final sign-off record and all maintenance documents. The installation team should hold on to pre-install logs and process photos, since those records set the project baseline.
When both sides share records, it helps protect the lifetime residential warranty from Croc Coatings.
What if a stage was not photographed?
If a stage wasn’t photographed, you’re missing the visual baseline needed for quality checks and warranty verification. That makes it harder to confirm the slab’s condition, the repairs that were made, and whether each step followed manufacturer specs.
To help protect your lifetime residential warranty – and the money you put into the project – keep a complete, date-stamped photo record of every stage of the installation.
How long should coating inspection photos be stored?
Keep coating inspection photos for as long as needed to protect your lifetime residential warranty. Because these images help with quality checks and warranty claims, the safest move is to keep them indefinitely.
Store the photos alongside inspection logs and maintenance records. That way, you have a clear paper trail showing the floor was cared for properly if any questions come up about its condition or performance.