For homeowners and small business owners in North Idaho and Eastern Washington, having a functional and attractive workspace is often seen as both a lifestyle upgrade and a savvy investment. Transforming a garage into a workshop can breathe new life into your property, enabling you to tackle projects with efficiency and creativity.
This article chronicles one such journey – a meticulous effort to turn a cluttered, disorganized garage into a dream workshop. With a tight $2,000 budget, reliance on reclaimed materials, and unwavering determination, this transformation showcases the power of creativity, resourcefulness, and grit.
Whether you’re a DIY enthusiast or someone looking to optimize your garage or patio space, this journey will offer actionable ideas, garage storage solutions, and inspiration to reclaim your own workspaces effectively.
The Problem: A Space Spiraling Into Chaos
The garage in question began as an unkempt and chaotic dumping ground for tools, supplies, and unfinished projects. Years of disorganization and scattered materials had led to inefficiency and frustration, draining the homeowner’s passion for creating. This wasn’t just about fixing a physical space – it was about reclaiming a sense of purpose and passion.
Several core challenges became evident:
- Disorganized Tools and Supplies: Tools were scattered across boxes and surfaces, creating inefficiency.
- Limited Storage: A lack of shelving and storage solutions exacerbated the mess.
- Damaged Space: Electrical issues, uneven flooring, and grimy walls made the space unwelcoming.
- Budgetary Constraints: The transformation had to stay within a $2,000 budget while relying heavily on reclaimed and recycled materials.
sbb-itb-a0e5ae3
The Vision: A Workshop for Function and Inspiration
With a clear set of goals, the homeowner embarked on this ambitious transformation:
- Use Reclaimed Materials: Prioritize repurposed, recycled, or salvaged items to reduce waste and costs.
- Stay Within Budget: Limit the total project cost to $2,000 (excluding existing tools).
- Organizational Overhaul: Create a system for storing tools, fasteners, and materials to maximize efficiency.
- Create Functional Work Areas: The workshop needed to accommodate various creative tasks – woodworking, drafting, and assembly.
- Aesthetic Appeal: The space had to feel cohesive and inspiring, even with its reliance on hand-me-down materials.
Step-by-Step Transformation: Crafting the Dream Workshop
1. Laying the Foundation
- Electrical Overhaul: Rusted, unsafe lighting fixtures and outdated wiring were replaced professionally. This accounted for nearly half of the initial budget ($950).
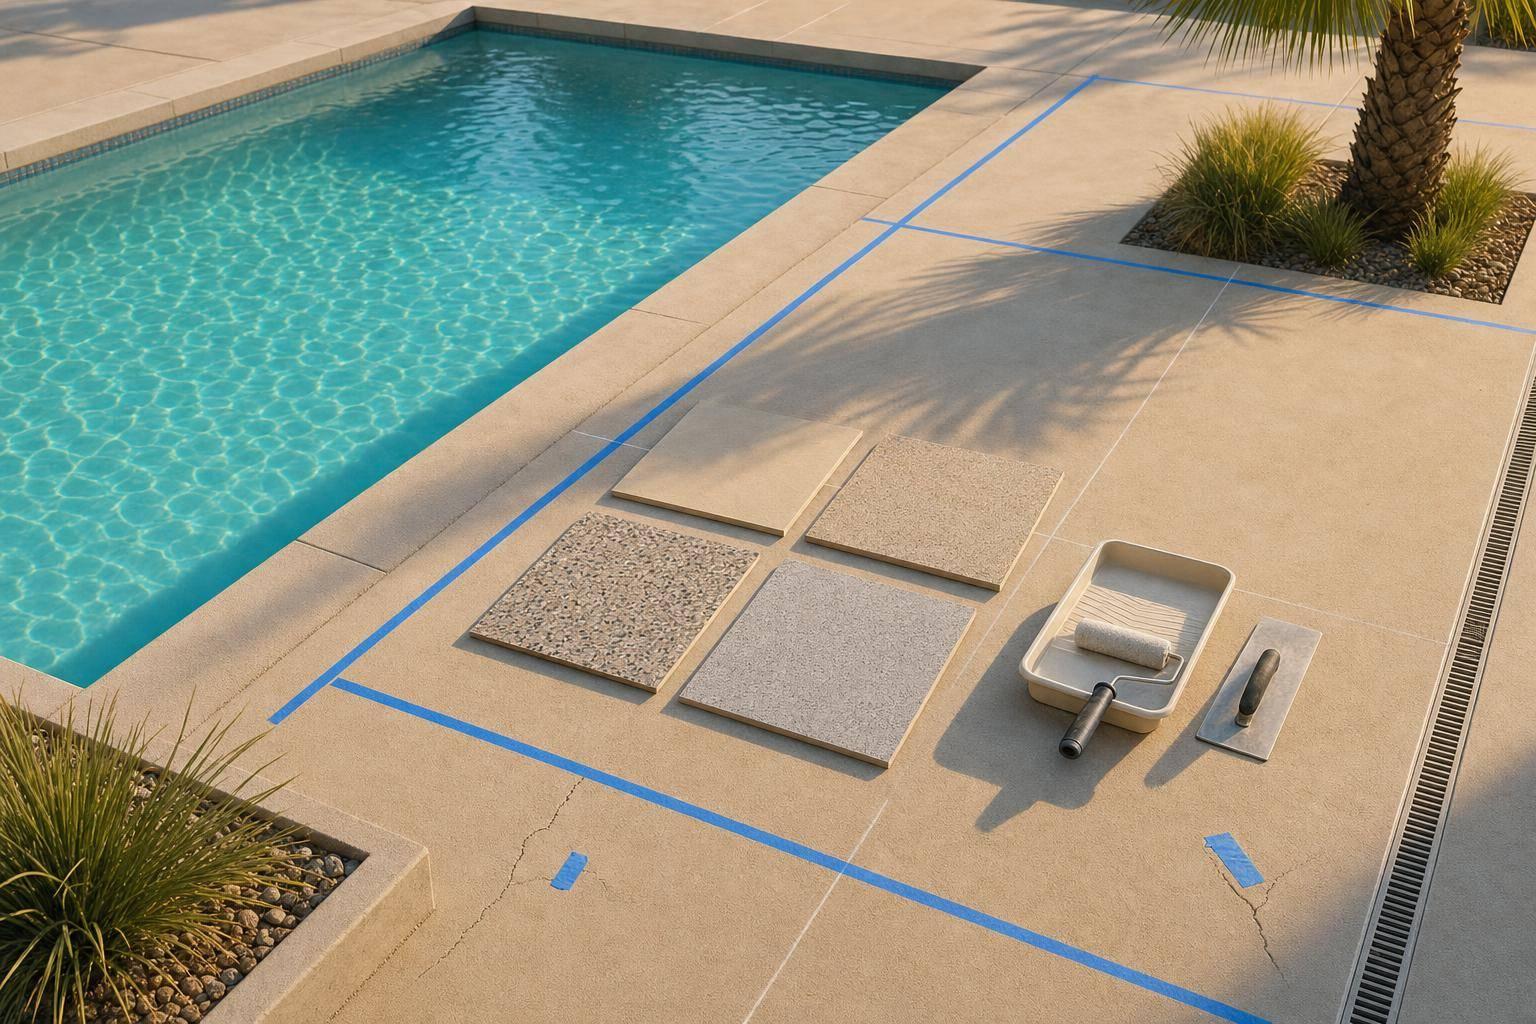
- Refinishing the Space: The garage was painted to freshen its appearance. While solvent-based paints vs. epoxy coatings were considered, a cost-effective paint solution was chosen to stay within budget. Although polyurethane outlasts garage floor paint, the latter was more accessible for this project.
- Decluttering: Years of accumulated materials were sorted, with some items sold for scrap to reinvest into the budget.
2. Crafting Workstations and Storage
- Reusing Kitchen Cabinets: Old kitchen cabinets were cleaned, reinforced, and repurposed into storage units. Their counters were raised with scraps, ensuring they remained level on the uneven garage floor.
- Custom Countertops: Solid-core doors salvaged from vacated office spaces became sturdy, DIY countertops, replacing the need for expensive butcher block alternatives.
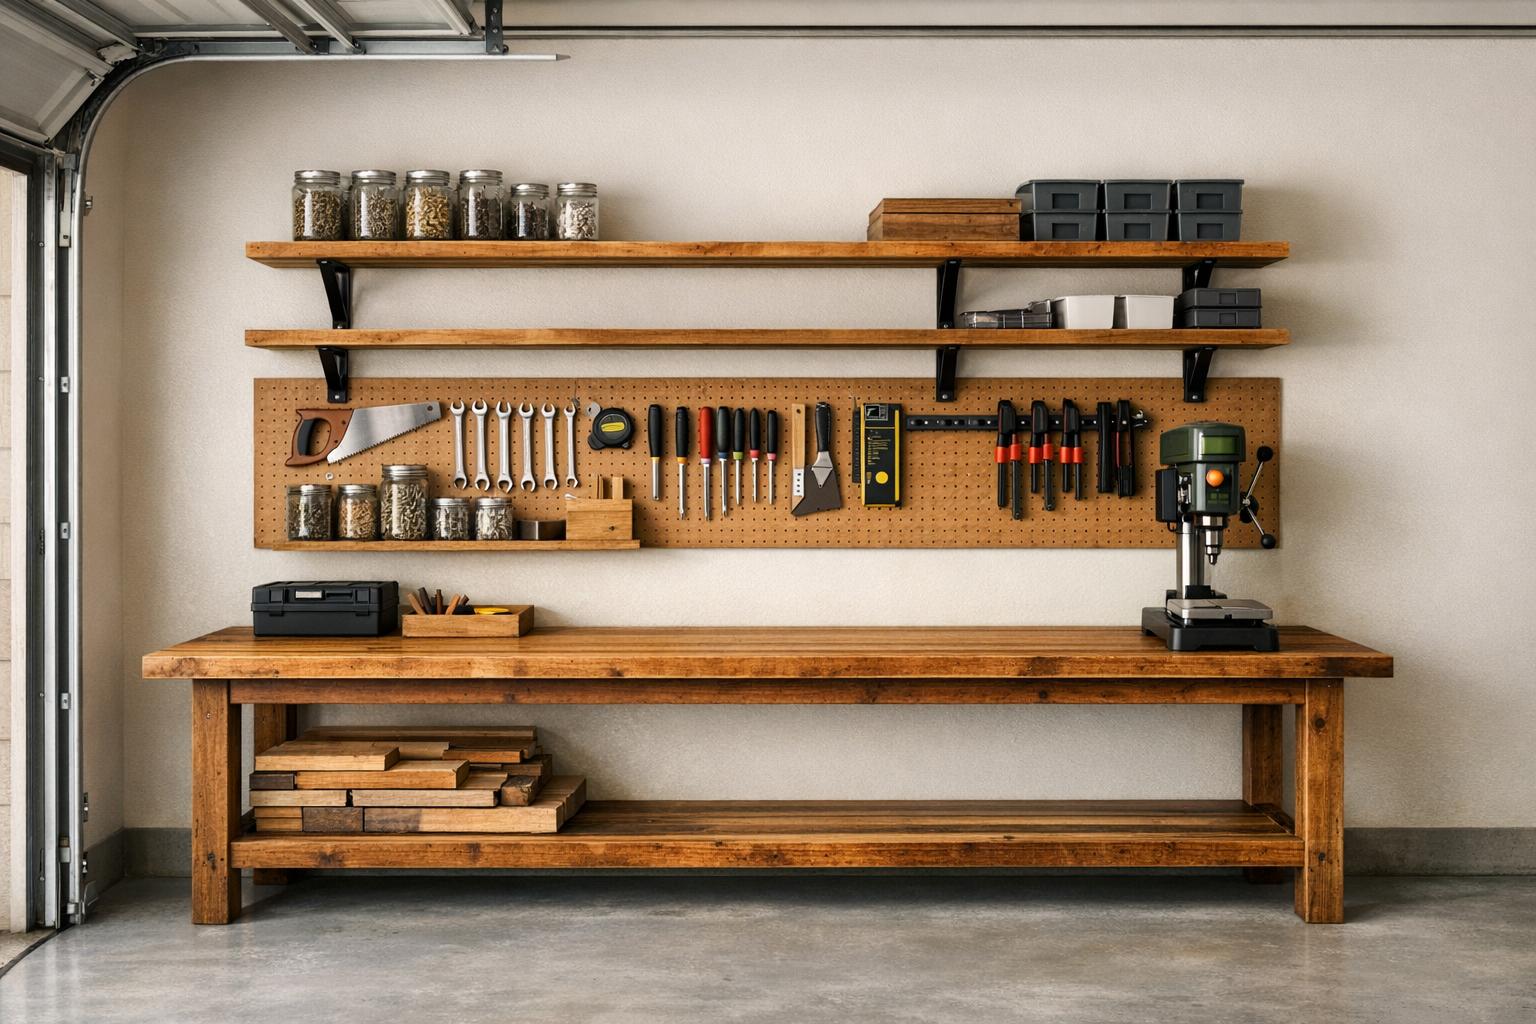
- Pegboard Installation: Pegboards, including salvaged ones, were installed for tool organization. Chalkboard paint was applied to outline tools, balancing function and aesthetics.
3. Building Assembly Tables
- Repurposed Materials: Utilizing salvaged wood, two sturdy assembly tables were built with leveling casters for mobility. One was covered with carpet for use as a glass-cutting station.
- Cost-Saving Features: A focus on reclaimed doors and leftover paints kept expenses low while ensuring durability and function.
4. Organizing the Chaos
- Drawer and Bin Systems: Tools, fasteners, and miscellaneous items were sorted into labeled bins, custom drawer organizers, and custom-built racks.
- Wood and Glass Storage: Creative shelving solutions using scrap lumber and metal grids allowed for vertical storage of large items like sheet goods, glass, and pipes.
- Lighting and Accessibility: Under-cabinet lighting and retractable extension cords improved visibility and usability throughout the space.
5. Adding Functional and Personal Touches
- Custom Details: Small features, like a clamp wall, T-tracks for the miter saw station, and built-in measuring tapes, made the space more efficient.
- Aesthetic Upgrades: Painted surfaces, veneered edges, and cohesive finishes elevated the visual appeal of the workshop.
- Practical Amenities: A heater was installed to combat the cold winters, ensuring year-round usability.
Key Lessons Learned and Challenges Overcome
Transforming the garage was not without its obstacles. Budget limitations required careful prioritization, while the scale of the mess was overwhelming at times. However, the homeowner’s persistence, creativity, and faith allowed them to navigate these challenges successfully.
Key takeaways include:
- Work With What You Have: Using reclaimed materials not only reduces costs but adds character to the space.
- Organization Is Key: Custom storage solutions and clearly labeled bins/drawers made all the difference in maintaining order.
- Plan for Growth: Building modular and adjustable features ensures the workshop can evolve over time.
- Balance Function and Aesthetics: A well-designed space is more likely to inspire productivity and creativity.
- Know When to Ask for Help: Hiring professionals for tasks like electrical work ensures safety and quality results.
Key Takeaways: How to Apply These Ideas to Your Space
If you’re inspired to transform your garage or workshop, here are actionable steps to implement:
- Start With a Plan: Define your goals, budget, and priorities before beginning. Know what you want to achieve.
- Declutter First: Sort your existing materials and identify items that can be reused, sold, or discarded.
- Invest in Organization: Install pegboards, bins, and shelves to transform your garage lighting, layout, and storage for tools and supplies.
- Use Reclaimed Materials: Check thrift stores, scrap yards, or office clear-outs for budget-friendly materials like cabinets and doors.
- Focus on Functionality: Build workstations and storage solutions tailored to your specific needs.
- Add Lighting and Comfort: Good lighting and climate control make a significant difference in usability.
- Embrace Imperfection: Your workshop doesn’t need to be perfect – it just needs to work for you.
Conclusion: Reclaiming Space, Creativity, and Passion
Transforming this garage was more than just a DIY project – it was a deeply personal journey of reclaiming creativity, passion, and order. What began as a cluttered, chaotic space is now a functional, aesthetically pleasing workshop that inspires productivity and creation.
This story reminds us that with resourcefulness, determination, and a bit of imagination, any space – no matter how messy – can be transformed into a haven for creativity. Whether for a homeowner looking to enhance their property or a small business owner optimizing their workspace, this project serves as proof that even the biggest challenges can be met with ingenuity and care.
So, go ahead. Dream big, start small, and let your creative space reflect the best version of yourself.
Source: "9 Months of Transforming My Garage into a Workshop" – Tanner Serpa, YouTube, Jul 12, 2025 – https://www.youtube.com/watch?v=RY-xCPD1A1g