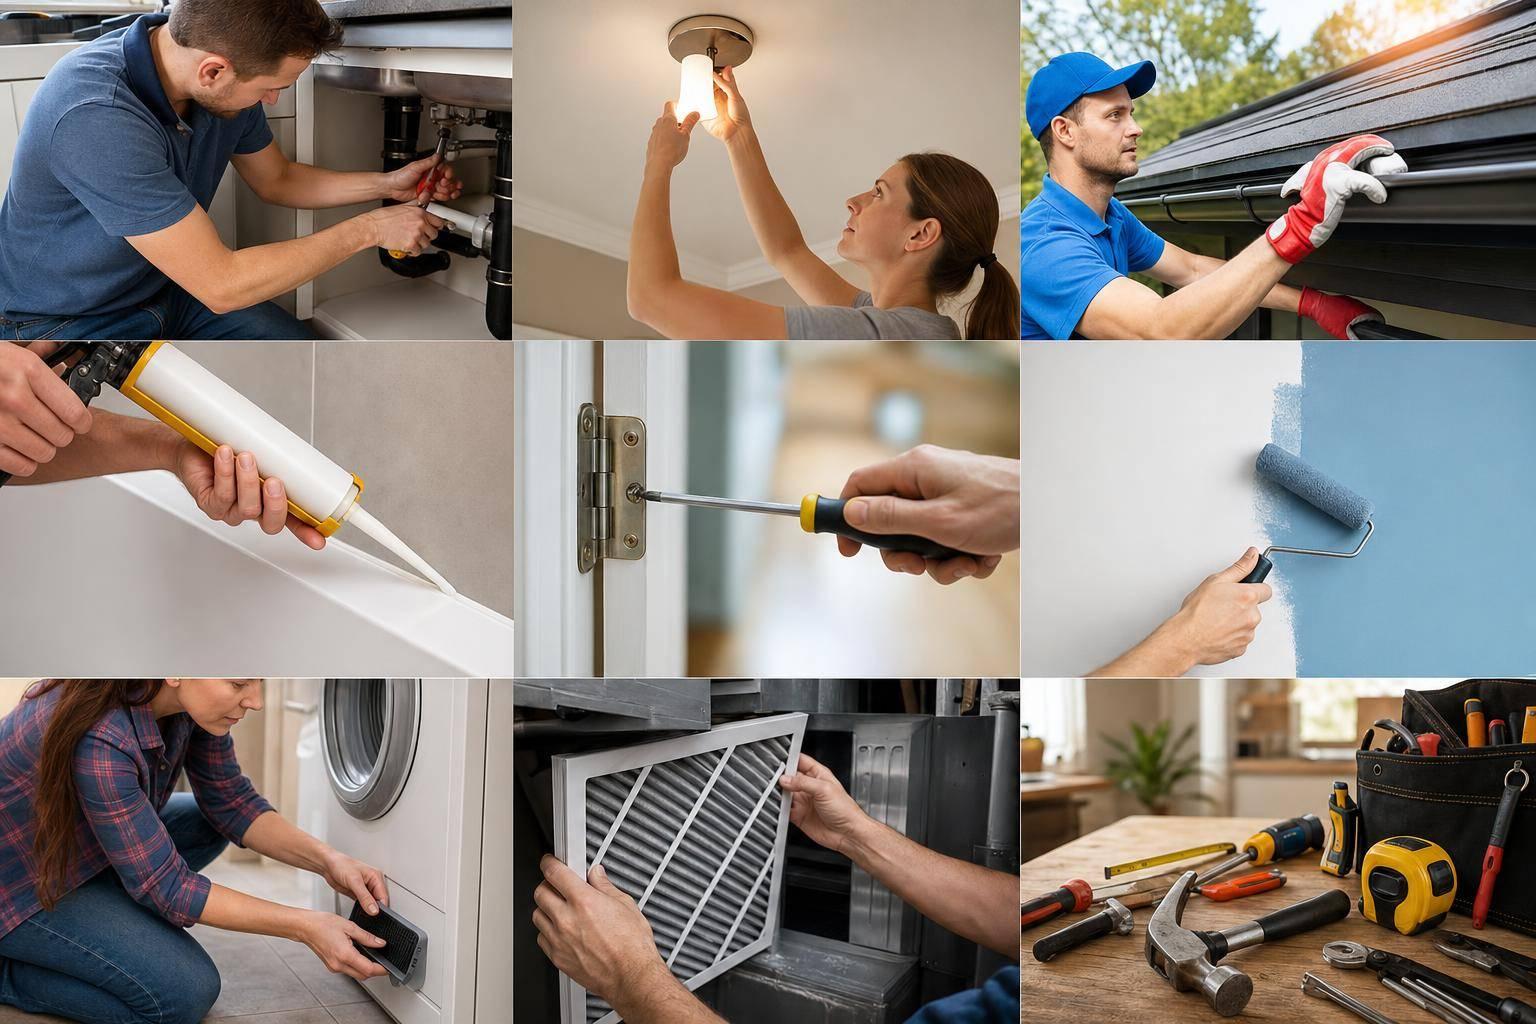
Owning a home means the small stuff never really stops. A sticking door, cracked bathroom joints, a dripping faucet, loose fixtures, lawn stress, mold, rusty tools – none of these problems seem urgent at first. But left alone, they often turn into the kind of repair that costs more, takes longer, and creates more frustration than it should.
That’s the real value behind this video: not just showing quick fixes, but reinforcing a smarter mindset for home maintenance. Tackle minor defects early, use the right material for the job, and focus on fixes that last.
For homeowners and property owners in places like Coeur d’Alene, Hayden, Post Falls, Spokane, and the Tri-Cities, that approach matters. Seasonal moisture, dry spells, freeze-thaw movement, and everyday wear can all accelerate the kinds of problems covered here. Below is a practical breakdown of the video’s best lessons – plus added context to help you decide what’s worth doing yourself and what to watch closely.
Why Small Repairs Matter More Than Most Homeowners Think
One of the strongest themes in the video is simple: small maintenance issues rarely stay small.
A cracked joint in a bathroom can let water into cabinetry. A loose shelf can become a safety hazard. A dripping tap can waste water and signal worn internal parts. A wobbly bracket may eventually tear out tile anchors completely.
These jobs are easy to delay because they don’t always stop the home from functioning. But that’s exactly why they’re expensive in the long run – they quietly worsen in the background.
The video also highlights a useful principle that applies to nearly every room in the house:
If you repair something properly the first time, you usually won’t need to revisit it soon.
That’s not just DIY optimism. It’s good property management.
sbb-itb-a0e5ae3
Key Takeaways
- Use flexible sealant, not grout, at movement joints such as where walls meet floors in bathrooms.
- Fix water issues early – drips, failed caulk, and poor seals often lead to hidden damage.
- Replace worn hardware instead of forcing it to work, especially with rollers, hinges, and faucet components.
- A secure mounting system matters more than the fixture itself when repairing holders, rails, and shelves.
- Templates beat rough measurements in older homes where walls and corners may not be square.
- Routine cleaning prevents system failure in gutters, rainwater components, and drains.
- Lawn health starts below the surface, so check for weeds, thatch, and insect damage before peak summer stress.
- Tool maintenance improves safety, not just appearance – sharp, rust-free tools perform better and are less risky to use.
- Choose materials for the environment, such as bathroom-grade silicone in wet areas.
- Inspect before you replace – many household problems come from loose screws, bad anchors, or worn seals rather than major structural failure.
1. Fix Sticking Sliding Doors by Checking the Rollers First
Sliding doors are convenient until they start dragging, jamming, or jumping off track. In the video, the underlying issue was worn rollers, and that’s a common failure point.
What the video gets right
The repair process starts by exposing the track and inspecting the wheel assemblies. That’s important because many people assume the track itself is the problem, when the rollers are often the real cause.
The general repair flow shown is:
- Remove trim or molding if needed to access the door hardware
- Take the door off carefully
- Remove the old rollers
- Match them at the hardware store
- Reinstall and adjust height evenly
The video also points out a helpful detail: the threaded adjustment changes door height, while the nut locks the setting in place.
Added context
If you live in an area with dust, pet hair, or tracked-in grit, dirty tracks can accelerate roller wear. Before installing new rollers, clean the track thoroughly. If the track is bent or gouged, new wheels may still not glide well.
A sliding door that’s hard to open is more than an annoyance. It can become a daily strain point, especially in high-traffic rooms or for older adults.
2. Repair Loose Bathroom Fixtures by Upgrading the Anchor, Not Just the Screw
The broken toilet paper holder in the video is a great example of a common DIY mistake: tightening a loose fixture without fixing the failed mounting behind it.
The core lesson
When a fixture pulls loose from drywall or tile, the problem is often:
- undersized wall plugs
- worn anchors
- crumbling substrate
- screws that no longer grip
In the video, the fix was straightforward: remove the holder, use larger plugs, trim them flush if necessary, and remount the bracket securely.
Why this matters
Whether it’s a toilet paper holder, towel bar, or shower rail, the bracket is the true structural point. If the wall anchor fails, the fixture will keep loosening no matter how many times you tighten it.
In tiled bathrooms, care matters even more. Over-tightening can crack tile or stress the hole. If the existing opening is damaged beyond a simple plug replacement, the video does not specify advanced repair methods, so a more specialized approach may be needed.
3. Stop Dripping Faucets Before They Waste Water and Damage Finishes
A dripping tap feels minor until you hear it at night – or see staining develop around the sink.
The video walks through the first non-negotiable step: turn off the water supply before starting. Then it outlines the possible repair paths:
- replace washers
- replace spindle assemblies
- swap out the full tap assembly
In the example shown, the old two-tap setup was replaced with a new assembly.
One especially useful tip
The video emphasizes wrapping thread seal tape in the same direction the fitting will tighten. That matters because the tape can bunch or unravel if applied the wrong way.
Broader insight
Not every dripping faucet needs full replacement. But if hardware is dated, worn, or difficult to operate, replacing the assembly can make more sense than rebuilding internal parts one by one.
The video also notes the benefit of a half-turn spindle for easier use. That’s a good reminder that maintenance can improve usability, not just stop leaks.
4. Replace Cracked Bathroom Grout at Change-of-Plane Joints With Silicone
This is one of the most valuable tips in the entire video because it addresses a very common failure in bathrooms.
When grout cracks where the wall meets the floor, many homeowners simply add more grout. But the video correctly explains that homes move, and those joints need a flexible sealant, not a rigid one.
The recommended process
- scrape out the failed grout
- clean the area thoroughly
- wipe with methylated spirits so no residue remains
- apply bathroom-grade silicone
- tool the bead smooth using soapy water and a shaping stick
The video also points out another important spot: the joint between the vanity and the wall.
Why this matters in real homes
Water rarely needs a large opening to create damage. Small unsealed gaps near sinks, showers, or tubs can let moisture behind cabinets and trim, leading to swelling, mold, and finish failure.
For homes in wetter seasons or spaces with poor ventilation, this kind of maintenance is even more important.
5. Replace Moldy Shower Door Seals Instead of Living With Them
The bottom seal on a shower door is easy to ignore because it degrades gradually. But once it’s brittle, discolored, or moldy, it stops doing its job.
The video shows a simple method:
- remove the old strip
- clean the glass
- cut the new seal to size
- slide it into place
Why this small fix pays off
A worn shower seal can allow water to escape onto the bathroom floor. Over time, that can damage base materials, create slippery conditions, and contribute to persistent dampness.
This is a good example of a low-cost part that protects much more expensive finishes.
6. Build Safer, Stronger Shelving by Using Templates in Older Homes
One of the more transferable lessons in the video comes from the pantry shelf repair. The old shelf wasn’t properly secured and was described as dangerous – and that’s not an exaggeration. Poorly installed shelving can fail suddenly, especially when loaded.
Best insight from this segment
Don’t trust measurements alone in an older house. Make a template.
Walls, corners, and existing supports are often out of square. A cardboard or plywood template helps avoid gaps and bad cuts.
Why this matters beyond shelving
This principle applies to:
- countertop fillers
- trim pieces
- replacement panels
- flooring transitions
- built-ins
A template reduces waste and usually delivers a better fit than relying on nominal dimensions.
The video also shows the value of using thicker material and fastening from a solid backing point where possible. That creates a shelf that feels intentional and durable instead of temporary.
7. Prevent Mold by Solving the Moisture Conditions, Not Just Cleaning the Surface
The video’s mold section moves beyond cosmetic cleaning, which is important. Killing visible mold is only step one. Preventing recurrence means addressing the conditions that allow it to grow.
The process shown
- apply a mold-killing product
- prime the surface
- use a coating suitable for wet areas
The video mentions a paint system designed to resist mold, moisture, and bacteria.
The bigger lesson
Paint alone does not eliminate moisture problems. If a bathroom or laundry room has poor ventilation, recurring condensation, or leaks, mold-resistant coatings help – but they don’t replace airflow and moisture control.
The video does not go deeply into ventilation upgrades, so that’s worth noting. If mold repeatedly returns in the same area, the underlying issue may be larger than the surface finish.
8. Maintain Gutters and Rainwater Systems Before They Back Up
Although some of the rainwater tank details reflect Australian housing norms, the maintenance logic translates well anywhere: keep water moving cleanly and where it belongs.
The video highlights several maintenance points:
- remove leaves and debris from gutters
- inspect the incoming water path
- clean first-flush components
- wash filters and strainers
- check for mosquito entry points or damaged screens
Why this matters locally
In North Idaho and Eastern Washington, clogged drainage systems can contribute to overflow, ice buildup, fascia rot, and foundation moisture problems depending on the season. Even if a home does not have the same tank setup shown in the video, the principle stands: neglected water-management systems fail at the worst time.
If you have any kind of collection or screening system, put it on a regular inspection cycle rather than waiting for a visible issue.
9. Improve Lawn Health by Looking for Stress Signals Early
The lawn section is more preventive than glamorous, and that’s exactly why it’s useful.
Instead of focusing only on mowing, the video encourages homeowners to:
- inspect for weeds before mowing
- remove weeds by the root where possible
- identify areas with thatch buildup
- apply a wetting agent for dry grass
- inspect for pest damage below the surface
Important nuance
A good-looking lawn isn’t just about appearance. It reflects watering efficiency, root health, soil condition, and pest pressure. The video’s point about "something lurking beneath" is especially relevant – surface symptoms often begin underground.
The video specifically discusses curl grubs and other lawn pests, though treatment choices and pest prevalence vary by region. If you’re in Eastern Washington or North Idaho, exact lawn pests may differ from the example shown, so product selection and identification are not specified in the video for U.S. regional conditions.
Still, the maintenance framework is solid: observe first, diagnose second, treat third.
10. Fix Sticking Doors and Wobbly Shower Rails Before They Become Safety Issues
Two repairs in the video share the same underlying theme: hardware movement creates bigger misalignment.
Front door hinge repair
The sticking front door was traced to a loose hinge and missing screw. The repair approach involved supporting the door, replacing hardware, and even adding a third hinge for stability.
That’s a strong reminder that when doors bind, the issue may not be swelling alone. It may be loose hardware, hinge wear, or sagging alignment.
Shower rail repair
The video also shows a shower rail with loose end brackets and plugs protruding too far from the wall. Trimming the plugs flush and replacing the pipe with a better-fitting length stabilized the whole assembly.
The takeaway
When a component moves, don’t just correct the symptom. Find out why it moves:
- failed anchor?
- wrong fastener length?
- undersized hardware?
- poor fit between parts?
That diagnosis-first approach is what separates a lasting repair from a temporary patch.
Bonus Lesson: Maintain Your Tools So DIY Repairs Stay Safe and Effective
The final major theme in the video is tool care, and it’s more important than many homeowners realize.
Poorly maintained tools don’t just make work harder. They make accidents more likely.
What the video covers
- sanding and steel wool for rust removal
- a light protective spray after cleaning
- soaking seized tools in methylated spirits
- using graphite powder as a dry lubricant for moving parts
- sharpening chisels on a grinder
- honing on a sharpening stone
- removing the final burr on leather
- using folded foil to refresh dull scissors
Why this deserves attention
A dull edge forces more pressure. More pressure means less control. Less control means a higher chance of slips, torn materials, or damaged surfaces.
The video’s advice to cool tools during grinding is especially important. Overheating can ruin the temper of the steel and reduce performance.
Even if you rarely sharpen your own tools, the maintenance philosophy is worth adopting: clean, lubricate, inspect, and store tools before they fail you mid-project.
A Smarter Way to Prioritize DIY Maintenance
The video covers a wide mix of repairs, but a useful way to think about them is by category:
Fix immediately
These can cause damage, waste, or safety issues:
- dripping faucets
- cracked bathroom joints
- moldy or failed shower seals
- loose hinges
- unstable shelving
- loose rails or wall-mounted fixtures
Inspect seasonally
These benefit from routine checks:
- gutters and screens
- rainwater filters or drains
- lawn health and pest pressure
- bathroom sealant
- tool rust and lubrication
Upgrade when failure is obvious
These may be repairable, but replacement can be smarter:
- worn sliding door rollers
- old spindle assemblies
- damaged shelf materials
- corroded brackets and hardware
That kind of prioritization helps homeowners avoid the common trap of spending time on visible but low-impact tasks while ignoring water intrusion or loose structural hardware.
Conclusion
The biggest strength of this video is that it treats home maintenance as a series of manageable systems – not random chores.
Bathrooms need flexible waterproofing. Doors need alignment and secure hardware. Fixtures need proper anchoring. Lawns need inspection, not just mowing. Water systems need cleaning. Tools need maintenance to stay safe and useful.
None of that is flashy. But it’s exactly the kind of work that protects a home’s function, appearance, and long-term value.
For homeowners who care about keeping their property in strong condition, the lesson is clear: the best DIY maintenance isn’t about doing everything yourself – it’s about noticing the right problems early and fixing them correctly before they multiply.
Source: "Top 10 Handy DIY Fixes & Maintenance Tips | Great Home Ideas" – Great Home Ideas, YouTube, Jun 16, 2026 – https://www.youtube.com/watch?v=qFV_F1BQCt0