A home doesn’t always need a full remodel to feel better. In many cases, the most noticeable improvements come from small, low-cost changes that reduce clutter, improve lighting, and make everyday routines easier.
That’s the core idea behind this set of weekend home upgrades: instead of chasing dramatic before-and-after transformations, focus on the subtle details that shape how a room looks and functions. A better light source, a more intentional storage solution, or a cleaner way to display daily-use items can make a space feel more polished without major construction or major spending.
For homeowners in North Idaho and Eastern Washington, this approach is especially practical. Whether you’re refreshing a primary home in Coeur d’Alene, improving a rental in Spokane, or making a busy family bathroom more usable in the Tri-Cities, these kinds of upgrades deliver something valuable: visible improvement with minimal disruption.
Key Takeaways
- Start with lighting first. It’s one of the fastest ways to change a room’s mood without buying new furniture.
- Use accent and task lighting strategically. Picture lights, sconces, and under-cabinet lights can create both function and style.
- Fix "ignored zones." Mail areas, shower storage, and bathroom counters often create daily frustration and are prime candidates for quick upgrades.
- Contain clutter visually. Trays, bowls, and grouped storage help your brain read many small items as one organized zone.
- Make essentials look intentional. Decanting or corralling everyday products can elevate a bathroom or vanity instantly.
- Refresh what you already own. Swapping artwork, changing frame mats, or moving decor between rooms can create a new look for little to no cost.
- Use mock-ups before investing. Testing art direction with printed images can help you avoid expensive decorating mistakes.
- Focus on friction points. The best affordable upgrade is often the one that removes a daily annoyance.
sbb-itb-a0e5ae3
Why Small Upgrades Often Deliver the Biggest Payoff
There’s a reason low-cost improvements can feel so effective: they tend to solve problems you experience every day.
A dark kitchen counter, an overcrowded shower, or a dining table that constantly becomes a drop zone may not sound dramatic. But over time, these little issues create mental and visual fatigue. When they’re addressed thoughtfully, the whole home feels calmer and more functional.
This is a useful framework for any home improvement project:
- Identify what annoys you repeatedly
- Look for a simple design fix
- Choose a solution that improves both appearance and usability
That mindset shows up throughout every idea below.
1. Change the Feel of a Room with Better Lighting
If you only make one affordable upgrade this weekend, make it a lighting upgrade.
The video makes a strong point: a room can feel more modern, cozy, moody, or classic without changing the furniture at all – just by adjusting the lighting. That’s not an exaggeration. Lighting controls contrast, warmth, focus, and atmosphere.
Easy lighting upgrades under $100
Add a picture light over existing art
A picture light creates a focal point and gives artwork more presence. It can also add architectural character to a wall that feels flat.
Why it works:
- It introduces a second layer of light beyond ceiling fixtures
- It gives the room a more intentional, designed look
- It draws attention to what you already own
This is especially smart if your living room or hallway feels visually unfinished but you don’t want to buy more decor.
Use a vintage or secondhand sconce
The video highlights using a hardwired-style sconce with a battery-powered bulb. That’s a practical workaround for anyone who wants the look of permanent lighting without opening walls or hiring an electrician.
This is a strong option for:
- Breakfast nooks
- Hallway ends
- Reading corners
- Gallery walls
- Bathrooms lacking softness
For homeowners, this can be a stepping stone before investing in permanent lighting. For renters, it’s an especially useful style upgrade.
Choose LED replacements for heat and efficiency
Swapping old incandescent bulbs for LED versions is a small but important detail. LEDs are cooler, more energy-efficient, and better suited for longer use.
That matters if you want lighting that’s not just attractive, but practical.
2. Upgrade the Overlooked Areas You Use Every Day
One of the most useful insights in the video is that many homes have spaces that are highly functional but almost never designed intentionally.
These are the places where clutter gathers and irritation builds:
- Entry mail stations
- Shower corners
- Bathroom counters
- Utility shelves
- Drop zones near doors
Improving these spaces creates an outsized effect because they’re tied to routines.
The "ignored zone" test
Ask yourself:
- Where do things pile up constantly?
- What corner of the house works, but only barely?
- Which area looks accidental instead of finished?
Those are your best weekend-project targets.
Example: a mail-drop solution
In the video, shelving above an older mailbox area turns a cluttered corner into a more useful station.
The broader lesson is this: storage should match behavior. If mail naturally lands in one spot, design around that reality instead of fighting it.
Affordable ideas:
- Add shallow shelves
- Use labeled bins or wall files
- Separate incoming papers by person or priority
- Choose materials that match the style of the room
Even a basic paper-management fix can make a dining or entry area feel far less chaotic.
Example: shower storage that looks built-in
Adhesive shelves were used in the shower to replace less attractive hanging caddies. This is a smart upgrade because it addresses both visual clutter and practical storage.
Why this works well:
- It frees up space around the showerhead
- It keeps products contained
- It can look more custom than a hanging organizer
- It often installs in minutes
For busy households, shower storage is a great example of a low-cost improvement that feels high-value.
3. Add Task Lighting Where Builders Often Skip It
Accent lighting changes mood. Task lighting changes usability.
That distinction matters. A kitchen can have a decent ceiling light and still feel dim where it counts most – especially under cabinets, where shadows fall directly on work surfaces.
Under-cabinet lights are one of the highest-impact upgrades
The video strongly favors rechargeable under-cabinet lights with magnetic mounts, motion sensors, and adjustable color temperatures.
That recommendation makes sense because these lights solve several real problems at once:
- They brighten prep surfaces
- They improve nighttime visibility
- They reduce reliance on harsh overhead light
- They mimic the feel of a more custom kitchen
What to look for
Based on the video, the best features include:
- Rechargeable design
- Magnetic removal for easy charging
- Motion sensor mode
- Night-only mode
- Adjustable color temperature
This type of lighting is especially useful in:
- Kitchens
- Pantries
- Laundry rooms
- Bathroom vanities
- Workbenches
For homeowners who care about both function and property appeal, task lighting is a classic "small spend, big perception" upgrade.
4. Make Bathroom Essentials Look Deliberate
Bathrooms become cluttered quickly because they contain so many routine-use items. The usual solutions are either to hide everything or buy generic organizers. The video suggests a third path: leave some essentials visible, but present them more intentionally.
That’s a valuable design principle because it balances aesthetics with real life.
Practical ways to elevate visible bathroom items
Decant unattractive packaging
Moving mouthwash or similar products into a nicer bottle can make a countertop feel less temporary and more curated.
That said, there’s an important practical note the video doesn’t fully address: if you decant consumable items, make sure the container is clearly identifiable for safety and hygiene. The specific method for labeling was not specified in the video, but it’s worth considering.
Use decorative containers for daily-use products
Items like wipes, flossers, and cotton swabs can be stored in thrifted or repurposed containers that add texture and color.
What makes this effective is not just the look – it also encourages use. Visible organization can support habits better than hiding items in drawers.
Upgrade the trash can
This may sound minor, but it’s one of the better observations in the video. An open trash can with a visible liner can make a bathroom feel messier than it is.
A covered trash can:
- Conceals clutter
- Looks more finished
- Improves usability
- Better matches a polished bathroom aesthetic
Sometimes a room doesn’t need more decor. It needs a better version of the basics.
5. Use Trays and Bowls to Reduce Visual Noise
This may be the most transferable tip in the entire video.
When lots of small objects sit loose on a surface, the eye reads each one separately. That increases visual noise. But when those same objects are grouped on a tray or in a bowl, they become one contained composition.
That’s not just styling advice. It’s a form of visual organization.
Why this works psychologically
The speaker makes the point that ungrouped items can contribute to overwhelm. That’s a strong insight, especially in busy homes or work-heavy households. A surface crowded with unrelated objects demands attention. A grouped arrangement feels calmer because it has boundaries.
Where to use this strategy
- Dining tables
- Coffee tables
- Bathroom counters
- Entry consoles
- Dressers
- Kitchen islands
- Nightstands
What to put on a tray
Choose items that genuinely belong there, such as:
- Coasters
- Candles
- Salt and pepper
- Keys
- Perfume bottles
- Hand lotion
- Remote controls
The deeper design lesson here is this: containment creates clarity.
If a surface constantly collects clutter, don’t just clear it once. Give it a system.
6. Improve Function Without Making a Room Harder to Use
One of the better critiques in the video is aimed at overly styled spaces. A coffee table can look beautiful, but if you have to remove everything every time you want to use it, the styling becomes a daily obstacle.
That idea deserves emphasis.
A well-designed home should not behave like a showroom. It should support normal life.
Design rule: minimize friction
A good upgrade reduces one or more of the following:
- Time spent tidying
- Difficulty accessing essentials
- Visual overwhelm
- Repetitive cleanup
- Annoyance during everyday tasks
This is especially relevant for homeowners with kids, pets, guests, or active schedules. If a design choice looks good but creates constant hassle, it’s not truly finished.
The best weekend projects improve appearance and remove friction.
7. Don’t Forget Exterior Lighting
The video briefly covers a simple outdoor change: swapping a porch bulb for a flickering version that mimics candlelight or a lantern effect.
This is a small move, but it can dramatically change curb feel at night.
Why exterior lighting matters
Outdoor lighting affects:
- First impressions
- Entry comfort
- Evening ambiance
- Perceived warmth of the home
For front porches, balconies, or covered patios, bulb selection is often overlooked. Yet it’s one of the easiest ways to update mood without replacing the fixture itself.
In regions like North Idaho and Eastern Washington, where darker evenings stretch long for much of the year, better exterior lighting can make a home feel more welcoming and more usable.
8. Refresh Your Art Before Buying New Decor
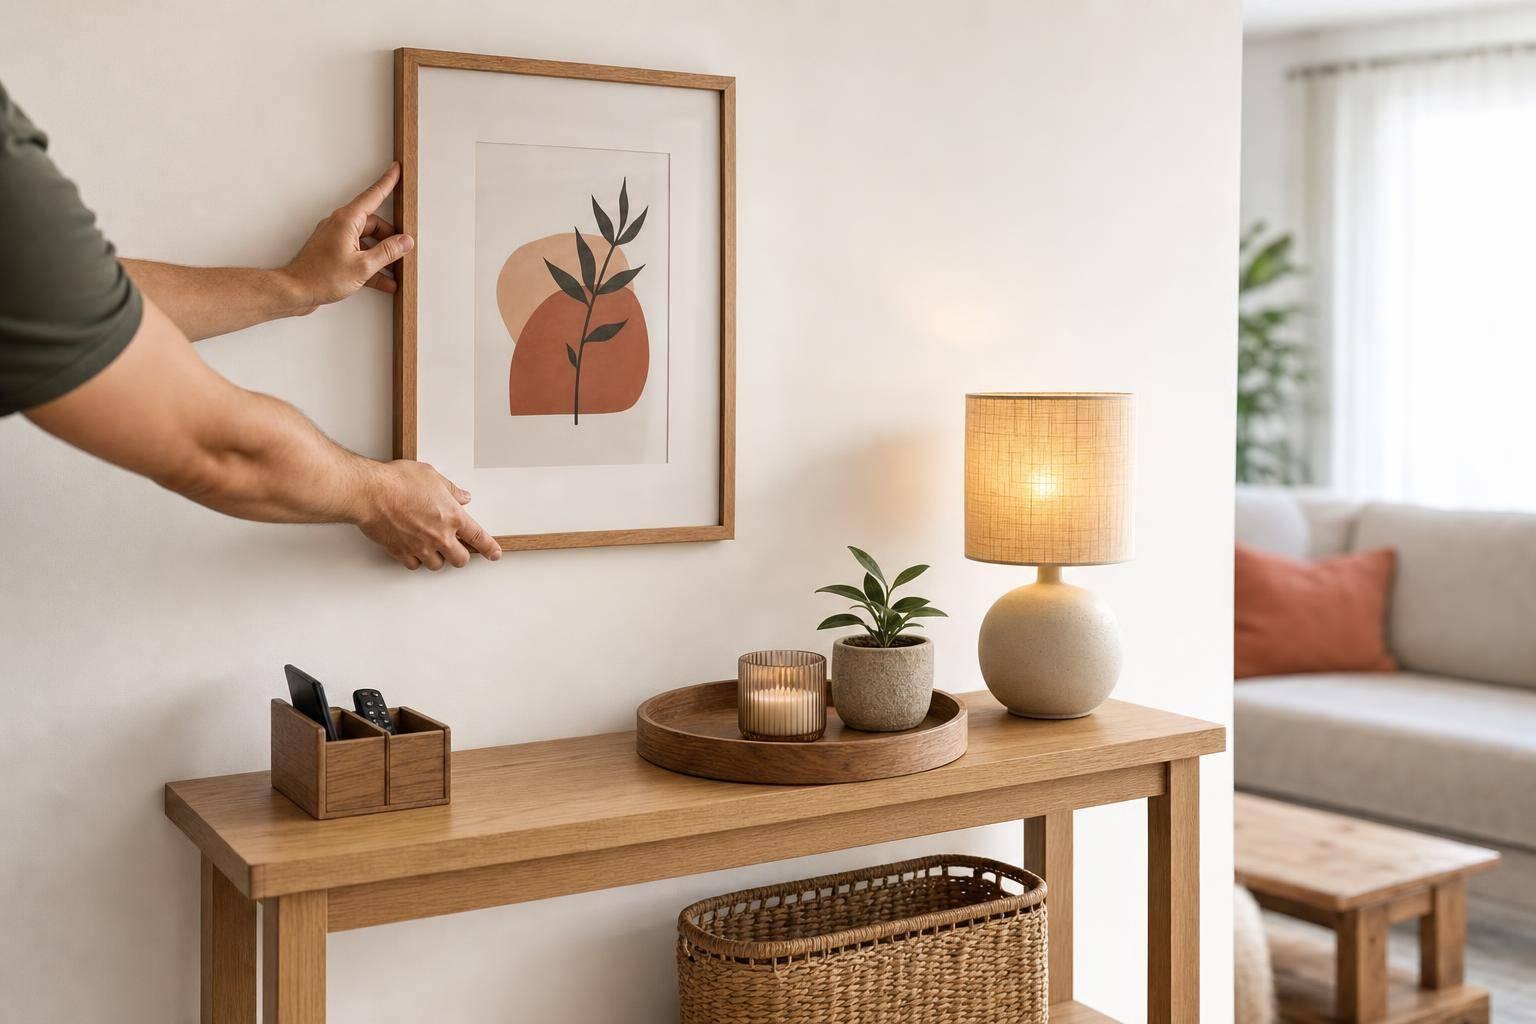
One of the most budget-friendly ideas in the video is also one of the most effective: move art around before buying anything new.
A gallery wall or large framed piece occupies significant visual space. Even modest changes can alter the mood of a room.
Low-cost art refresh ideas
- Swap pieces between rooms
- Change frame matting
- Replace a small piece with a larger one
- Mix in 3D objects like clocks, bowls, or sculptural pieces
- Remove a few items for a cleaner, lighter look
This approach works because presentation matters as much as the artwork itself. The frame, spacing, scale, and surrounding objects all influence the final effect.
A useful takeaway for homeowners
If a room feels stale, don’t assume the answer is more shopping. Often, it’s just re-editing.
That’s especially true for:
- Dining room gallery walls
- Staircase art groupings
- Hallway photo displays
- Living room statement pieces
9. Test Art Direction Before Making Expensive Decisions
This may be the smartest money-saving idea in the video.
If you’re unsure what kind of art belongs in a room, the speaker suggests using images from design or art books as temporary mock-ups. In other words, test scale, contrast, and mood before investing in original work.
Why this is valuable
Art is one of the hardest decorating categories to get right because it affects:
- Style direction
- Color story
- Room balance
- Emotional tone
And unlike throw pillows or accessories, art often costs enough that mistakes feel expensive.
What mock-up art can help you decide
- Whether a room needs more contrast
- If black-and-white imagery feels too stark or just right
- How large a piece should be
- Whether your taste leans modern, traditional, eclectic, or minimal
The video presents this as part of a personal design process – not a replacement for buying original art. That’s an important distinction. Used thoughtfully, temporary art testing can help homeowners spend more confidently later.
10. Use Design to Support Habits, Not Fight Them
A subtle but powerful thread throughout the video is that the best home updates often support the way people actually live.
Examples include:
- Keeping floss visible to encourage use
- Adding shelves where mail naturally lands
- Using motion-sensor lights where hands are full
- Grouping items to simplify cleanup
- Displaying products in a way that feels easier to maintain
This is especially relevant for households where routines are busy or inconsistent. A home doesn’t need to be perfect. It needs to be supportive.
That’s a more useful design standard than perfection.
A Practical Weekend Upgrade Plan
If you want to apply the video’s ideas without doing all 16 at once, use this sequence:
Weekend Plan, Step by Step
- Walk through your home and note three daily pain points
- Dark countertop
- Cluttered bathroom
- Surface that collects random items
- Choose one lighting fix
- Picture light
- Plug-in or battery sconce
- Under-cabinet lighting
- Outdoor bulb swap
- Choose one organization fix
- Adhesive shower shelves
- Mail station
- Tray for clutter-prone surface
- Better bathroom storage
- Choose one styling refresh
- Rearrange art
- Reframe a piece
- Decant one frequently used product
- Upgrade one ugly but essential item
- Evaluate based on daily use, not just appearance
- Is it easier to clean?
- Easier to access?
- Easier to maintain?
- More pleasant to use?
That approach keeps the project affordable and prevents "weekend upgrade" from becoming a whole-house overhaul.
What These Upgrades Have in Common
Although the video covers a wide range of ideas, they all share the same larger principle:
A finished-feeling home is usually the result of many small, thoughtful decisions – not one giant renovation.
The best under-$100 upgrades tend to do at least one of three things:
- Improve how a room works
- Reduce visual clutter
- Strengthen the room’s style direction
When a project does all three, it has real staying power.
Final Thoughts
Affordable home updates work best when they solve a real problem. That might mean brightening a dark workspace, containing clutter on a busy counter, or making a bathroom feel more intentional with better everyday storage.
The value of these ideas isn’t just that they’re inexpensive. It’s that they help a home feel more complete without requiring major time, tools, or disruption.
If you’re planning your next home improvement weekend, start small – but start where it matters most. Look for the places you use every day, the surfaces that frustrate you, and the corners that feel unfinished. Those are often the exact areas where a simple upgrade can make the biggest difference.
Source: "For Under $100 You Can TRANSFORM Your Home with these 16 Weekend Projects!" – Living with LK, YouTube, Feb 22, 2026 – https://www.youtube.com/watch?v=FRm3tIVUE1U